As you might know by now, Lightroom provides a completely non-destructive editing of your photographs. Photoshop, on the other hand, if not used properly is a destructive editor, meaning that after a certain amount of steps you can’t go back. You can’t even re-edit some adjustment you’ve done if you haven’t done it in the correct way. This is an obvious problem for photographers so let's take a look at how you can use Photoshop to edit non-destructively.
Why Masks are One of the Keys to Non-Destructive Photoshop Editing
Probably one of the most important aspects of editing anything in Photoshop is the use of masks instead of deleting pixels. Masks are really simple to use, you just create one by pressing the mask button in the bottom of the layers box.
The mask is monochrome, it can’t take any color. However, the black means hidden, while the white means visible. Gray is in between both. Therefore you can paint over the mask with a brush, or gradient, or any other way you want to apply it.
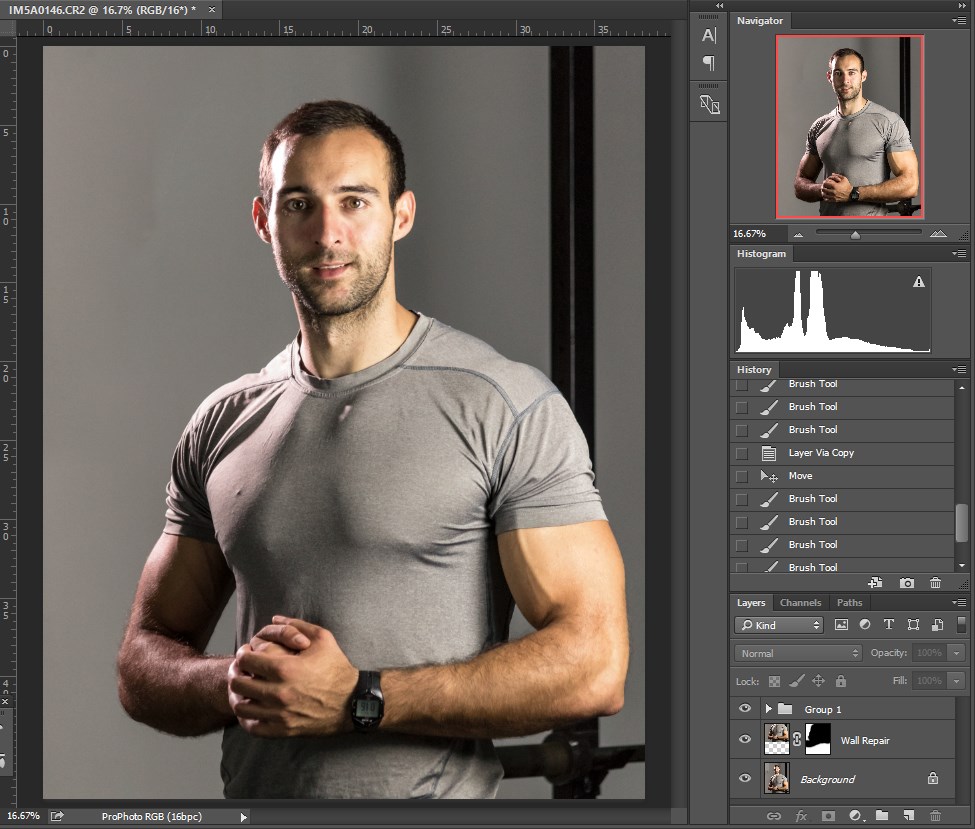
It is great for selections as well (beside having a mask by default on adjustment layers) since you can easily create one by pressing the mask button once you have made a selection. The mask can be refined as much as you can refine a selection, thus providing you that flexibility as well.
Since you can edit the mask anytime you like without affecting the original pixels of the layers it affects, it is non destructive and it can be altered anytime.
Why Adjustments Layers Are Another of the Keys
Adjustment layers are something revolutionary if you ask me. I know that by now they’re nothing new and you are probably using them every day, however when you think about the flexibility you get from them, it is really staggering.
Adjustment layers work the same as if you apply the adjustments to the image itself, however they are a separate layer affecting the layers below it (or the ones to which they are clipped).
The interesting thing about that is that they stack better than adjustments done to the image directly, and you can affect the order easily just by reordering the layers themselves
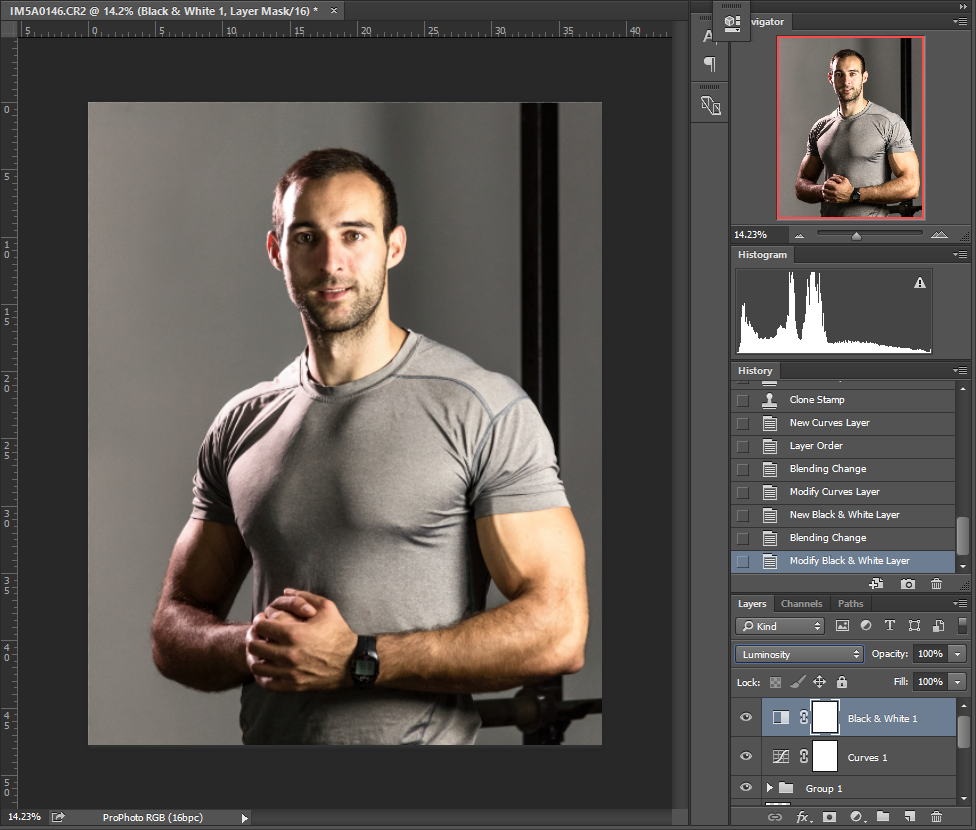
Additionally, they don’t take up as many resources as a regular layer, so you can use many more adjustment layers without having any computer resource issues.
You can assign where and how much they affect the mask. Since that mask works exactly as the regular masks, you can alter it in the same manner as discussed above.
Blending modes work great with adjustment layers, allowing you to do much more than you would do by using adjustments directly on the image. This works great with curves per se, if you want to affect the luminosity only instead of the color, or vice versa. There are loads of combinations for these matters, and all of those allow for effects that can’t be achieved by direct adjustments.
How to Use Smart Objects for Non-Destructive Editing
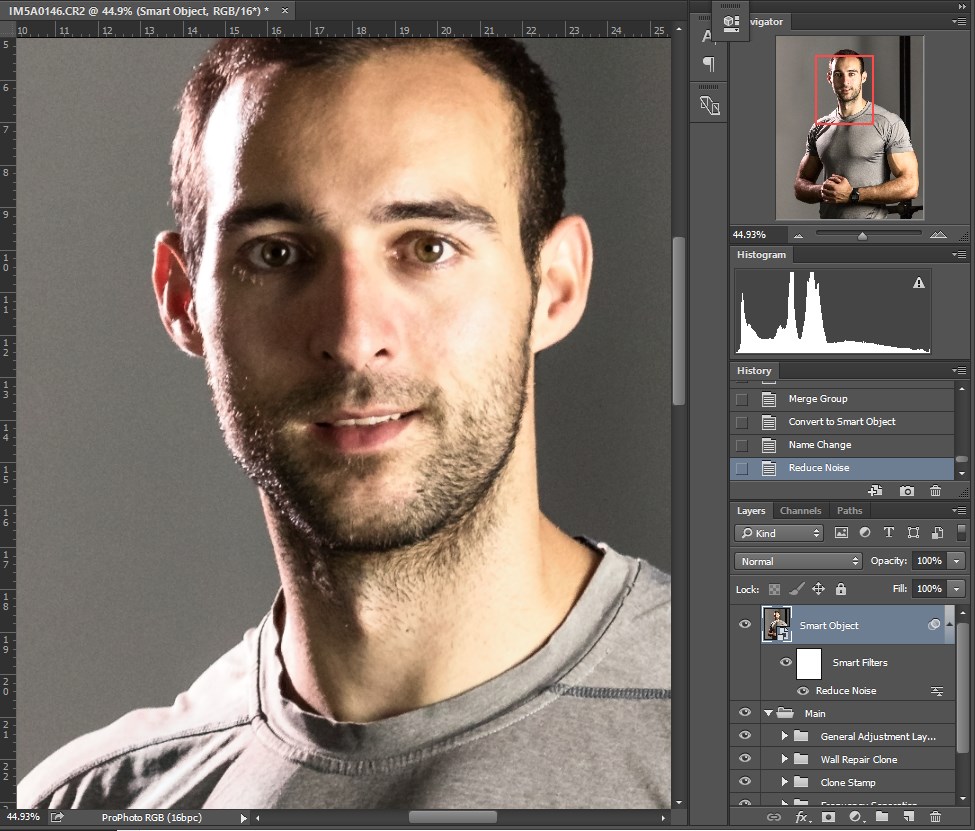
If you plan to apply filters to your image, if you won’t be using the non-destructive approach, it is wise to apply them to a smart object. Convert every layer that you won’t edit destructively to a smart object and you can apply and edit the filters at any point of your edit. This is something that is quite powerful when it comes to heavily destructive filters like blur, for example.
Using New Layers for Destructive Edits
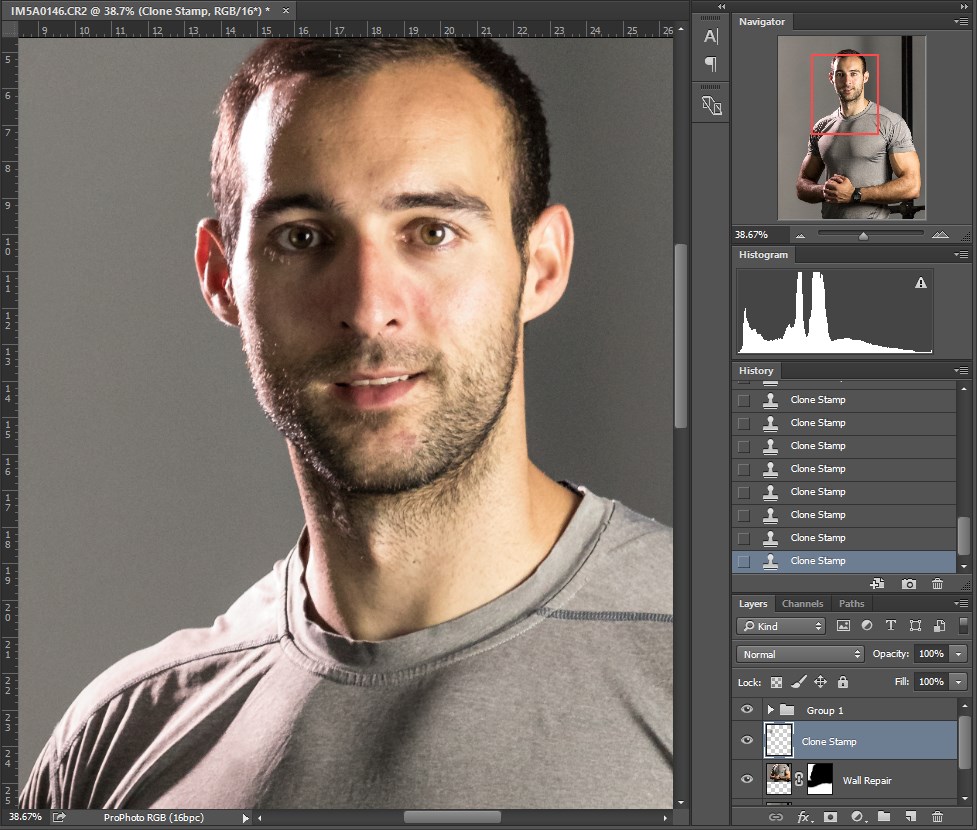
If there are clone stamping and healing actions that you need to use, it is wise to apply them in a new empty layer, so the underlying layer won’t get damaged. You can sample from underlying layers with the clone stamp tool and have the stamping done on the new layer – therefore the edits are on a different layer which means you can go back to them and edit them properly.
Structuring Your Edits
Some destructive edits are unavoidable, but you can do layer backups if you keep the structure properly. Have the adjustment layers on top of everything (except those that need to be clipped to a layer). The clone stamp / healing layers should be right above the smart layer they are affecting, but grouped together. If there is something that needs to be affected by a clipping adjustment layer you can do that on the group and it will work directly on that group and nothing else.
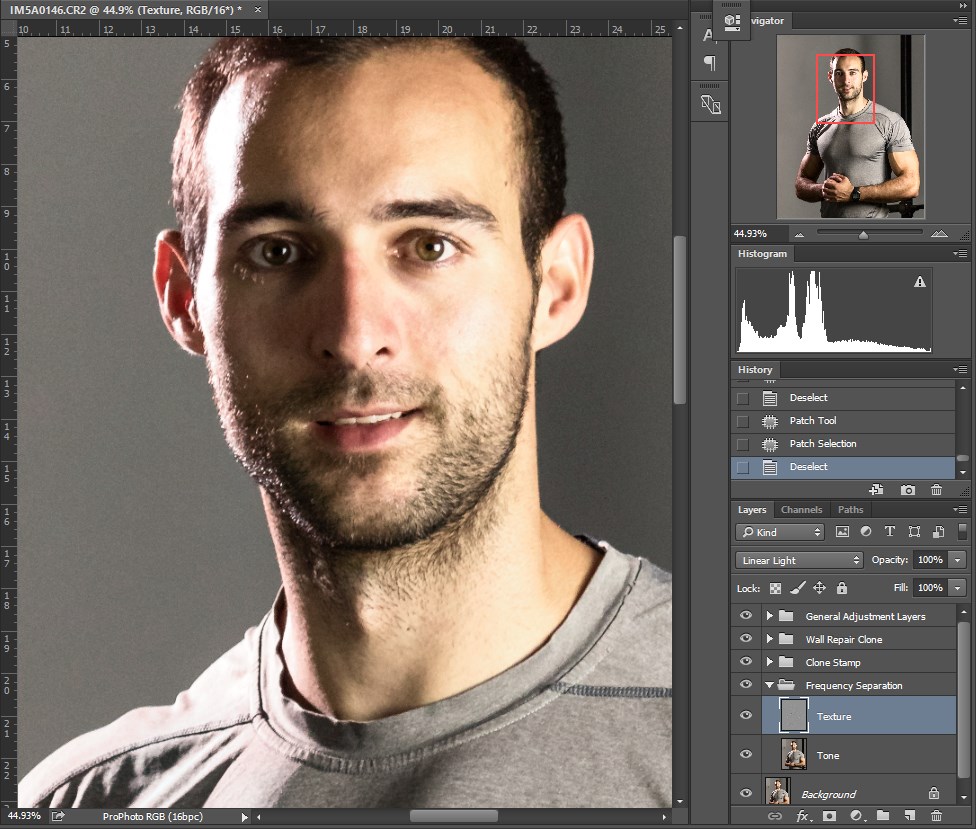
Structures work differently for different people, so you should work out your most efficient workflow, but the guidelines I’ve provided above are pretty much the same.
Summary
Working non-destructively ensures that you can go back whenever you change your mind about something, or if anything doesn’t turn out as you had imagined it to be. Thus, if you haven’t mastered the non destructive approach, you should do that as soon as possible. It will save you a lot of heartache.


1 Comment
A very interesting procedure.
Thanks