Knowing how to adjust color in Adobe Lightroom is tremendously important because it can help you create a unique and recognizable style. Many professional photographers play with the color controls extensively and shift one hue into another or desaturate colors to achieve a certain look.
In this article, we’ll explain the basic color adjustments in Lightroom and how to use them properly.
Understand The Color Controls
In order to alter color in Lightroom, you should use the HSL / Color / B&W panel. It’s important to understand visual terms like hue, saturation and luminance before experimenting with various sliders in the panel, so we’ll try to explain these terms using some simple examples.
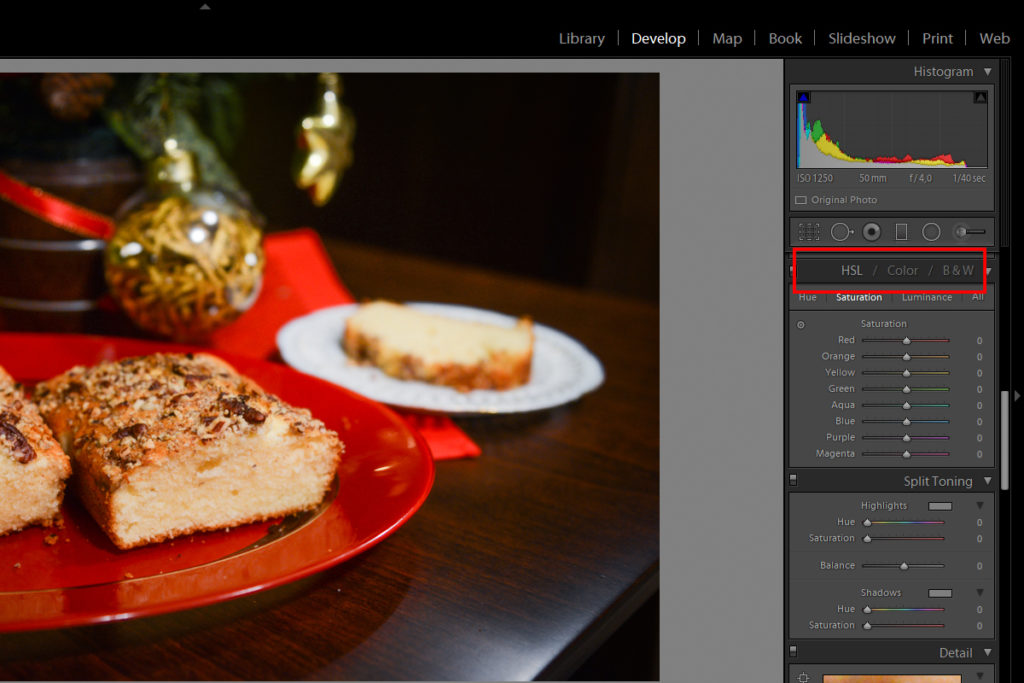
Hue
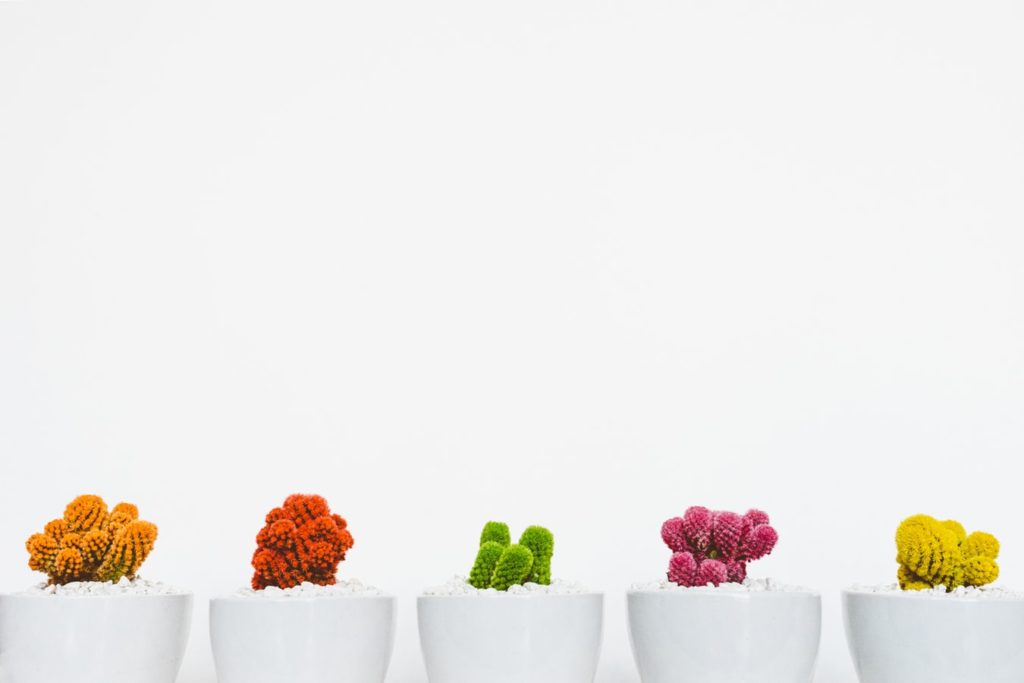
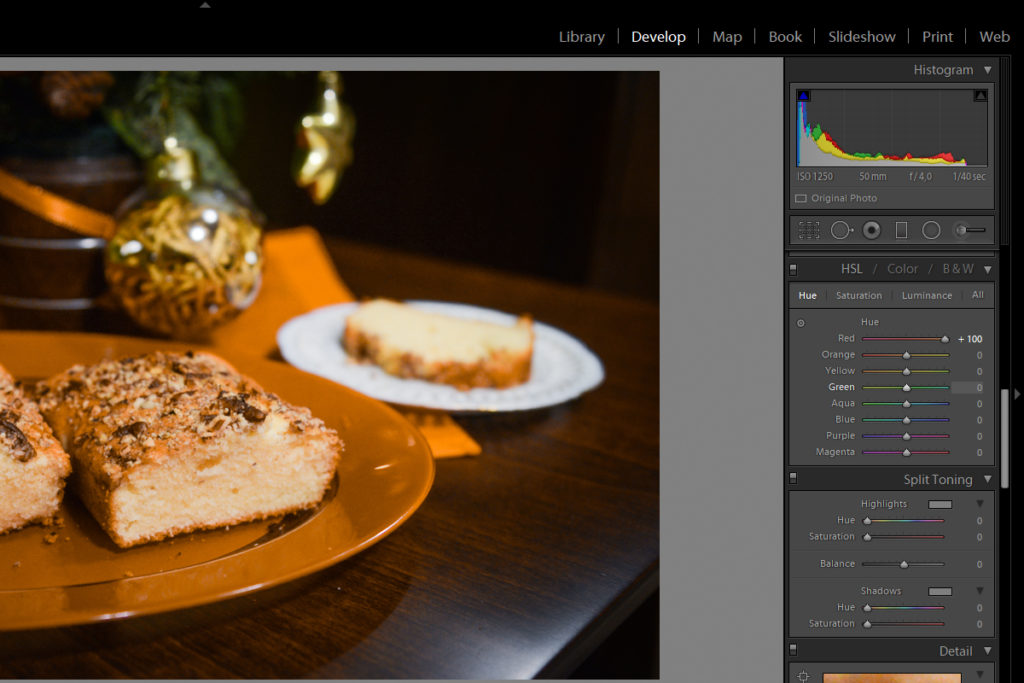
The terms hue and color are often used interchangeably in everyday language. When it comes to hue in Lightroom, you will notice that adjusting hue allows a shift in color – for instance, you can move shades of blue into purple or red tones into the orange spectrum (just like in the example below).
These shifts in color can be really useful if you’re into product or fashion photography. You can easily change the color of a certain product (clothing, gadget, furniture and so on) by adjusting hue.
Saturation
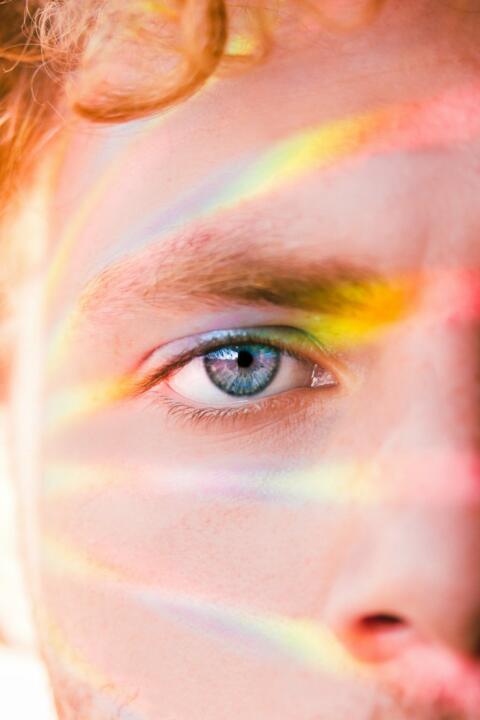
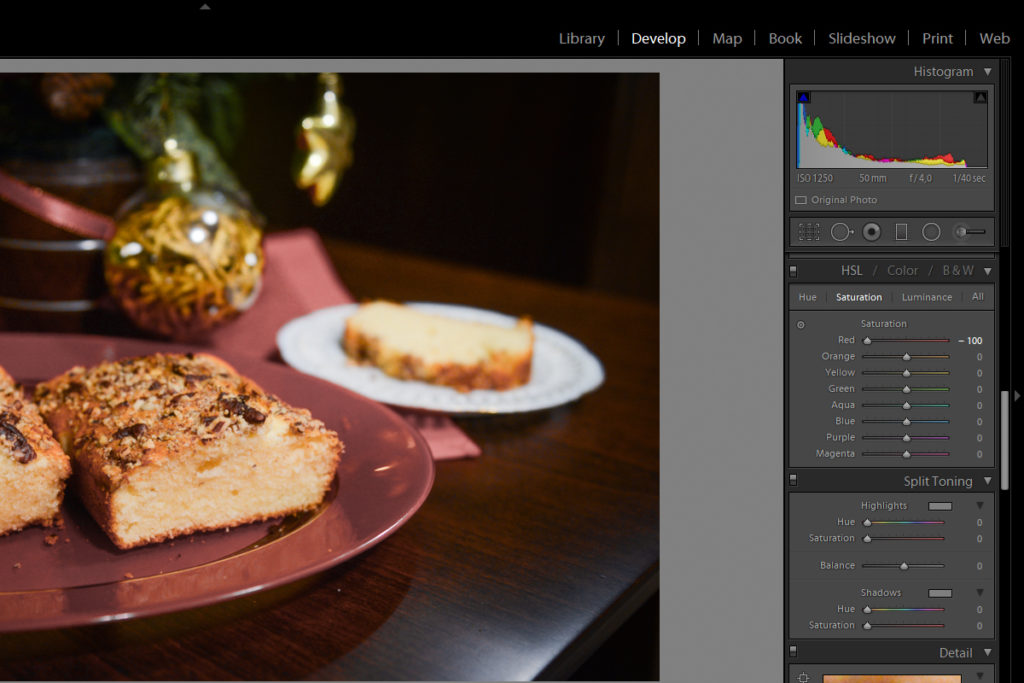
Saturation might be easier to understand than hue. To put it simply, saturation is the intensity of a color in an image. When you turn the saturation up for a certain color, you make it more noticeable. On the other hand, when you desaturate a color, you make it less prominent and if you desaturate it completely, it's removed from an image.
Technically speaking, saturation is about how much grey is mixed into a particular color. The more grey you add, the more muted (desaturated) the color.
Experimenting with saturation is useful in just about any genre of photography because it helps you create a certain atmosphere – you can turn a dramatic scene into something more mellow and vice versa if you know how to adjust saturation properly.
Luminance
Luminance refers to the brightness of a specific color in an image. Just like saturation is about how much grey is added to a certain color, luminance is about how much black a color contains.
If you pull the luminance slider down for a certain color, it will darken all parts of the image which contain that color. On the other hand, if you pull the luminance slider up, you will increase the brightness of that specific color anywhere in your image.
Adjusting luminance is a great post-production technique for nature and landscape photographers. You can improve the look of foliage or sky in your photos by adjusting luminance for the greens or the blues. Of course, this is not limited to landscape photography – you can experiment with luminance in portraiture or product photography too!

Using Presets
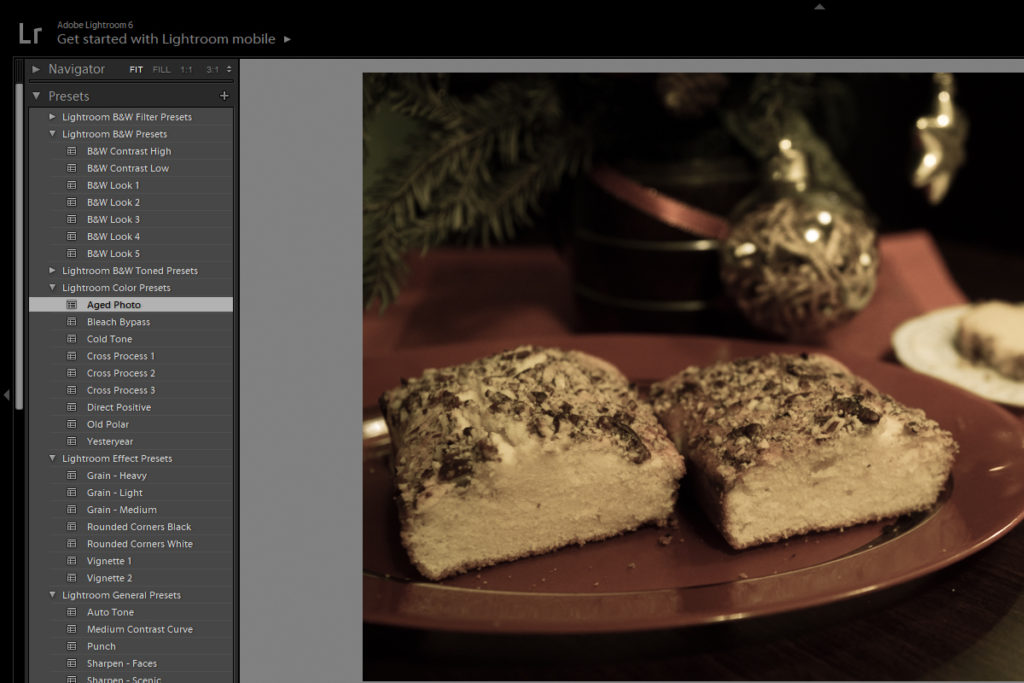
In case you want to change colors quickly and you don’t feel so confident about experimenting with hue, saturation and luminance, you can resort to one-click color adjustments also known as presets. There are many default Lightroom presets you can use (and customize!) as well as premium ones you can purchase online – it’s up to you and your creative vision.
Experimenting with presets is quite educational because it can help you get inspiration for working with color in Lightroom. After applying a certain preset, you should check out the HSL panel to see how the preset changed the color settings. This is a very effective learning strategy that anyone should use, even newbies!
To sum it all up, when you want to alter color in Lightroom, you should think about experimenting with hue, saturation and luminance until you find the optimal solution. Use the hue slider to shift a specific hue to its neighboring color (such as blue to purple or green), use the saturation slider to emphasize or de-emphasize a color, and use the luminance slider to adjust exposure for specific colors.
To learn more about editing in Lightroom, check out the links below.
Further Reading:
- 5 Lightroom Edits That Will Rock Your Outdoor Photography
- How To Correct Perspective Distortion In Lightroom
- Photoshop Vs Lightroom Which Should You Choose?
- Lightroom And Wildlife Photography: How To Create Magical Impact
- How To Edit Your Photos Like A Pro In Lightroom
- 11 Steps For Basic Portrait Editing In Lightroom


