At some point in your journey into learning post-production, you are almost certainly going to come across the filter options in Adobe Lightroom. Getting to grips with them can really open up a lot of photographic options that you may not have been aware of. So let's jump in and look at some of the things you can do with Lightroom filters.
Filters in Lightroom allow you to do selective changes on an image while using the complete RAW information. These filters are controlled by masks, and the only difference between each of them is the way the mask is applied. Each filter allows you to change the same parameters. All of them stack on top of one another.

All three filters have the same settings which work in exactly the same way, allowing you to selectively alter the following:
- Color Temperature
- Tint
- Exposure
- Contrast
- Highlights
- Shadows
- Clarity – (Be careful when affecting clarity, since this can get out of control really fast.)
- Saturation
- Sharpness – (You don’t have full control over the way it sharpens, however.)
- Noise – (You can add or remove noise selectively, but without any advanced control.)
- Moiré – (Selectively remove moiré.)
- Defringe – (Selectively remove fringing.)
How to Use the Adjustment Brush
Even though this tool is not dubbed a filter, it works in a way that is similar to the two filters discussed here, with the only difference being the application technique. In this instance, you paint the mask on with a brush. You can add or erase portions of the mask, as well as control the size, flow, and feather of the brush. Additionally, there is an option for auto-masking (which works in a similar fashion to the “Quick Selection” tool in Photoshop) which snaps near edges high in contrast, and helps you avoid masking over details you don’t want to mask, such as hair.
This is useful for several reasons. For one thing, it is simple to apply to a smaller area, such as in painting over the model's face in order to lighten it up a bit. I usually use adjustment brush to correct highlights (like rim light that is too bright) without affecting the rest of the image, or to sharpen selectively.
Another thing you can use this brush for is to remove moiré from specific areas without affecting the whole image. The same concept applies to defringing, since oftentimes it can ruin details, if used in higher settings. This way, you can paint only over the areas which need defringing (this can take a good amount of time) and selectively remove the fringes.
Additionally, you can press the “O” key to enable the mask overlay so you can see where your filter will have effect.
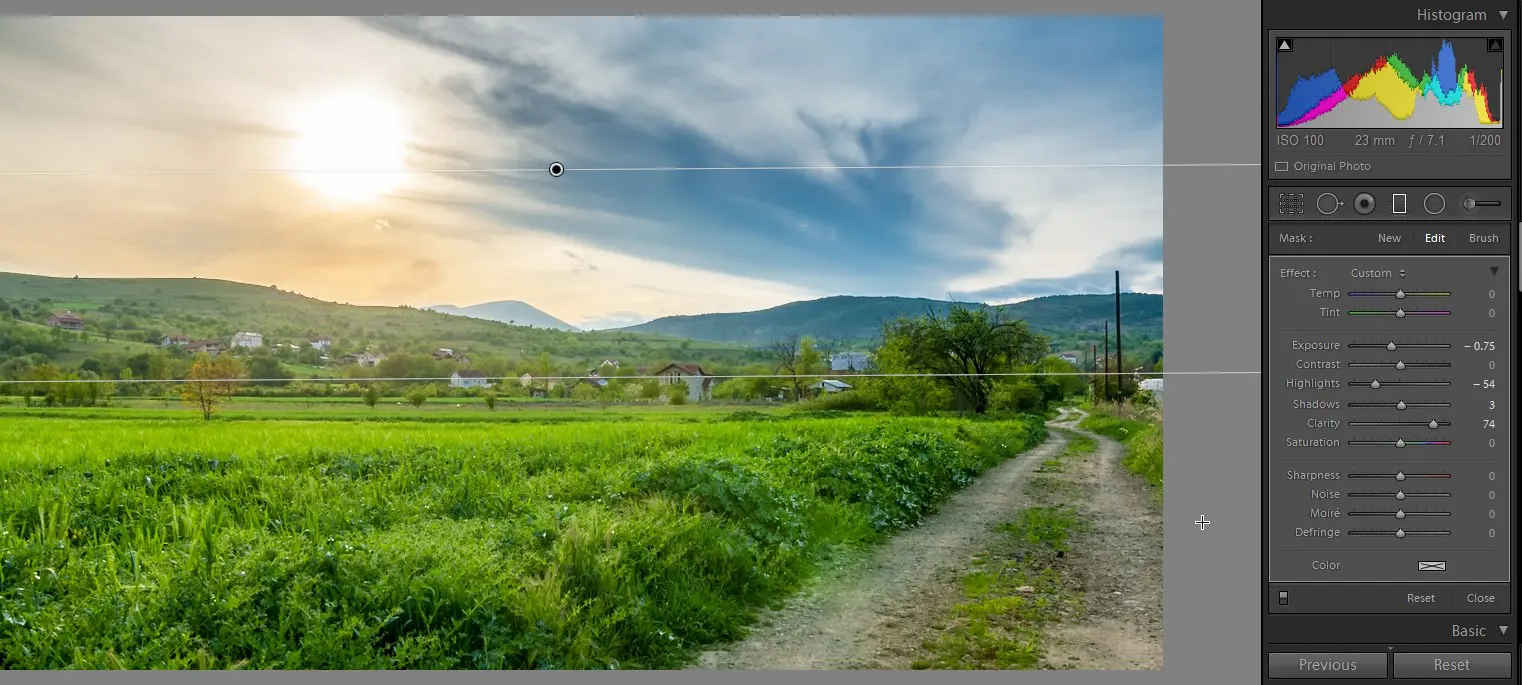
How to Use the Graduated Filter
Unlike the Adjustment Brush, this filter works by applying directional gradient to the mask. This filter is quite handy for simulating the effect of gradual neutral density filters. About 90% of the time, I use this filter for darkening the sky. A new feature of Lightroom 6 is the ability to brush on the mask while avoiding obstacles which you don’t want to be affected by the filter, like buildings and trees, for example. You can edit the mask by choosing the brush which is located in the mask section of the filter.
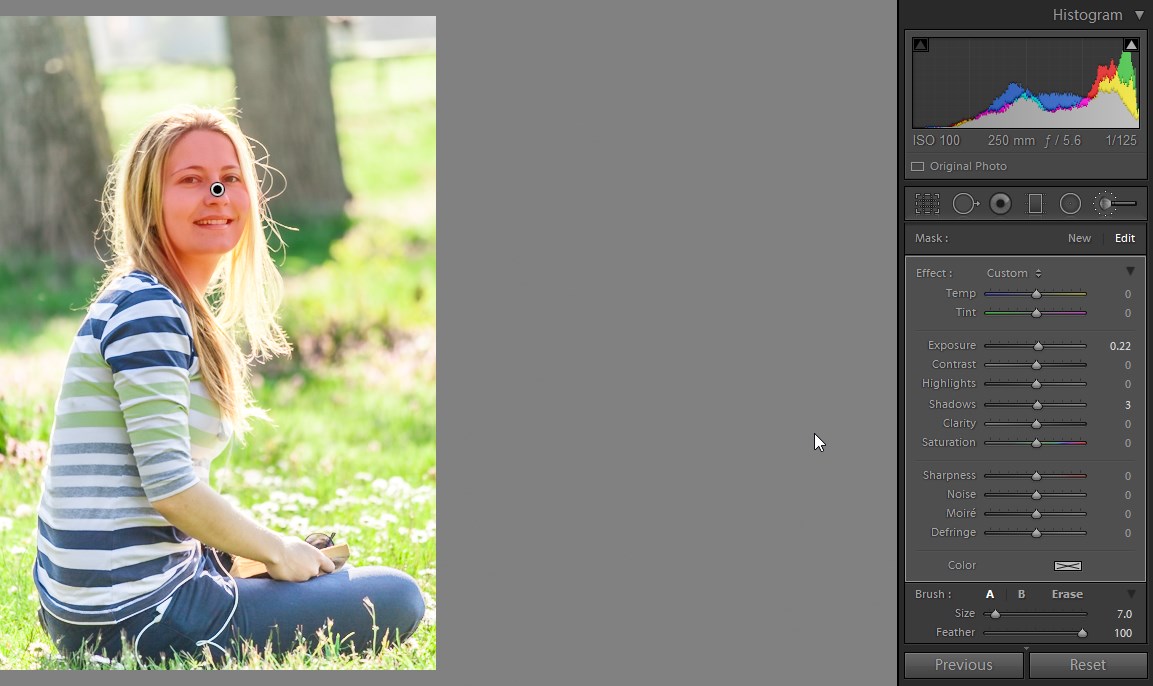
How to Use the Radial Filter
Like the Gradual Filter, the Radial Filter is a gradient-type filter, but in this case the gradient is radial, just like the radial gradient in Adobe Photoshop. The way it is used is similar in fashion to the filters discussed previously, so it must be specified that this filter has useful applications in simulating light sources, and in touching up eyes and irises and basically anything else that is round in shape.

Additionally, you can control the feathering and you can invert the mask, if necessary. Just like the Graduated Filter, you can brush it away from the areas you don’t want affected, or you can add some areas to the mask, if needed.
These are the novel additions I discovered in the new Lightroom which I consider well-worth a try.
How do you use the filters in Lightroom 6? Do you think the brush is a useful item in Lightroom 6? Please share in the comments!


