To be honest, I’ve been waiting for Lightroom 6 for a while now, and I know I’m not the only one! Judging from the threads on every photography forum I know of, everybody else has been looking forward to it, too.
The biggest improvement announced – which everybody has been waiting for in connection with Lightroom 6 – is probably the GPU acceleration. The GPU acceleration is really great, and there are other features, but Lightroom 6 delivers three in particular which seem especially appealing to photographers, in general: Panorama, HDR, and Filter Brush.
How Panoramas Have Been Improved in LR6
Users can now stitch panoramas directly in Lightroom 6, without the need of additional Photoshop work. Even though this feature offers fewer options compared with Adobe Photoshop, it still does a great job stitching the photos together. Additionally, it has a preview option which Photoshop doesn’t offer.
Another advantage Adobe has over Photoshop is that the resulting panorama is actually a RAW file, so any editing done afterwards will be as good as editing the originals, without any loss.
Now, let’s see it in action.
First of all, you need to import the images as you would for everyday use. Next, select them all, turn on auto-sync, and do lens profile correction. Lens profile correction is recommended by Adobe in order to get a more accurate panorama in the end.
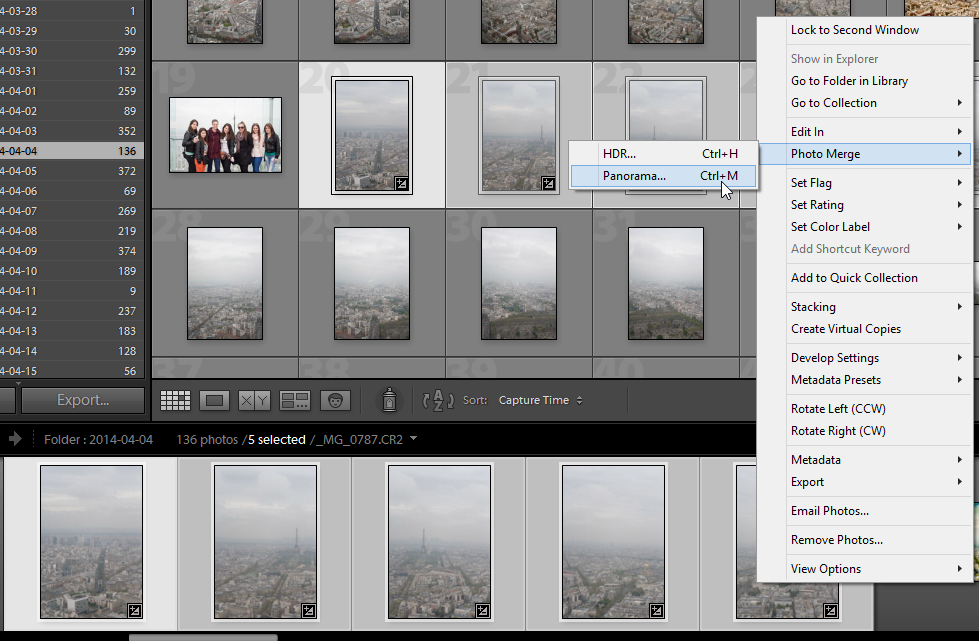
Once you have done the corrections, right click, hover over “Photo Merge” and choose “Panorama.” A few seconds later the preview will be generated.
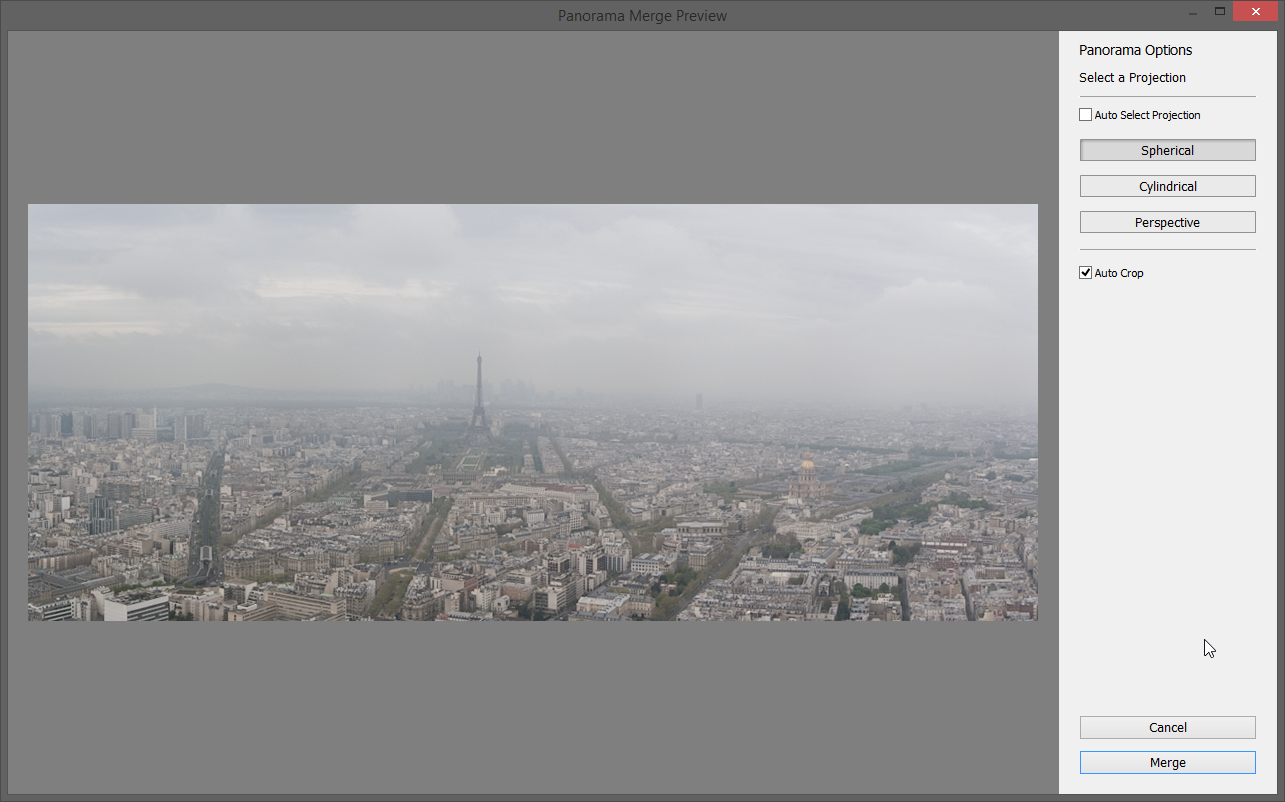
From there, you can choose a projection which would alter the view angle and perspective a bit, and then you can choose to crop the image to avoid ending up with any incomplete parts. After you are satisfied with the preview, hit “Merge,” and you're done. It will take some time for Lightroom to merge the photos together, as it generates the panorama. On my computer, merging 6 RAW files took about 15 seconds. The progress can be seen in the top left part of the UI where the LR badge is positioned.
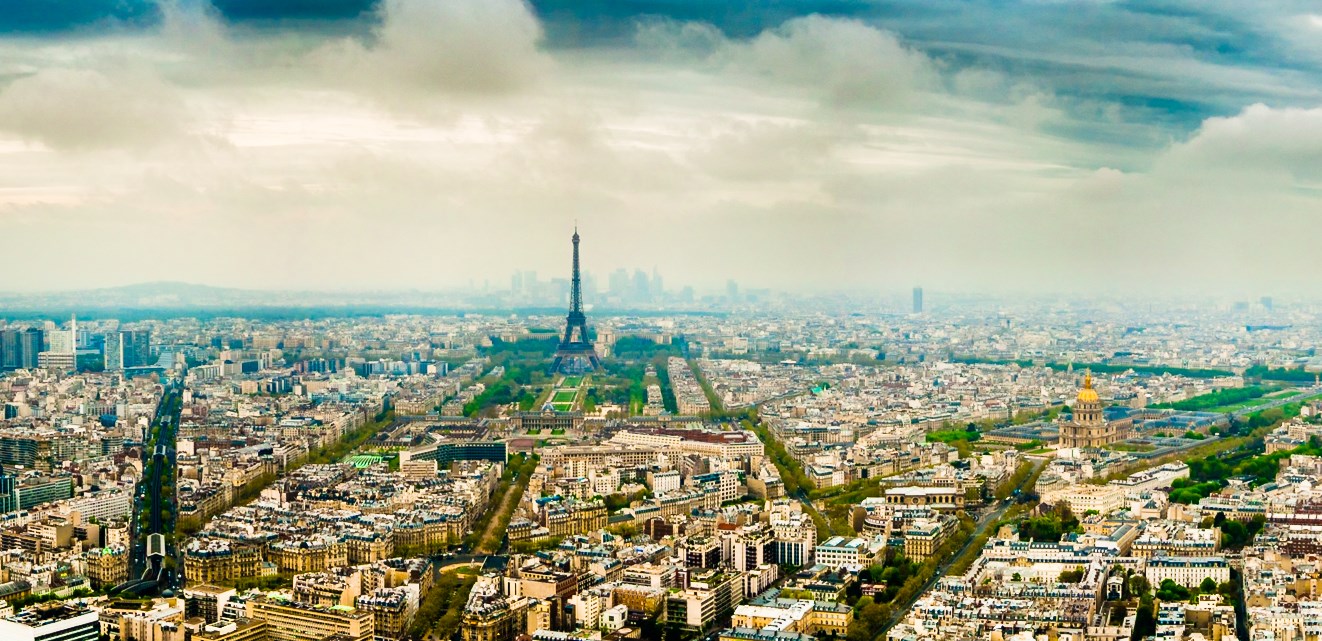
After the resulting image is generated, you can edit it as any other RAW file, the only difference being that it won't retain the same extension as the original images, but instead is converted to .DNG, which is a digital negative file used by Adobe. Excepting the difference in the name and extension, it still functions as a regular RAW file with all the options and data still there.
How HDR is Treated by Lightroom 6
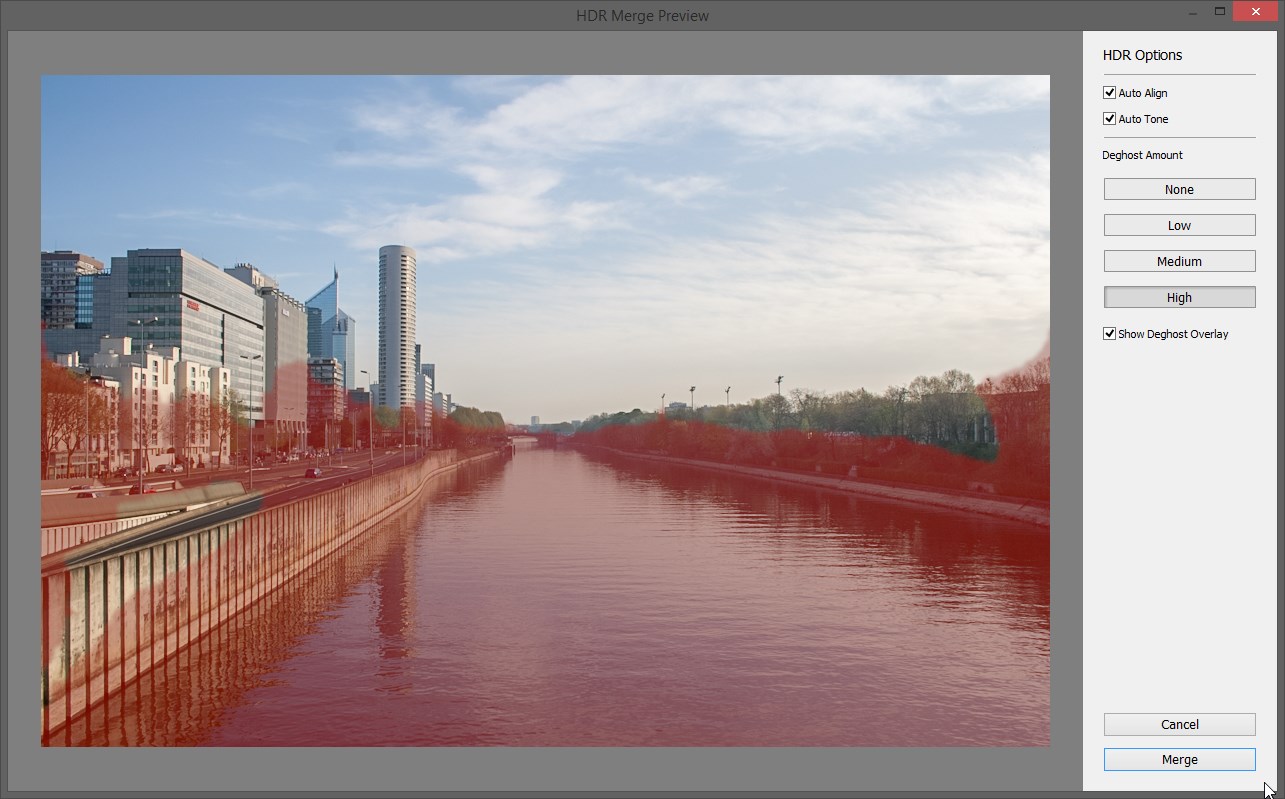
The second feature, which is equally as interesting and useful as the previous, is the ability to merge photos with different exposures into one photo with increased dynamic range. Again, Lightroom doesn't really offer much control during the merging process, but it does offer the option of choosing the appropriate amount of “ghosting reduction.”
How do you do it?
As you may have guessed, you first need to import the images into Lightroom as you would normally do. Select them, and after right-clicking, hover over “Photo Merge” and choose “HDR.”
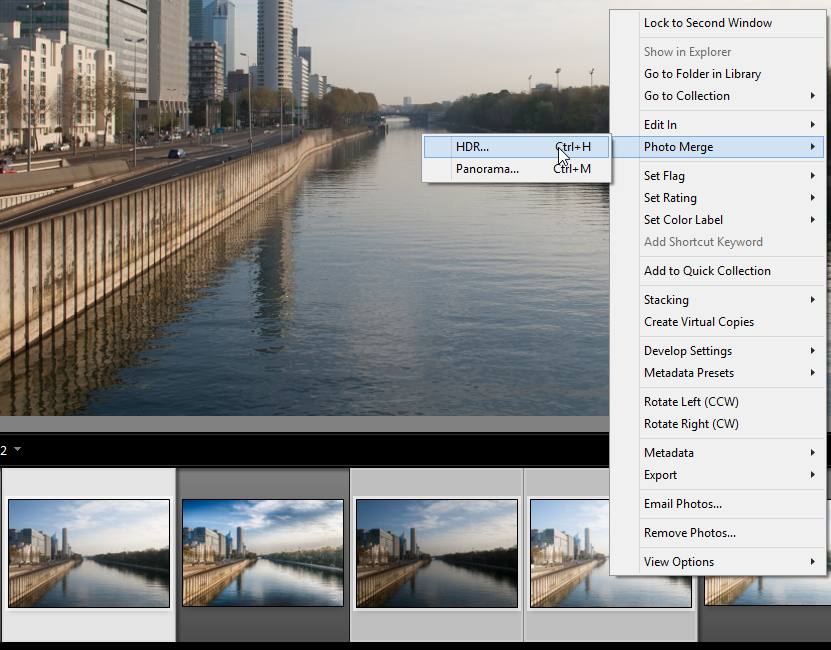
Once you do that, a dialog appears showing the preview, from which you can choose the amount of ghosting reduction (and see where it is done by selecting the overlay). Once you are satisfied, hit “Merge.”
The resulting image will again be a .DNG file, which is essentially a RAW file, but with much more information. Besides this, you should know that the result will be a 32-bit file. You can edit this file afterwards as a regular image.
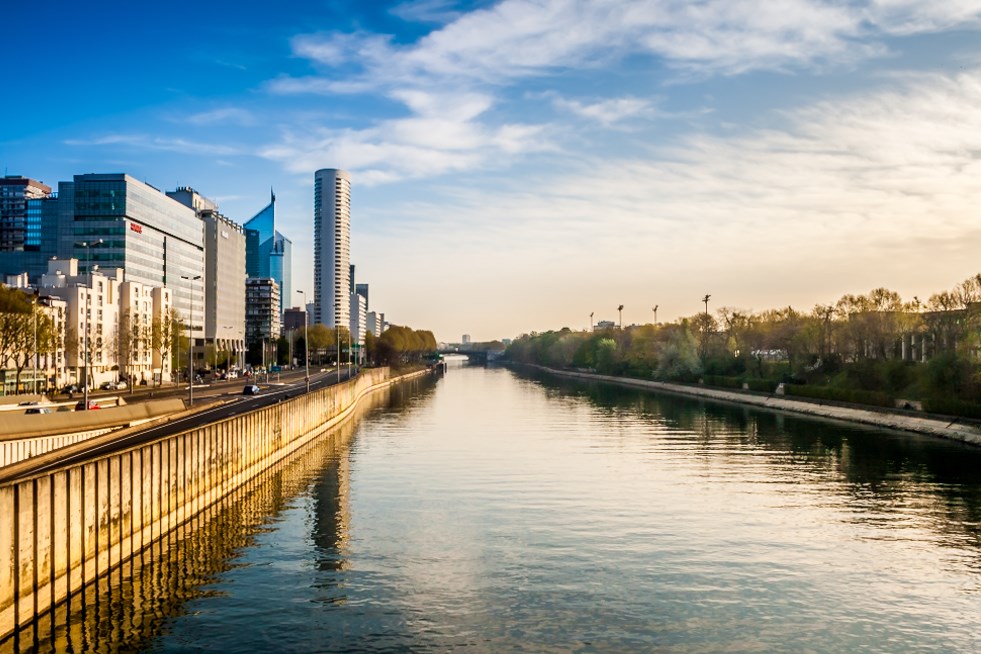
The interesting part here is that Lightroom does a really good job in creating a neutral and completely realistic HDR image. There are no surreal, overly-saturated, or overly-structured images with the new Lightroom.
The Filter Brush in LR 6
So far (in Lightroom 5), Radial and Graduated filters weren't editable in a manner that allowed you to avoid certain objects. It was basically a mask that had limited gradient (radial or regular), and that was about it.
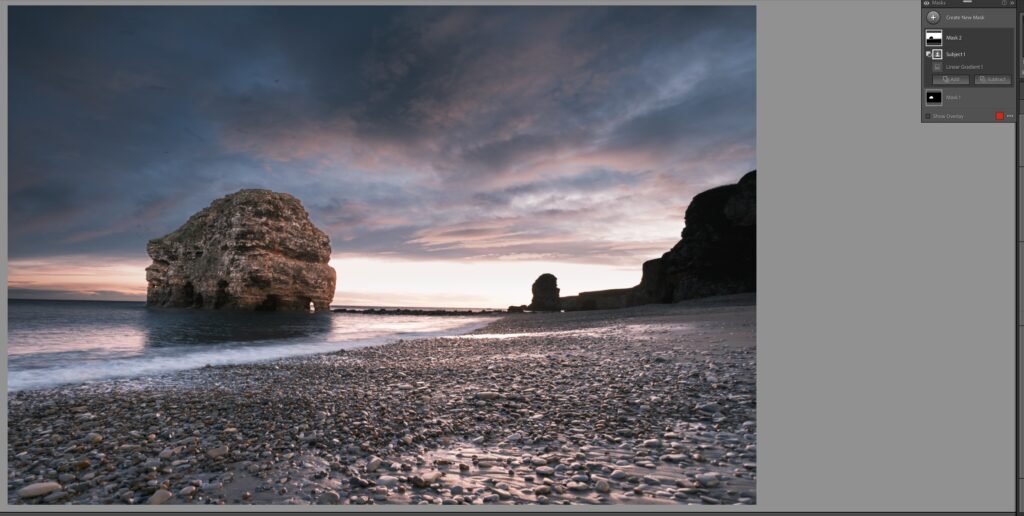
In Lightroom 6, however, you are now able to edit that mask simply by using the brush integrated in both of these filters. This is a pretty awesome feature, especially when you use the same filters used on buildings, for example:
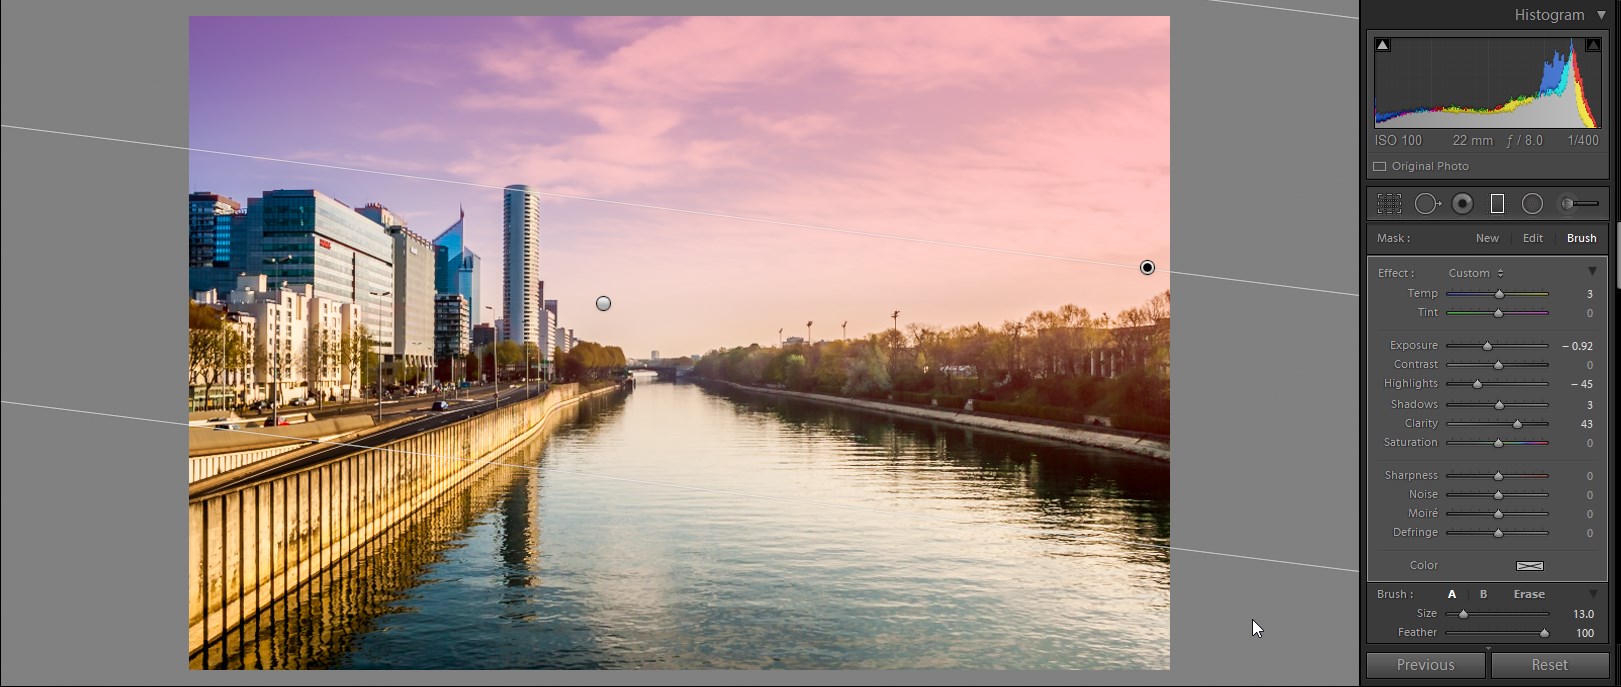
All you need to do is select either of the two filters, place the filter as you please, and you’ll see the “Mask: New | Edit | Brush” options listed in the filter tab. Click on “Brush,” then scroll down a bit and you can choose whether the brush uses auto-mask, erases, or adds to the mask. This way you can edit the mask as if you were using an adjustment brush tool in Lightroom, but it affects only the currently selected filter.
This is such a logical feature that filters really should have had a long time ago, but it is here now, and it will definitely be used extensively from now on.
Of all the Lightroom 6 features, these are my personal favorites. What are yours? Feel free to share in the comments!



11 Comments
The new features in Lightroom 6 are certainly great additions, but the only way to purchase is through Adobe’s monthly payment plan now. You can’t just buy the product outright like you could with Lightroom 5. So I won’t be upgrading this time.
you can buy it standalone
I’m afraid your wrong there Geoff. Yes it comes as Lightroom CC but you can also buy Lightroom 6 as a standalone product. The only difference is it doesn’t have all the Cloud bits that the CC version has.
Note that HDR merge files are NOT 32-bit DNG’s. They are 16-bit DNG files.
I’m pretty sure I’ve read somewhere on the update logs that they were 32bit DNG files. But you might be right, I can’t find the information now. Anyway, there is plenty of info in a 16bit file none the less.
A simple way to know the bit depth is to check! When I did check using Photoshop on a couple of merged photos I found them to be 16 bit.Supposedly that gives less editing robustness than 32 bit would do, but perhaps Adope is planning for a easy update here 🙂
Yes you can. It costs 149$ for the purchase. When you go to the Lightroom page on the adobe website, you will need to scroll to the bottom where it shows the CC plans. Somewhere in the bottom right you will see just Lightroom 6, without CC plan.
Here is the link to the cart, I hope it works that way: https://www.adobe.com/cart.html?marketSegment=COM&editSku=65237625&promoid=KSKCE
I know a lot of people object to subscribing to the CC version of lightroom but to me the numbers work in favor of it. For 9.99 per month I get access to the latest versions of Ligthroom and Photoshop which is $120.00 per year. To buy the latest version of Lightroom is $149.00. If they are coming out with new versions every 12 to 15 months it makes financial sense even if you never use Photoshop. To have access to both programs for $120 bucks a year is a great deal especially if you are doing anything commercially. Heck people pay more than that for a daily cup of coffee.
But there are many people (like me) who do NOT use the software commercially. I rarely use Photoshop anymore but when I do need it, the old version has everything I need. I don’t need the latest and greatest. Because I’m just an avid amateur, I don’t work on photography daily, and there could be a month that goes by where I only use LR once or twice. In today’s economy, the LAST thing I want is another monthly bill that I’ll have to pay indefinitely… even if it’s only $10 a month (though honestly… who here would be shocked and fall off their bar stool if Adobe suddenly decided that $14.95 or $19.95 was the new CC subscription price?). It may be a bargain for some, but I find the trend of monthly subscriptions for software services a little disconcerting, as once hooked, there’s no easy way out… and no incentive for the developers to ensure that product quality and backward compatibility with old versions is maintained.
there is upgrade pricing for Lightroom 6 – $79. You have to click on the (tiny) drop down box on the purchase page.
Lightroom will not be backwards compatible after the last version you already own. I.e. If you own v5.7 and try CC6 and decide you do not like or need the CC subscription your Lightroom catalogue will be able to view CC 6 pics and data but not be able to use any features or edits above your existing 5.7license.
I realize this article is over 6 years old but, does anybody know if batch editing is available in Lightroom 6? Or, more importantly, batch HDR merging?