Have you ever taken a shot (usually outdoors) where part of the image was exposed correctly and another part was under/overexposed?
We all have.
For me, the most common scenario where this happens is outdoor or landscape photography. And the most common culprits are an overexposed sky and/or an underexposed foreground or land element.
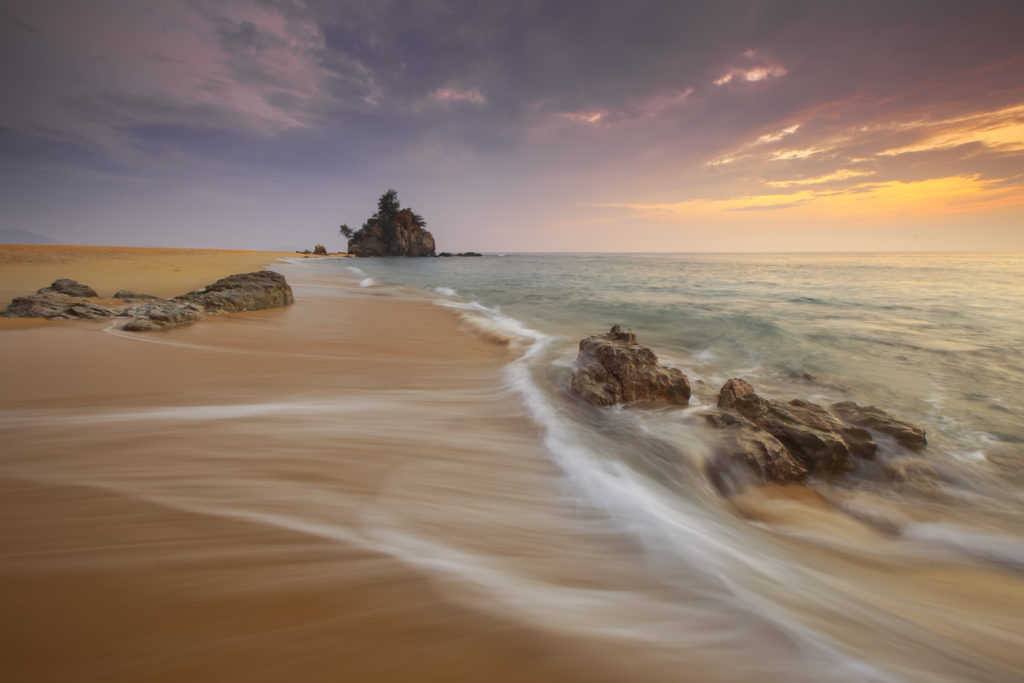
A black cliff or rocks next to a bright sky? Forget it.
There are quite a lot of scenarios where this pops up as a problem. Usually a very dark element and a very light element of an image can cause problems for the range of a camera sensor.
There are many common examples. The facade of a building with the sun behind it. Black rocks on a beach. A backlit hill. You see this all the time on photography forums and the like. And it can be a tough nut to crack and it is very frustrating for a lot of beginners.
So how do you combat isolated exposure issues?
There are several ways.
For me, primarily I try to use filters. Specifically Neutral Density Graduated filters where half of the filter is clear and half darkens an area (usually the overexposed part – the sky).
It’s the landscape photographer’s secret weapon, probably second only to a tripod.
So, about ND Grads…
The top of the line Lee filters cost a lot. And I have a set. There are also very respectable ND Grads made by Nisi, Cokin, Formatt-Hitech and a handful of others. (If you’re in the market and aren’t sure which to buy, head over to Flickr and do a search by each maker – you will see the style of image each tends to produce).
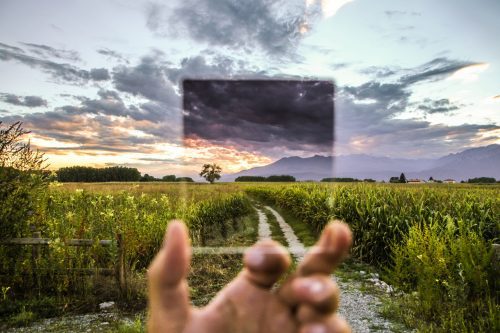
But if I am honest, a cruddy $5 no-name ND Grad that I bought off eBay out of China years ago is still my favourite. It was the first one I ever bought and it was a bit of an experiment.
It is terrible. Colour casts. Flares. It’s so random that I actually love shooting with it. And a couple of the images I have taken with it have actually been used in publications so I am guessing at least a few editors tend to like the effects too.
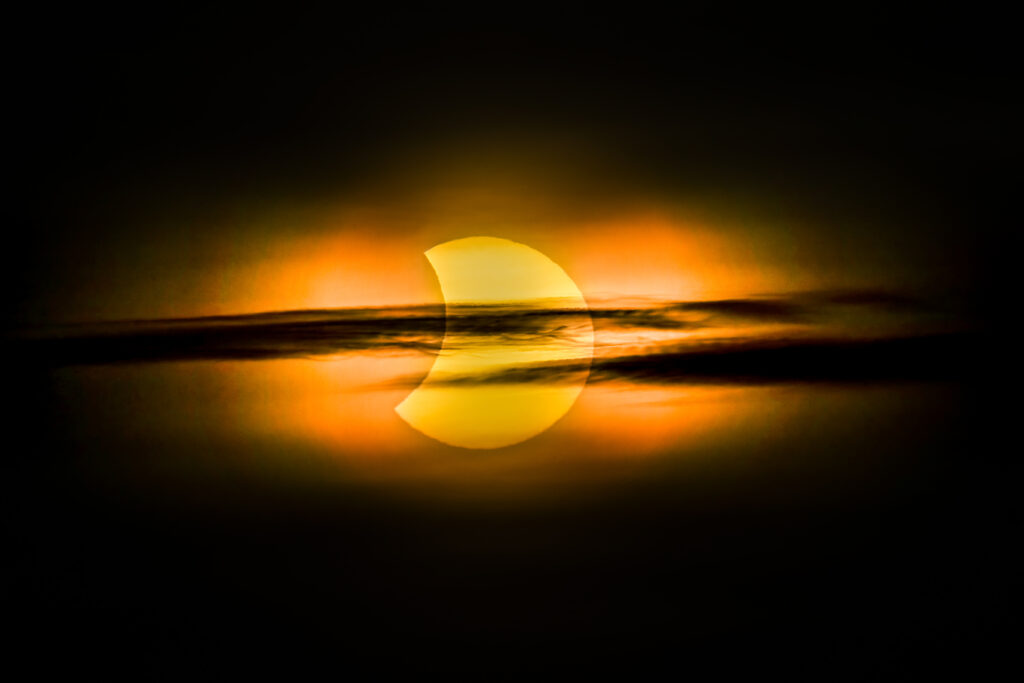
Hell, the Flickr editors made this image their Flickr Explore Photo of the day back when I uploaded it so that crappy $5 ND Grad filter seems to bat above its average.
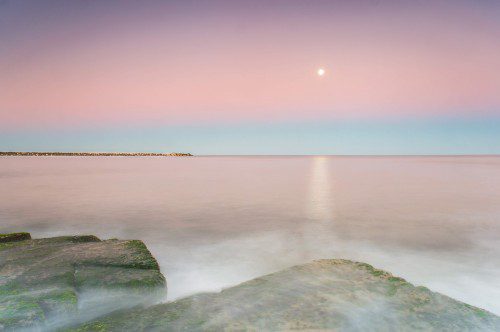
So don’t be afraid to experiment with ND Grads. Even the bad ones can be a lot of fun.
Other Ways to Fix Isolated Exposure Problems
Of course, there are several other ways to fix isolated exposure problems other than filters. And you should work towards knowing all of them.
Exposure stacking is quite a popular way. That is where you take several shots of the same scene at different exposures (changing only the shutter speed) and then combine those images in post production. There is a solid tutorial on that over at Picture Correct.
HDR – The same exposure stacking technique can also be used for High Dynamic Range images. Now, HDR can be used for good as well as evil so you might want to consider how extreme you make the effect. We have a HDR landscape tutorial here if you’re interested.
Masking – Perhaps the most effective way is to mask an area in post production and adjust the exposure for just that part of the image. In fact, that is probably the most used solution for adjusting isolated exposure problems. The simplest way is to drag a graduated mask changing the exposure slider in Lightroom (which again, is probably the most common type of masking done). But masking goes a lot deeper and more complicated than that too.
In terms of the most useful skills to learn to master isolated exposure problems, probably the most universally applicable (because, unlike ND Grads, it can be used in any genre of photography or problematic exposure situation) is masking in post production.
But masking is a huge topic on its own – if you want to dive fully into it, take a look at Kent DuFault’s masking guide which is probably about the best instruction on it at the moment.


