Jewelry photography is a subgenre of product photography which comes with its own set of rules as well as challenges. Even though jewelry is beautiful and it seems like a perfect subject for photography, it also tends to be very small and reflective, which makes it difficult to shoot.
Check out the following 5 tips on jewelry photography – they will make your product photo shoots much smoother!
1. Use Simple Backgrounds And No Props
Most jewelry marketplaces require their products to be shot in front of a white or neutral background. The reason for this is rather simple – basic monotone background allows potential customers to focus on the product only. Another popular background color for jewelry shots is black, but it doesn’t work for every type of jewelry. If you’re new to jewelry photography, you should start with lighter backgrounds and then slowly move towards something more challenging.
Of course, if you’re more experienced, you can include various props or models into your jewelry sessions, but bear in mind that such setups work better if you shoot editorials and magazine covers instead of simple product images.
2. Avoid Distracting Reflections
Gemstones and metals such as gold, silver and platinum can be tricky to shoot and they pose a technical challenge for anyone getting into jewelry photography. It takes a lot of practice to shoot highly reflective surfaces without capturing reflections.
In order to avoid issues with reflections, you can follow this simple shooting strategy.
Place your jewelry on a flat surface and position a studio light on either side. Diffuse both lights with umbrellas and put a roll of seamless white paper behind and underneath the product. You should also attach the paper to the bottom of your camera lens to block off reflections from the foreground. This type of setup will help you evenly fill the frame with light.
3. Be Aware Of White Balance
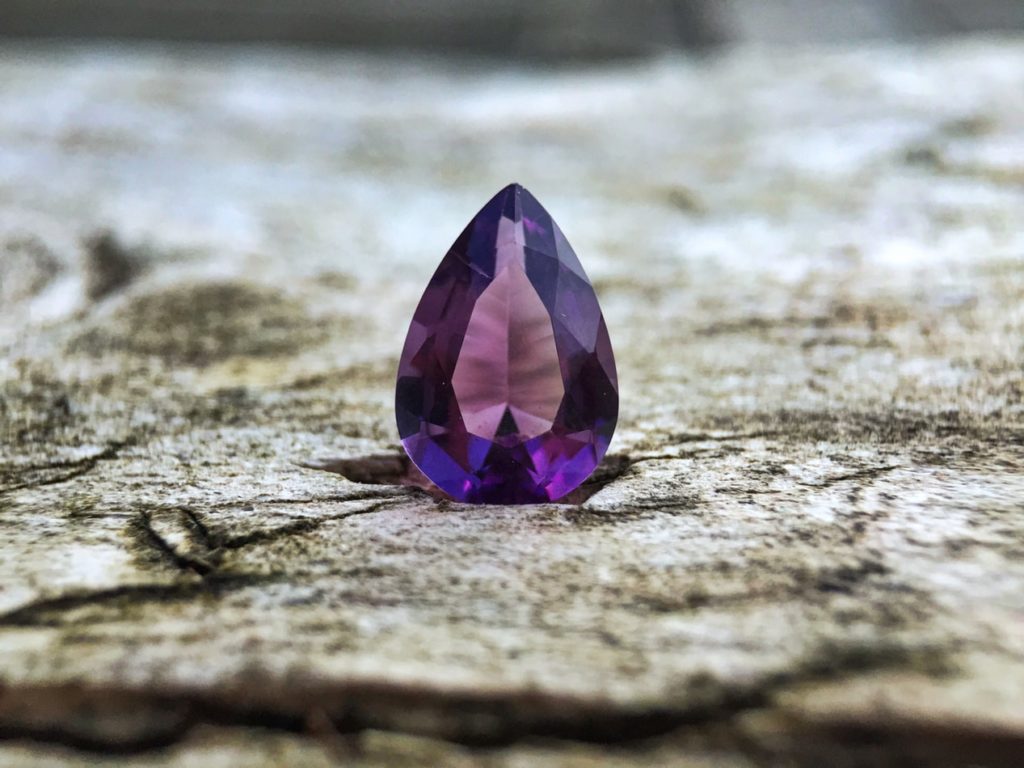
Using the correct white balance is extremely important in jewelry photography. If your white balance is off, yellow gold may appear as white gold and vice versa. Also, the colors of gemstones might appear inaccurate, which can lead to problems with business owners and their customers.
Before you start, always ensure that white balance is set accurately so that you can capture pieces of jewelry with the colors you intended. You can set white balance manually or use the automatic mode and check if the results are optimal. In any case, don’t forget to bring a gray card with you!
4. Don’t Overuse Shallow Depth Of Field
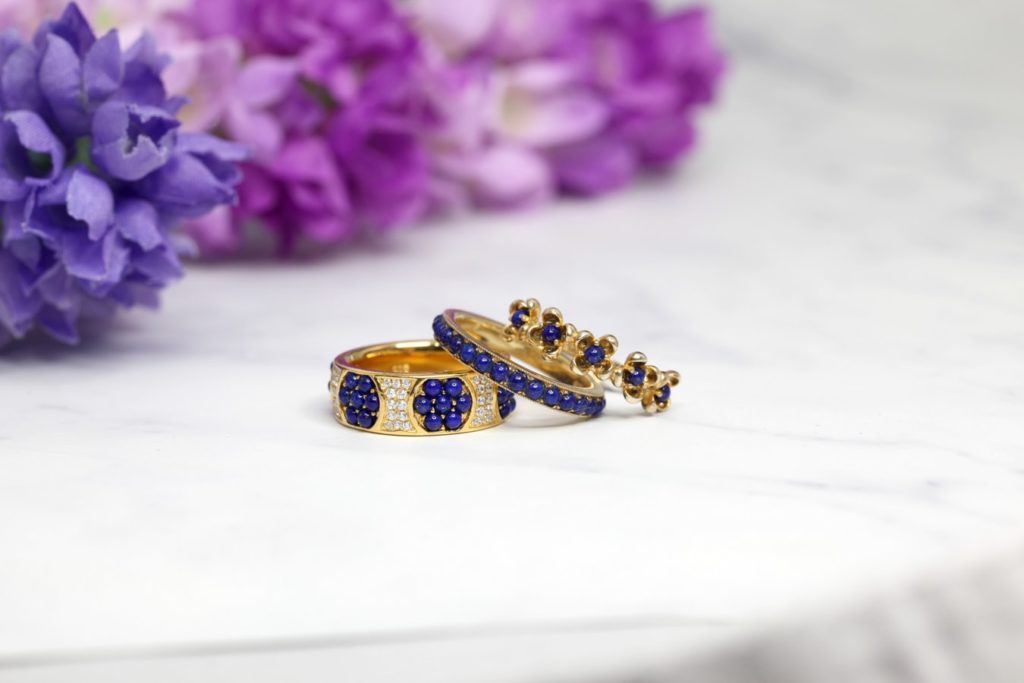
You might think that using a wide aperture and shooting artsy images of jewelry is the way to go, but it’s usually not like that. If you stick to wide apertures, you’ll be able to focus only on one part of the product, which is problematic. Customers want to see a sharp, detailed and reliable image of the product they want to buy.
While there is no universal recipe for camera settings in jewelry photography, you can start with aperture such as f/8 or f/11 and set your ISO to as low as possible – ISO 50 or ISO 100.
5. Be Consistent In Shooting And Editing
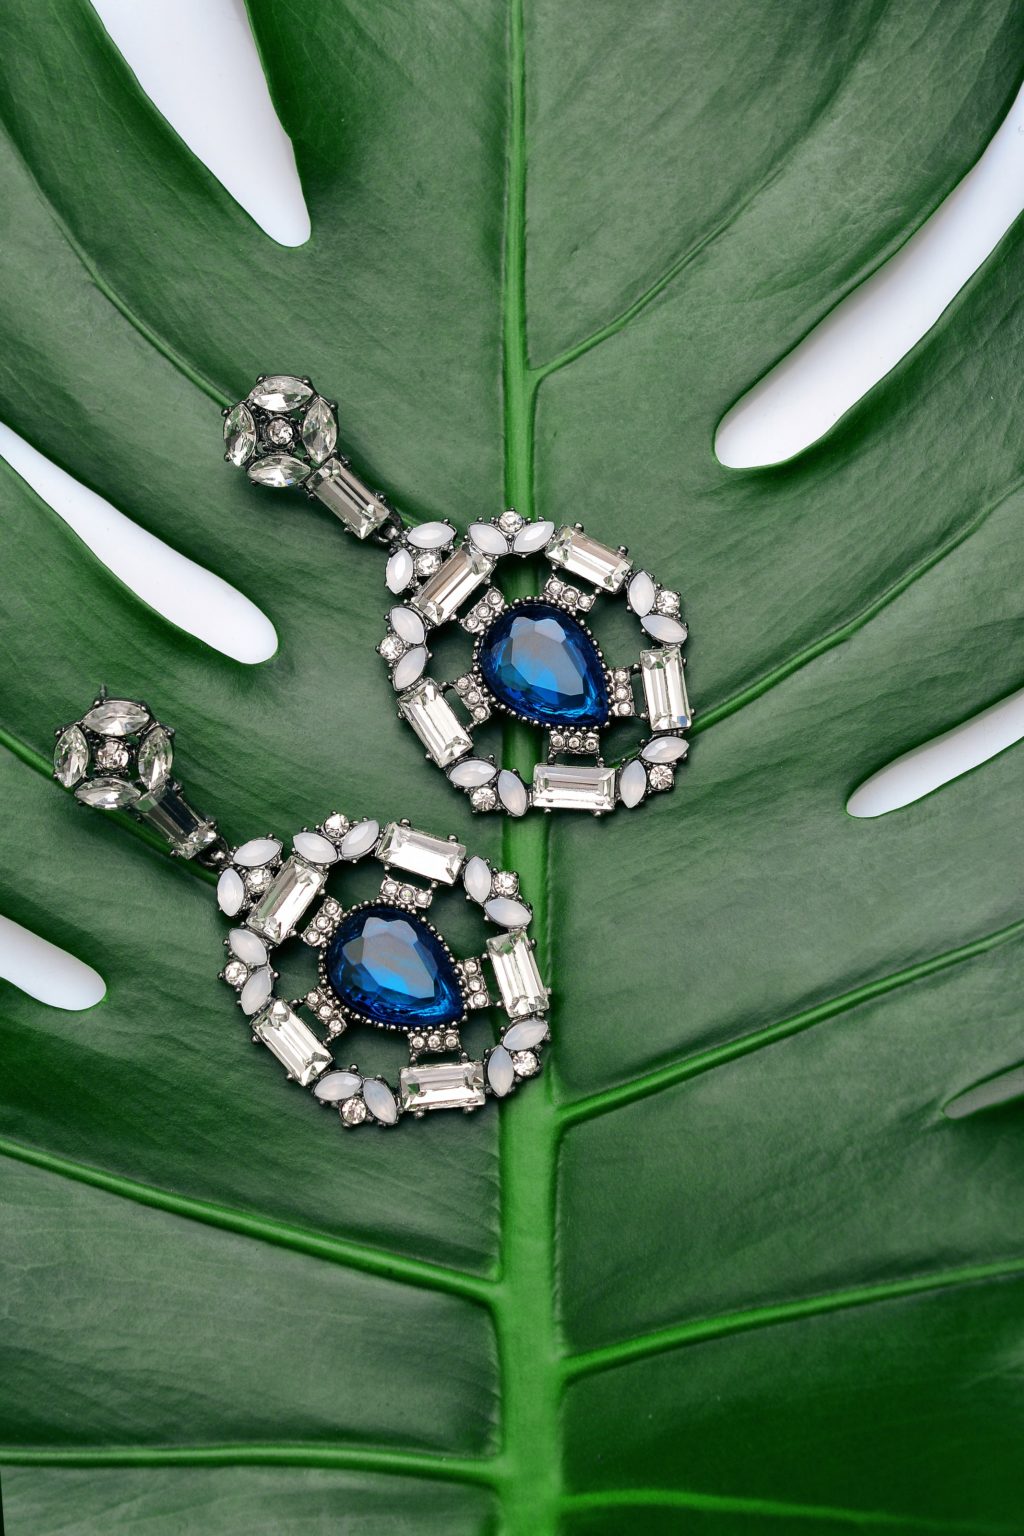
Just like in regular product photography, you should develop a set of guidelines when it comes to jewelry photography and stick to it. Consistency is the key – there should be no variations in lighting, colors and composition from image to image. Such variations can easily distract customers and on top of that they look very unprofessional. Once you have found the ideal setup, make sure to document it – camera settings, lighting, background, and equipment position! If you do this, you’ll be able to resume shooting on a different day without any issues.
The same goes for editing – all the images from a particular session should be edited consistently. It’s quite easy to achieve this thanks to the ”Sync” button in Lightroom.
You should also be sure to remove any visible dust on jewelry (with the healing brush tool), tidy up bad reflections and take care of color correction. In addition to jewelry retouching, you can also create templates that consistently crop, set margins, and align your images. This can save you a lot of time if you’re preparing jewelry shots for an online store.
If you want to learn more about photographing jewelry, check out the links below!


