Who wants to spend all day editing photos? I don’t know anyone who does. Post processing is an inescapable element of being a photographer — we just have to accept it and make the most of it.
Part of making the most of the editing phase means being as efficient as possible. If you’re doing things like frequency separation or compositing, you should expect those activities to consume a decent amount of your time.
Other processes, however, can be accomplished quickly and nearly effortlessly so long as you’re looking in the right places for the right settings.
For all of you Adobe Lightroom Classic users out there, here are 4 ways to speed up your workflow and spend less time editing.

1. Sync Edits
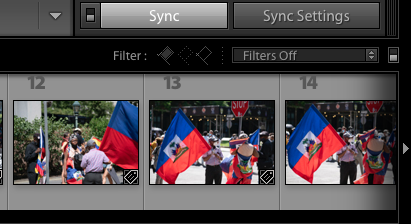
Sometimes you just need to get all your ducks in a row, so to speak — you want to apply the exact same edits to multiple images. To do this, edit your first image. Then select all the additional images from the filmstrip at the bottom of the Develop module that need to share the same edits as the first (Cmd+click for Mac, Ctrl+click for Win, shift+right arrow for keyboard warriors).
Click the Sync button. A dialogue box will appear. From there you can check boxes for each adjustment that you want to apply to your image batch. If you don’t want to apply a specific adjustment, uncheck the box.
Click Synchronize and you’re done.
2. Apply Presets During Import
Contrary to some of the ideas circulating about the use of presets, they are not intended to be one-click, one-size-fits-all solutions. Presets, if you’re going to use them, should generally be tweaked for each image.
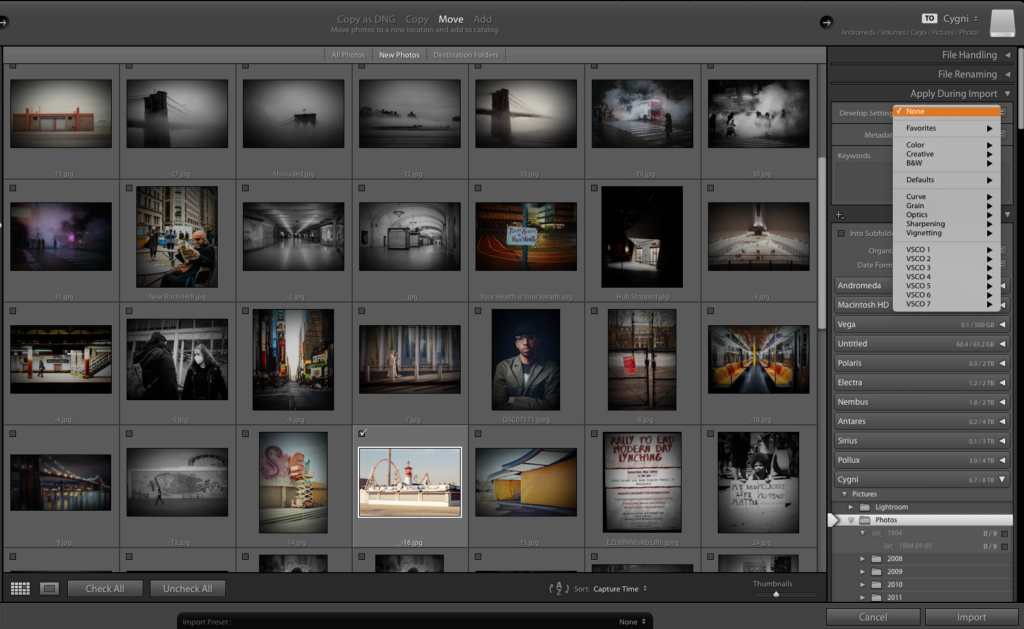
Presets are a starting point for a particular aesthetic and you can easily apply that baseline look to a batch of images when you import them into Lightroom Classic.
On the upper right of the Import screen you will see the Apply During Import dropdown menu. Click the Develop Settings menu.
Any preset that is available for use by Lightroom Classic (including lens and chromatic aberration corrections) will appear here. Choose one and then click Import. All of the images you import will have the preset already applied when they populate the library.
3. Use The Thumbnail Grid
The thumbnail grid offers numerous benefits, so let’s just get to it.
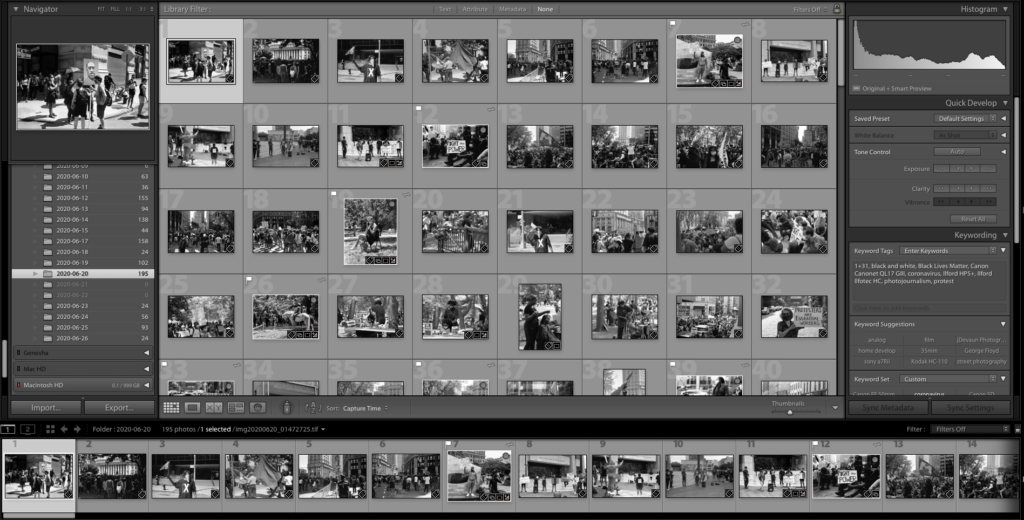
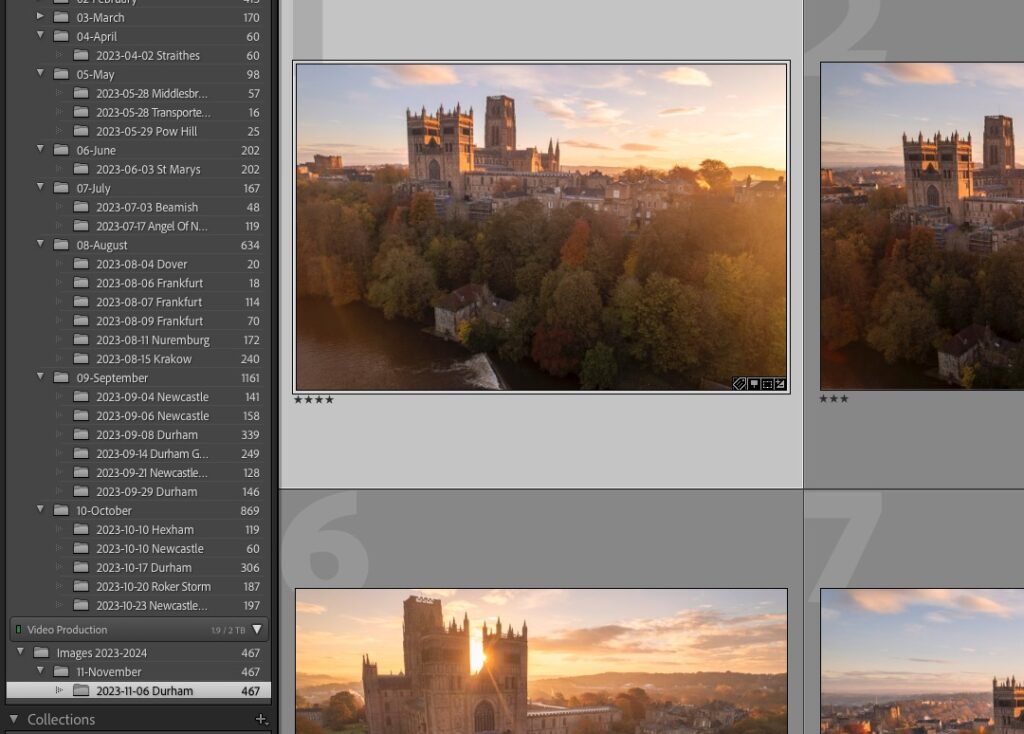
No matter what module you’re working in you can press the G key to enter Grid View. This view shows you thumbnails of images within the currently selected folder, collection or search result.
You can select a batch of images and apply presets and basic exposure adjustments; enter keywords; rotate images (use the arrows on either corner of the thumbnail); set flags, star ratings and color labels.
While in Grid View you can press the + and – keys to change the zoom level/size of the grid. Press J to cycle through what information is shown on each thumbnail (image size, file type, sync status, etc.). Press Z to quickly switch to a 100% view of a selected image.
If you were ever doing any of these things one image at a time, please, please, please make use of the thumbnail grid and save yourself some hassle.
4. Make Local Adjustments In Unison
Could working with local adjustments possibly get any better?
Maybe.
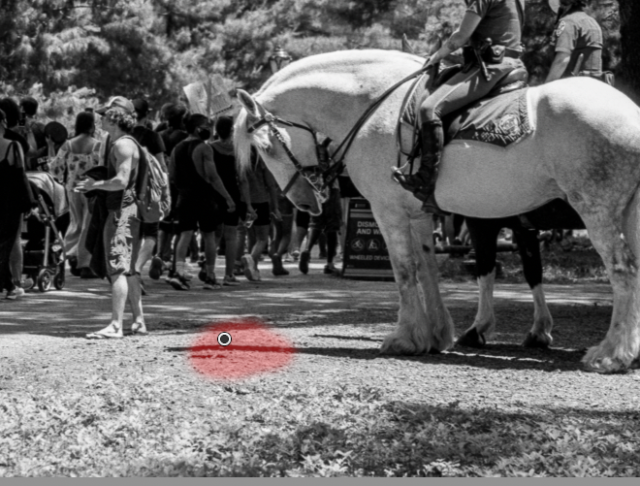
Any time you make local adjustments (via the Adjustment Brush, Graduated Filter or Radial Filter), Lightroom applies a small pin (little black dot) to the origin point of the adjustment. From here, there are a couple of convenient options available to you.
You can drag this pin to quickly relocate the adjustment.
Or, if you’ve applied multiple adjustments to a single point, you can hold Option (Mac) or Alt (Win) and click and drag the pin either left or right to simultaneously decrease or increase the strength of all the effect tied to that pin.
Final Thoughts
At the risk of being presumptive, I would say that photographer wants to spend less time editing and more time shooting. And while everyone has their own way of doing things, it is my hope that the methods mentioned above will play a significant role in speeding up any photographer’s workflow.
Further Reading



2 Comments
This is great I’m always looking for a way to speed up using lightroom.
Chris
Thanks so much Jason for all the detail. I do use an import preset but U am going to try it the way you described! Thank you again.