If you have been looking to expand your photographic creativity or add a new wrinkle to your repertoire, something you may want to consider is double exposure photography (or multiple exposure photography). Double exposure photography has been around for virtually as long as film cameras have been around — it’s not hard to imagine some early film photographer producing one by complete accident. Basically, by capturing two exposures in one frame, you have created a double exposure and it is some that is amazingly simple to achieve with film camera: take a photo, rewind the film, take another photo on top of it.

Introspezione. pt. III by starsnostars., on Flickr
With the rise of digital photography, double exposures as a photographic technique began a slow descent toward obscurity; it’s sort of ironic that the ease with which double exposures could be created did not correlate positively with technological advancements.
Double exposures have, however, undergone something of a renaissance thanks in great part to growing interest in “toy cameras” such as the Lomo and the Diana, both of which are capable of making double exposures in-camera. You can also find this feature in dSLRs like the Nikon D800 and the Canon 5D III, but the majority of mid-range and higher end cameras on the market don’t sport the in-camera multiple exposure feature.
So, if you’re intrigued by this idea of superimposed images but you don’t own a camera that will do all the dirty work for you, read on to learn the basics of creating double — or multiple — exposure images in Photoshop. As you read, keep in mind that there is no right, wrong, or best way to go about this — I am simply providing some basic steps that can translate to other photo editors such as GIMP or Photoshop Elements, and can be elaborated upon in dozens of ways once you get the hang of it.
How to Make A Double Exposure Photograph
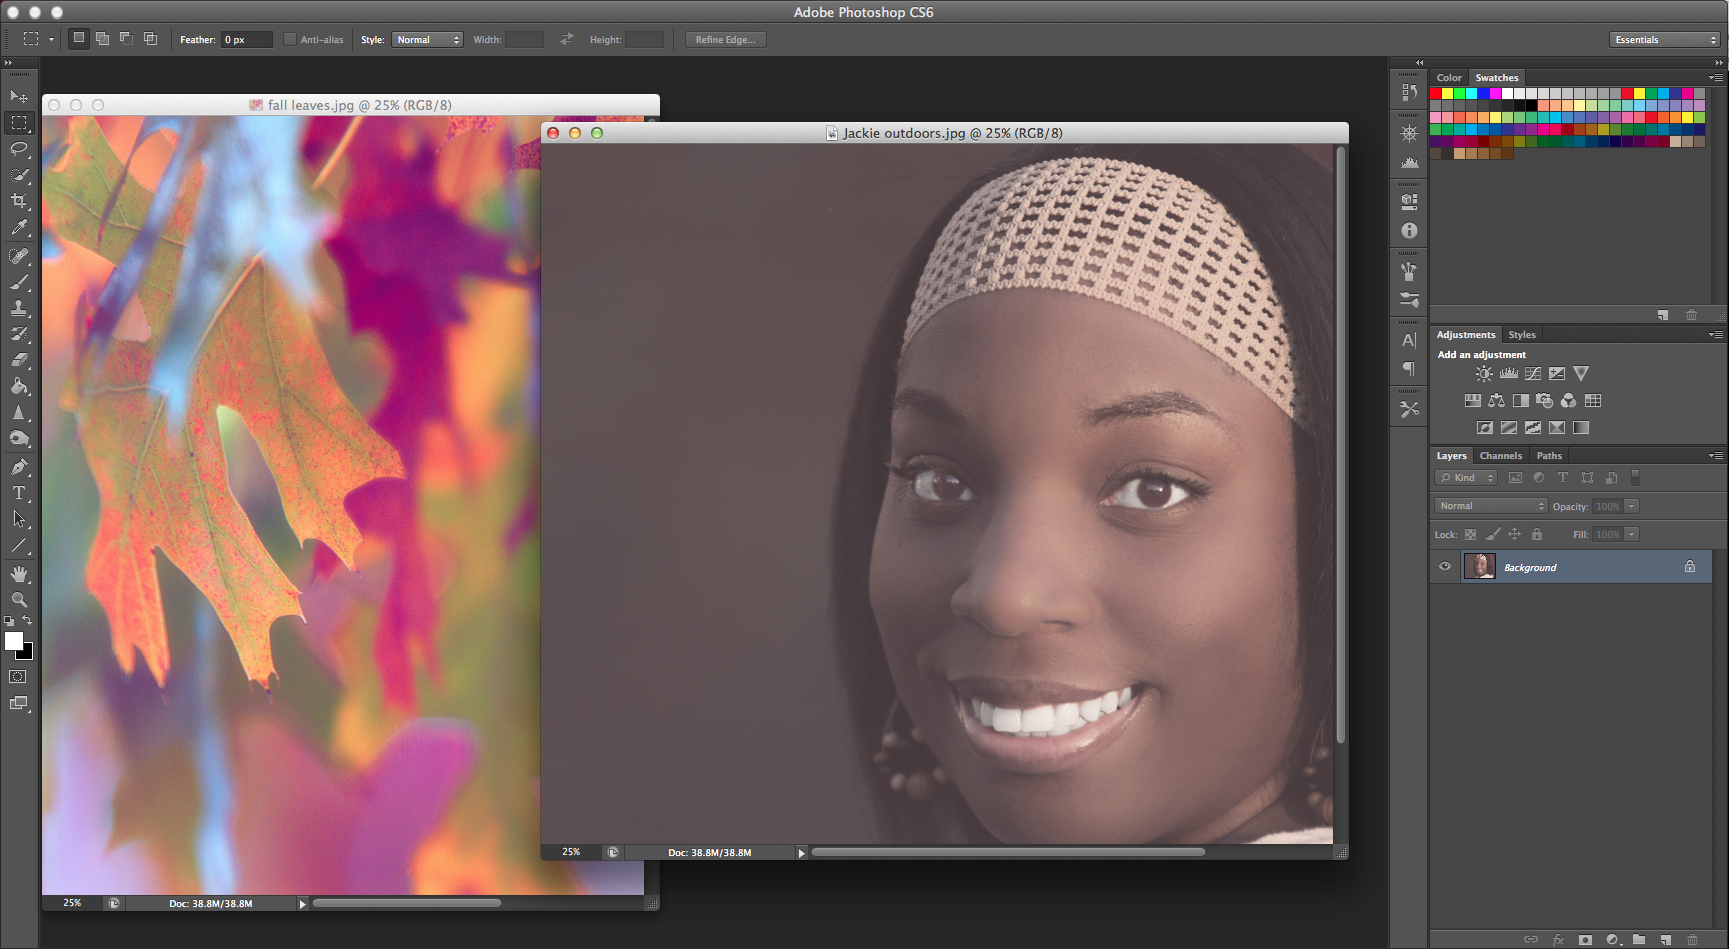
1. Open two images (you may open more than two if you’d like, but for the sake of simplicity, I’ll just use two). Go to the File menu, select Open, locate your photo, click “Open.”
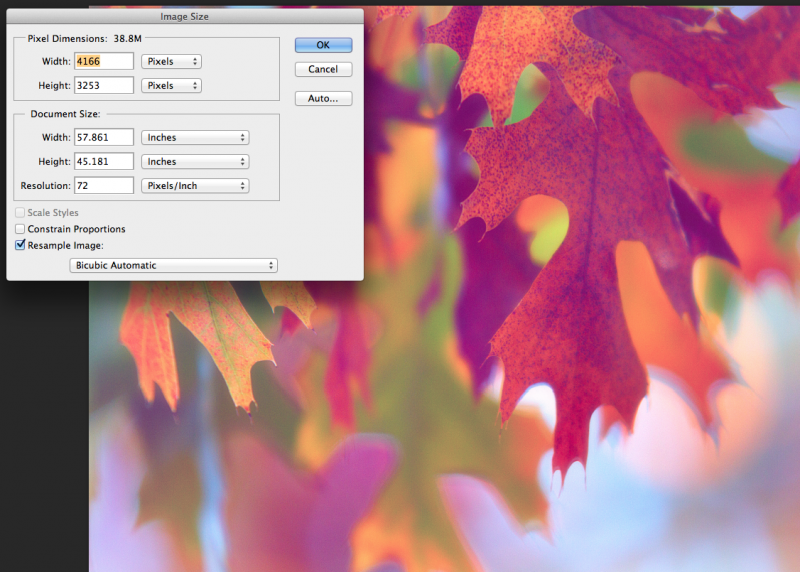
2. Resize one or both of your images so that they are the same dimensions. Go to the Image menu, select Image Size, adjust the Width and Height in Pixels for each image.
3. Decide which image will be your base exposure. In this example, the photo of the leaves is my base exposure.
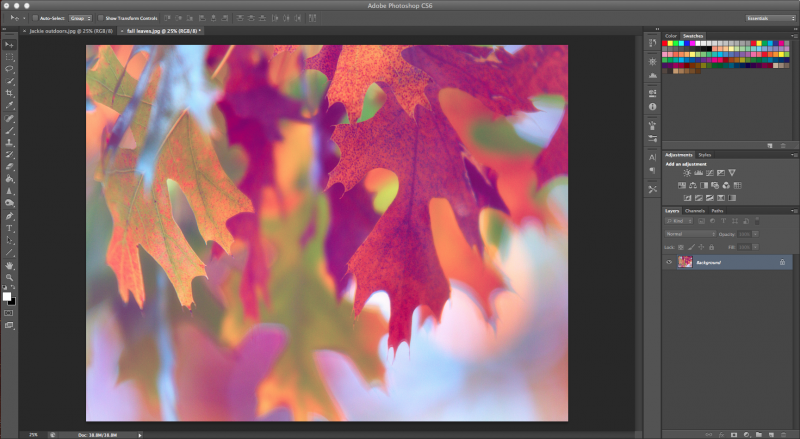
4. Now you will need to select your secondary image by going to the Select menu and choosing All.
5. Select the Move tool from your tool palette. Click and hold the selected image and drag it over the top of your base exposure. Be sure that the images are perfectly aligned.
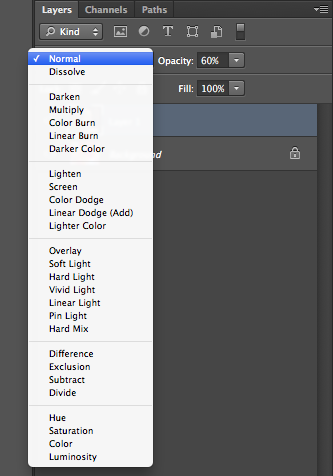
6. It will now appear that you’ve only got your secondary exposure available, but your base exposure is still there, trust me. You can reveal it by adjusting the Opacity slider. Here, I have it set to 60% for now.
7. Next to the Opacity slider you will find a dropdown menu for the layer Blending Options, set to the default Normal. Adjust the options in this menu until you find a mode that suits your desire. I’ll leave it at Normal.
8. After you’ve made all your adjustments and everything looks the way you want, finalize your work by flattening everything into one layer. Go to the Layer menu, select Flatten Image.
9. Save your work.
After you have mastered the basics — which shouldn’t take long at all — you can experiment with more images and more complex techniques involving layers and masking. You may even find that you eventually transcend simply having fun and are now making art. Really, the only limitation to working with multiple exposures is your own imagination. Just go with it.


3 Comments
I tried my first double exposure image thanks to your tutorial. Thank you!
thanks for a very clear simple step guide that I could follow. Many tutorials seem to leave things out and I got stuck.
You have saved the day for some urgent projects – I am greatful for that.
Glad you found Jason’s article worthwhile. 🙂