In Photoshop CC, there are multiple blur filters using the Blur Gallery that give us powerful, artistic control. These include Field, Iris, Tilt-Shift, Path and Spin Blur. There are also blur effects that can be applied to each of these that amp up the creativity factor. In short, these filters simply rock! They allow pinpointing and adjusting large or specific areas to apply blur. The various blur filters do not require layer masks.
To begin working with the Blur Filter gallery, convert your file to a Smart Object. The blur effects that you apply can always be adjusted and modified. We'll describe and apply and example of each blur type.
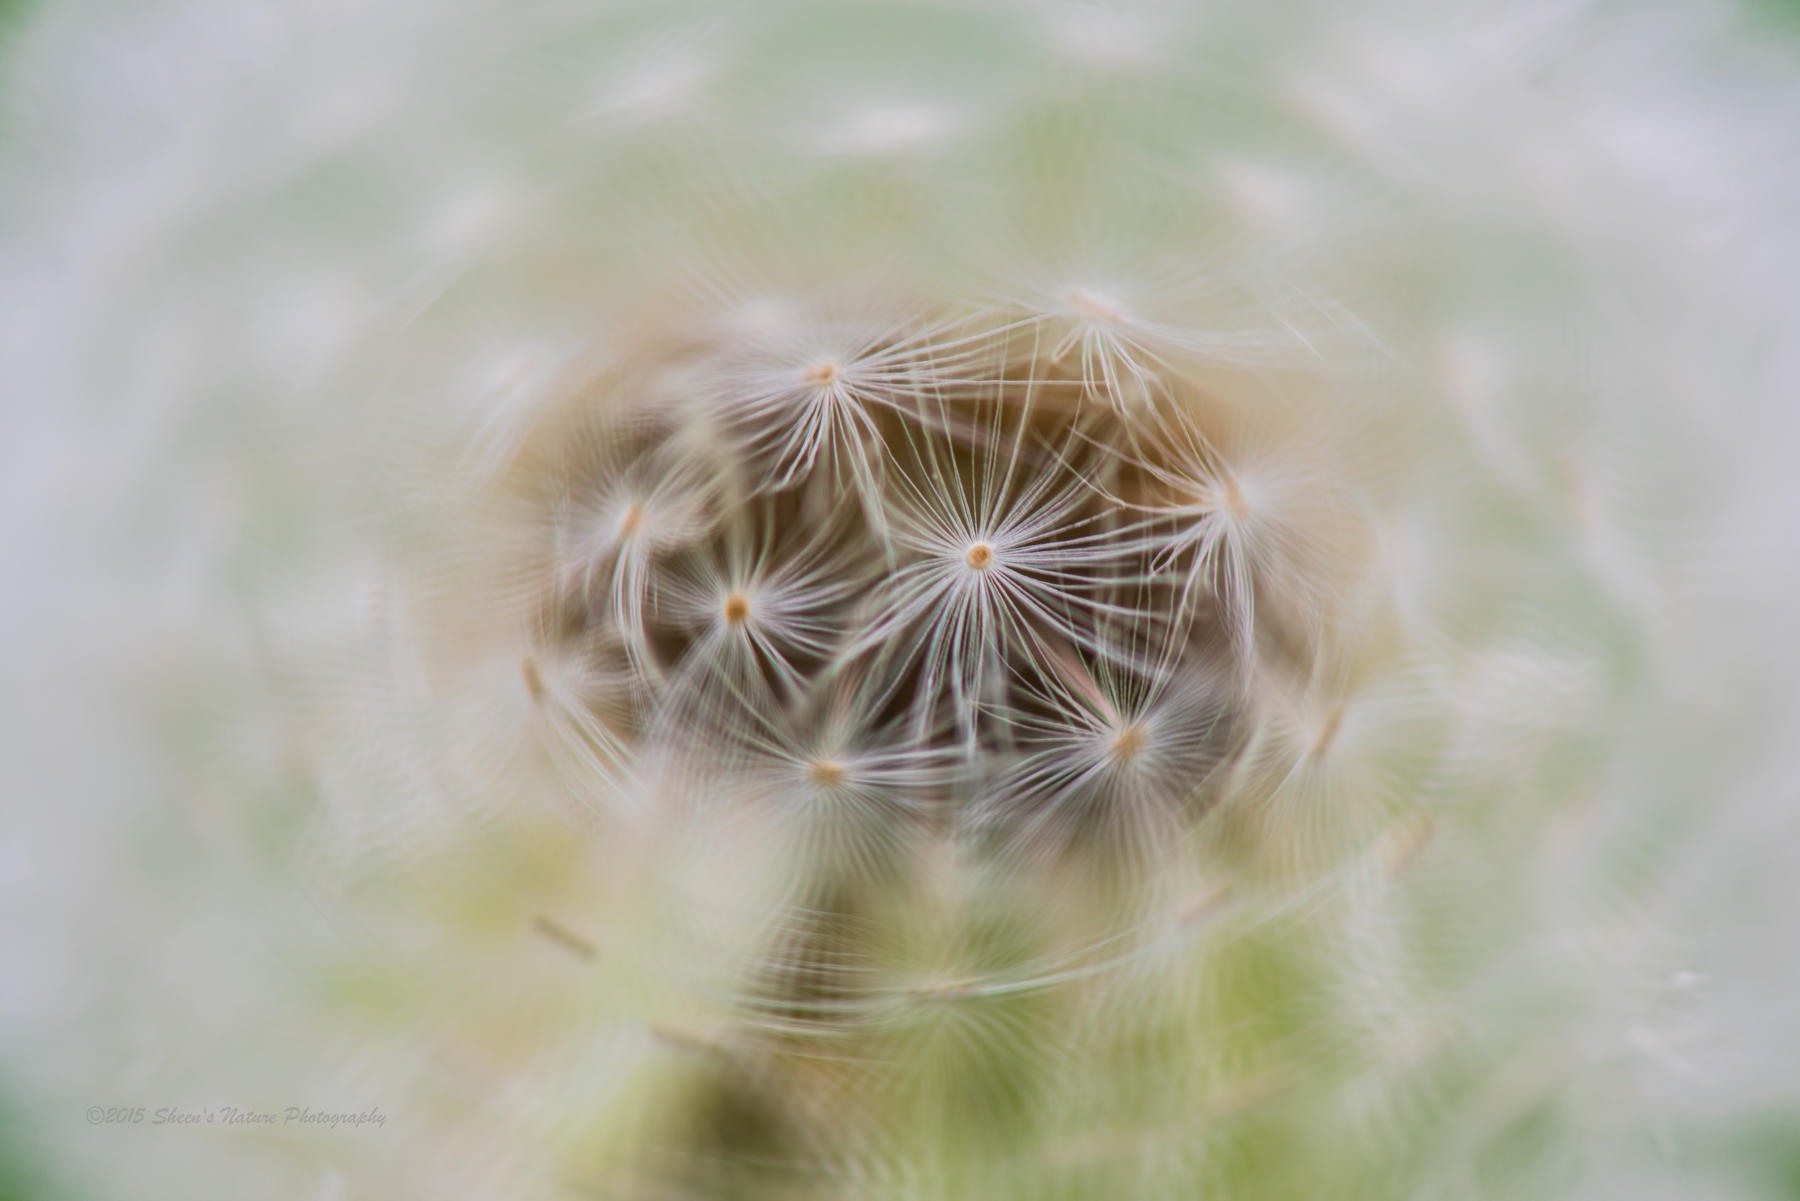
1. Field blur
Field Blur creates a graduated, gradient blur effect. A single or multiple sets of gradient blurs can be applied in an image. Each ‘pin drop' can be customized to different blurs based on preferences. Pins can be dropped outside of the image to create a blur effect in the corners and edges
Field Blur was applied in multiple areas on the water lily pads below. I wanted the shape definition and color to appear with a soft effect.
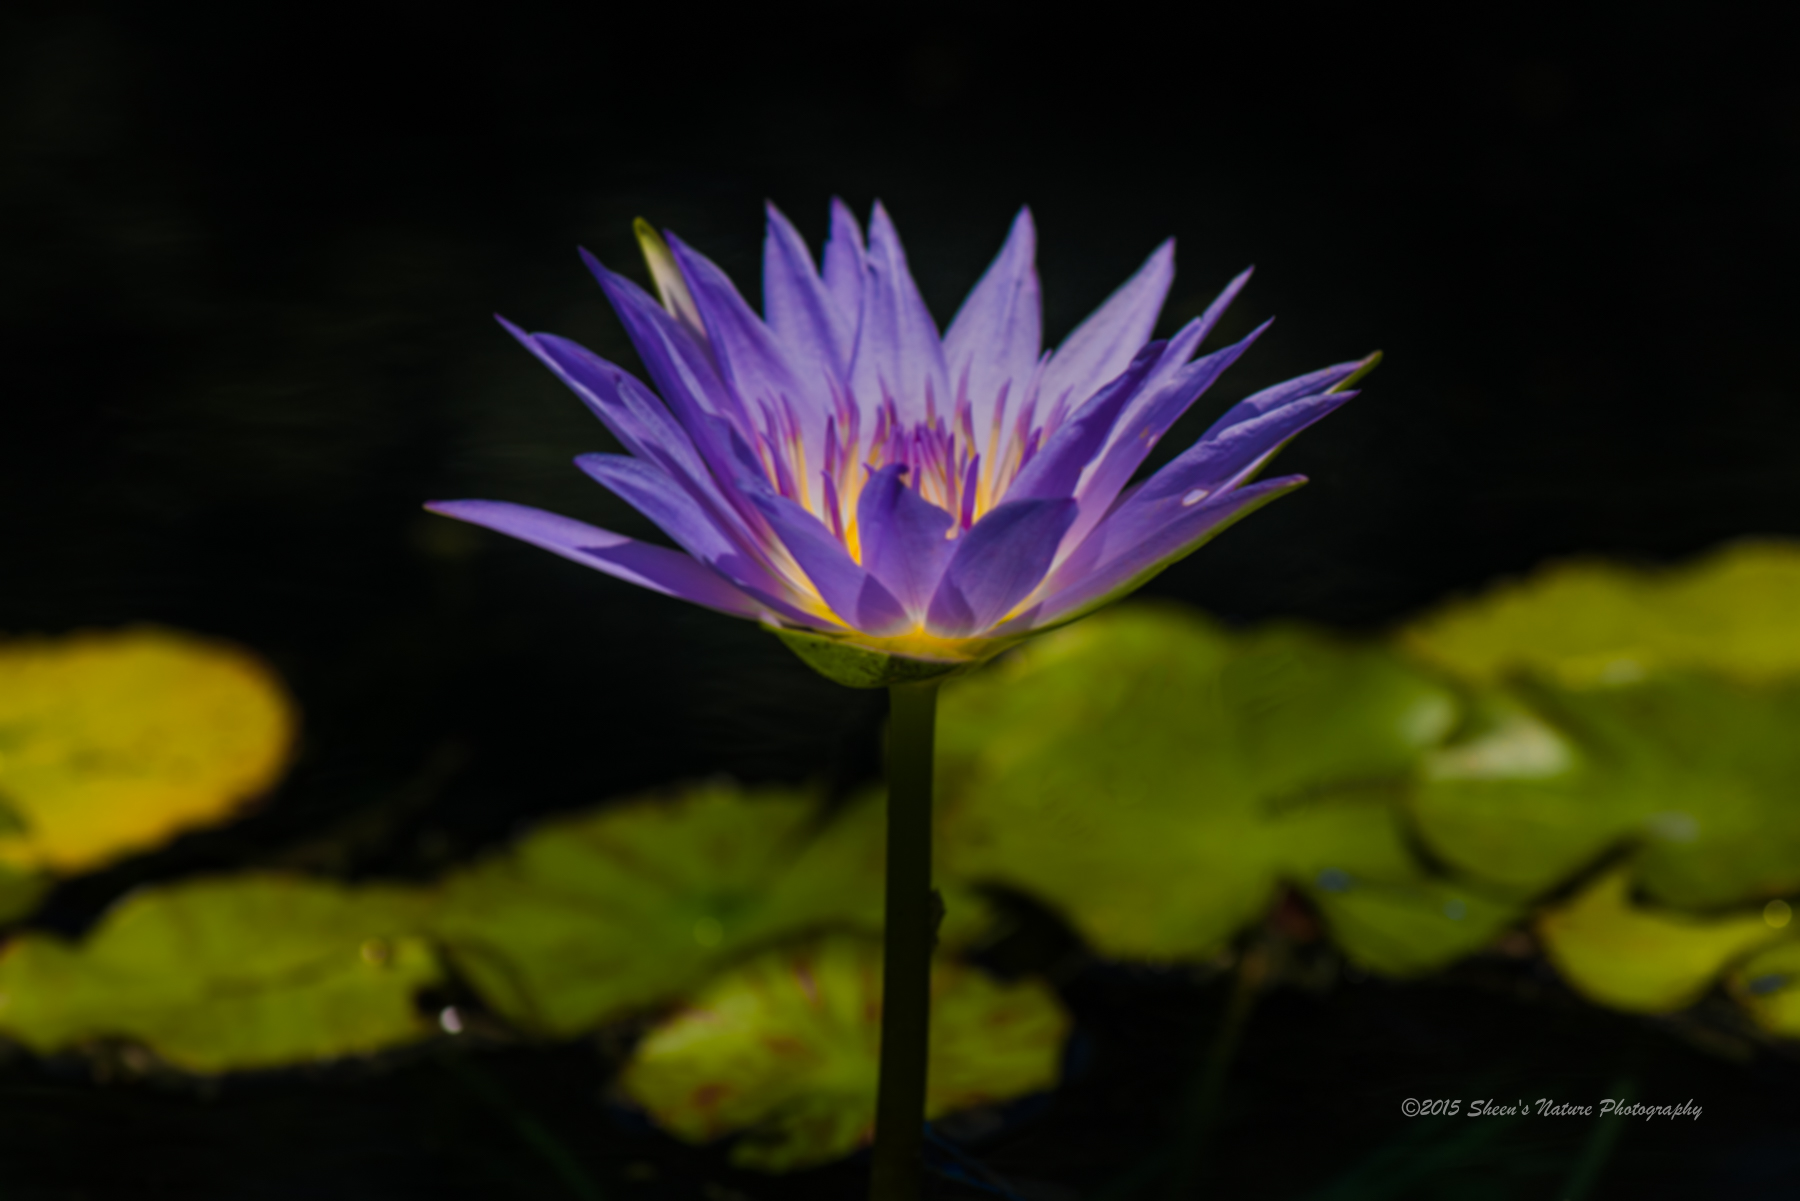
2. Iris blur
Iris Blur offers the ability to create a shallow depth of field that may not have been captured when the photo was taken. Multiple areas of the image can be selected to apply the blur or keep in focus. This level of targeting of what is focused versus blurred is very difficult, if not nearly impossible, to achieve using techniques in the field.
Using the same water lily photo as in above, I applied different areas and strengths of Iris Blur across the image. The areas I kept in focus included the flower's petals and stem.

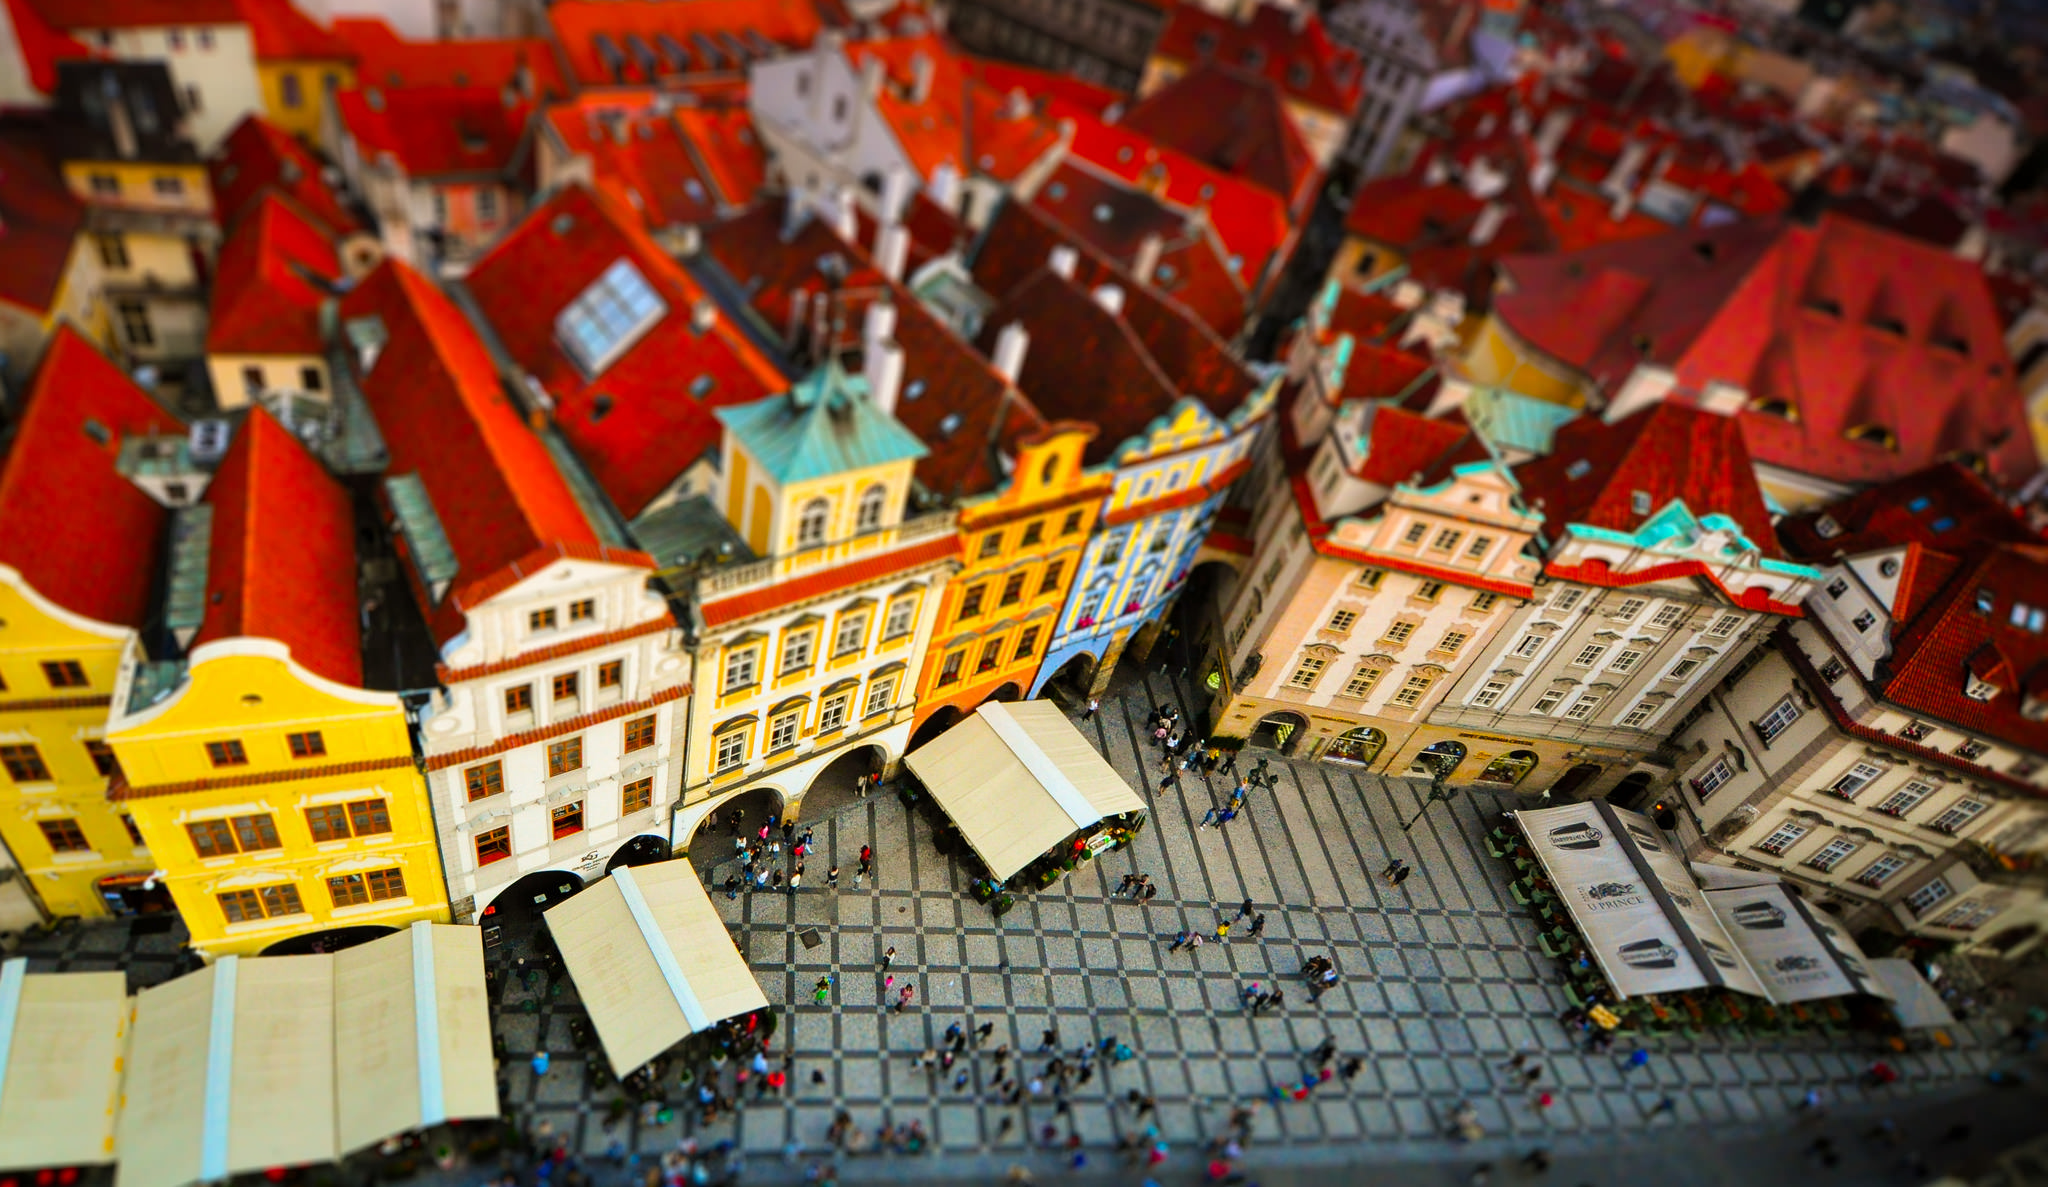
3. Tilt-Shift
This filter simulates an image taken with a tilt-shift lens. A common application of Tilt-Shift Blur is to simulate photos of miniature objects such as buildings and people.
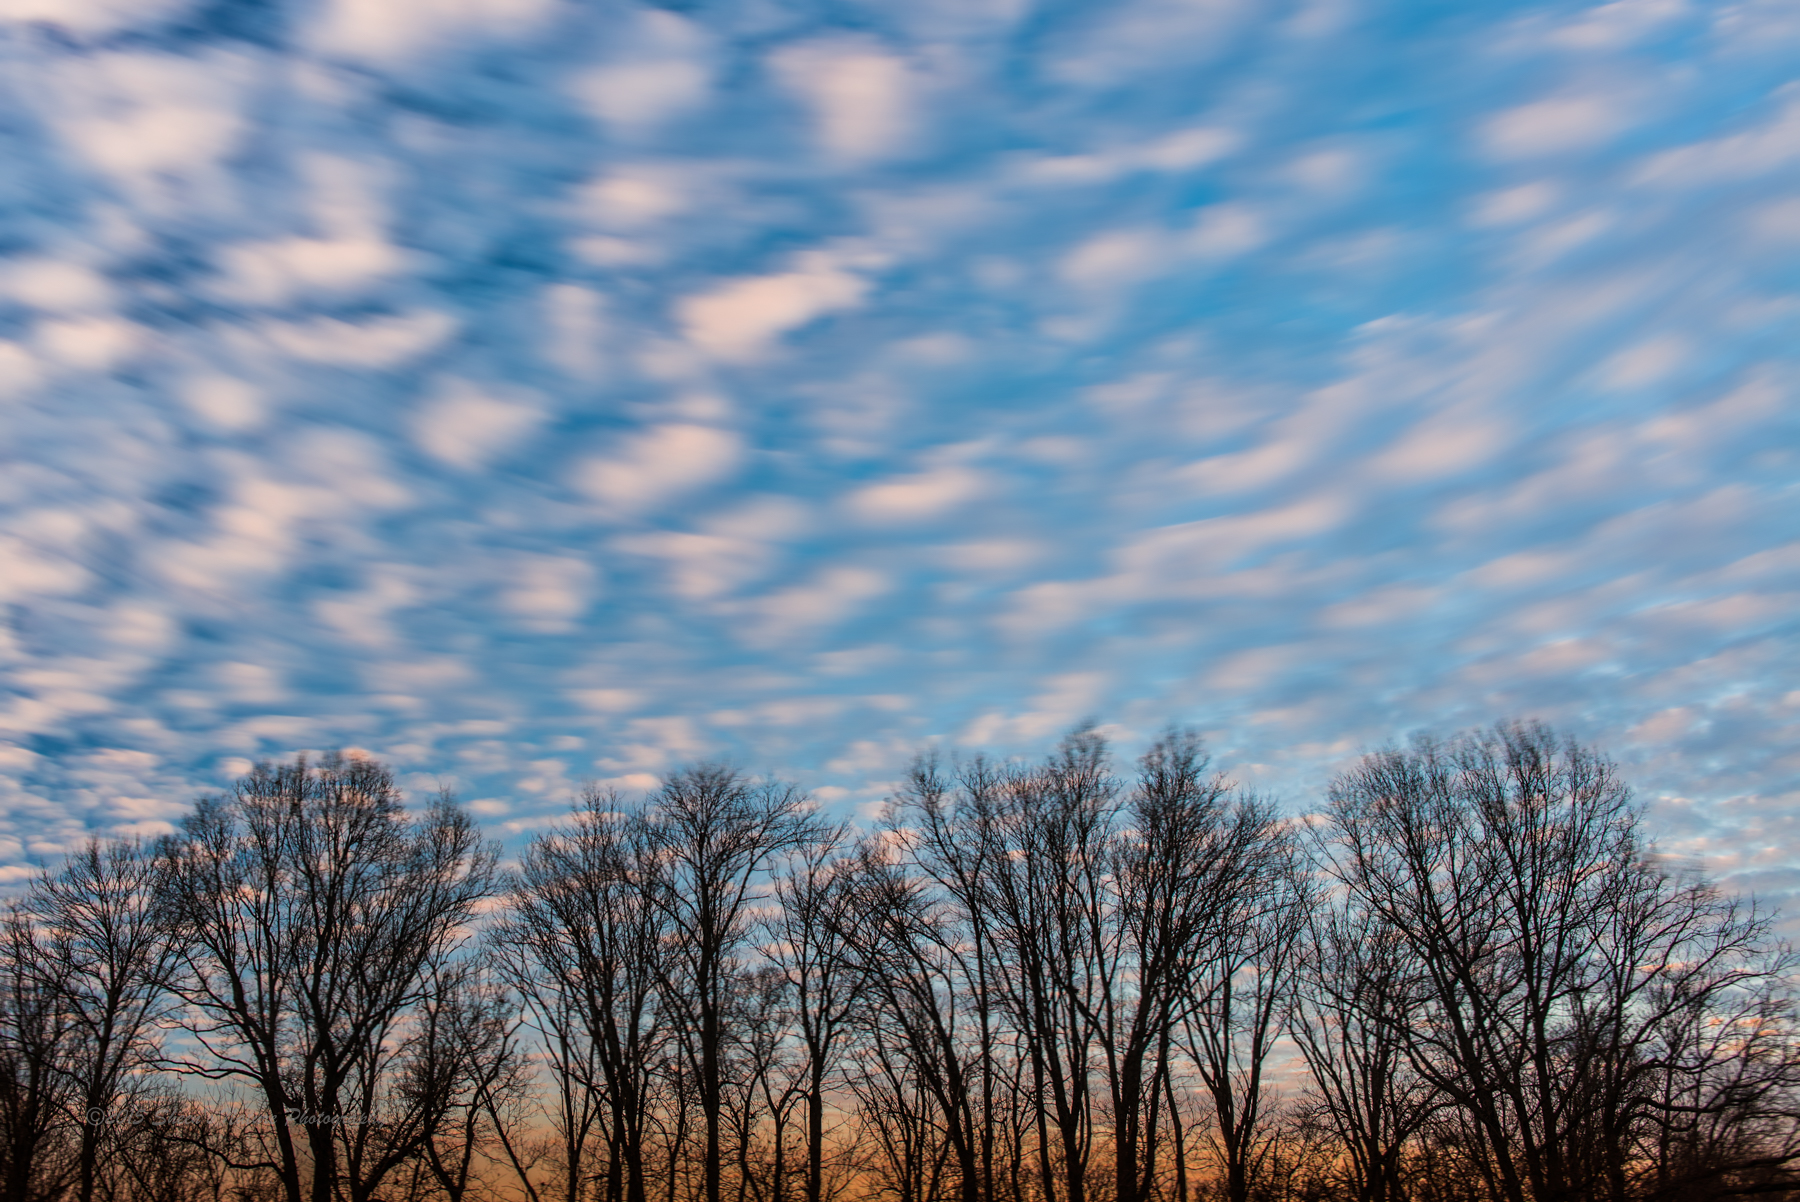
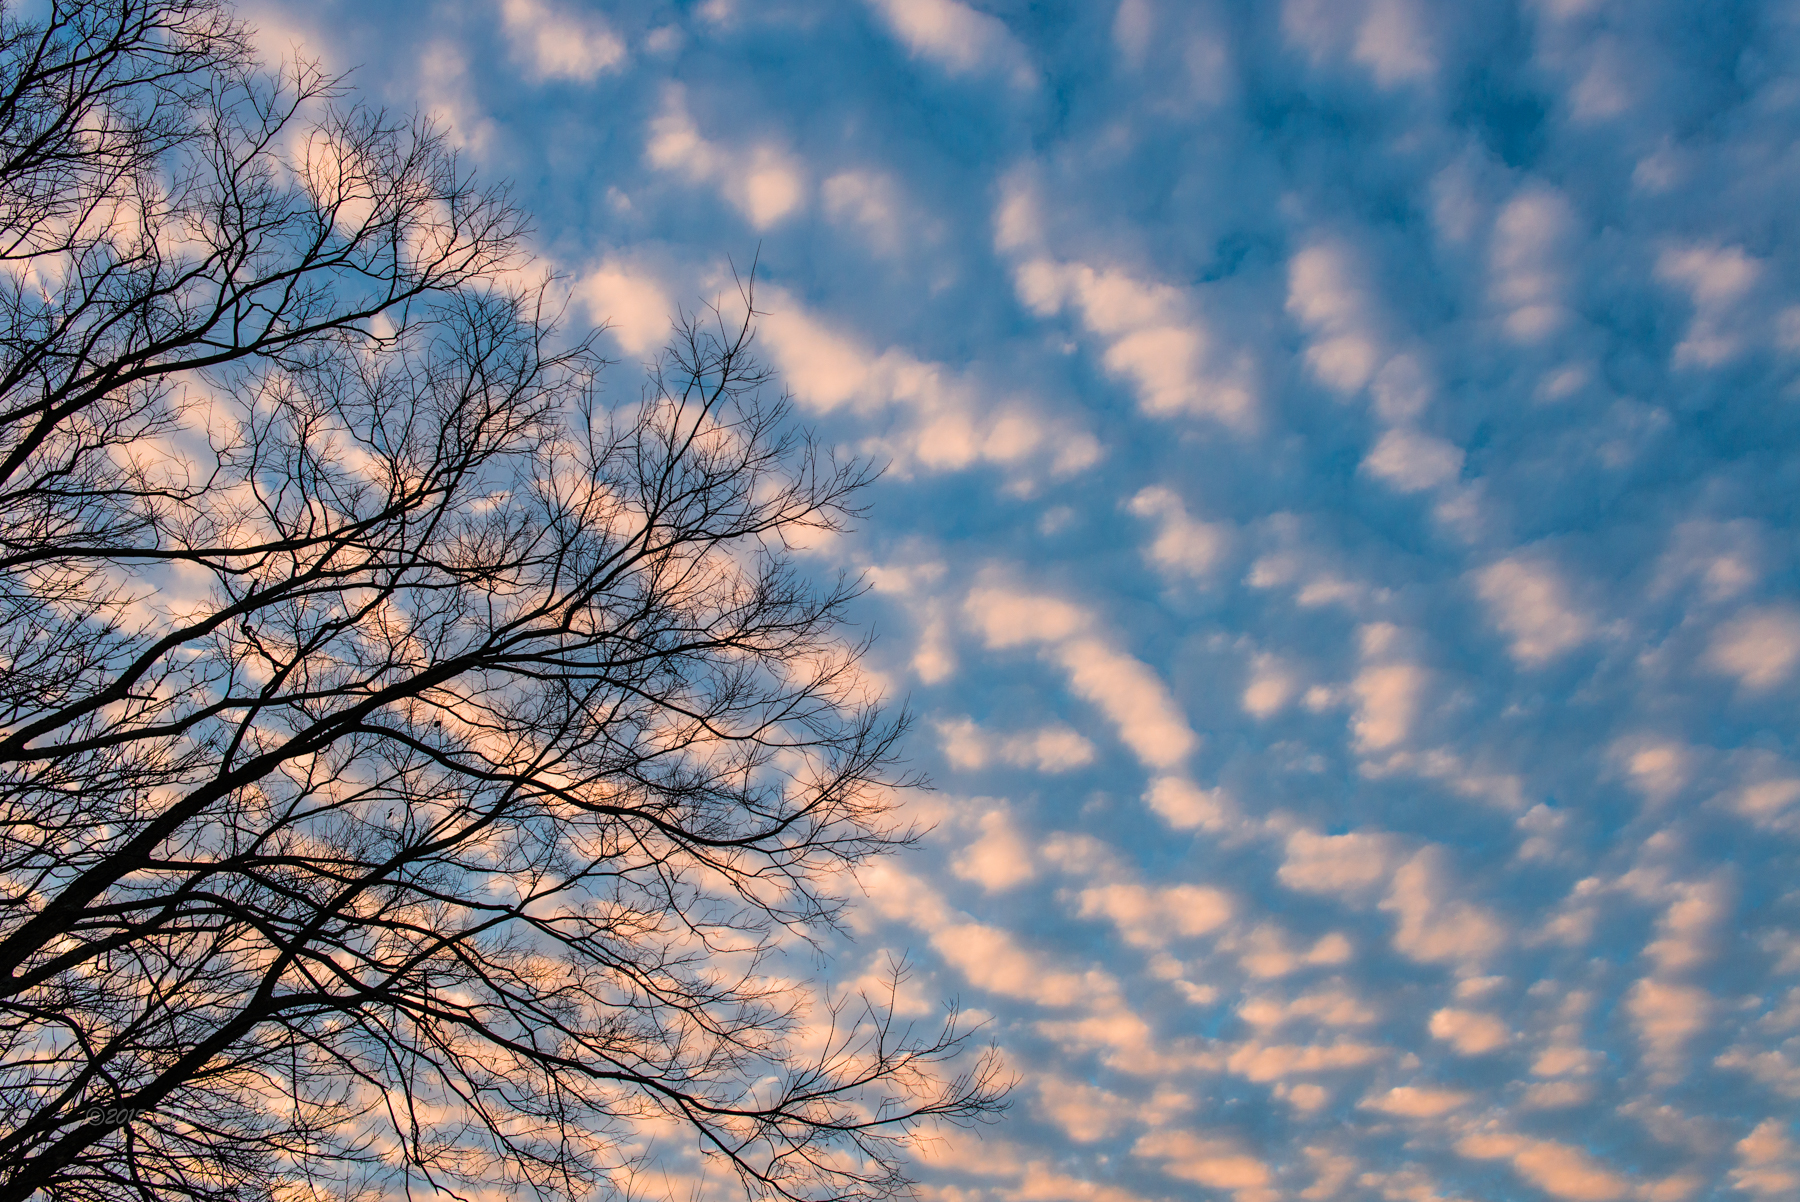
4. Path Blur
Add motion and movement with the Path Blur. This movement can be straight or curved and appear as fast or slow. Using the clouds and trees in the photo below, I created appearance of movement with the clouds while keeping the trees still.
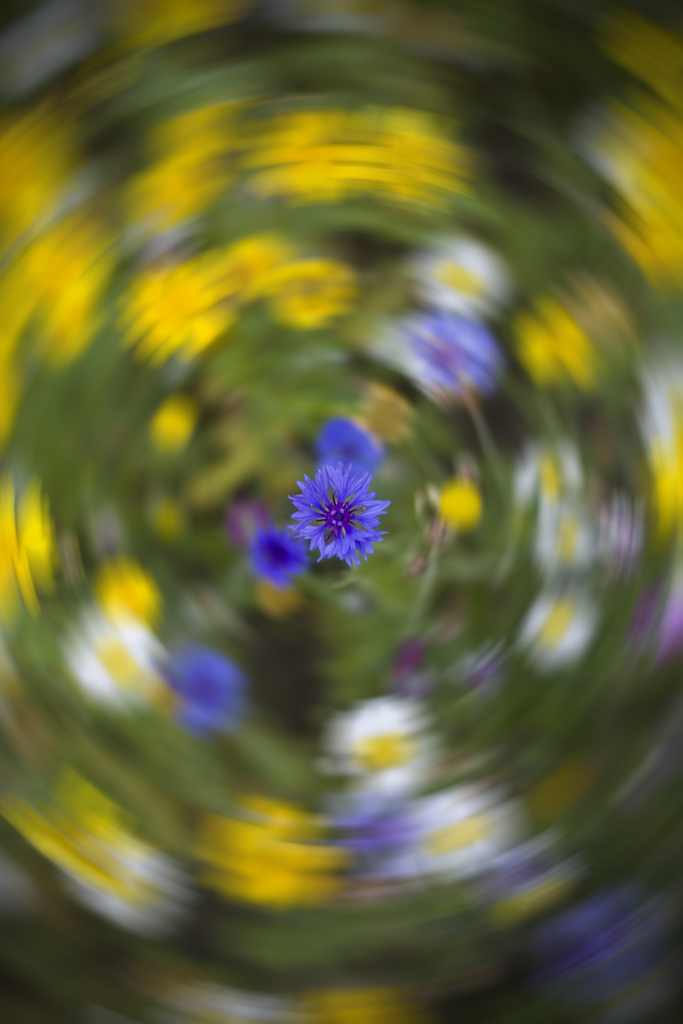
5. Spin blur
With the Spin Blur effect, you can rotate and blur the image around one or more points. While working with center points, the adjustments of blur size and shape, and other settings are viewed as changes are made.
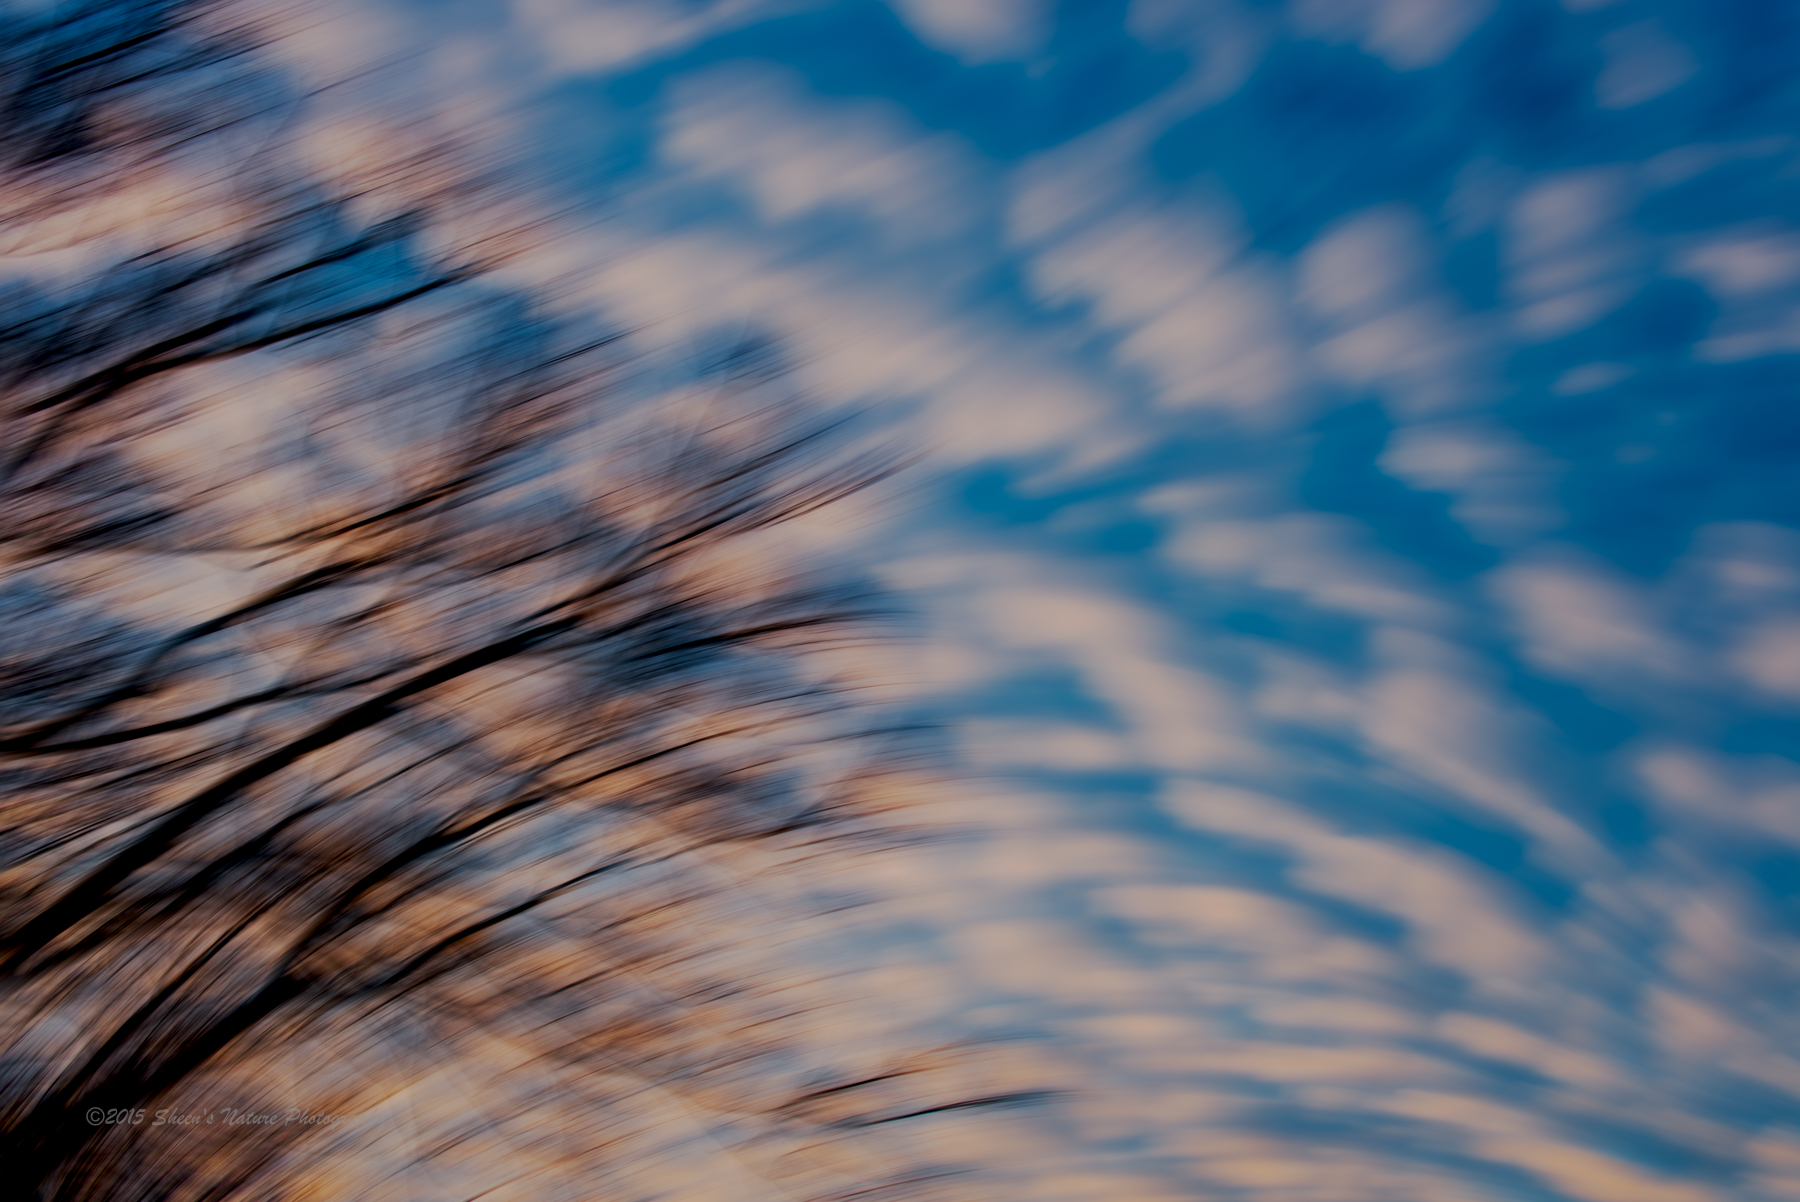
Blur effects
The look and feel of the blurred areas can be further enhanced using the Bokeh and Motion effects.
The photo below was taken at the same location as the trees and skies in #4 above. Using the Path Blur gallery and the motion effects, the trees and ski are turned into an abstract of color and multi-directional movement. A before and after are provided below.
The key to learning the Blur Gallery tools? Experiment!
Take a photo into Photoshop, convert to a Smart Object, then go to the Blur Gallery and select one of the tools. The pins will automatically drop in. You can use that pin and add more, or delete and start with your own. Once a pin is down, clicking/hovering over the little circles will present a dial to adjust strength or use the sliders on the right.
Creativity and new techniques are just a click or two away.


2 Comments
Great post and thanks for focusing on this, the blur function can work when done right, whether subtle or dramatic it still is a valid post production technique.
Hi Mike – I agree – it can complement or be a bit edgy too! Have a good one!