It is perhaps the bane of the photographers life, the dreaded image noise that has the ability to ruin the look of a well composed picture. Whilst modern cameras have much improved sensors and algorithms, there is still the distinct possibility of noise creeping in, not only in low light but also in incorrect exposures. So what is image noise?
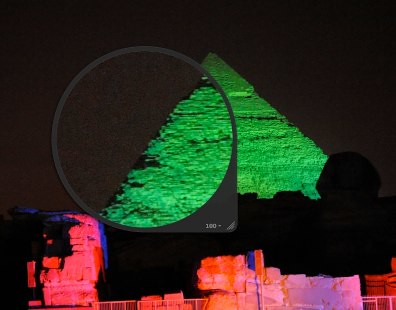
Even the best cameras will have image noise. Here a D3 is using ISO 6400 – Photo by The Odessa Files
Well its not a new phenomenon, those of us who dabbled in film will know that as you use a higher ISO film, the more grain you saw in the image. The digital equivalent of grain is noise and it is caused by the same increase in ISO. In its simplest terms, noise is caused when a sensor’s sensitivity is “turned up” or in other word increasing it’s ISO.
It happens because to increase the sensitivity of the sensor, the camera boosts the power going to that sensor, this in turn increases the electro-magnetic fields around each pixel, causing interference with the associated image quality reduction. This effect can also happen when you make long exposures. Noise most often will manifest itself in large areas of a single color, for example a blue sky or in shadow areas of an image.
So lets take a look at how to reduce noise.
In Camera – Your camera will have a built in image noise reduction system. Generally this only works on jpeg files and can be adjusted in terms of how aggressively it reduces noise. Aggressive noise reduction may be effective at removing noise but it can introduce softness and a smearing effect to the image.
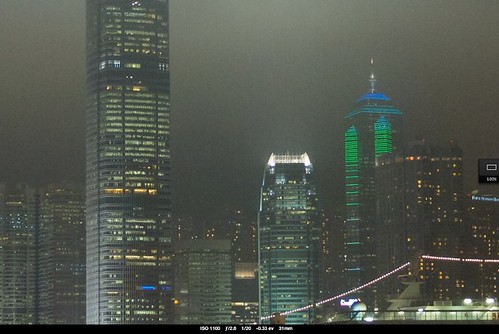
In camera noise reduction only – Photo by The Odessa Files
A better option is to shoot RAW. RAW files do not apply noise reduction, leaving you free to use your RAW convertor to reduce the noise. Software noise reduction is more often than not a much more effective way of reducing the problem compared to in camera techniques and can also be applied to jpg files.
If you prefer to shoot jpg, another technique is to shoot multiple shots, all at the same exposure. This is because noise does not manifest itself in the same place in each image, so by merging three separate shots in Photoshop, you can dramatically reduce noise. If you are using this technique, remember to switch your in-camera noise reduction to low or off. This technique is also perfectly useable when shooting RAW as well.
Shooting Habits That Can Reduce Noise: Although it may seem obvious, the best way to reduce noise is not to introduce it in the first place. The main reason for noise is bumping up the ISO to maintain an acceptable shutter speed for hand holding. If you are shooting static objects, then the use of a tripod will allow you to set the camera to it’s lowest ISO (and highest image quality) to shoot virtually noise free longer exposures.
Lastly, always aim for the correct exposure, look at your histogram and check that all the light is falling inside the graph, any outside the graph, particularly at the shadow end (the left side) is going to increase the possibility of noise.
In Post Production – Of course, you will not be able to reduce noise in absolutely every shot in camera. Wildlife and sports photographers for example will often need to shoot jpg to keep the camera’s shooting speed up and the use of a tripod may not be feasible. In this situation, it’s time to reduce the noise in post production.
Nearly all image processing and management software has noise reduction tools built in and there are also a number of stand alone software or plugins that offer increased capabilities. Most of them work in a similar fashion allowing you to define how aggressively you apply the noise filter, usually on a scale of 0-100% and a pixel radius, allowing you to set how far from each pixel to apply the filtering.
More advance tools or software will allow you to differentiate between chroma noise (noise that appears as mis-colored pixels in your image) and luminance noise which is more akin to the static noise you see in an untuned TV.
The advantage of post production noise reduction is that you can see the correction live on your screen. You should examine your image at at least 100% image size checking any blocks of color and shadow areas, and you should apply the noise reduction after you have finalised any exposure any color corrections to the image. Watch for image softness when using the software, most noise reduction tools have an image sharpen facility as well, the disadvantage of this is that if you are too aggressive with it, you can re-introduce noise.
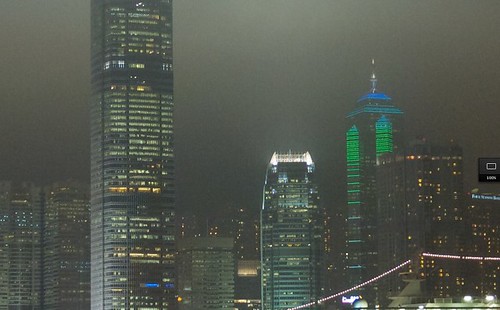
Using Apple Aperture's default noise reduction – Photo by The Odessa Files
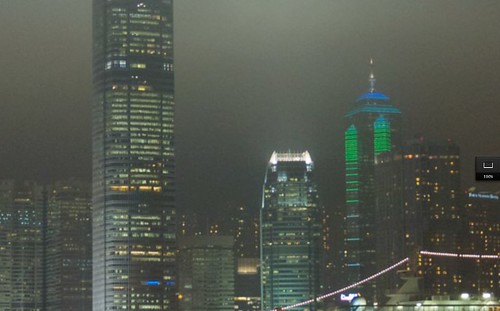
Over reduction introduces softness – Photo by The Odessa Files
Lastly image noise can be quite a subjective matter. In the days of film, grainy black and white images often conveyed a sense of atmosphere and mood. To this end you should not look as sensor noise as something that should always be eliminated. Applied well and in the right situation noise can actually add something to your images.
Some noise can be good – Photo by The Odessa Files


2 Comments
> The main reason for noise is bumping up the ISO to maintain an acceptable shutter speed for hand holding
Well, the main reason for noise here is underexposure.
As a beginner, I am still learning, but your article here, to me, seemed quite difficult to totally understand.
One thing I want to know, if shooting in RAW, will I have less noise at high ISO?
or, are the RAW files much easier to edit the noise out of the image.?
I have never used RAW format, do not understand how to edit RAW files so I might have a quality image.
I have a Chromebook 15, model # CB5-571 and I am not sure what photo editing software is available to me to edit both RAW and Jpeg images.