This isn’t the first time and probably won’t be the last time I address the issue of printing photos. It’s something everyone should be doing, in my opinion. Mainly because experiencing a photo in printed form invokes a level of appreciation not attainable when viewing it on a screen.
There are dozens of places online where you can simply upload your image file, make a few selections about things like size and paper type, and in a matter of a few days, your printed photo will arrive at your door.
Printing in the digital age is awfully convenient. And if you want to maximize the convenience of creating photo prints, you can print at home. The very idea is intimidating to some, but making great photo prints at home is no sweat these days and anyone can do it.
Here are 6 quick tips that will have you making perfect photo prints every time.
Choose Wisely
There are so many different printers on the market that choosing one might seem more trouble than it’s worth. But consider your personal needs and wants for a home photo printer. Do you plan to print gallery quality poster-size prints? Or are you more of a 4×6 kind of person?
If you’re the latter, you can get a printer that fits your needs for about $200 (give or take). If you are the more ambitious type, however, you should know that there are printers capable of spitting out gorgeous 17×22-inch prints — be prepared to pay no less than $1000 for one of these models.
For the majority of people, the best printer offers a balance of print quality and cost. If you want to learn more about some the top-rated photo printers out there right now, Light Stalking has you covered. Begin your research by clicking here.
Print Big
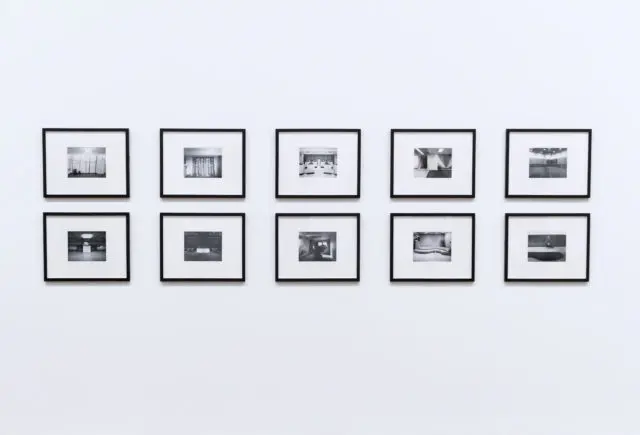
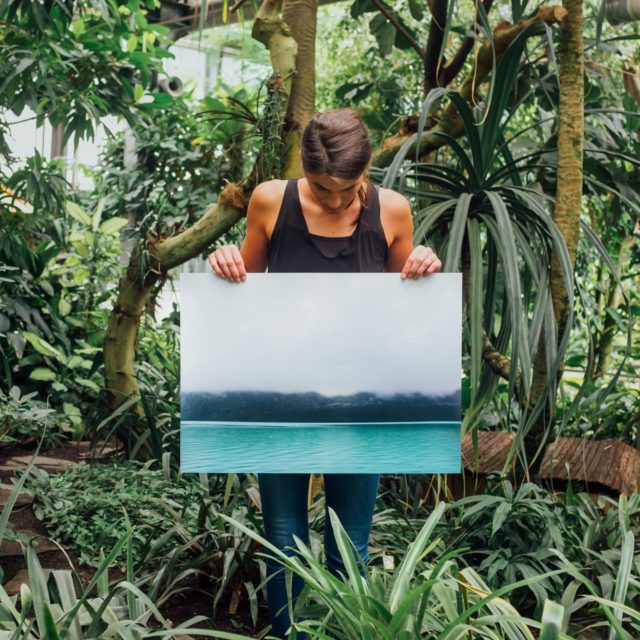
Big is relative, of course. But be sure to venture beyond postcard size prints every now and then. Even an 8×10 print can reveal depth and detail in an image that has gone unnoticed when viewed on your phone, tablet or computer monitor.
Get Calibrated
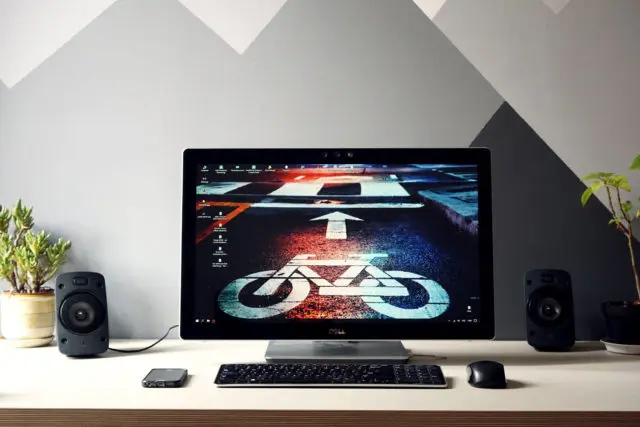
Your monitor is an essential part of making a great print. One of the biggest frustrations that people new to printing at home experience is when their print doesn’t match the image on their screen.
Some basic tweaking of the monitor settings can help — most monitors are set far too bright, for example. But for maximum color accuracy, you need to calibrate your monitor. By bringing the brightness and color settings of your monitor up to a known standard, you’re taking an important step toward excellent prints.
Proper monitor calibration isn’t something you can eyeball. You need a monitor calibration tool. Datacolor and X-Rite are two of the most popular names in monitor calibration devices. Prices generally from about $90 to over $400.
Pick A Paper
Something other than glossy. Unless that’s just your thing. But there are so many other options available — lustre, matte, metallic and textured fine art papers. If you really want your print to stand out, be sure to pair the image with a complementary paper type.
Edit Carefully
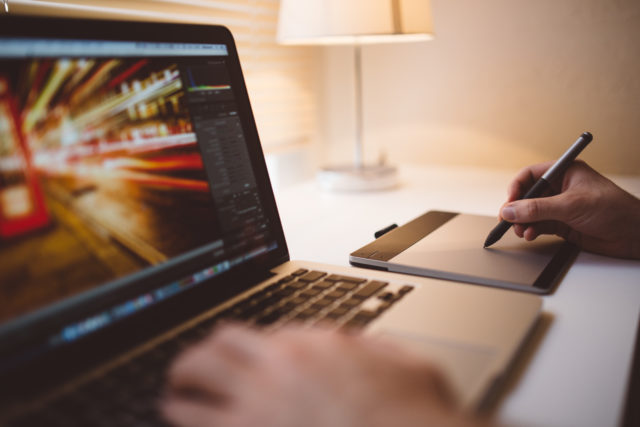
A good edit is the first step to a good print. We won’t descend too far into this topic, as it can get fairly complex, but if you remember the following points you’ll get a good print each time.
- Sharpening. An image that you plan to print needs to be sharpened more than if you were preparing it for the screen.
- Exposure. Digital images tend to print darker than they appear on the screen, so increase brightness/exposure before you print.
- Resolution. More resolution corresponds with more detail, which you typically want in a print. Common advice is to set resolution 300 dpi (dots per inch).
- Crop. Generally, you want an aspect ratio (image) and print size (paper) to match. If, for instance, you print a square image on 4×6 paper, important parts of the image may be cut off and you’ll have on either side of the print. For best results, crop to match the paper size.
Check Printer Settings
Before you hit the “print” button, make sure your printer is set up correctly. Be sure to select the right paper type, print mode/quality, orientation, etc.
Final Thoughts
Sure, printing at home comes at a cost (in terms of both time and money) — from purchasing a printer, ink and paper to calibrating your monitor to editing images specifically for print.
I’ll admit to being heavily biased, but I think the investment is a worthwhile one.
Happy printing!
