Most would consider setting off on a Safari trip an experience of a lifetime that you'll probably only do once, so as photographers, photographing a safari is something you kind of want to get right, first time!
We've got a number of great quick tips for you to ensure you're going away with at least some great ideas and have those important considerations in your mind before you find yourself strapped into a 4×4!
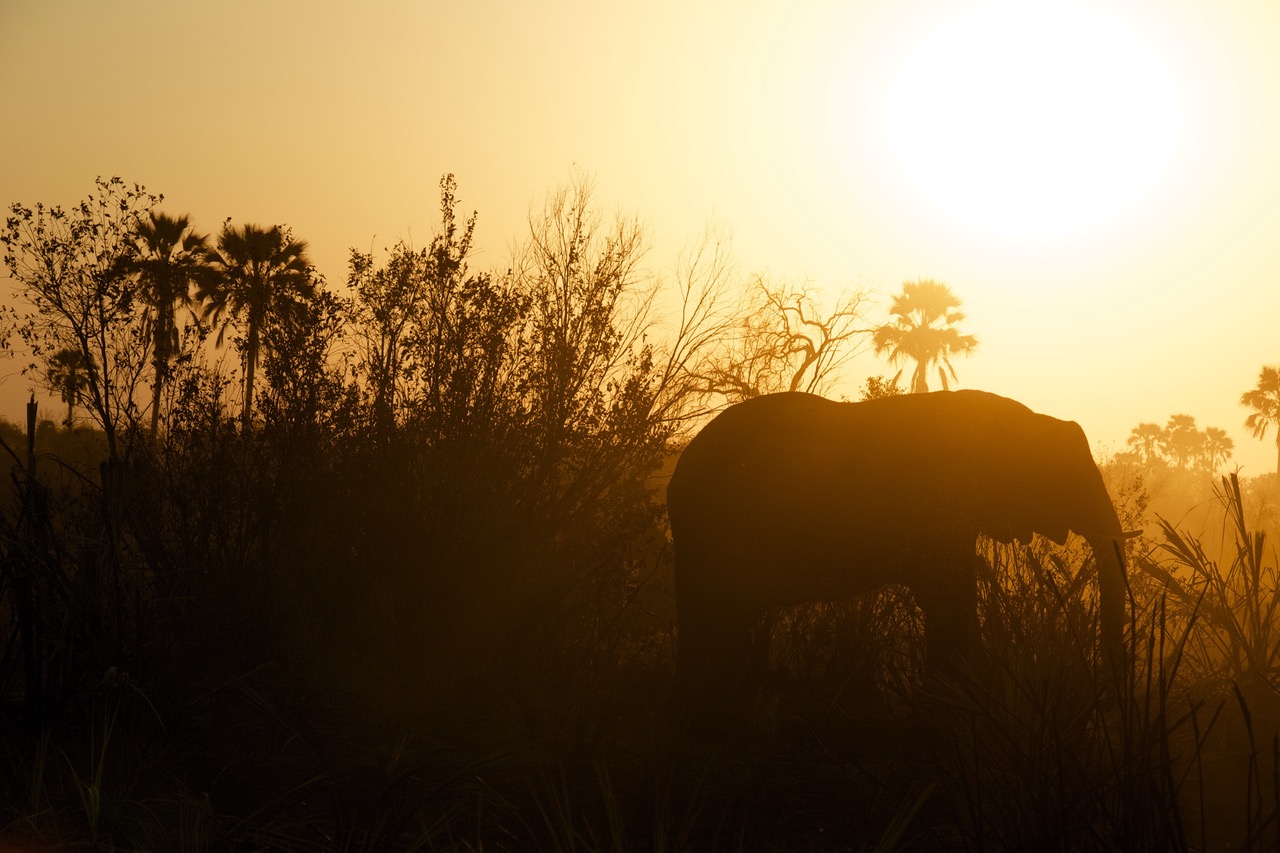
Photographing a Safari – Quick Tips
1. Some Photography Planning
Consider firstly what type of wildlife photography you'd like to do and plan your trip accordingly. Here we're referring to the animals and landscape. You're likely going to want to mix up your photos a little – a whole morning of photographing elephants might seem interesting, but when you get back to your computer later, you'll wish you had some other wildlife shots in there too.
Be sure to ask your guide about covering a variety of areas over the course of your trip as there are days when 8 hours of driving around can result in seeing very few animals (and photographic opportunities) whereas other days you could get lucky and pull right up close to a small family of zebras!
Do your research on travel to the country, getting around and how carrying your photo equipment will affect your trip too.
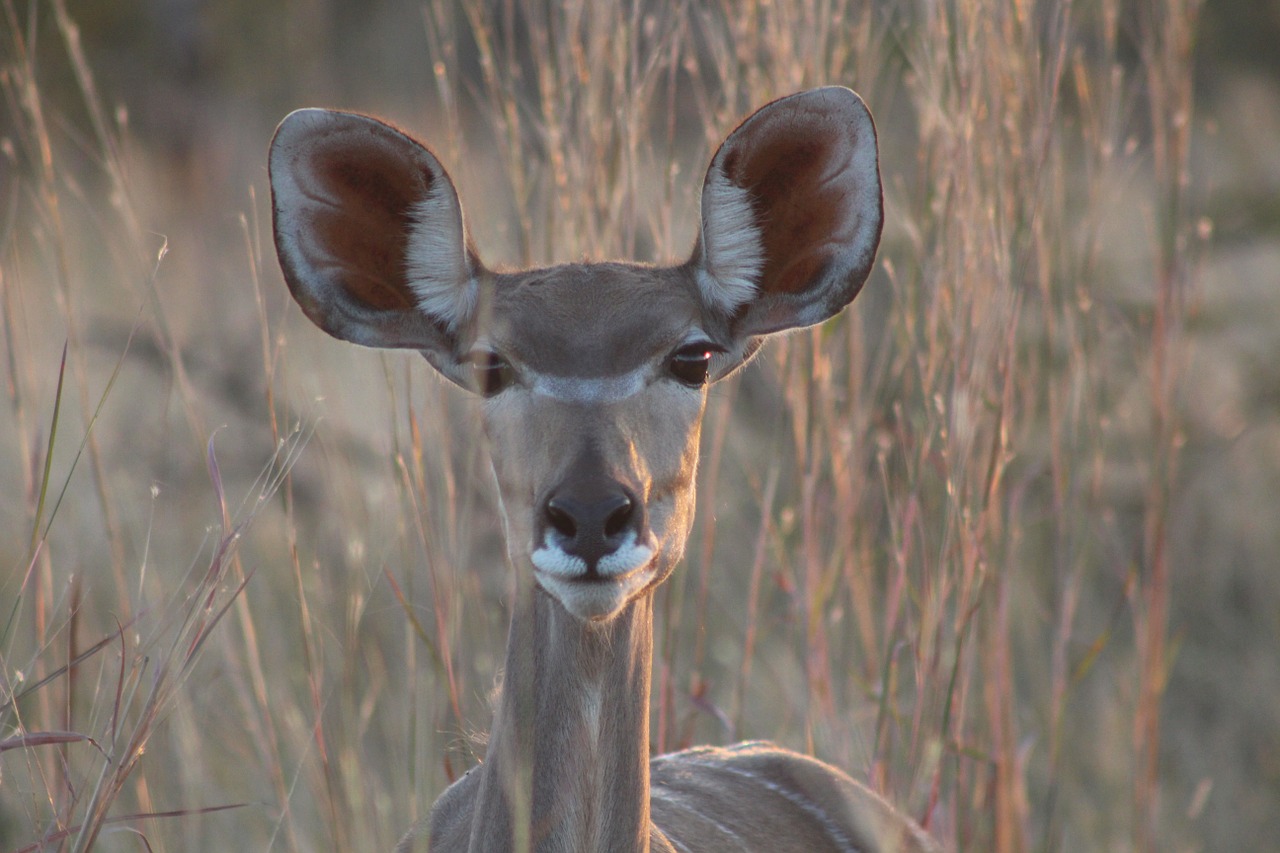
2. Bringing the Right Camera Gear
Let's start straight off by making sure when photographing a safari, you've got your camera equipment sorted. A few things you might need:
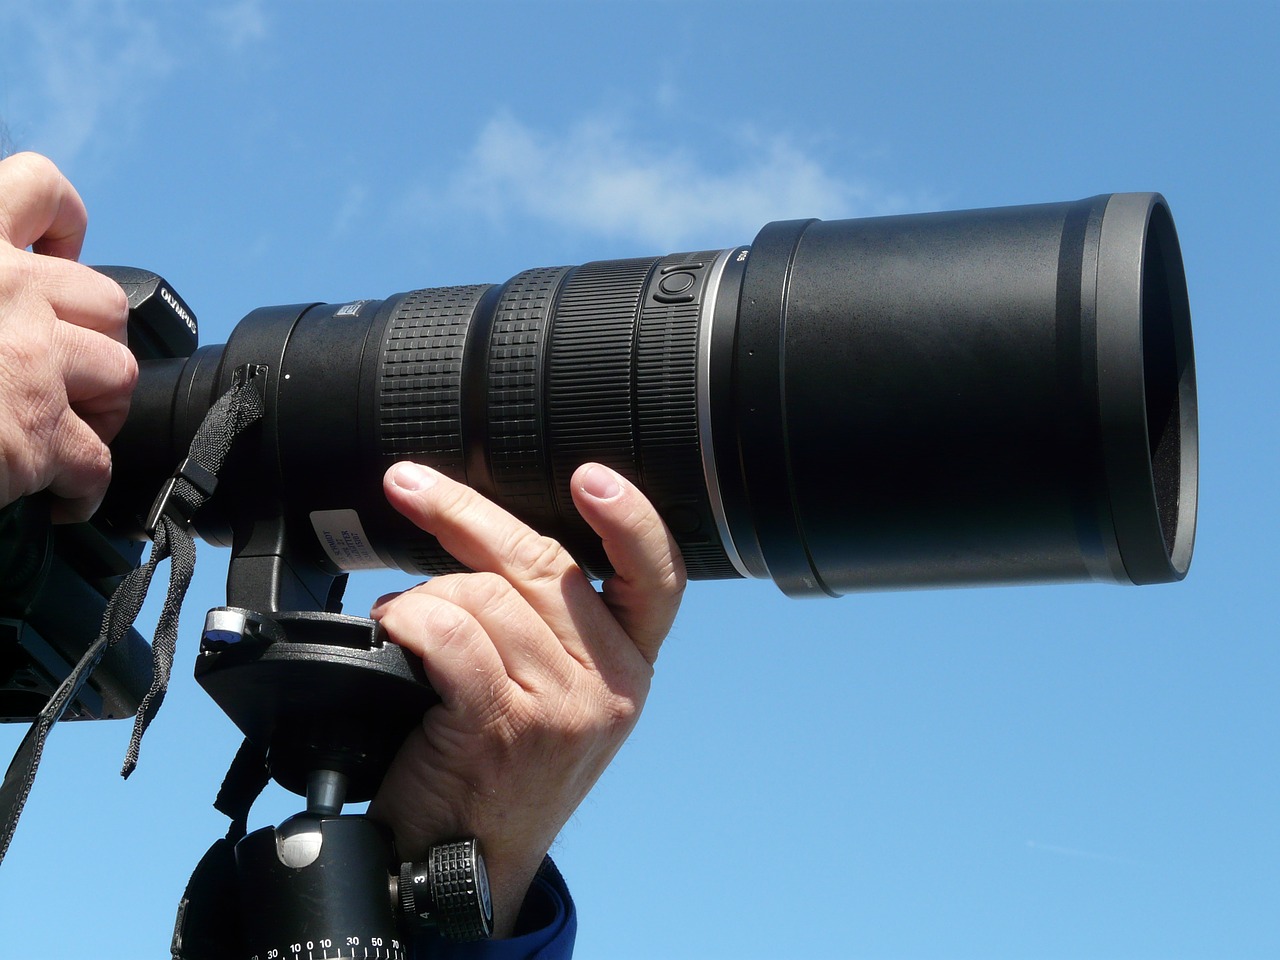
- A Telephoto lens (or super telephoto – ideally with a range of between 200mm and 500mm) – think about how close in you can reach vs weight of carrying a HUGE lens.
- Consider taking a tripod or monopod to reduce camera shake (especially using such long lenses)
- Safaris can get pretty dusty, in order to keep your gear protected make sure your bag or case is going to withstand wind, sand and any knocking about – I'd suggest a Pelican Case or something similar.
- Spare batteries (never be in a position where you run out!). And of course, memory cards – not just any type of memory card, but ones with a fast transfer rate – at least 90mb/s or faster and a high capacity of at least 32GB. I say this because, if you've bothered to go all that way for such a trip and be let down because you didn't invest less than $50 for a few decent memory cards (which will last too), you'll feel pretty miserable about it.
- Flash is a tricky area and likely disallowed for obvious reasons i.e. harassment to the animals, so best not to bring it. As the sun falls, ask your guide to use their spotlight for some longer exposure shots.
3. Communicate with your Safari Guide
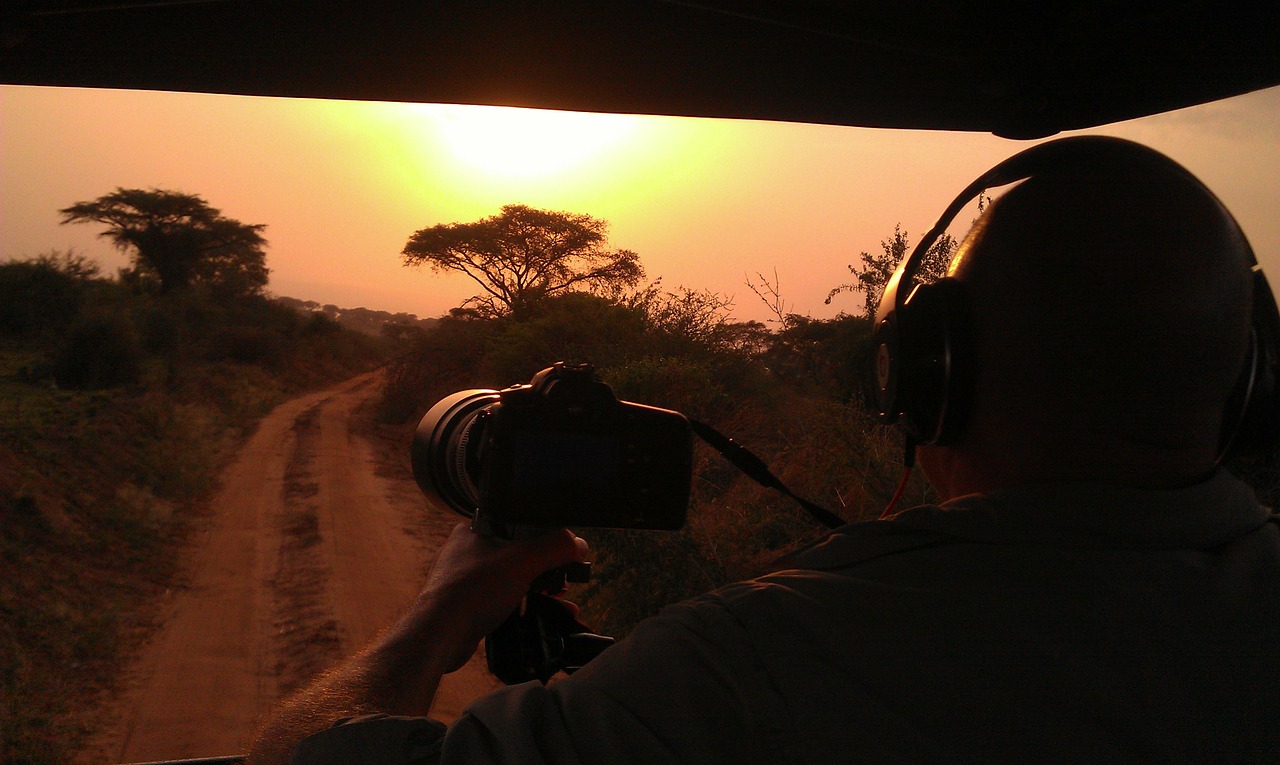
As you are a ‘photographer' traveling on the safari, your needs will be quite different to those who are simply sight-seeing with the hope of a good shot here and there. You guide might not know what you require – so talk to them.
Instead of sharing your vehicle with other people (who will have undoubtedly very different needs to you), the best recommendation is to definitely book a private vehicle and incorporate this cost into your overall trip budget, because it'll cost more.
Think about the reality for a moment: sharing your vehicle with half a dozen people in a jeep with no ‘comfortable' space for your equipment, changing/cleaning your lens getting your camera support setup etc, etc. It's more expensive, but if you're only going the once, it's worth it!
4. Be Ready with your Camera!
The difference between an amateur and a pro is that the pro is one step ahead….all the time! She assesses the available light, adjusts the ISO, shutter speed and aperture needed to get the upcoming shot (whether it's expected or more unknown). Being ready means dramatically reducing your chances of missing that amazing shot!
So think on this, be ready with a fast shutter speed and anticipate that animals are unpredictable therefore keep an eye on the direction of light and its availability.
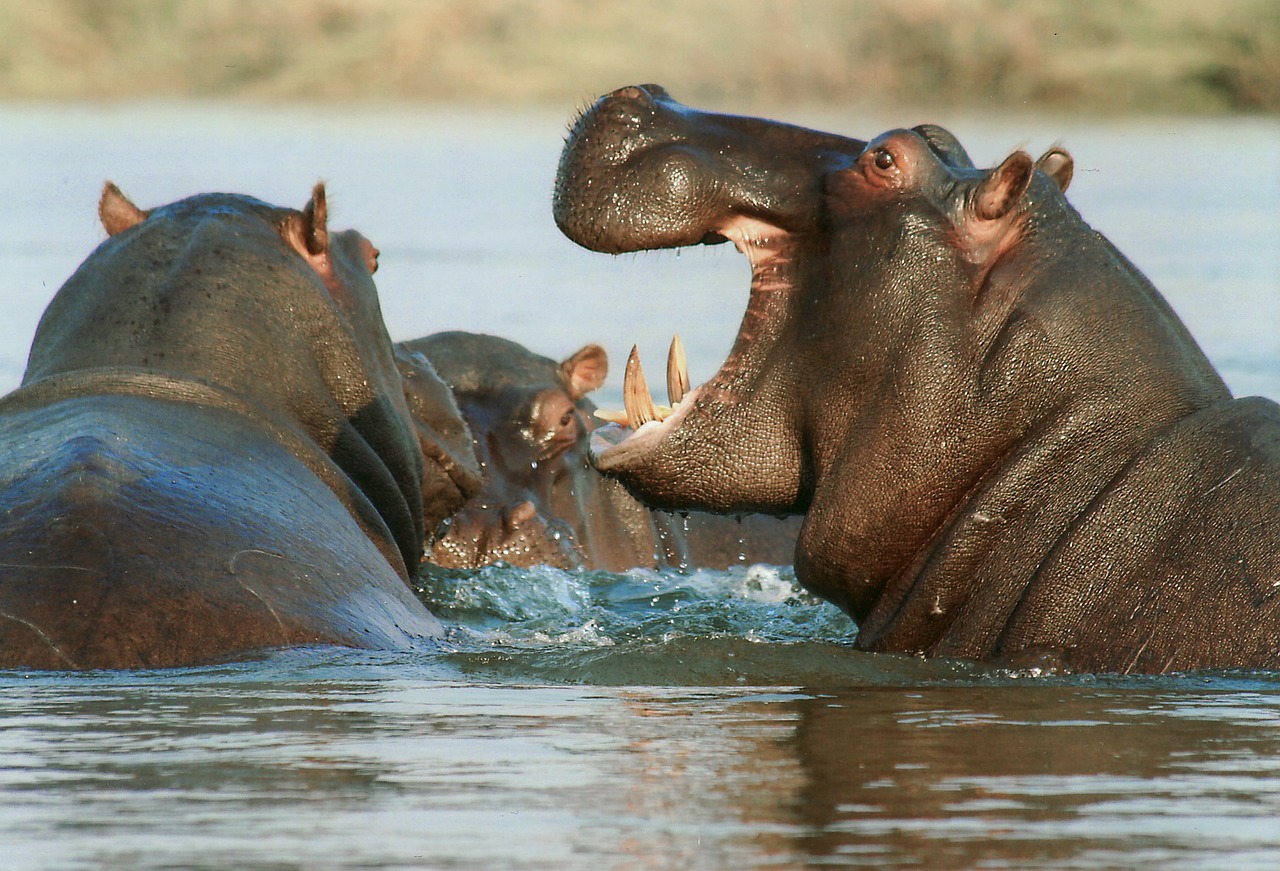
5. Get in Close to Give Your Shots Some Punch
If you've brought along your telephoto – use it to its full capacity! Getting a close shot to fill your frame of a lion, elephant or any other animals will be far more dramatic and powerful than something to try and encapsulate the land and background too.
Get in nice and tight, because invariably the most interesting subjects with be farthest away!
A mid-range telephoto will allow for a head and body shot so you can focus on the head (specifically the eyes) whereas a super telephoto will enable you to get in close and sharp. Have your camera and lens well-supported.
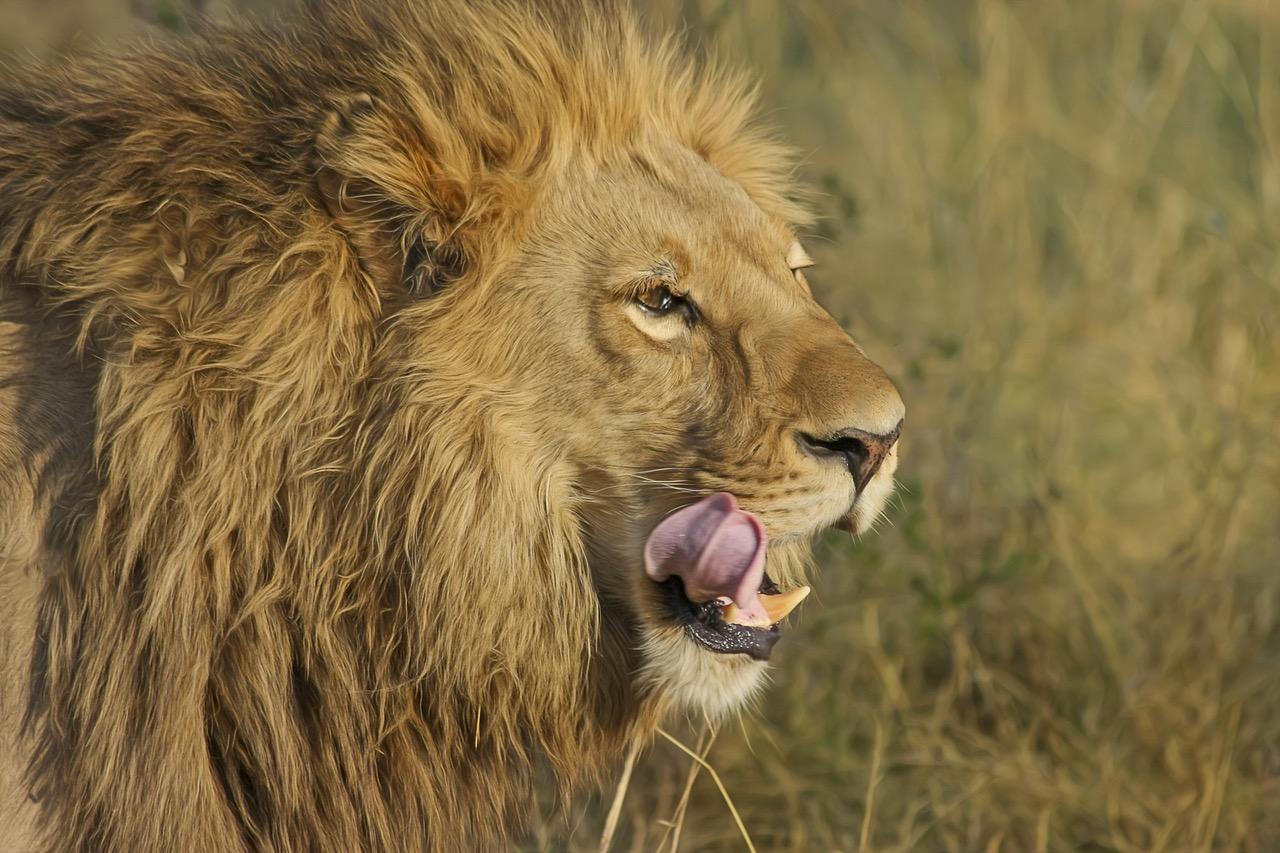
6. The Best Light
Watch how the light is falling on your subject, particularly on their faces – or on the family as a whole, if that's what you're shooting. Put yourself between the sun and the animal, ensuring you're on the lit side of the animal, which means using slightly longer shutter speeds to capture more detail.
Ask your guide, who will be very experienced with the sun's direction and angle so that you're prepared when arriving at the next stop to photograph. You'll also be getting yourself into the preferred position, faster.
As you'd expect, early morning and early evening provides the softest light, so have a think about when you want to begin and end you day of shooting.
Further Resources
- 8 Things a Nature Photographer Can Use in the Camera Bag…Short & Long Term by Sheen Watkins
- Ethical Nature Photography is Authentic Nature Photography by Sheen Watkins
- How to Improve Your Nature and Wildlife Photography by Lightstalking
Further Learning
How is your post processing?
Sometimes no matter how good we think we are, there are often things we overlook! But don't worry you can learn about what the pros are doing which you can apply to your skills as a photographer, behind the computer!
Fundamental Editing Steps


1 Comment
Those are lovely and cool photos. It shows the photographer were ever ready to take any shot of the animals. I hope to go on a safari photography one day. Good job there