While the vast majority of us live in or near a major city, as photographers it can be easy to overlook the great opportunities that can afford us to get some amazing cityscape photographs. Hopefully these great shots and useful tips inspire you to revisit your local scenes for some great cityscapes.
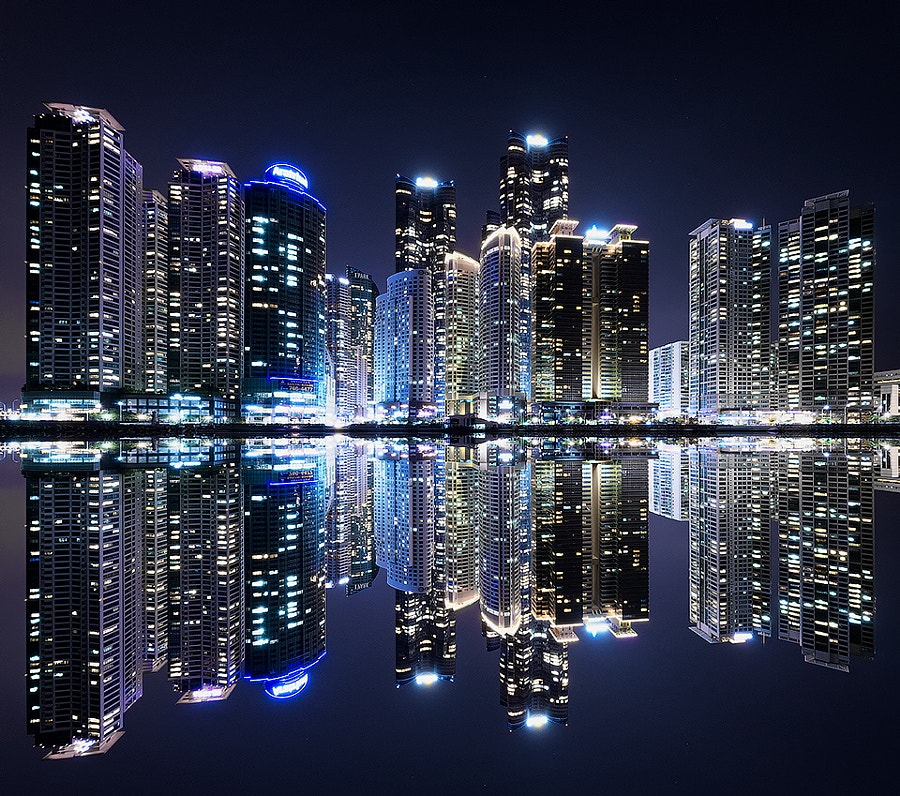
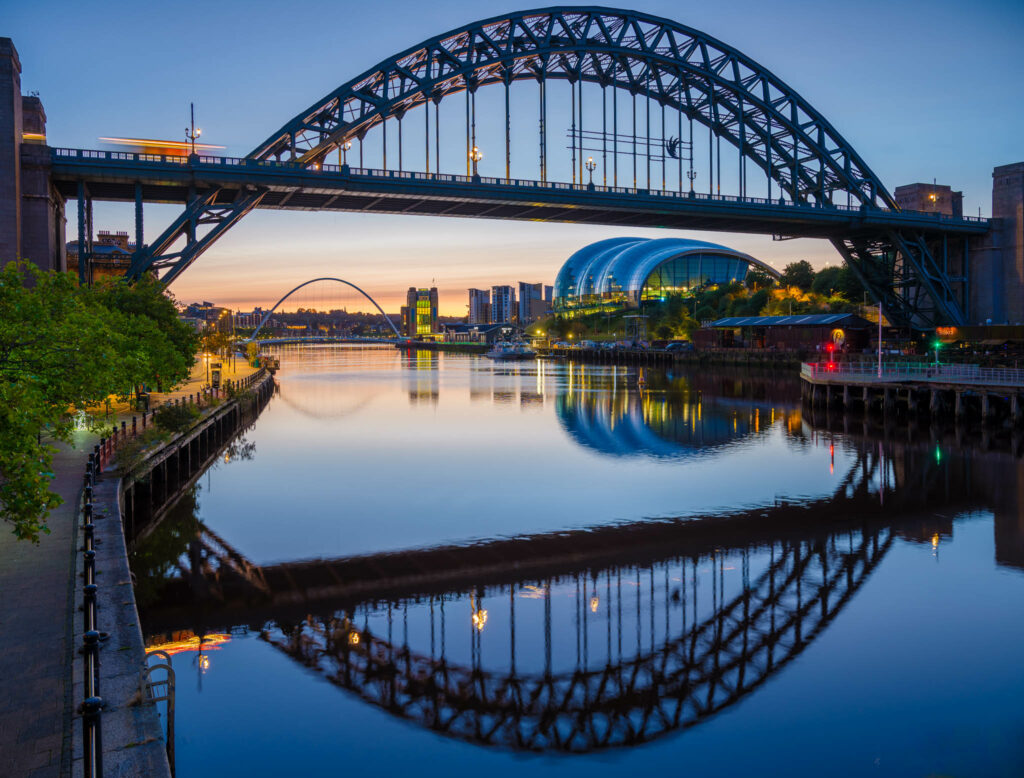
Photo by Jimmy McIntyre.
Choose Your Time Wisely – The blue hour is best usually for cityscape shots that really pop (the hour after sunset and before sunrise). If not, then golden hour (the hour before sunset and after sunrise). Night time can produce some wonderful shots too depending on the scene. Shooting during the day is a lot more challenging, but should also not be ruled out depending on your vision for a shot and what you're trying to achieve. Just like any outdoor shooting, you have to be prepared to shoot in any conditions, but if you can choose your own shooting time, then things are a lot easier.
Sharpness Wins – Usually you want to make your image sharp and in focus for cityscapes like the ones in this article. That means using a tripod and remote shutter release to minimise shaking of the camera (especially as the light gets lower in the sky or at night). In a pinch, put your camera on a stabilised position (like a ledge or a sandbag) and use the timed shutter release. However you do it, you just need to make sure your camera is stable for crisp shots.
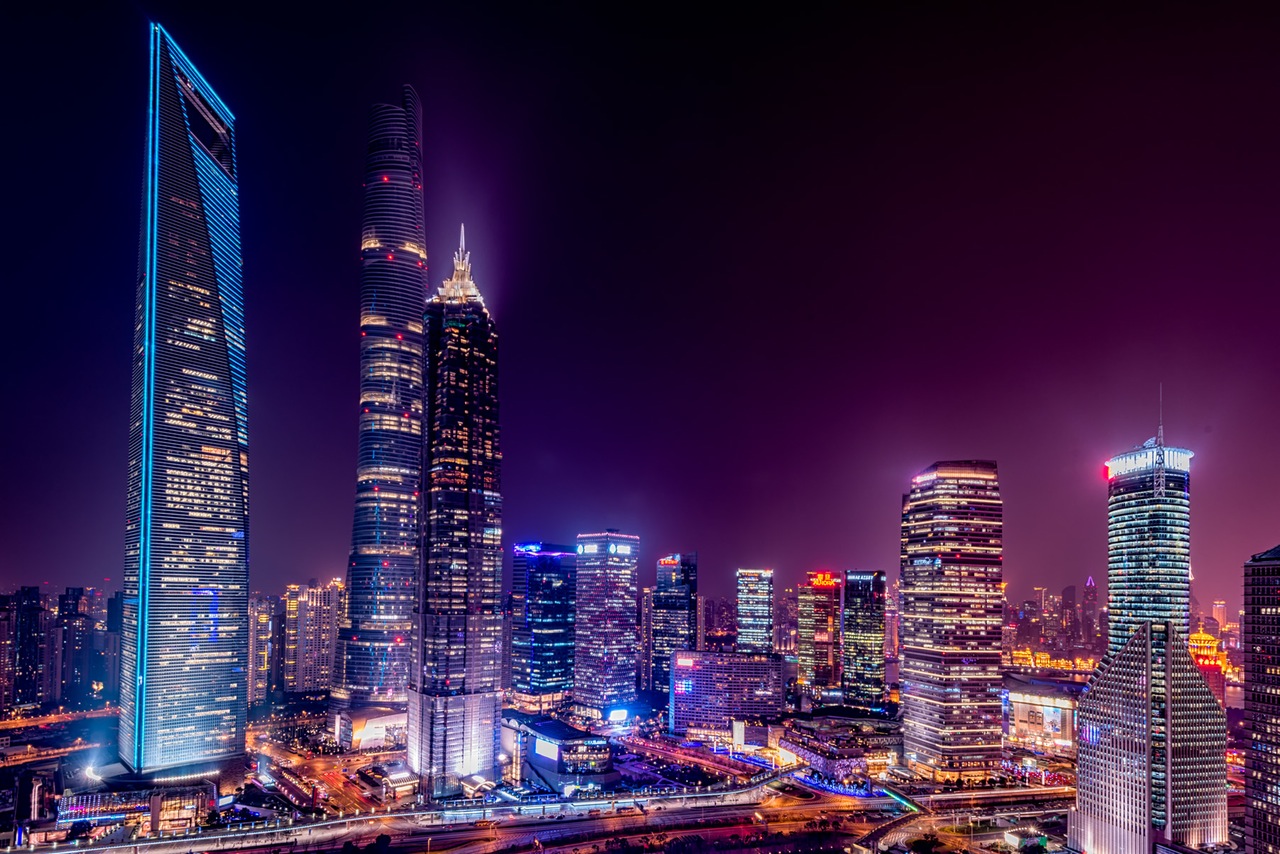
You will also want to shoot with low ISO (around 100) to minimise noise in your images, a sharp aperture (usually around f/11 depending on your lens – Google the sweet spot for your lens make and model), and a slower shutter speed to compensate for the ISO and aperture settings (hence the need for a tripod).
If you want to get really serious about sharp shots and minimising the movement of the camera, then you might want to also look into mirror lockup (mirror slap can cause a camera to shake) and also “electronic first curtain shutter” if your camera has it. These will help stabilise your camera even further.
Use Live View to Focus – The great thing about live view in most DSLR cameras is that you can use it to zoom in on a far-away element and manually focus. Even though autofocus systems are great, using live view and manually focussing is usually a more reliable way to get sharp focus for a landscape or cityscape photo.
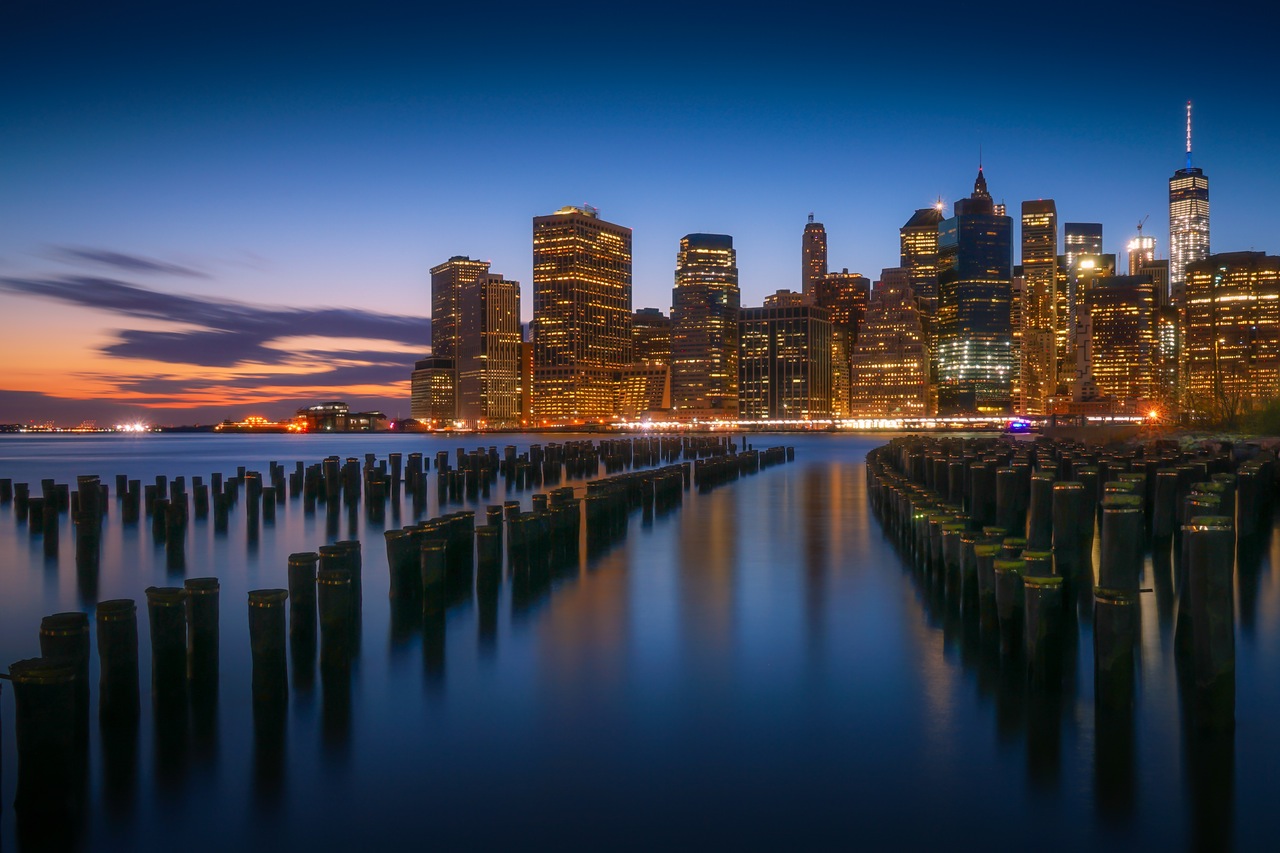
Shoot With a Wide Angle Lens – For shots like this, you're going to want to go quite wide in your focal length. On a cropped sensor camera, that means somewhere between 10mm and 20mm roughly (Sigma sells a decent and relatively cheap 10-20mm that is great, but other manufacturers also have lenses in this range that are very good). If you're a Canon or Nikon shooter, then the classic lens from the “holy trinity” is the 14-24, f/2.8 which is widely considered to be among the best (or at least the one by which others are judged).
A solid wide angle lens is a staple of most landscape and cityscape photographers.
Polarising Filters – These bad boys will enhance the saturation of your sky and minimise any pesky reflections and shininess that can lead to blowing out the highlights (this can be especially handy to help minimise reflections off glass and steel in architecture). Very useful for a cityscape during the daytime and even the golden hour. Most outdoor shooters will have one in their bag.
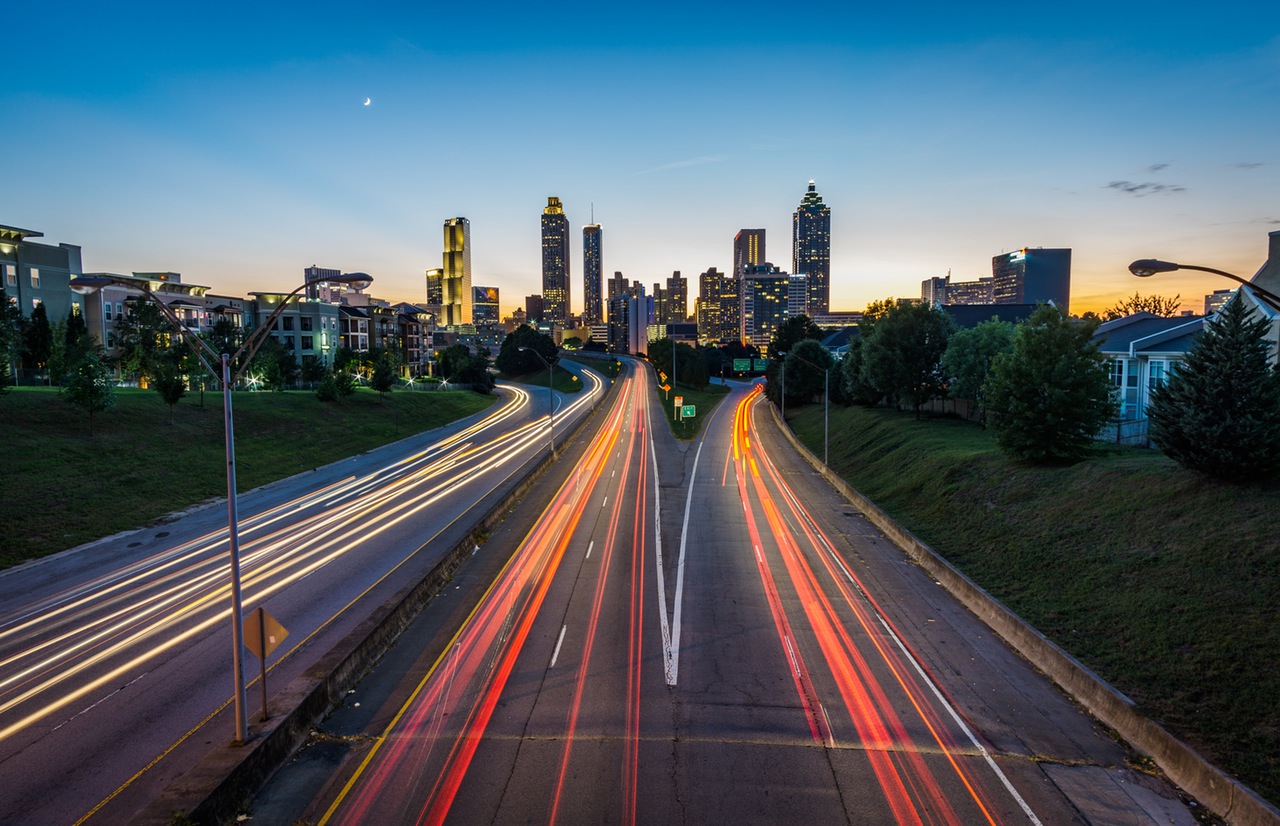
Consider Your Compositions – With cityscape photographs, you will have many potential classic composition elements such as leading lines to incorporate into your images. Be aware of them if they suit your vision. The classic rule of thirds is a good place to start, but you're also going to want to look for foreground interest and consider the visual weight when you're compositing a good cityscape.
Bracket Your Exposures if You Need To – If you're struggling with contrast in the scene and losing the highlights or shadows, then bracket your images (shoot several images of the same scene – one exposing for the shadows, another exposing for the highlights and another normal exposure). Then merge them in Photoshop or Lightroom to create a single image with the best exposure. Here are a few ways to do that.
Now, if you really want to get in deep with learning stunning cityscape photography, then you're going to want to go a lot further than a blog post like this is capable of. Jimmy McIntyre's Art of Cityscapes is where you can get seriously good training on creating amazing images like the one above that goes into some seriously good detail. Check out some of the amazing examples here.


8 Comments
Thank you Rob for another interesting article
As a rural-dweller it’s rare that I get to shoot the city, so these tips will hopefully come in handy at some point!
All good advice, but you should correct the statement that a polariser will minimise reflections of glass and metal;
they will not.
Your cityscapes photographs pop with lights, colors, and energy. Thank you for sharing your passion and know-how. It is a great joy to see beautiful, artistic works.
When shooting night shots on the Las Vegas strip I find it challenging to deal with those super bright, animated advertising LED marquees. Anything more than 6 seconds tends to turn them into a big white rectangle. And trying to time the darker ads with traffic flow is quite frustrating. I either end up with overexposed marquee or broken and short light trails. Those marquees are everywhere making scene selection a challenge to exclude them from the composition.
I use the strategies revealed here but I also like the colorful reflection off glass facades, so I do not use a polarizer for most work. I alway shot for properly exposed highlights and open shadows in Lightroom. This usually turns out better than HDR.
Don’t rule out an Irix 15 mm f2.4 or an Irix 11 mm f4 . Irix have two price ranges, the more expensive is for a more rugged build, but both prices are as low as Sigma range lenses. The advantage of Irix is the distortion on the edges has been vastly reduced. You would see a bent horizon in lenses of these widths, but with Irix it is very slight in comparison.
If you’re in the market for a super wide lens, check these out before you go Tamron or sigma or Nikkor or Canon. I’m a Canon CPS shooter, but I “loves me my Irix” too, which I heard about from Richard Bernabe who ALSO loves his 15 mm 2.4
Geat pictures ,great tips……Thank you