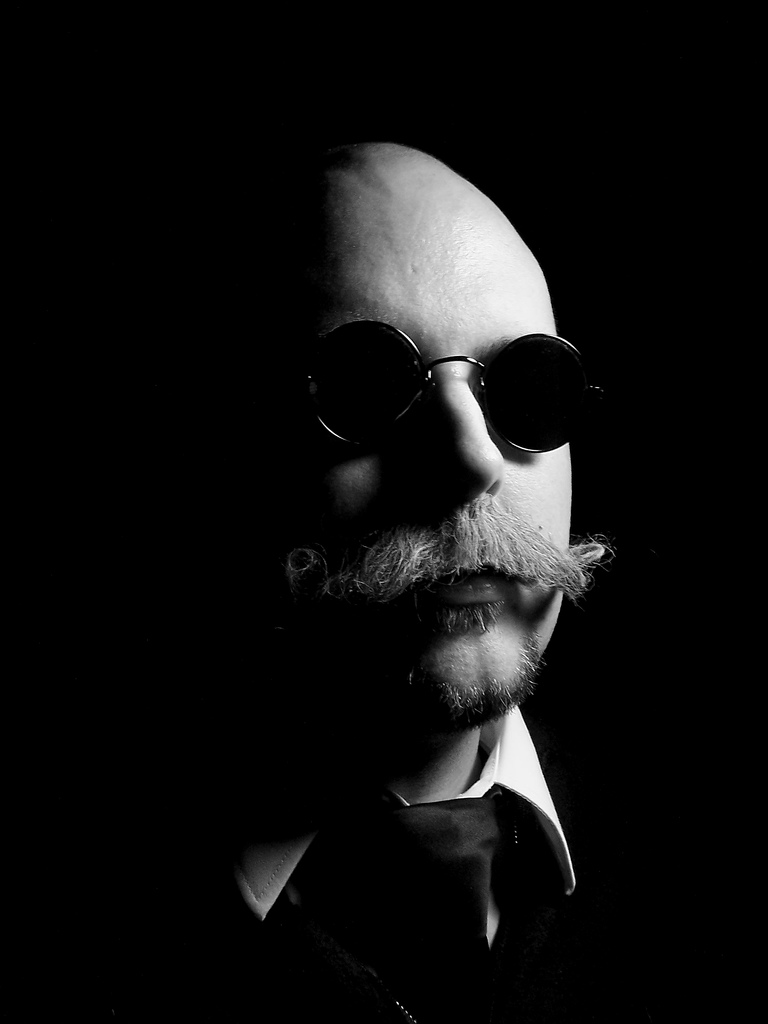
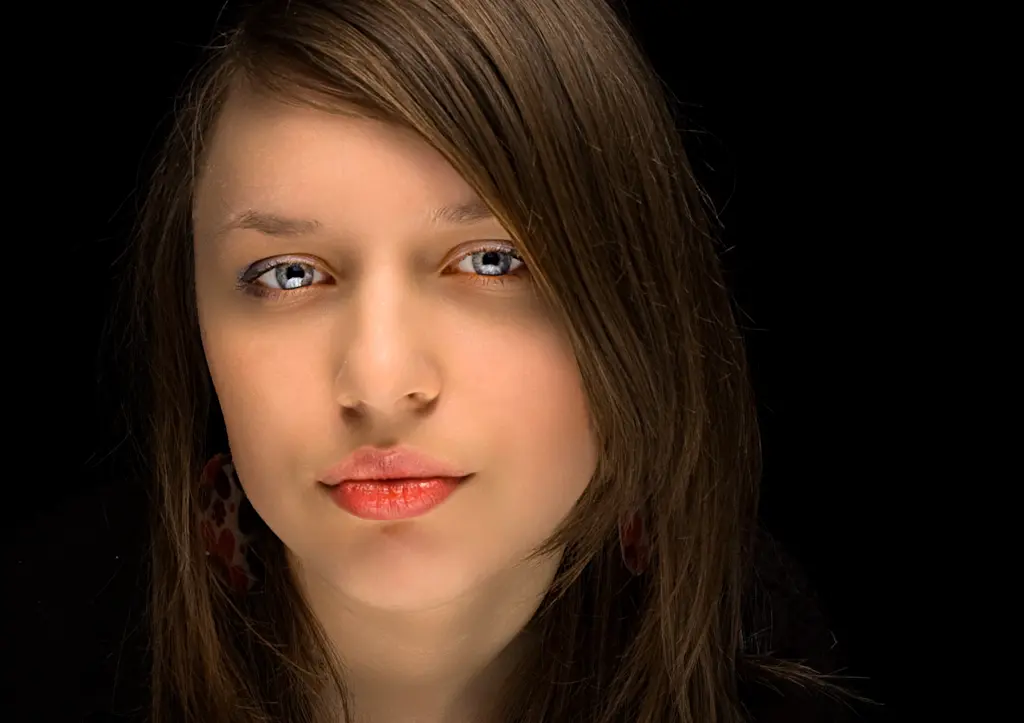
Photoshop is almost every digital photographer’s friend, but shockingly few know how to use it properly to create professional images with style. There is so much more that can be done than simply playing with curves and levels. These 10 Photoshop lessons will teach you just a few ways you can use the program to boost each and every portrait.

Give your Portrait a Makeover in Photoshop – The digital makeover technique is one of the first things a photographer learns about post processing. Learn how to give your model a general boost with these makeover steps. It's these type of techniques that sometimes create a little controversy among photographers and even the general public, but at least knowing how they are done should be part of any good portrait photographer's arsenal.
Create a Portrait Studio Background – Backgrounds are something that you should be taking notice of in all types of photography, but in portrait photography it becomes especially important. Sometimes you have a beautiful portrait that is ruined by the background, or you need a professional-style headshot for whatever reason. In this tutorial, learn how to properly add a studio style background to a portrait without making it look unnatural.
Create a Stronger Focus in Photoshop – A skill that any photographer needs to develop is using everything at their disposal to draw the eye to a focal point within their images. This can be done with lines, lighting or even texture and can also be done with certain post production techniques. Make your model the real focus of your image by softening the background and sharpening the focus on the foreground. This works well in portraits and many other types of images.

Remove freckles or blemishes from portraits in Photoshop – Removing imperfections in portraits is most often a necessity in most professional shots. In the event you need to create clear, bright skin without freckles or blemishes, use the steps outlined in this tutorial to be sure your work looks attains that professional level of portraiture.
Using contrast layers for portraits – Use contrast layers in your portraits to create drama in the highlights and shadows, create high key photos, or to instil a glow in your model.
Change Hair Color in Photoshop – While the best advice is to get as much of the shot accurate at the time of shooting as is possible, it's not always possible and sometimes you will need to change significant areas of it in post production. Other times you sometimes just want to have a little fun. This is a fun tutorial to show you how to change the hair color of your model. Use it to enhance your model’s natural color, or to give him or her a completely new shade.

Enhance Eye color – Again, drawing the focus of an image to an area using colour is a common technique and in portraiture, a person's eyes offer you a natural chance to do exactly that. Enhancing eyes is a great way to draw focus automatically to the face and create interest. You don’t want to ruin the effect with an unnatural enhancement, though. Learn how to properly enhance the eyes to make the pop.
Whitening teeth – This is a trick used by the pros to automatically give their portraits a fantastically white smile. Without the cost and side effects of bleaching, you can create a bright white smile in minutes. Again, you are going to have to use your own judgement regarding how white to go with this, but it's a great introduction to something that every portrait photographer will probably have to do at some stage.
Complete portrait retouch workflow – If you're taking a lot of portraits then you will probably want to set your post production process up to be as efficient as possible. This tutorial is great for a start to finish retouch workflow. Learn the most basic photo enhancements done in post processing, and how you can get them done quickly and efficiently for every image.
Give Your Photos a Color Ink Sketch Effect – This tutorial is moving away from “realism” and into the world of obvious post production enhancement. An interesting tutorial to give images an artistic look. This can be a great way to turn those more humdrum photos into funky and interesting works of art or simply a fun way to spice up any image you choose.


12 Comments
Thanks for the tips. I have not been using photoshop to its full potential. I think it is time to start.
great tips thanks. good to keep these techniques fresh in the head
I don’t like the one with the girl. Her skin looks plastic. I found this amazing photoshop tutorial to make a green lantern: you can check it out here
IMG thing is broken …it changes the URL i put in 🙁 …hopefully this one pastes correctly.
Tutorial ->
Cool tips, if any one is interested in learning more about retouching, check out Natalia Taffarel. She is absolutely amazing.
I can see that I have not been using photoshop to its full potential. The suggestions are very helpful
Great tips. Cant say im a fan of the first tutorial, especially the “Apply Image” technique
I think freckles are such a beautiful feature on peoples faces, I find freckles absolutely beautiful and would “killl” to do a shoot of a fleckled face. I don’t think we can class freckles as imperfect, otherwise we end up with “plastic” skin like the girl shot on your article. Thanks
I would never remove freckles or any natural features such as moles. These are part of a person’s identity and as such should not be interfered with. If they really wanted rid of them then they would have them surgically removed.
These shots are a perfect example of what you can do with photoshop. Thanks for the advice