Not too long ago I was asked to take some pictures of a few products for a fashion blogger to review. Despite my shortage of experience in the fashion industry, I felt sufficiently prepared for the work. The only real problem was that I didn’t have a lightbox at the moment, and I only had one flash. But to make products look good on a white background, I would need at least three lights.
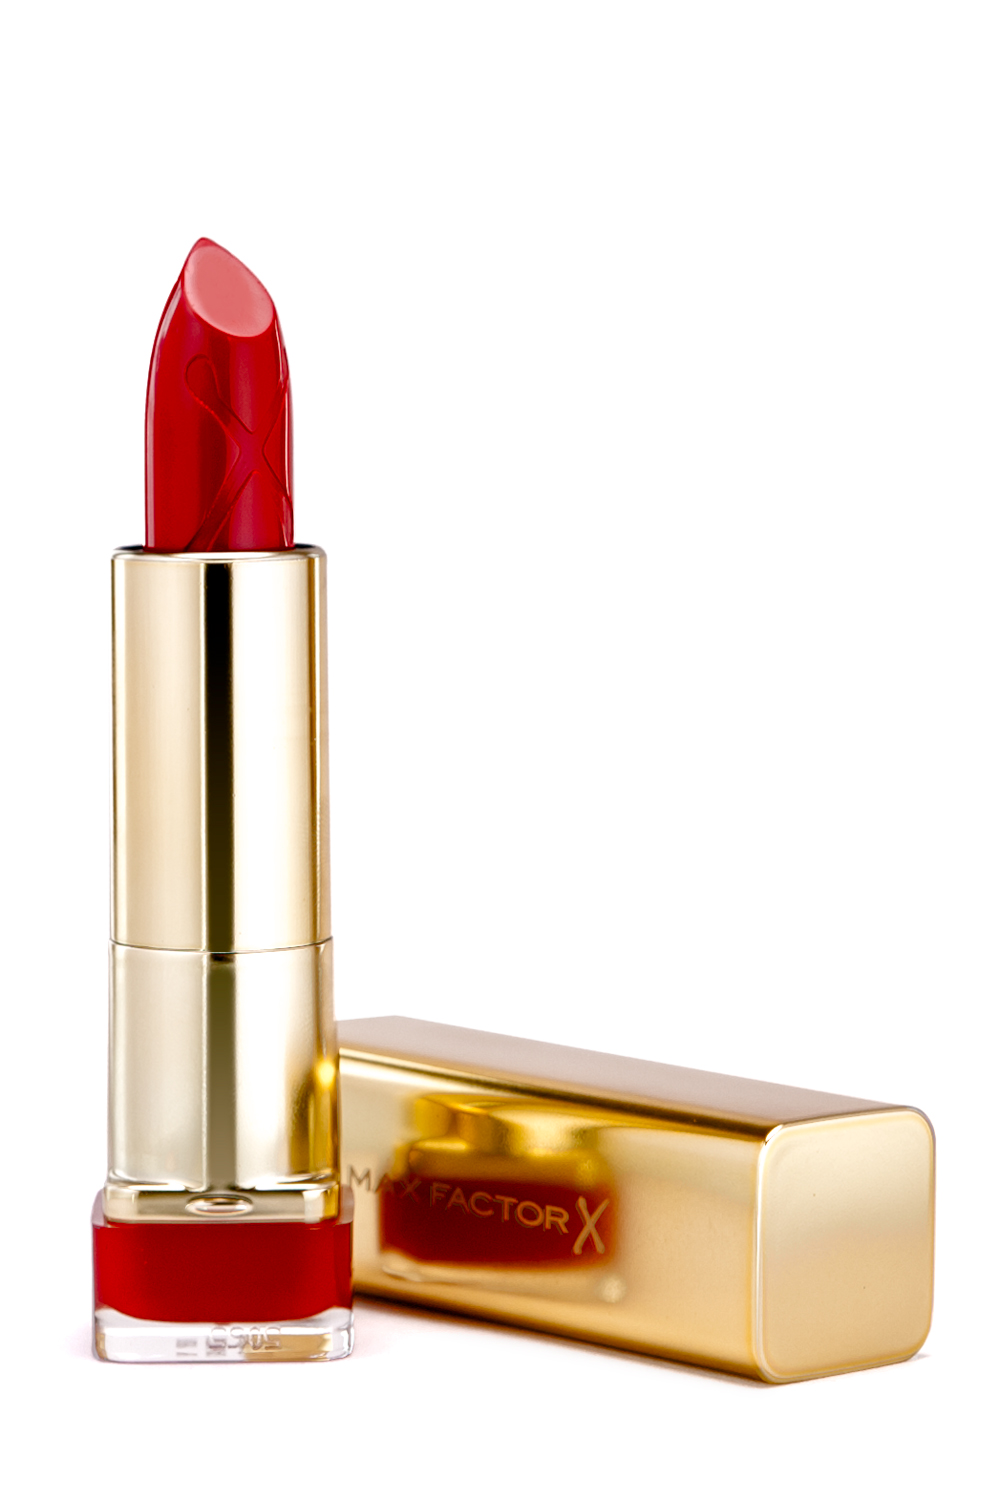
I figured I could make do with one light and four sheets of standard A4 paper (8.27 in × 11.7 in). The trick is to use multiple exposures and a tripod. Unfortunately for me, my trusted tripod was damaged in a recent accident, and is no longer as stable as it used to be. There is potentially some movement between exposures, but that's something that I can easily correct afterwards.
Now I'll share the secret of how I managed to pull off great pictures without the professional gear.
This is what we need for a project like this:
- – A camera with full manual control and a pop-up flash
- – A flash which can be triggered by light
- – A tripod
- – Four sheets of standard 80g/m2 A4 paper
- – Some sticky tape
- – Scissors
The process is really simple. Take one sheet of paper and make a ramp-like form. You can achieve that by sticking it to the wall and to the table in order to avoid hard edges. Securing it with tape ensures that it won’t move or shift while you are photographing the product.
Next, take two sheets and gently fold them into a cylindrical shape in order to give them a rounded edge, enabling them to stand on their side (essentially forming the left and right walls of the makeshift light tent).
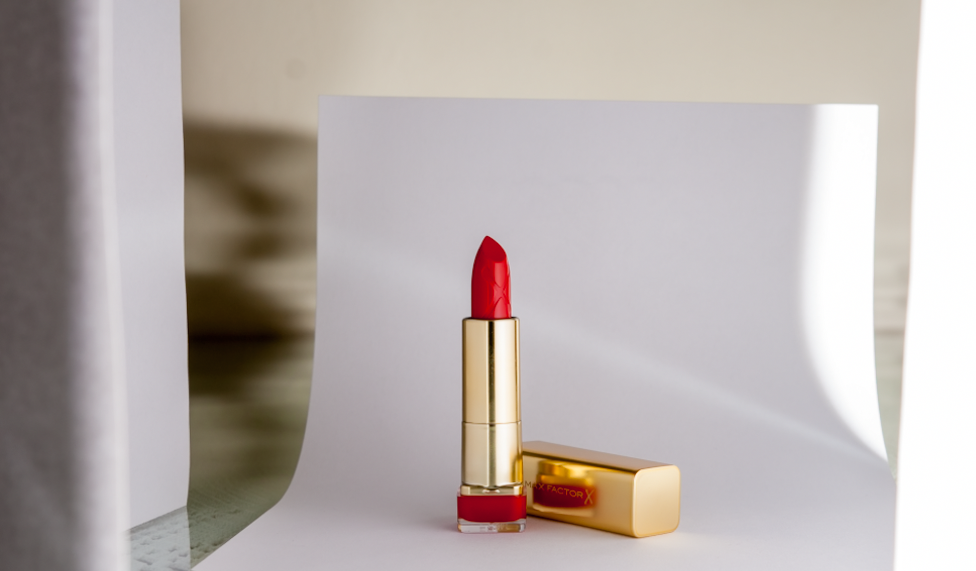
Now, take your camera and set it on the tripod. Set your aperture at around f/8 because most lenses are sharpest there and that is enough depth of field to fit your product in the field of focus. Set your shutter speed at around 1/100 (to avoid dark frames due to bad sync with cheaper flashes). Once you have focused your camera on the subject, set the focus to manual so it doesn’t change.
If you have window blinds, close them and limit the amount of ambient light as much as possible. Set your flash to slave mode, but make sure you choose the slave mode which skips the pre-flash. The power should be at around ¼ or ⅛ in order to achieve good exposure, but you might need to tailor it specifically to your setup.
Now comes the shooting part. Open the pop-up flash on your camera, and find something to block the light towards the product – anything dark and thick will do. I used two dark business cards made out of thick paper (almost carton-like). The popup flash is just the trigger for your main flash – that light should never reach the product. Set your camera on a timer, and with your flash in-hand, aim it towards one of the sides, take a picture, and repeat with the other side. You'll have your product lit from both sides in two separate pictures. Now take the last piece of paper, hold it in one hand on top of the product (make sure you don’t let it wreck the setup) and shoot your flash through it for the third picture.
At the end you will have three pictures, all lit differently from three different angles. Upload them into Lightroom and adjust the settings to auto sync between all the shots and develop them as you wish. Once you are done with that, right click -> open as layers in Photoshop in order to merge them into one picture.
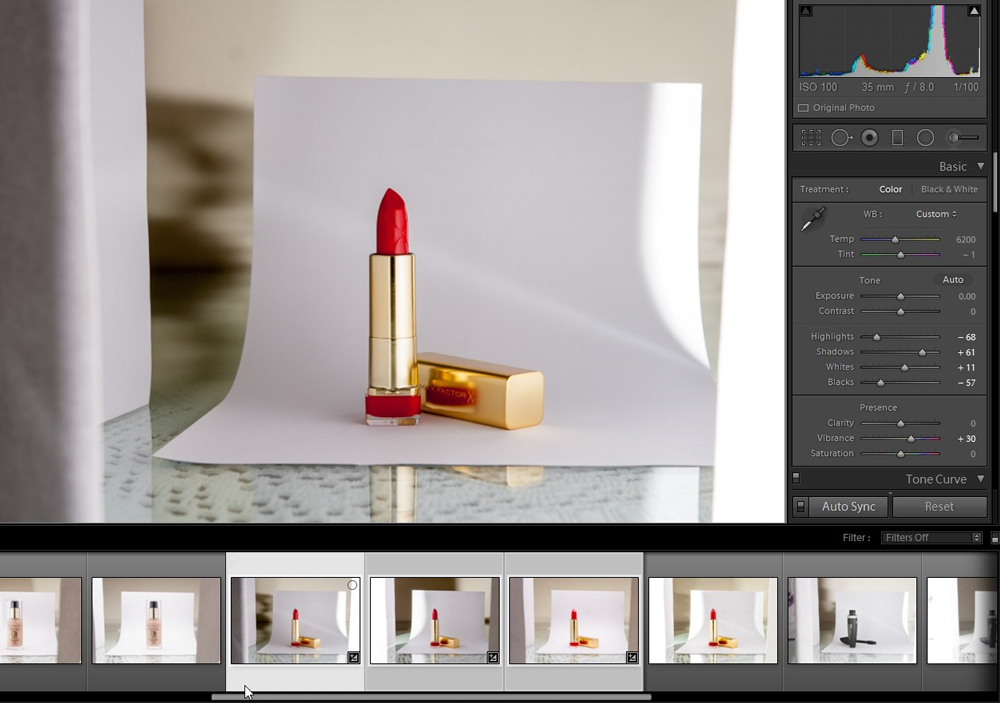
You've probably already wondered why I didn’t bother changing the amount of light. Well, since the photos will be blended in Photoshop, I can control it there, making the shooting part a bit easier.
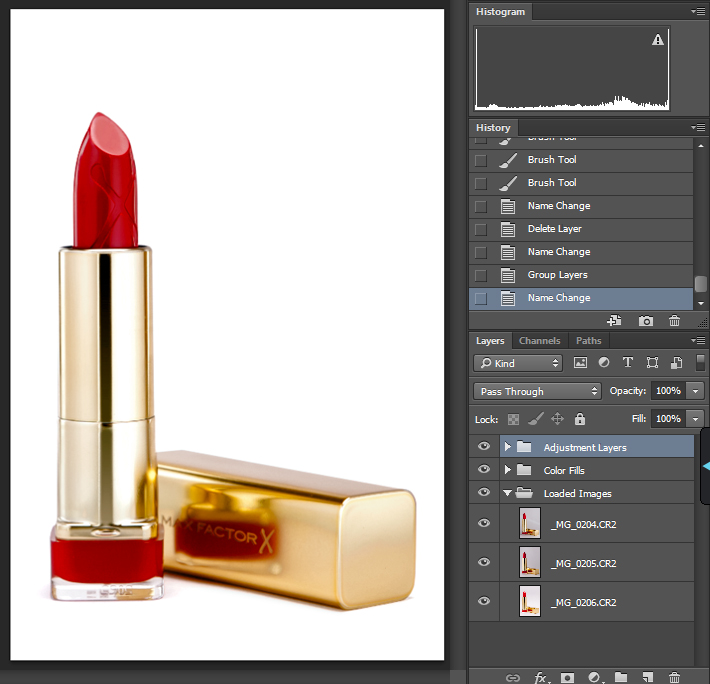
Once the photos are open in Photoshop as layers, select all three layers, go to Edit, then select Auto Align Layers. Wait for the process to complete (usually takes a couple of seconds, but it depends on the size of the pictures and the amount of layers). Once that is done, set the blending mode to the top two layers to Lighten. This way only the lighter parts of the layers will be visible when compared to the bottom layer, effectively simulating the three light setup, even though it was done with only one light. If you want certain simulated light to be weaker, simply lower the opacity on that layer.

Now all you need to do is clean up the image with some final touches, and you’re done.

