Astrophotography is capturing photographs of the night sky with astronomical objects in them, capturing celestial events, capturing images of deep space objects, and more. Since astrophotography is most of the time done using long exposures and at relatively high iso, there can be some sort of noise involved that will need to be reduced or eliminated either while photographing or when post-processing or both. In this article, we will look at how to reduce noise in astrophotography.

When capturing photographs of the night sky, or deep-sky objects like a nebula, star clusters, planetary images, etc., it involves longer exposures and a high iso setting. These two are major factors that contribute to noise in astrophotography. Eliminating or reducing noise is a task and can sometimes be a challenge depending on the settings used, shooting conditions, gear, etc. when you shoot night skies.
Camera technologies are evolving and modern cameras have great low light performance but when you shoot long exposures, it can heat up the image sensor causing thermal noise. Also using iso values beyond a certain value will lead to more digital noise.
Grab your Milky Way Photography Blueprint for free right here.
Here are some things to keep in mind:
- The first step to reducing noise can be to choose one of the cameras that can handle low light photography and high ISO well without introducing much noise and this will be a great decision if you will be frequently doing astrophotography.
- The next step would be to invest in a lens with wider aperture values of at least f/2.8. The focal length depends on whether you want to shoot wide to include landscape (wide-angle lens) or go narrow to shoot deep sky objects (moderate to the telephoto lens).
- If you love deep-sky astrophotography, a good knowledge of using deep sky stacking software for pre-processing deep sky images.
- Have a good post-processing software and/or plugins so you can neatly remove any noise in the photo while post-processing so we have a resulting image with as little noise as possible.
What Is Noise In Photography?
Noise in photography is irregular grains of colored pixels that can make an image look awkward, make the colors look unnatural, leave artifacts, and reduce the image quality and sharpness.

Can You Reduce Noise In-Camera Using Noise Reduction Features?
Most cameras come with two “noise reduction” features called “Long Exposure Noise Reduction” and “High ISO Noise Reduction” but, should you turn on these features for astrophotography? The answer would be no, for many reasons and some of them are below.
- You will lose signals from faint stars in the noise reduction process in the camera and some fine details also will be lost.
- The noise reduction feature can cause more internal heat in the camera
- You need to wait between each shot – the same time as the exposure time or sometimes, even more, depending on your camera because, after each exposure, the camera takes a dark frame with the shutter closed, that can be used to remove fixed pattern noise. Even if you are willing to wait, this will not help when shooting for star trails, as this will leave large gaps in trails.
- This process drains your battery and heats up the camera leading to more noise.
If you are shooting only a couple of jpeg files quickly and are not worried about some stars losing their details or even getting eliminated as noise, then you can use the high iso noise reduction feature in-camera. We do not recommend shooting jpeg for astrophotography and do not recommend using the noise reduction features either.
To read more about what in-camera noise reductions do and if they should be turned on or off, check out this article – Should You Turn Noise Reduction On Or Off For Astrophotography
How Can You Reduce Noise In Astrophotography?
Noise can be reduced by capturing photographs using the right camera settings for exposure and any remaining noise can be eliminated or reduced when post-processing. Moreover, finding dark skies and shooting under them will give the best results and will reduce the post-processing times considerably, which many photographers prefer.
Use The Right Camera Settings When Capturing The Image
There are many ways in which noise can be eliminated in astrophotography. Shooting in low iso values and shorter exposures can give noise-free images, but that is not possible with astrophotography, especially when you are capturing celestial objects and others.
Here are some tips that you can follow:
- Make sure that you shoot raw and turn off high iso and long exposure noise reduction in camera.
- Keep the aperture as wide as possible. Some lenses with aperture values like f/1.4 and f/1.8 can sometimes introduce chromatic aberration making the star details less sharp. Try to use these lenses at f/2 or f/2.8 if you come across those issues.
- Stick to the astrophotography rules like the 500 rule or NPF rule to get the shutter speed or exposure time right and avoid motion blur. You can tweak these values as required.
- Good knowledge of the exposure triangle will help with achieving correct exposures without underexposing your images because underexposed images lead to more noise when increasing exposure at the post-processing stage.
- Based on the above aperture and shutter speed settings, set the iso. By doing this, you will not unnecessarily shoot at higher iso values than required and render the images useless.
- Make sure you capture the image in the right exposure needed. Do not underexpose the photos because if you do so, then pulling out details from dark areas will reveal noisy artifacts that can be hard to eliminate or sometimes cannot be eliminated.
- Keep an eye on the histogram as you may sometimes be confused with the exposure that you see on the LCD screen at night. Make sure it does not touch or is not cramped to the far left, which means there should not be dark shadows with no details in the image. Correctly exposed photos at high iso, have less noise compared to underexposed photos at low iso where you increase exposure and pull out shadows later when post-processing.
- When including landscapes in astrophotography, you may sometimes need to light paint very dark areas in foregrounds, to get the proper exposure, especially when there is not enough light (ambient light) in the scene.
- Heat can lead to more thermal noise in astrophotography images in the form of hot pixels. It is advisable to shoot in cooler temperatures or use cooling packs. There are also heat reduction systems that you can look into if you are serious about astrophotography.
We will now discuss how to reduce or eliminate noise from a single exposure and also from multiple exposures when post-processing.
How To Reduce Noise In A Single Exposure Night Photograph?
Although shooting multiple photos can help with removing random noise during the stacking process, it is not always possible to shoot multiple exposures when there are clouds in the sky, when shooting the aurora, etc. In these situations, you will need to deal with single exposures.
You can easily capture a dark frame (same settings with the lens cap on) on location at the same camera temperature and blend (use the Blend mode -> “Difference Mode”) with your original image to subtract thermal noise from the image. This can be easy to forget, but it is good to have a checklist handy so you do not forget to capture it.
Note: Always keep an eye on the histogram and capture a properly exposed photo – this way you will have a photo with less noise. Underexposing and brightening when post-processing produces a large amount of noise even if you shoot at low iso values.
Reducing Noise Using Adobe Lightroom
When you are processing your raw files in Lightroom, do not over-sharpen your images as this can sharpen noise pixels and make them even more prominent in the photographs. Here is how to reduce noise when post-processing in Lightroom.
- In Lightroom, there is an option for Noise reduction in the “Detail” panel, where you can find sliders for “Luminance” and “Colour noise”

- Zoom in your image to 100 or 200% so you can clearly see what’s happening when you drag the sliders.
- In the sharpening panel, sharpen slightly, about 25 to 40. This value is usually set to 40 by default for raw files. Increase or decrease to get the desired results. Set the masking value to between 10 and 25 depending on the image you are editing. This will help to avoid sharpening the noise pixels.
- Set the “Luminance” value for noise reduction to between 5 and 10. Increasing this too much can make the image look flat/smooth with no details.
- Set the color noise to between 25 to 50 making sure you do not remove the natural colors of the stars.· This is all that can be done in Lightroom in terms of removing noise.
Now if you want to reduce noise further, you can make use of Photoshop and other plugins that can be used in Photoshop or other standalone noise-removing software. You always need to make sure that you finish your other editing processes in your favorite post-processing application before using applications for noise reduction.
Reducing Noise Using Adobe Photoshop
Photoshop offers a variety of tools for noise reduction starting from the basic noise reduction to advanced features including stacking for multiple exposures.
- In photoshop, you can use the “Camera Raw” filter to reduce noise very similar to how you reduced noise in Lightroom.

- There is an advanced Noise reduction filter – Filter menu -> Noise -> Reduce Noise.

- Here, you can do a basic noise reduction process or use the advanced option to reduce noise separately for each channel.

- Besides this, there are luminosity masks that can be used to reduce noise effectively. We have mentioned one in the next section.
Reducing Noise Using Plugins, Actions, Luminosity Masks
There are various plugins for noise reduction that can also be used for more significant reductions in noise for astrophotography, like Topaz Denoise, and Nik Dfine, and actions like Astronomy Tools that help with improving your astrophotos through noise reduction. Some of these even work as standalone applications.
Most of the plugins work in the same way. They have an automatic noise detection and reduction feature and a manual one. Try using the automatic feature first and if that does not help, manually make adjustments till you get the desired results. Most of the time the automatic settings work great, but you may sometimes need to manually tweak them depending on your image and the results you are looking to achieve.

Nik Dfine comes with advanced noise-reduction profiles for different kinds of noise that can automatically denoise the images in one click. You can choose to do this or manually reduce noise.
This plugin also has a feature that enables the reduction of noise only in selected areas of the photo, for example only in shadow areas, etc. There are also two types of noise reduction on Nik Dfine – contrast and color noise. If you previously removed color noise in Lightroom then only make adjustments to contrast noise as desired.
Topaz Denoise AI is another plugin that is a great tool for reducing noise in all kinds of photographs including night sky pictures. This clever tool can differentiate between stars and noise so the resulting noise reduction process will not eliminate stars from the frame.
When using plugins, most of the time the algorithm mistakes faint stars as noise and may remove or reduce their brightness. Doing this may remove many of the stars from the frame that you worked so hard to capture.
In order to avoid the above issue of losing faint stars, you may want to work with Luminosity masks in order to preserve the details of small and faint stars. Luminosity masks like Lumenzia come with a variety of masks for various purposes and will allow you to easily mask these stars and apply noise reduction to the other areas of the image.
Reducing Noise By Shooting Multiple Exposures
Another great way to reduce noise in astrophotography is through stacking multiple exposures. Programs like Deep Sky Stacker, Sequator, Starry Landscape Stacker, Star Tools, Nebulosity, Pixinsight, etc., are all great applications to stack and also reduce noise in the pre-processing stage of the image.

Some programs use image averaging techniques and can easily remove airplane trails. Also, these programs are cleverly designed to distinguish between a star and noise. The stacking process removes noise levels from images considerably and brings out even the faintest details in the final output.
During the stacking process, the stars in the frames are aligned to get the final file that has all the stars as pinpoints rather than trails. You can further reduce any evident noise later during the image processing stage.
When stacking, you will need to have the patience to shoot multiple exposures (as many frames as possible, sometimes several hours depending on the subject) of the same subject, which will be the light frame, along with dark frames (helps to identify the real noise pixels and avoid removing faint stars), flat frames (helps with removing vignette) and bias frames (helps to remove any pattern noise).
The number of exposures for multiple exposures depends on the subject you are shooting. The more the number of light frames, the more details, colors, stars, and other objects will be visible in the final image.
For a Milky Way photo, exposures between 50 to 100 are recommended, but if you are looking to image nebulae, other distant galaxies, clusters, cloud complexes, etc., then you will need to make hundreds of exposures over a few hours to collect as much light from those distant faint objects and get a decent final shot.
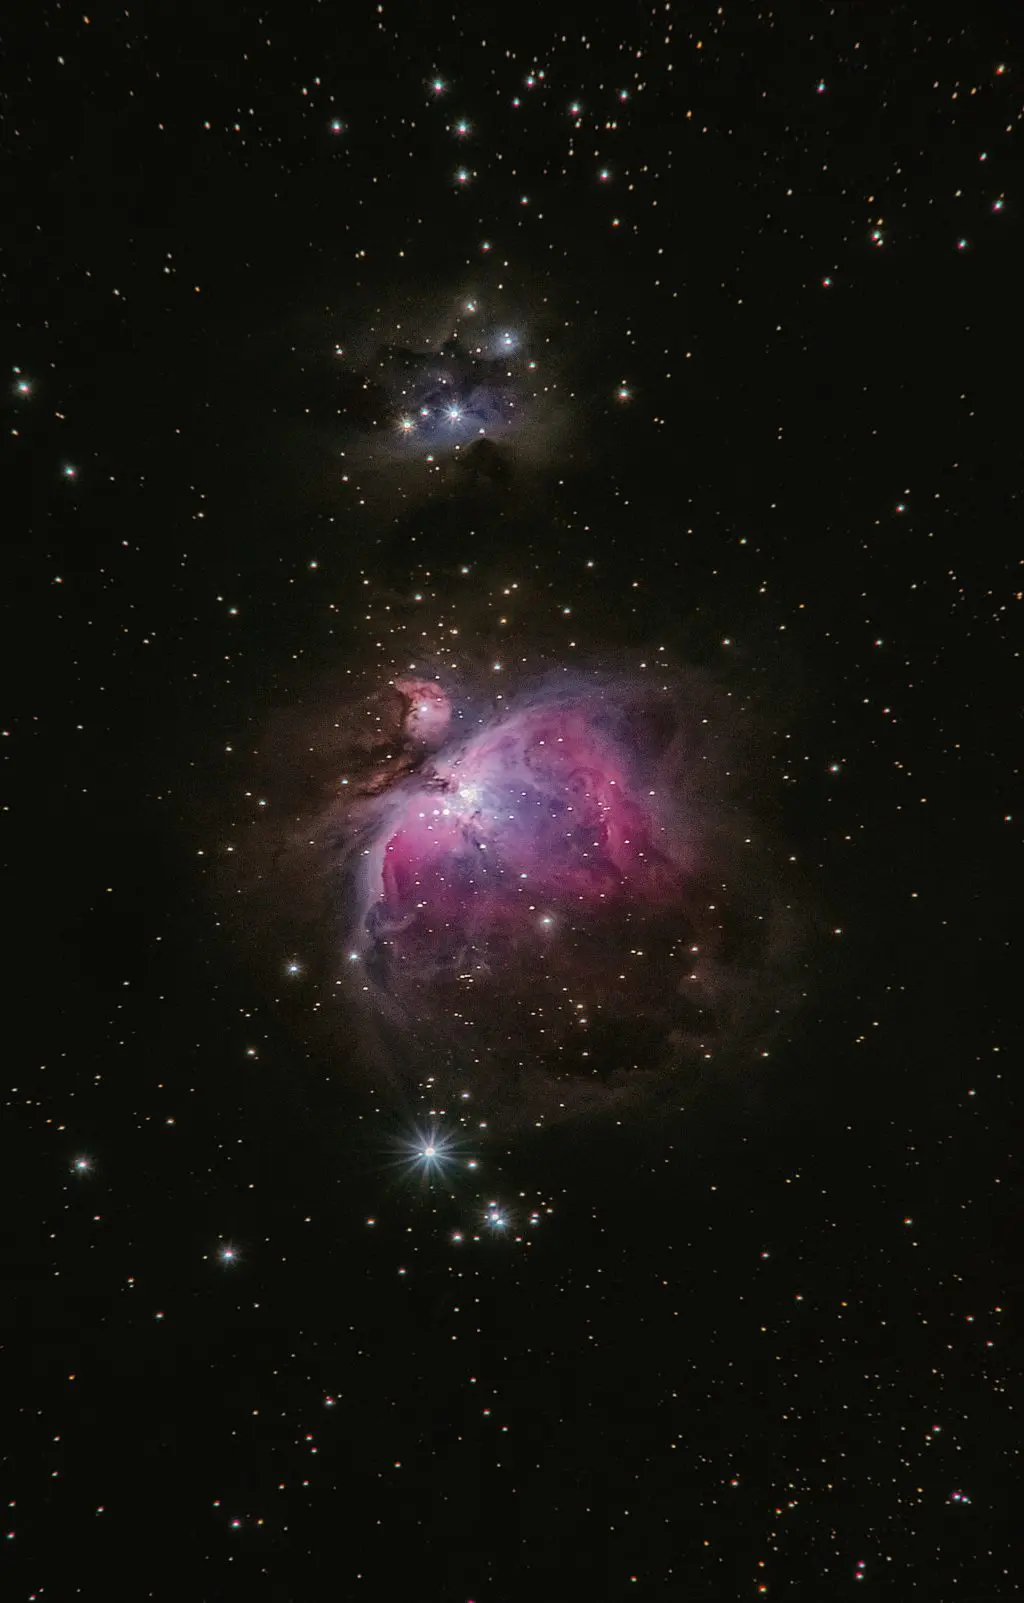
If you are interested in learning the shooting and stacking process for deep-sky objects, here is a detailed article with step-by-step information and illustrations on stacking using a deep sky sacker – How To Photograph The Orion Nebula.
You can also stack exposures in Photoshop quite easily. An easier way to do this is,
- Capture multiple exposures of the same subject, for example, the Milky Way following the 500 or NPF rule so there is no trailing of stars and the stars are pinpoint sharp.
- Make sure you turn off long exposure and high iso noise reduction features.
- Import these files in Lightroom to make basic exposure adjustments and if required some contrast, dehaze, clarity, etc. Do not make any other edits like noise reduction. Sync the exposure settings to all photos so that they all look the same.
- Now select all the images, right-click and select “Open as Layers in Photoshop”
- Select all the layers, go to the edit menu and select “Auto-Align Layers” Select “Auto” and click ok.

- To stack the layers, select all the layers, right-click and select “Convert to Smart Object”
- In the layer menu, click “Smart Objects -> Stack Mode -> Median”
- The resulting stacked image should have significantly less noise and look clean compared to the original single frame.
- You can now make more edits like color grading to the final image if required. This can be done either in Photoshop or another post-processing application like Lightroom or another of your choice.
Note: If your alignment worked perfectly, then your stars should be sharp pinpoint ones. You may need to crop the edges that moved during the alignment process, to get a resulting neat frame.
If there was misalignment, you will need to use the manual method to align and place each exposure on top of the other. You will need to work on each layer using the transform tool to manually align the layers. This will take some trial and error.
Stacking can seem like a complicated process, but if you take the time to work on it, you will be rewarded with clean noise-free astro images. The process will get easier with some practice.
How do you reduce noise in your astrophotography images? Let us know in the comments section below.
Further Resources:
- The Keys To Minimising Noise in Your Photographs
- A Beginner’s Guide To Reducing Noise In Post Production
- How To Reduce Noise By Shooting Multiple Exposures
- The Ultimate Comparison of Nine Noise Reduction Methods for Night Photography
- Simple, Powerful Noise Reduction for Star, Milky Way & Night Sky Photography


