Waterfalls are one of the most stunning water features found in nature and it can be slightly challenging to capture them at their best. Waterfalls photos work best when you lengthen the exposure time to capture their movements and this is where photographers need to decide the settings that will work best for the image they have visualized. This article will help you with some tips and tools, to capture enchanting photos of waterfalls.
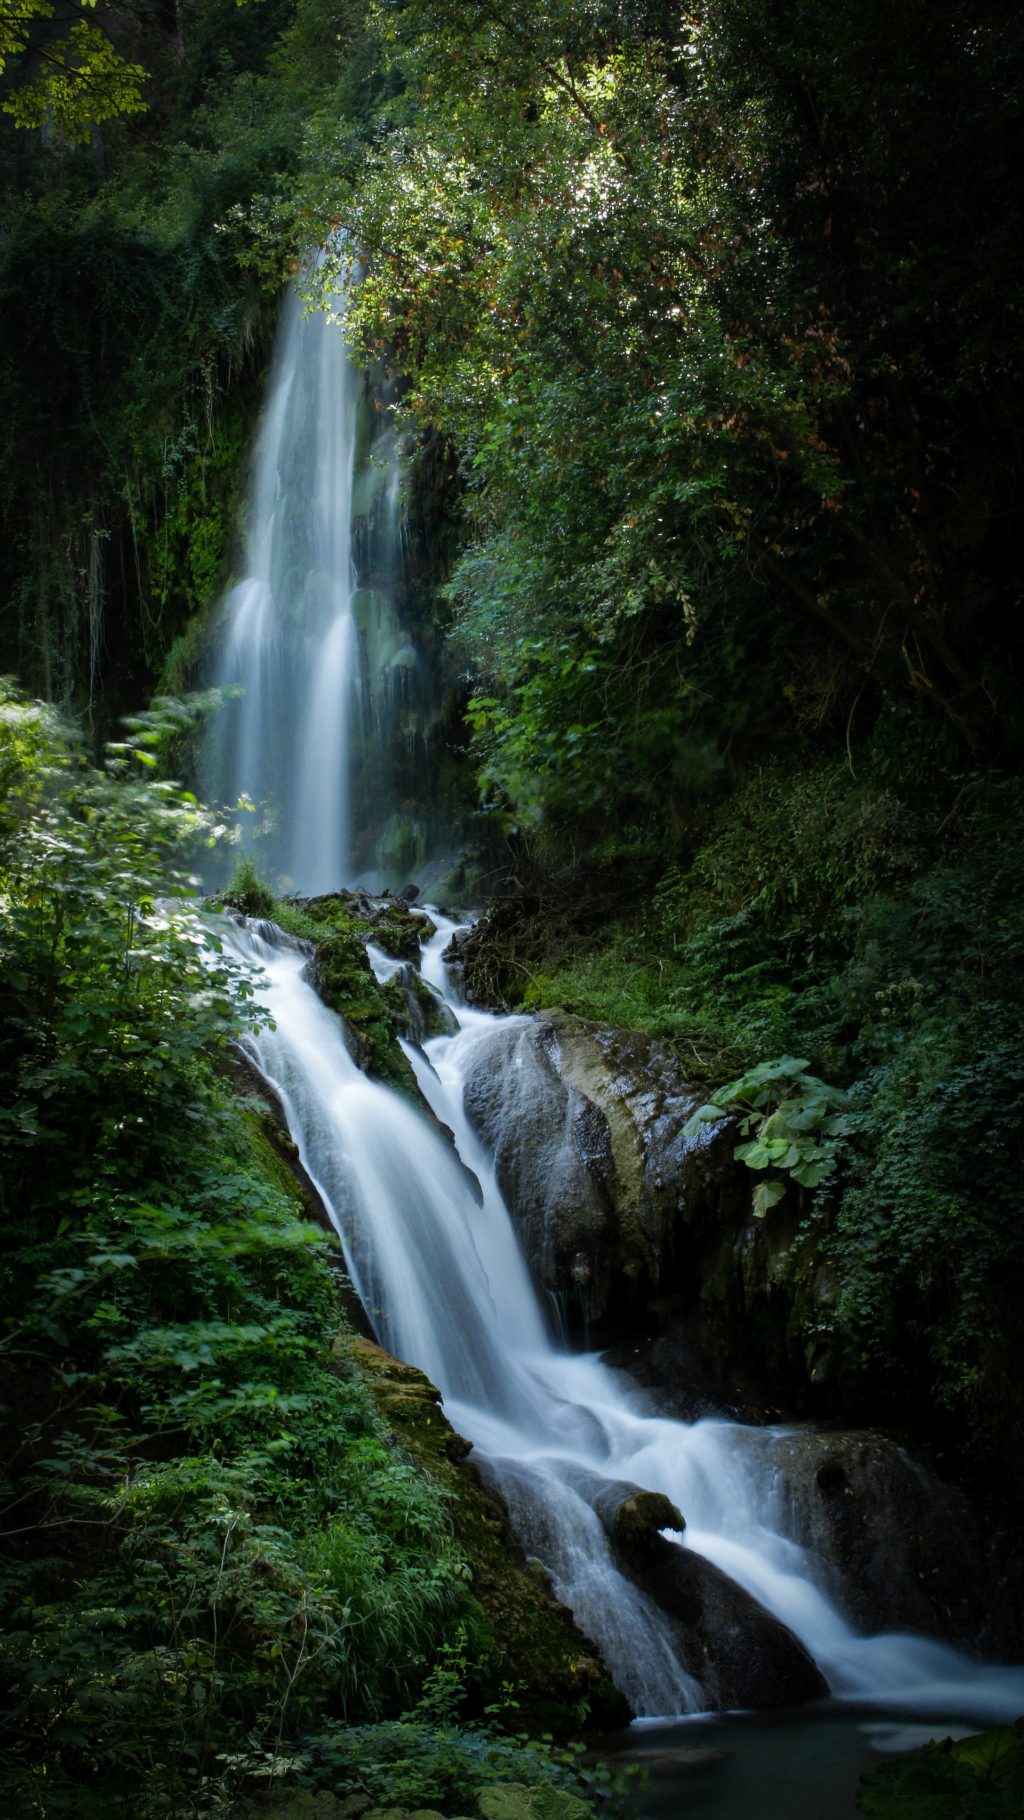
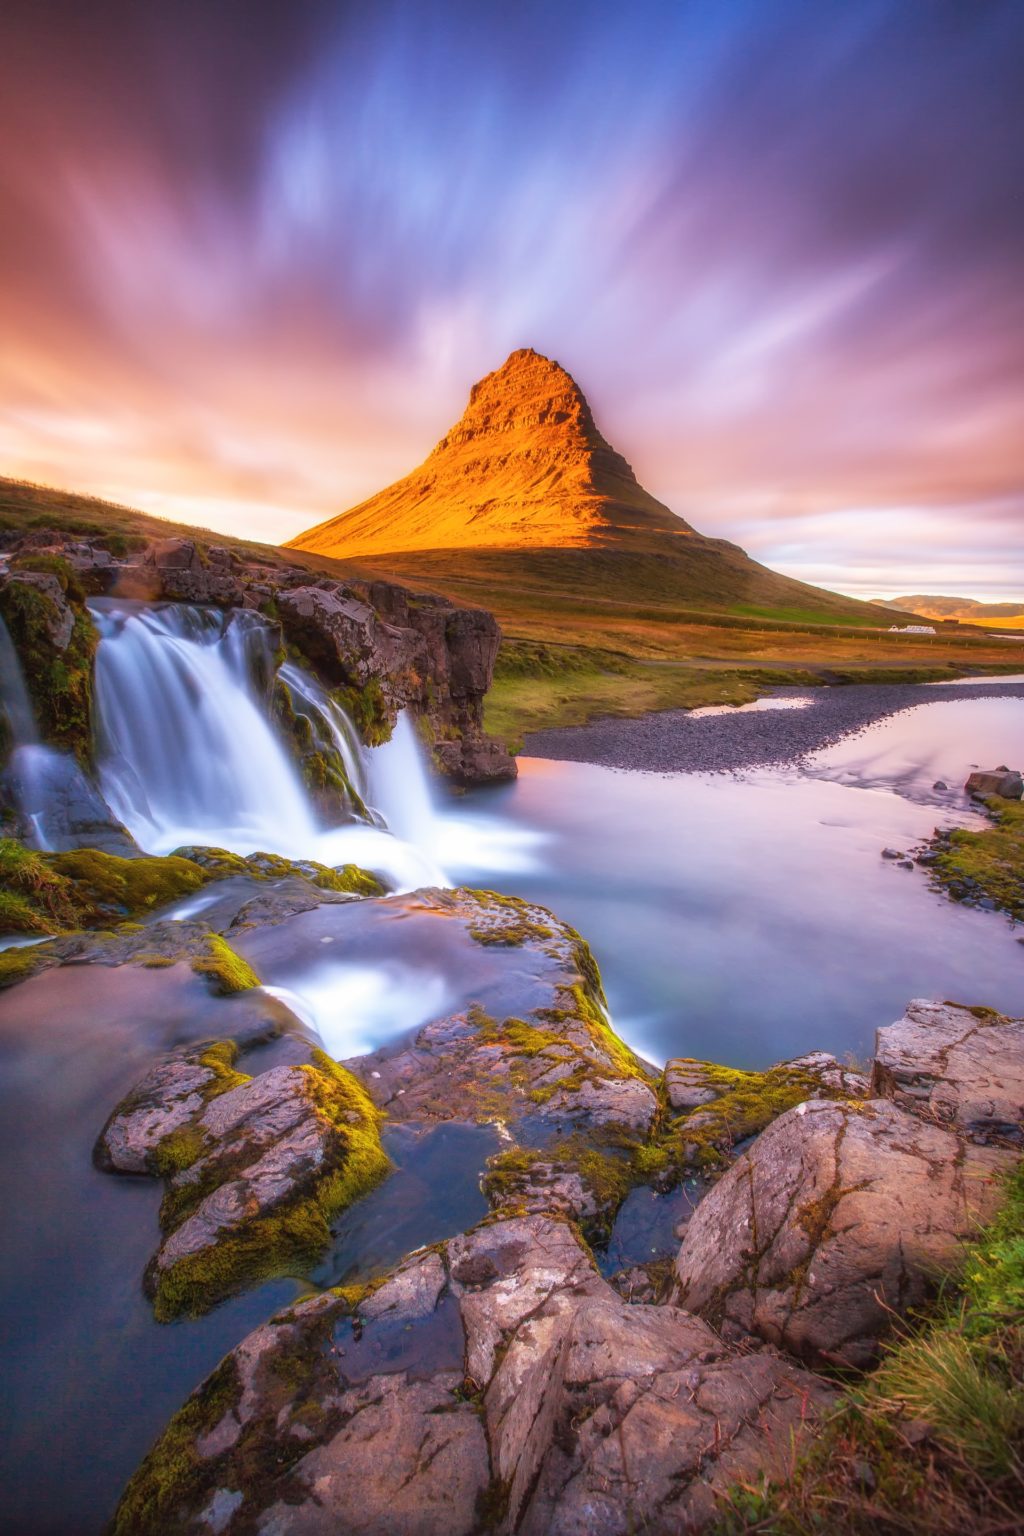
Waterfalls are dynamic and if captured well, they can look quite dreamy, as if like a scene from a fairytale. You may like to photograph the waterfall at different times of the year and different times of the day. Some may like the moody atmosphere on a foggy day, while others may like a clear day when the sunlight makes the water and the surroundings look bright and colorful.
Waterfall photos can be captured with faster shutter speeds where the photographer freezes the movement of water or can be captured with slower shutter speeds where the photographer captures the movements in the water. Depending on your visual appeal, you will need to choose the right settings and accessories to photograph waterfalls.
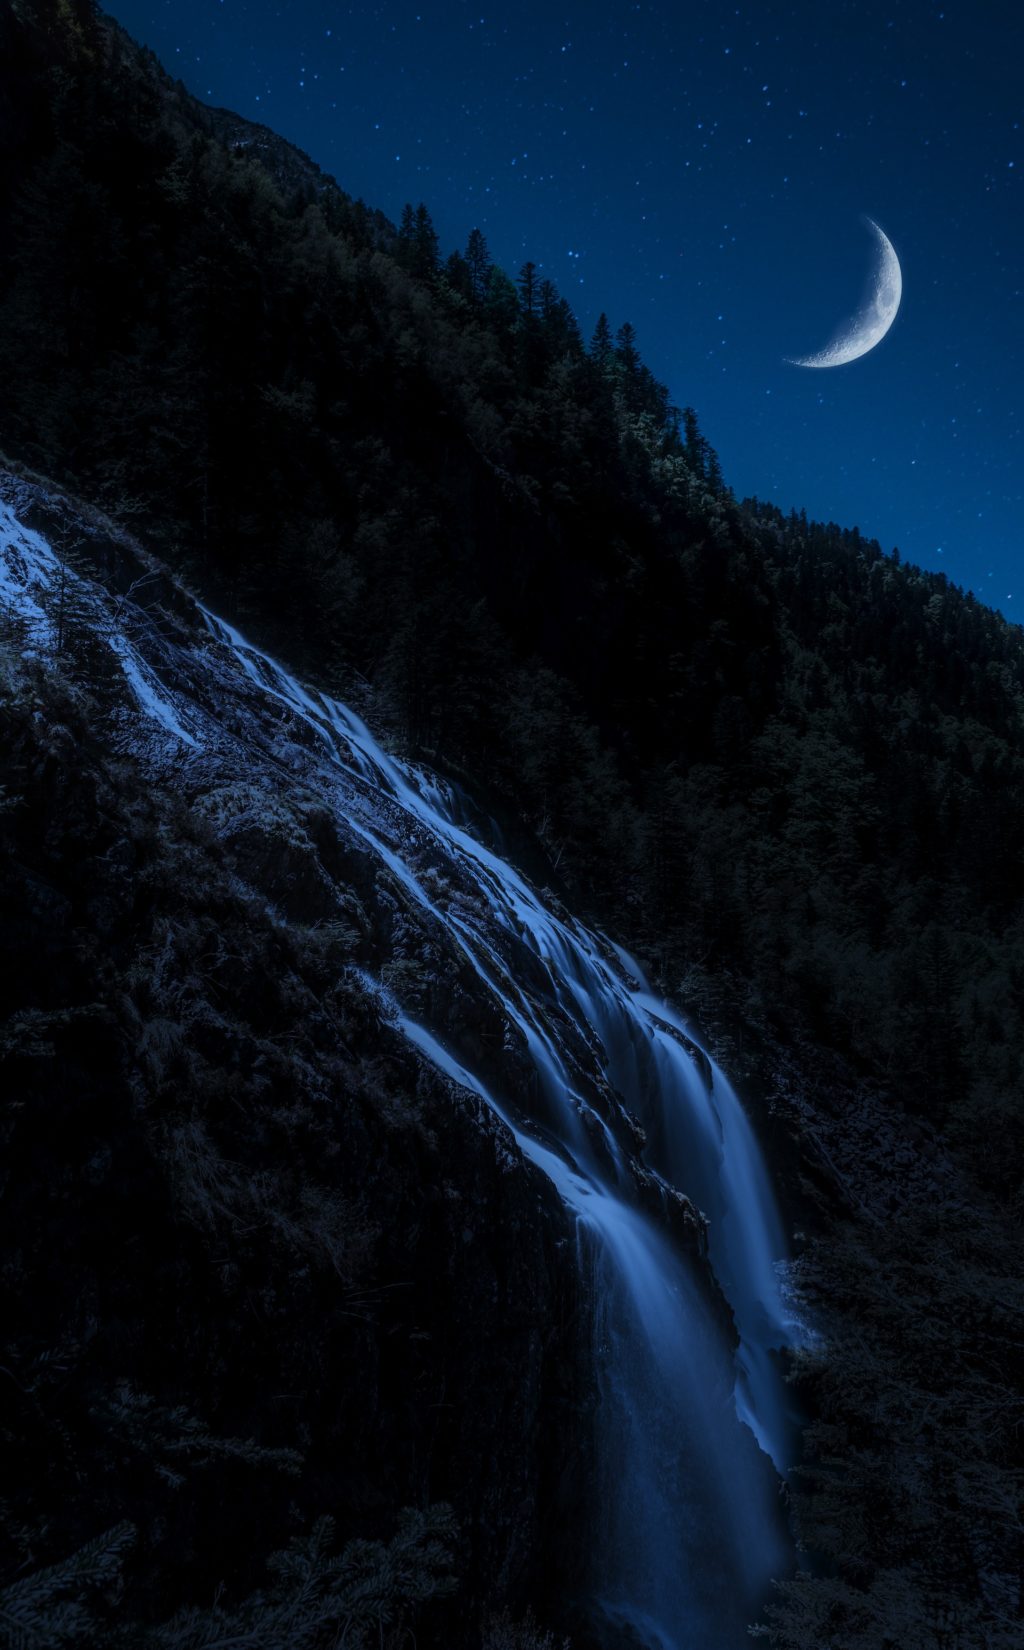
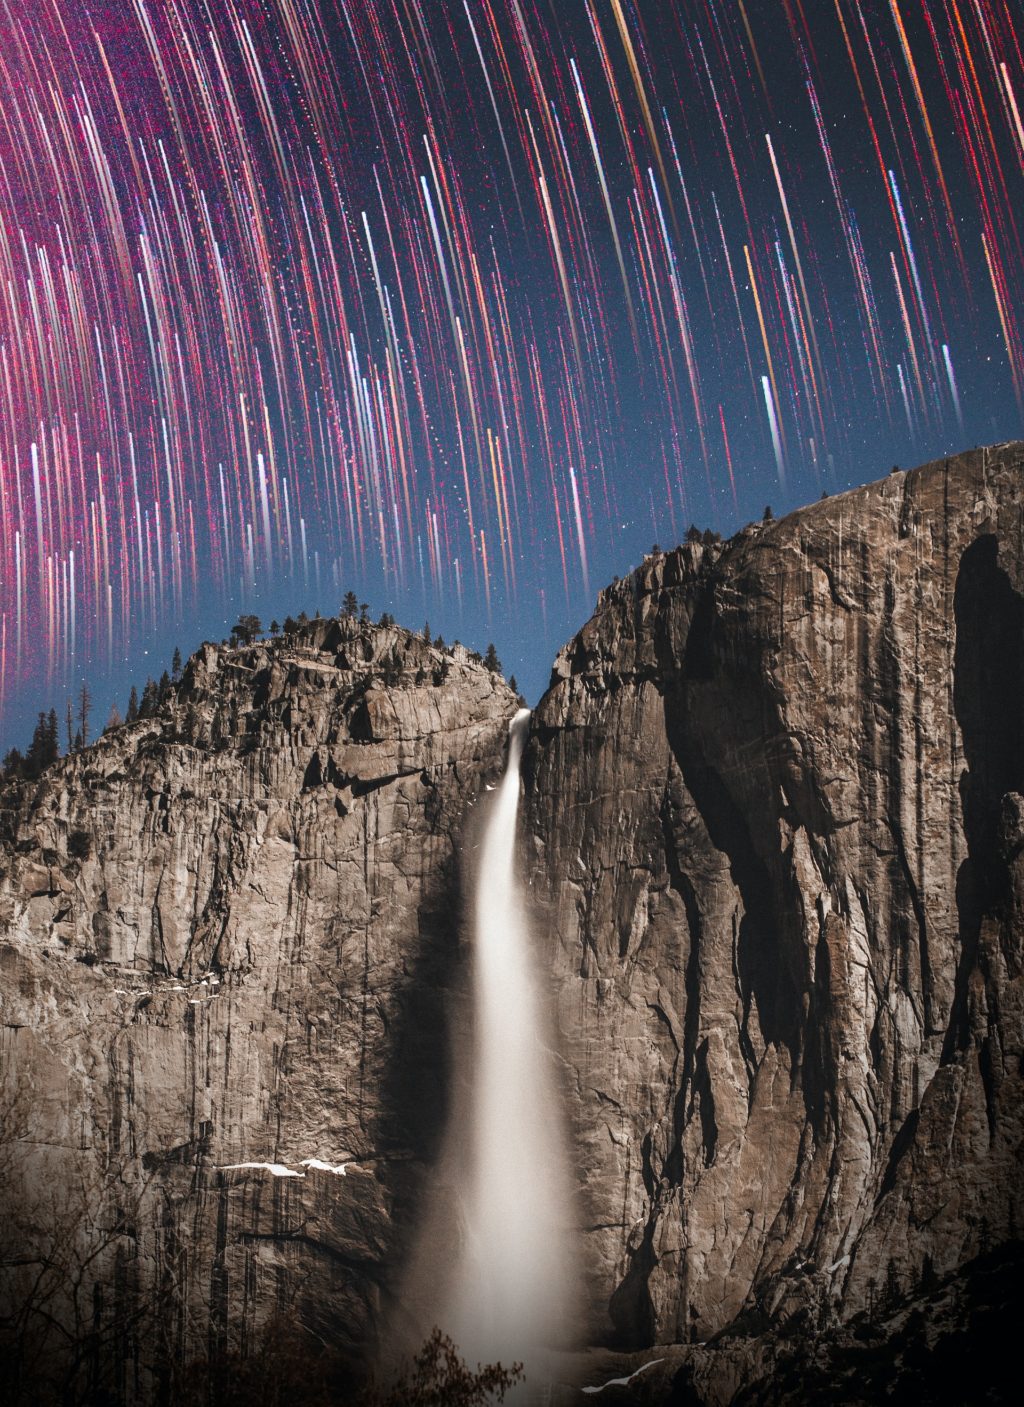
Waterfalls also look stunningly beautiful when photographed at night. A little creativity, planning, and some techniques will reward you with magical night photos of these interesting subjects.
Camera For Long Exposure: Tips And Tools
In order to capture interesting photographs of waterfalls, especially if you wish to use longer exposures to capture the movements in water, you will need to use a camera that will allow you to shoot in manual mode/bulb mode. This will help you to capture the movements in the water while the surrounding elements, the background, and the foreground remain static and sharp. If you want to freeze the movement of water, you can use faster shutter speeds and any camera will help you achieve this result as long as you get the settings right.
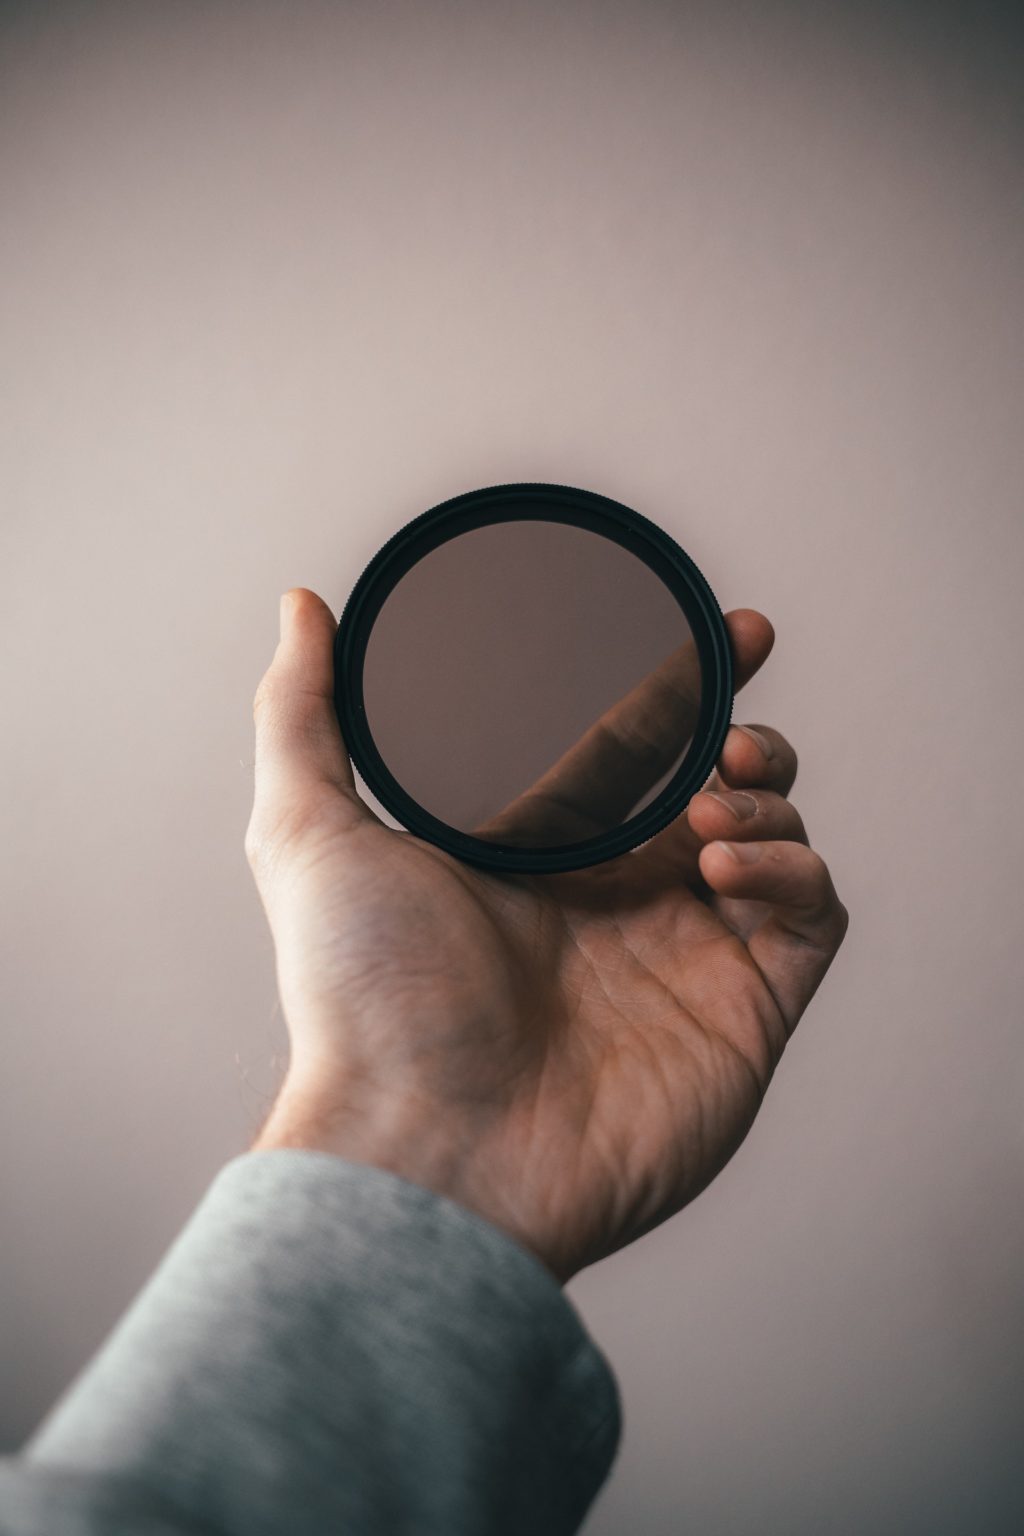
Neutral Density (ND) Filter
Neutral density filters decrease the amount of light entering the camera and reaching the sensor. The amount of light cut by the ND filter depends on how much light the filter is able to stop.
Neutral density filters are not always necessary when photographing waterfalls and this greatly depends on the weather and light in the shooting location and the scene in front of you. If you are in a location on an overcast or foggy day or in a location where there is heavy shade like a forest area with thick tree cover, etc., then you may get away with avoiding an ND filter and using narrow apertures, lower iso values, and slightly long shutter speeds. Or, if you are not interested in long exposures, then you can just shoot normally without an ND filter and freeze water movement.
In other scenarios, or in general, for long-exposure waterfalls images, you will be glad that you have an ND filter that can help you to control exposure times. There is an article here that discusses the filters that photographers may benefit from and what each filter does. ND filters help to capture dreamy long exposures of waterfalls and besides this, they also help to enhance the textures and contrast in the image, capture vibrance, and also render a great mood in the photos.
Cable Or Remote Release
When you have the camera on a tripod for long-exposure waterfall images, your aim will be to eliminate all sorts of movements in the camera. In order to avoid movements due to shutter release, it is advisable to use a cable or remote release for shutter release. If you do not have one, make use of the inbuilt timer feature.
Some cameras have apps from their manufacturers that allow them to use their smartphones as shutter releases. If your camera has that feature, make use of it.
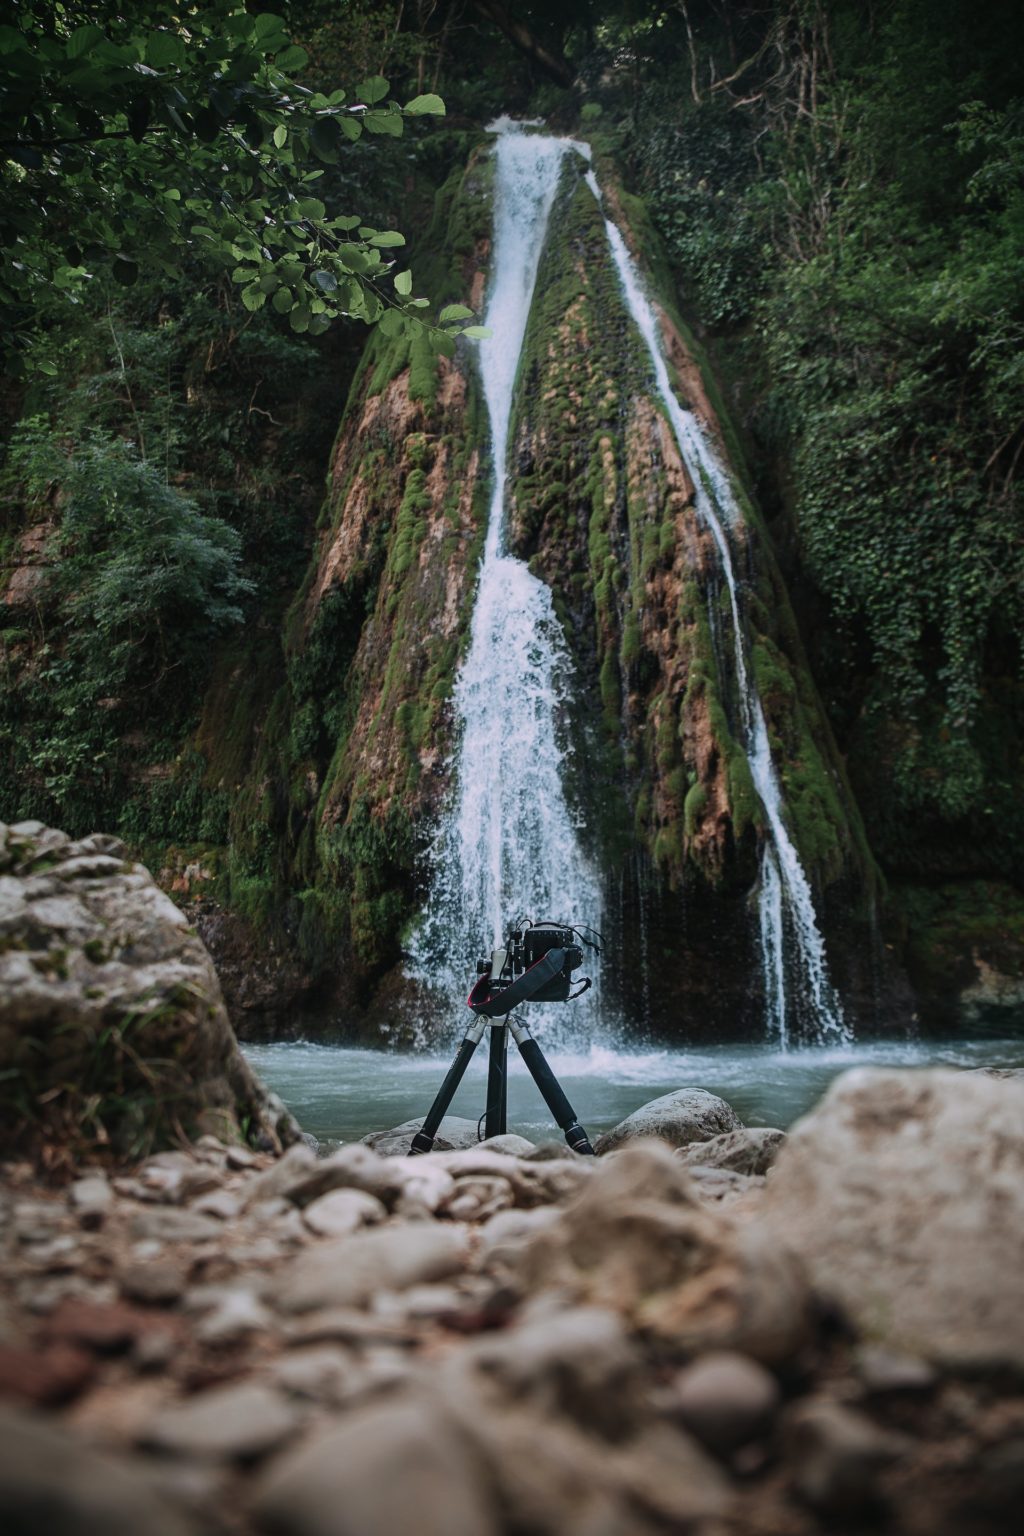
Tripod
If you are someone who photographs long exposures of waterfalls, then a tripod is a must in order to capture sharp images. Even if you are exposing for 0.5 or 1 second, you need to use a tripod to ensure sharp results. Using a tripod also gives you the flexibility to compose creatively.
If you have to hike a lot to reach the waterfall, which most remote waterfalls require, then go for lightweight carbon fiber tripods. Make sure that they can hold the camera and lens combination steady during the shot and can also withstand windy situations so they do not tip over. These tripods can also come in handy when you want unique perspectives and compositions where you will be framing from within water or other rough terrains.
If you have a mirrorless camera and lens that is quite lightweight, you can even opt for a gorilla pod that can be clamped onto trees and wooden fences in order to effectively capture waterfall shots. These accessories are very lightweight and can greatly help with minimizing the gear you will be required to carry on long hikes.

Circular Polarising Filter
When photographing waterfalls, depending on the direction of light, time of the day, and surrounding elements, you may come across situations where reflections may sometimes ruin the shot or may look quite distracting. The reflections can be on the surface of the water, surrounding flora, wet rocks, etc. A circular polarising filter if used well in these situations, can help with eliminating or at least minimizing unwanted reflections.
Remember that a polarising filter needs to be used at 90 degrees to the direction of sunlight in order for it to work the way it should and you need to rotate it till you get the desired results.
Rain Cover And Hoods
Most waterfalls when the flow is really high can spray mist onto your gear. Besides, one of the best times to photograph a waterfall can be during the rainy season. So it is better to invest in a rain cover, even if your gear is weather sealed. It is better to be safe than sorry.
See, if you are able to find hoods that can help with avoiding mist generated in tall and heavy flowing waterfalls. Again, this cannot help a hundred percent, but you can try to see if this helps.
A lot of factors like wind direction, the flow of the waterfall, the direction of the camera, the distance between the falls and the camera, exposure times, and many other factors contribute to how much misty the lens can get and how it can be avoided. Slow falling, less water, and staying at a good distance away from the waterfalls can help to avoid or minimize misty situations.

Microfibre Cloth
When photographing waterfalls, always have a few spare lens cloths that have good absorbent qualities. The mist from waterfalls can coat the lens or filters and degrade the image quality a lot. Also, it can leave round bright artifacts all over the image, especially in the brighter areas and this can be difficult or sometimes impossible to remove. To avoid this, make sure you check the lens and filters before each exposure and clean up the mist.
Camera Settings
- Set your camera to shoot in manual mode and to shoot raw.
- Set the white balance depending on the light in the scene.
- It is good to use manual focus, so you know where to precisely focus. With waterfalls, the camera can make wrong decisions in focusing on the wrong area, making surrounding elements look blurry with no interest.
- If using a DSLR on a tripod, make use of the mirror lockup feature to avoid any shake during photography.
- Take time to compose the photo. A tripod or a gorilla pod will give you the flexibility to compose creatively using unusual angles and perspectives.
- Use the lowest iso possible for longer exposures. Set the aperture value to between f/7 and f/11 depending on the lens’ sweet spot and how much of the scene you want in focus.
- When using an ND filter, depending on the speed of waterfalls and how much movement you wish to capture, set the shutter speed based on that. You will need to take test shots and make changes to aperture, shutter speed, and iso, till you get the desired results.
- If you do not have an ND filter and you wish to capture long exposures, make sure the light is low. It could be a cloudy, foggy day or heavily shaded area. Set the iso to the lowest possible and depending on the light, narrow down the aperture to about f/16 to f/22, and then use long exposures to capture the movement of water.
- For long exposures, depending on the speed with which the water moves, 1/4s to 1 or 2 seconds exposure should work well if the water flow is heavy and fast. If the flow of water is slow and the falls look thin, then you can lengthen the shutter speed in order to capture some details. You can expose it for anything from 4 to 20 or 30 seconds depending on the light and what you wish to capture.
- For short exposures where you want to freeze water movement, set the shutter speed to about 1/250 or 1/500 of a second depending on the speed of water in the falls, and set the aperture value to between f/7 and f/11 depending on the lens’ sweet spot and then set the iso for desired exposure.
- With all the above settings, make sure you take test shots and decide on the best exposure settings for the scene in front of you.
Tips For Capturing The Best Waterfall Photos
- Scout the location to find the best perspectives, and angles to compose the waterfall shots.
- It is important to observe how light moves along the spot through the day and choose the best time to photograph a particular waterfall. Some apps like the PhotoPills and The Photographers Ephemeris can be helpful to plan the shoots.
- Light can make or break a photo. Pay importance to light when photographing waterfalls.
- Do not photograph waterfalls in the bright midday sun as the light can be quite harsh and make the waterfall look glaring and visually unpleasant.
- The best times are early mornings, and late afternoons, which can be the golden and blue hours. The light is soft and has a magical glow that can help with enchanting waterfall images.
- Overcast days, foggy and misty days can be great for photographing waterfalls as they render a certain mood to the scene.

- The best season to photograph certain falls is during the rainy season because of the atmosphere and the amount of water in the falls. Some falls may have muddy water during the rainy season depending on the terrains. If yes, avoid this time.
- Autumn is another great time because of the colors in the surrounding areas that will add interest to the frame.
- Some waterfalls can look gorgeous during other seasons with just enough water to make them look photogenic. So watch out for the seasons if you live local to the falls.
- When composing the shot, take your time and give importance to compositional guidelines. Rule of thirds, frame within frames, leading lines, layers, perspectives, etc., are all some of the guidelines you can follow when photographing waterfalls.
- Include the surrounding elements like rocks, rivers, flora, etc., in order to capture meaningful waterfall images. These can give a sense of location, season, and environment and help to portray a story.
- Look at foreground interests and include meaningful elements in the frame. This will help to add depth to your waterfall images.
- There are questions about whether one can stack an ND and circular polarising filter. The answer is yes, but the results will depend on the filter quality and sometimes on the light in the location. Always take test shots to see what kind of results you get and then decide what needs to be done.
- Do not go for only wide-angle waterfall shots. Try various focal lengths and even a telephoto lens to capture close-up waterfall images that will help you to show the intricate details in the environment.
- Try to avoid the skies or include only a part of it if it is an overcast day with no details in the sky. You do not want to fill the frame with boring white space. Try to bring your focus to the waterfall and the surrounding scenes.
- Have some spare formatted memory cards and fully charged batteries because you never know when you might need some.
- When editing waterfall images, try converting the best ones into black and white for a fine art result.

Shooting waterfalls takes a lot of patience and practice to get the best image possible. With experience, you will know how to compose and expose for dreamy results. The tips here will help you get started and you can take it further from there.
If you have some tips to capture stunning waterfall photos, share them with us in the comments section below.


