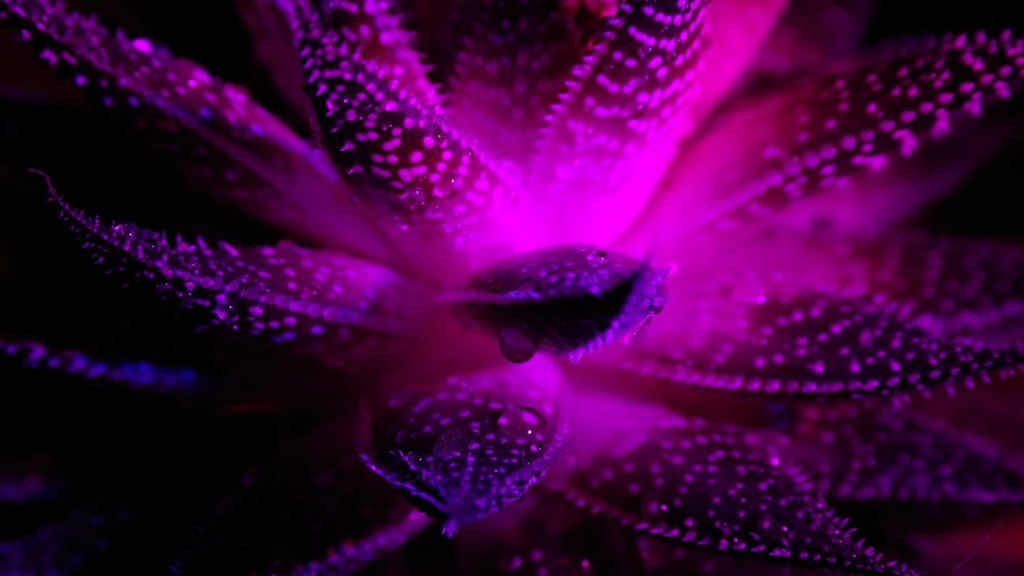
Ultraviolet photography is an interesting photographic method of capturing images by using light from the ultraviolet spectrum. Photographs captured in this way can have an artistic purpose but they can also be used in dermatology or forensics because ultraviolet images reveal deterioration and damages of various structures (such as skin) not apparent under visible light. These images can also reveal hidden patterns in flowers that only insects can see, which can look stunning in macro photography.
To learn about the basics of ultraviolet photography, read on!
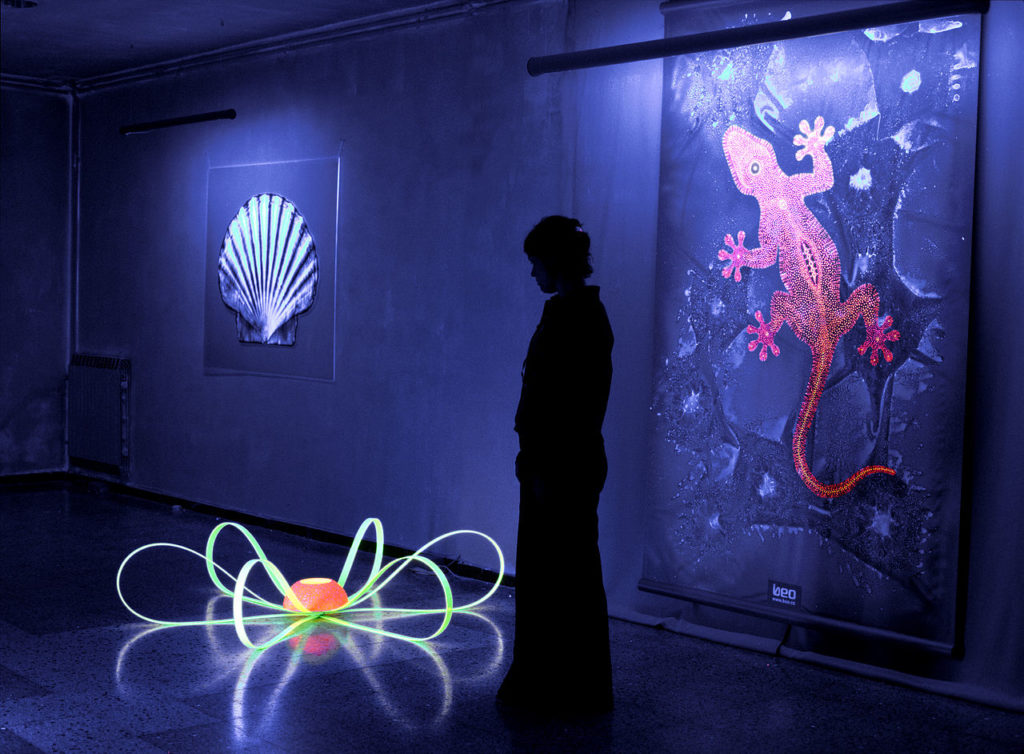
How Does UV Photography Work
As we all know, humans can’t see UV light. We can see only so-called ’’visible light’’ – its wavelength ranges between 400 and 750 nanometers. Because of that, we need UV photography to visualize any wavelength lower than 400 nm. The band of UV radiation goes from 1 to 400 nm, but UV photography captures only the near-UV region, which is between 200 and 380 nanometers in wavelength.
There are two ways to use UV light in photography – reflected UV and UV induced fluorescence.
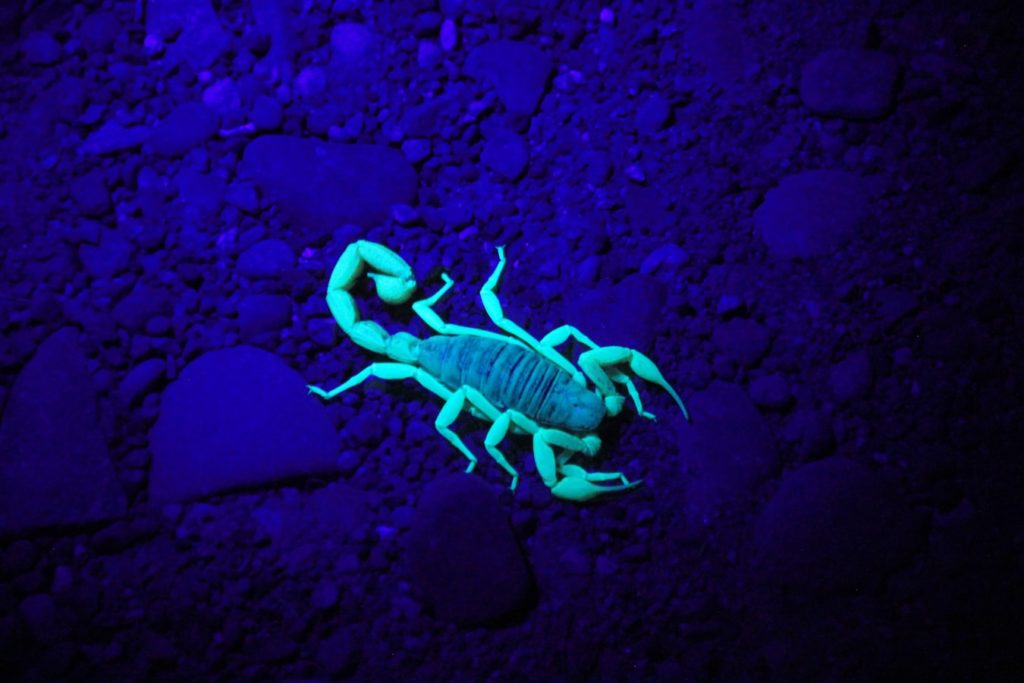
In the case of reflected UV, a camera captures rays reflected by a certain object. When it comes to UV induced fluorescence, an object absorbs UV radiation energy and emits fluorescent light you can capture with a camera.
Reflected UV photography
In order to make reflected UV photography possible, your subject has to be illuminated directly by UV emitting lamps or sunlight. You also have to place a UV pass filter on the lens, because this filter allows ultraviolet light to pass while it blocks all visible and infrared light. It’s also very important that your UV pass filter doesn’t have any infrared leak. These leaks can easily obscure the details in images that would have been preserved if the filter was blocking infrared wavelengths completely.
Most types of lenses allow longwave UV wavelengths to pass but absorb all the other UV wavelengths (350 nm and below). Because of this issue, it’s best to use specially developed lenses for UV photography – these lenses have elements made from fused quartz or quartz and fluorite. A good example of a dedicated UV lens is Nikon UV-105.
There are also popular UV-capable lenses:
- Nikon 35mm F/2.5 Series E
- Optomax 35mm F/3.5
- Nikon AF 50mm F/1.8D
- Yongnuo 50mm F/1.8
- Nikon EL 105mm F/5.6
When it comes to digital cameras capable of reflected UV photography, you can use for instance unmodified Nikon D70 or D40, but there are many other cameras that can be a great choice if you remove their internal UV and IR blocking filter.
There is also Fujifilm FinePix IS Pro digital camera, designed specifically for ultraviolet and infrared photography.
UV Induced Fluorescence Photography
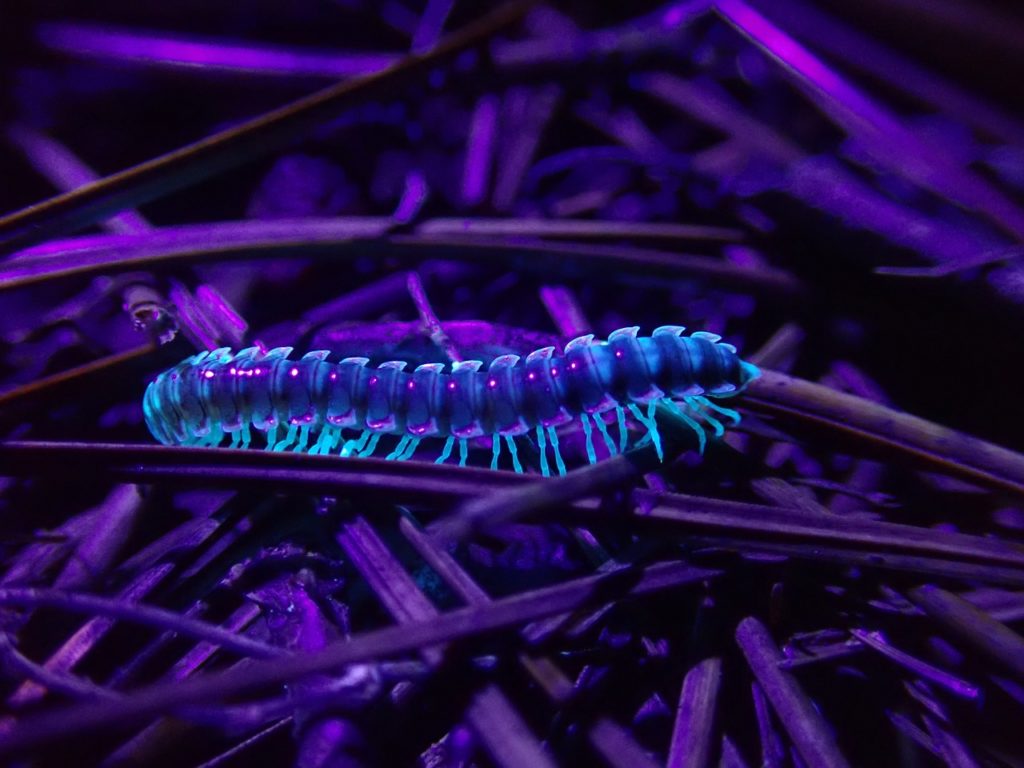
Photography based on fluorescence uses the same ultraviolet radiation as reflected UV photography. However, in this case, the filter used on the lens should absorb or block all ultraviolet and infrared light and permit only visible light to pass.
UV induced fluorescence photography should be performed in a dark room, with a black background. The photographer should wear dark clothes for better results since various fabrics can glow under UV. Bear in mind that any camera or lens can be used for this type of UV photography because only visible wavelengths are being captured.
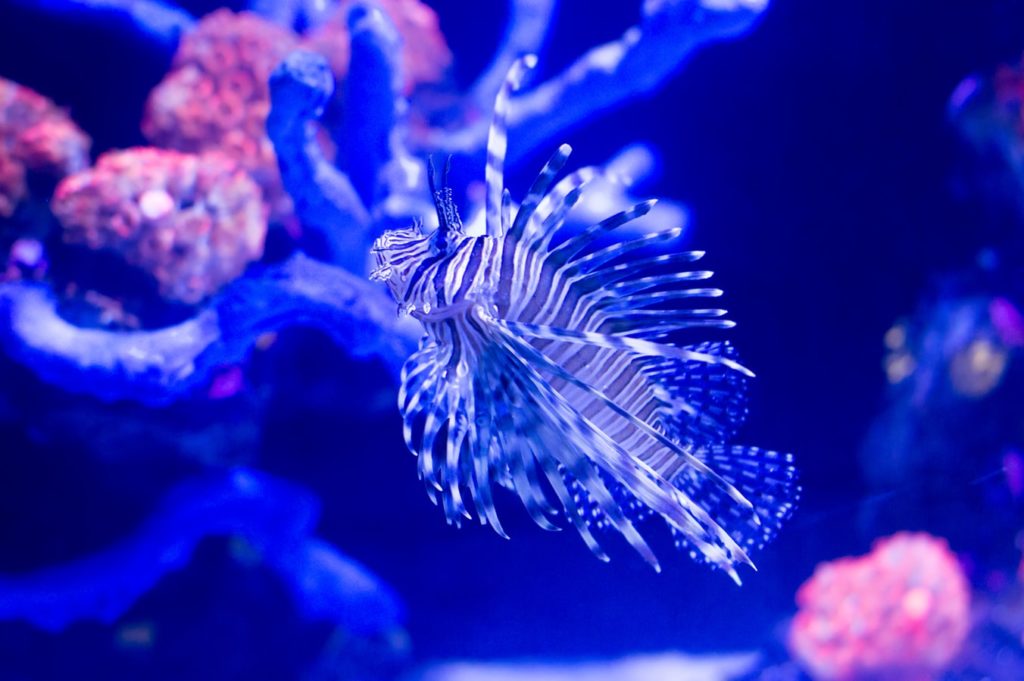
Many natural objects and substances fluoresce under ultraviolet light, such as rocks and minerals, fungi and bacterial cultures, lichens, plants, and even body tissues and fluids.
White Balance And False Colors In UV Photography
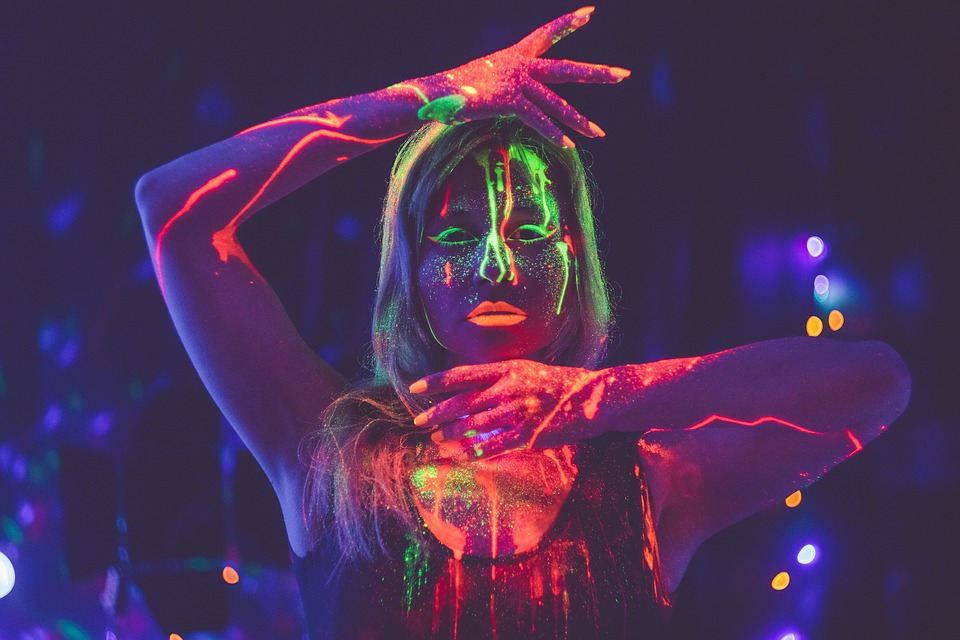
Since UV images record radiation which is not in the visible range, you actually can't choose the correct white balance for them. This gives you space for experimentation and creativity – you can go wild in post-processing!
It’s also useful to know that cameras, lenses and UV-pass filters which record a wide UV spectrum tend to provide a range of false colours unrelated to the actual colours of the subject. Images of flowers often provide these false UV colours and they can be very appealing from the artistic point of view. However, if your lens only transmits the longest UV wavelengths your photos will feature a monochromatic violet colour regardless of the subject.
UV Filters
Modern filters for UV photography can be categorized into three types.
Sandwich-type filters are made by joining together different types of ionic glass to allow the transmission of ultraviolet radiation and at the same time block the transmission of infrared radiation. These filters usually display a lower contrast and image resolution compared with other filter types.
Combination dielectric and ionic filters are the most useful filter types for UV photography and they have a single layer of ionic glass and different types of coatings on either side.
There are also interference filters – they use dielectric coatings on a substrate of fused silica that transmits UV.
When it comes to the best known UV-pass filters, check out the ones below:
UV Photography In Forensics And Dermatology
The history of ultraviolet photography and its applications are pretty interesting.
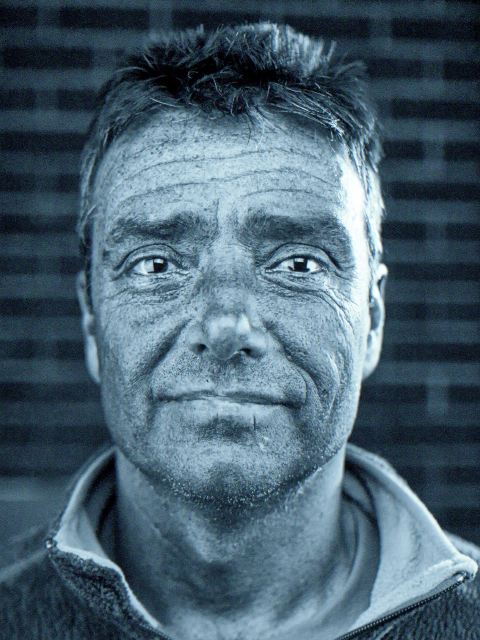
This type of photography was used as evidence in court as early as 1934. Photos made with ultraviolet radiation can show bruises or scars not visible on the surface of the skin because they have been already healed. Because of this, such photographs can be the perfect evidence of physical assault even after visible healing of wounds have been completed.
UV photographs don’t show only bruises and scars – they can show sun damage too in the form of mottled pigmentation. Dark spots on UV photographs indicate sun damage, with darker and larger spots indicating greater damage. This is extremely useful in dermatology.
In addition to this, ultraviolet photography can be used to detect counterfeit documents.
To learn more about ultraviolet photography (as well as infrared and X-ray photography) check out the links below.


3 Comments
So, I’m just getting started with UV photography. I want to spot any unidentified objects, day or night. I have a Nikon D60 and a UV330 filter (55 mm $250 filter for day). I’m thinking that I may need a night camera body because the D60 doesn’t have a bulb.
What nighttime body would you recommend?
That’s exactly what I’ve been wanting to do, but unlike you I don’t no anything about photography ionly no about UFOs. cheers
Kevin, Your camera does have a bulb mode but it’s not obvious. You need to change the shutter speed beyond 30 seconds manually and it enters “bulb” mode. But you’ll need a remote as to keep the shutter engaged without pressing the shutter on the actual body.