You have undoubtedly heard about dynamic range even if you’re a beginner photographer. To put it simply, dynamic range is the difference between the darkest and lightest tones in an image. It’s useful to know that there are two types of dynamic range – the dynamic range of the subject and the dynamic range of the camera.
The dynamic range of the subject refers to the range of light intensities from the shadows to the highlights. In low light conditions, this range is quite limited, while on a sunny day, this range can be very broad.
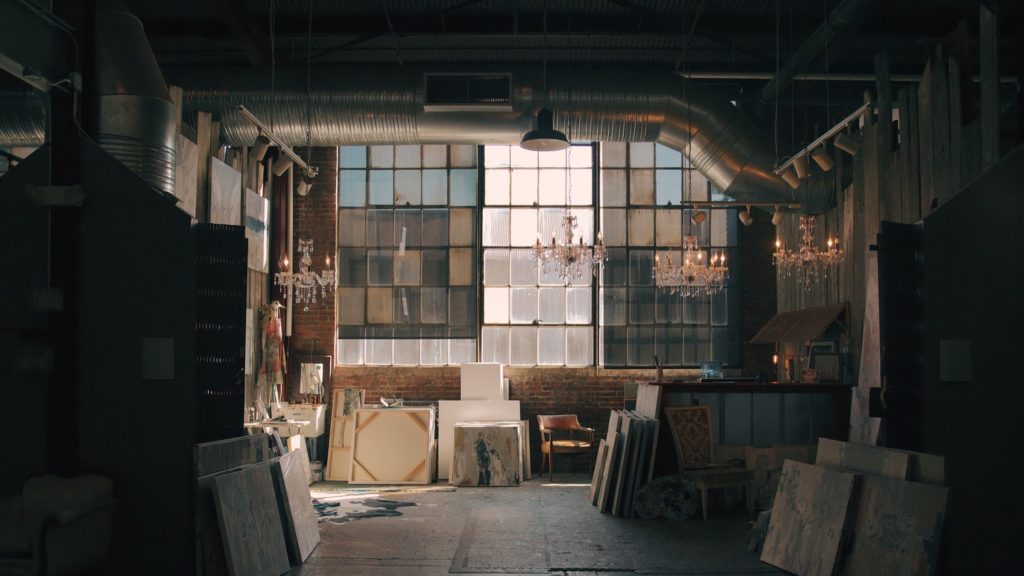
When it comes to the dynamic range of the camera, different cameras have different ranges, and this depends on the size of the sensor. If the dynamic range of the subject doesn’t exceed the range of the camera, you can get an ideally exposed image.
Why Dynamic Range Matters
The main reason why dynamic range matters is the fact that it strongly affects the type and character of images you can take at any given moment and situation. For instance, if you need to shoot in direct sunlight, you should consider subjects that can benefit from high contrast. This means that you can experiment with silhouettes and black & white photography and see how it goes.
On the other hand, if the light is more subtle and subdued, you can consider shooting evenly lit portraits, macro subjects, or dreamy landscapes.
Dynamic Range And Histograms
You need to look at the histograms of your images to fully understand the meaning of the dynamic range. The histogram shows the range of brightness, starting with black on the left and going to white on the right. The width of the histogram represents the dynamic range of your camera sensor, and you can analyse it directly on your camera's LCD screen or later on in post-processing.
If the histogram fully fits inside the histogram display area, this means that your camera properly captures the dynamic range of the subject. If the histogram is clipped at either end, this means that the camera didn’t capture the subject’s dynamic range perfectly. You can try to fix this by changing the exposure of your image.
Expose For The Highlights
Even though you don’t have to follow this rule, many seasoned photographers try to “expose for the highlights,” which means they use the histogram to avoid clipping the highlights.
This is a common practice because shadows are dark and it’s hard to see any details there, so if you need to lose a part of the dynamic range, it’s better to have too dark shadows than too bright highlights.

Use Graduated ND filters
If you shoot mainly landscapes, the brightness of the sky can be the most significant issue when it comes to the dynamic range of your images. To fix this, you should try using graduated neutral density filters.
These filters are placed in front of the lens and rotated so that they can reduce the brightness of the sky. What’s great about them is that they are available in a variety of strengths, and they can reduce the sky brightness by up to three or even more f-stops. If you’re up for something more elaborate, you can also experiment with colored graduated ND filters, which can intensify the color of the sky.
Generally speaking, using ND filters is quite effective because it reduces the dynamic range of the scene and allows the camera to capture detail in both bright and dark areas of the scene.
Experiment With HDR
If you want to shoot a rather dull scene and make it more vibrant, you will need to increase the dynamic range of the scene instead of reducing it.
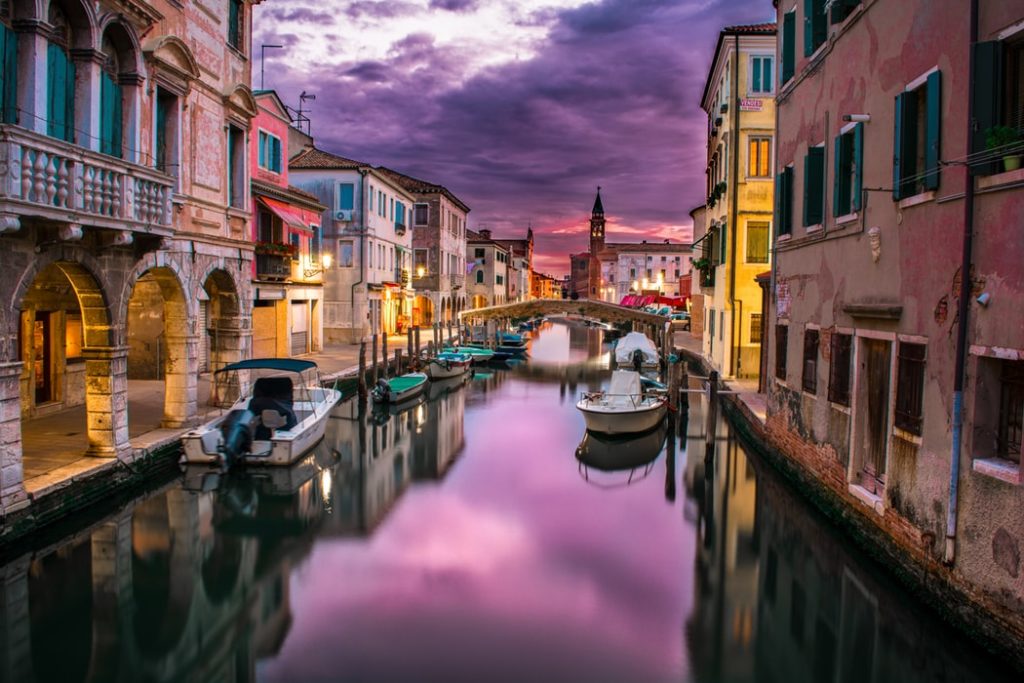
An interesting and somewhat popular way of increasing the dynamic range of such scenes is with high dynamic range (HDR) photography. To obtain HDR images, you need to shoot a few identical images (usually 3) at different exposure value levels. Using a tripod is essential in this case because these different exposures should be combined into a single image in either Photoshop or HDR-specialized software, such as Photomatix.
Merging three different exposures will result in a much wider dynamic range compared with a single exposure.
Break The Rules
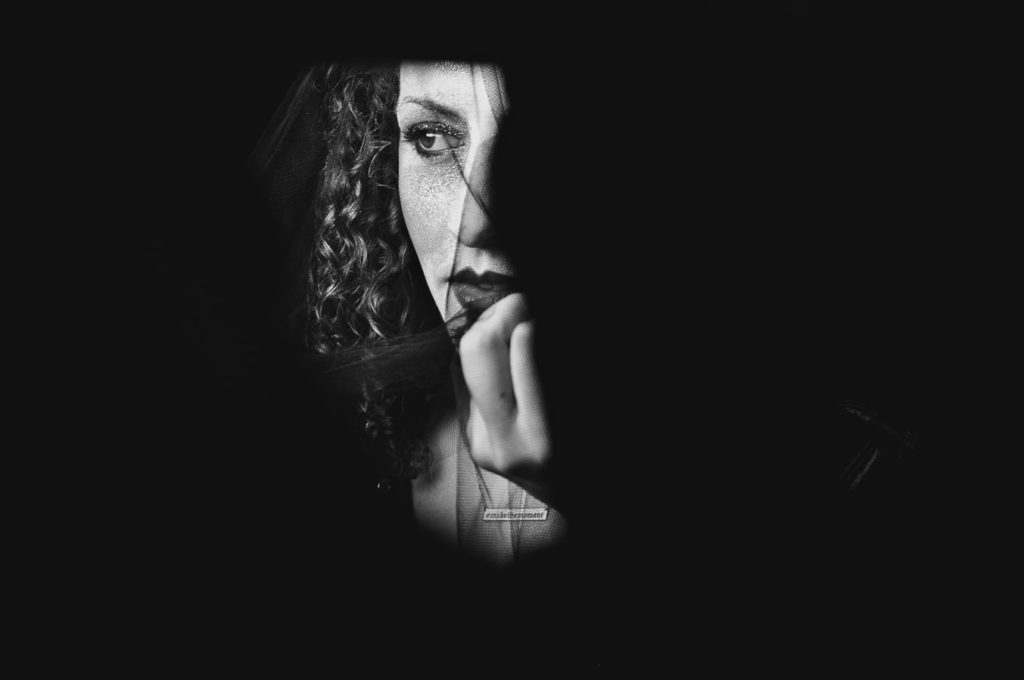
Sometimes, following the rules won’t result in a truly impactful image. In this case, you might want to experiment with ’’wrong’’ dynamic ranges to create something dramatic.
For instance, the histogram of the image below has a big spike on the left, indicating an abundance of dark tonal values. However, even though this histogram doesn't represent what you typically want, the image is quite alluring.
Bear in mind that the creative use of dynamic range allows for quite compelling portraits and landscapes, so don’t be afraid to break the rules occasionally!
If you want to learn more about dynamic range and its importance, feel free to check out the following links!
Further Resources:
- How To Boost Dynamic Range Using A Single RAW File
- What Is Dynamic Range And Why Is It Important?
- 8 Tips On Photographing Landscapes With A High Dynamic Range
- HDR Tips: Getting The Dynamic Range In Your Shots!
- A Beginner’s Guide To Dynamic Range
- Dynamic Range: A Layman’s Guide For Photographers
Shareable Images for Pinterest


