I must admit, I find myself improvising a lot. I tend to forget things so I’m forced to find other ways to achieve what I'm aiming for. But as it turns out, being able to work around issues on the spot can be helpful greatly for the future, especially in reducing the time needed to take a proper picture.
Auto Exposure and Focus Lock
Most cameras that have the * button also have the options to customize it. Also, they have the option to customise the function that the shutter button has when pressed halfway down.
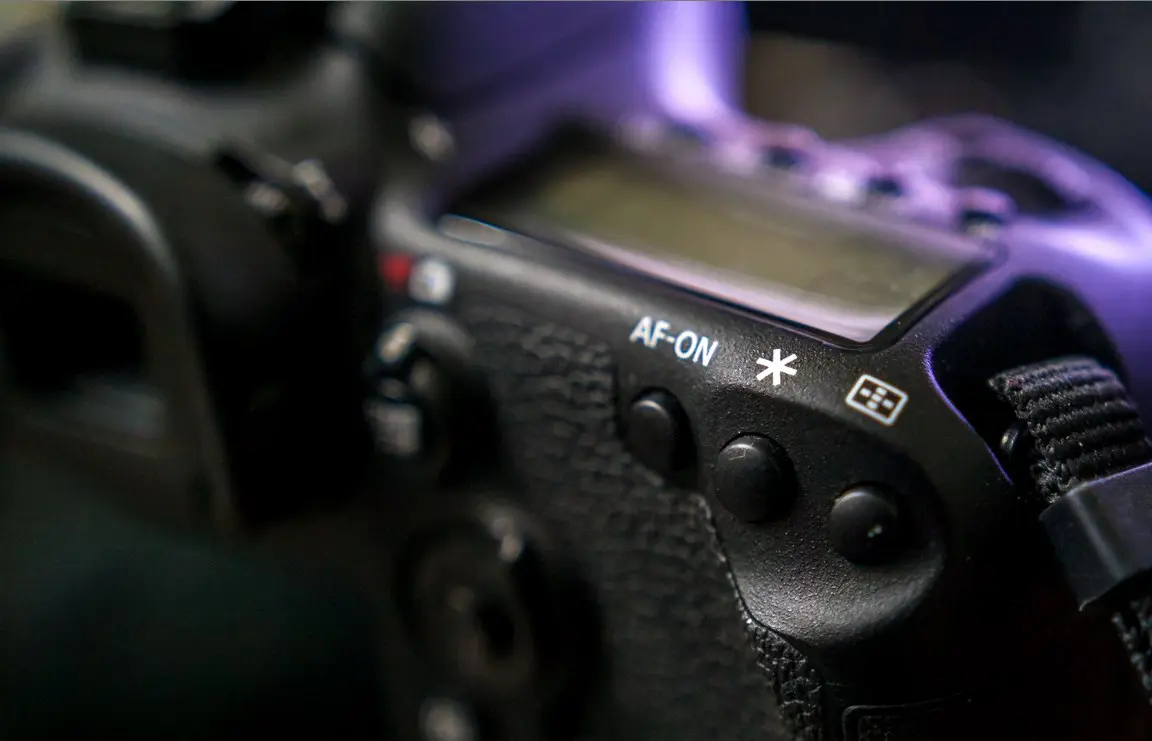
On my camera, the * button is set to lock the exposure but not the focus, while the halfway-depressed shutter button does the exact opposite – it locks the focus but not the exposure. I rarely use M mode on my camera (except when I shoot panoramas) and my camera is set to Av mode. Spot metering is something I use most of the time, as well. So how do I try to properly compose a portrait? I aim the middle point towards the area that I think should be properly exposed, let the camera take a reading, and press the * button to lock the exposure. Then, I direct the middle point towards the eye that is closer to me, focus there, compose, and completely press the shutter button. That's all. This is faster than M mode in which I need to dial in the shutter speed. And if you know your camera well, this technique is as accurate as manual shutter speed dialing.
Custom White Balance
From what I've seen, most people rely on the auto white balance setting on their camera, and I don't think that's entirely wrong to do. However, there will be situations in which you won’t be able to guesstimate the correct white balance so you’ll have to use a little trickery to do so.
If you don’t have a gray card with you, setting a custom white balance will probably be difficult and unsuccessful. However, if you shoot RAW (which I hope you do), you can set the white balance afterwards without any issues. The only thing you need to look out for are the neutral colors. If there is anything white, gray or black in your scene, you can set the proper white balance easily. If there is not, take a photo with something that fits the profile just so you can sample the correct white balance from it, and then continue shooting as usual.

In post-process, sample the correct white balance, and apply those numbers to the rest of the shots. If the light changes, take test shots under every condition. I usually do this with my car keys because they have black plastic on it, and I know that will be pure black with no other colors present. So i just take a photo with the keys in the picture so that I have a place to sample the white balance from.
Microfocus Adjustments
Oftentime, lenses lose their calibration with prolonged use. It usually happens only in really small amounts and it can take weeks until they are recalibrated by the service center. However, most midrange and higher level cameras have micro focus adjustment options, which will allow you to adjust the focus by small amounts with all lenses, or each lens separately. Depending on the camera model, the menu will look a bit different, but in all cases you’ll be able to push the focus forward or backwards by increments of +/- 20. You’ll be able to do that on more advanced cameras with wide and telephoto ends of the lens, separately. It will take some fiddling around, but you should be able to fix the minor inconsistencies in about 30-40 minutes of focus adjusting.

Make sure you have those values written down somewhere in case you reset the camera in the default settings. This will make all your micro adjustments disappear, as well.
Auto ISO
If you feel like the scene is changing a bit too fast for you to handle, it would be the smart thing to set up auto ISO and let the camera work as if it were in AV mode. But instead of the shutter speed, the ISO is used to correct for the exposure. This is great when shooting fast-paced events where your aperture and shutter speed must be in your control at all times, while the ISO can be limited from “x” to “y” via the menu so that it doesn’t go too far up. This technique is also great for street photography where you use the widest aperture and set the shutter speed to a point you are comfortable with, and let the camera decide on the ISO.

Keep in mind that this is done in Manual Mode, not Av.

