Part of being a great photographer is learning how to accomplish all those effects we tend to rely on Photoshop for, in-camera. Take motion blur for example – it's fairly easy to apply this effect in Photoshop, but takes a lot of practice to get right in-camera. But, don't let that discourage you. Mastering in-camera techniques will not only give you a heightened sense of accomplishment. It will also improve your photography as a whole.
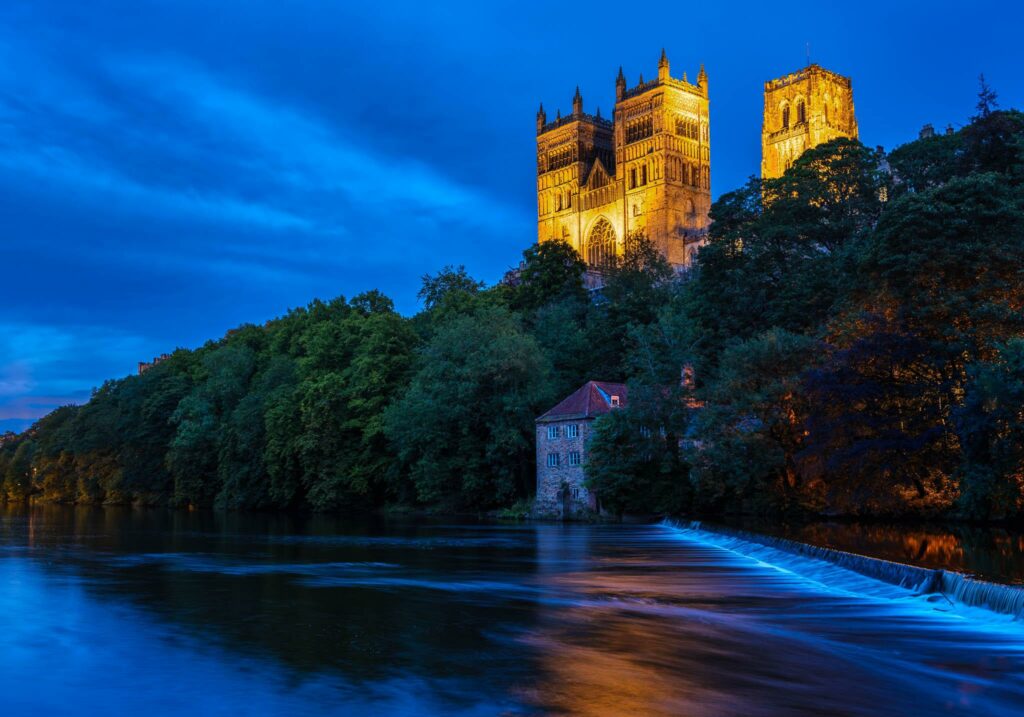
Motion blur can be effective in a multitude of situations. It can add artistic flair, bring more attention to the subject, and help a photograph tell a story. We've all seen pictures of water moving through riverbeds, wrapping around rocks and driftwood. Because the motion of the water becomes blurred, the water appears very softened, almost fog-like. This is the work of motion blur.
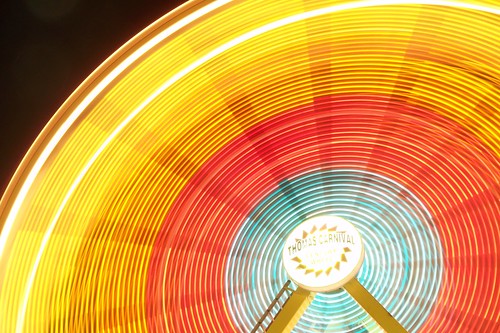
There is more than one method in which you can capture compelling motion blur. Choosing the correct method will depend on what you are photographing. To capture motion blur you will need two things: motion and a shutter speed long enough to blur said motion. Let's look at few examples and we'll discuss how to achieve similar results starting with the photograph below of the ferris wheel. This type of motion blur is one of the easier methods and a good starting point for those looking to get more practice.
It doesn't take too much to figure out that the photographer set his camera on a tripod and took a photograph with a shutter speed long enough to capture the movement of the ferris wheel, thus creating a light painting of sorts. The round hub in the center of the ferris wheel, a non-moving part, remained in focus while the spinning wheel shows movement. The key here, as with any moving photograph, is to find a shutter speed long enough to capture the movement without over-exposing the image. With digital cameras this is usually just a matter of taking a few test shots and bracketing them. Sounds easy enough, right? Remember, there is a very fine line between too much light and just enough.
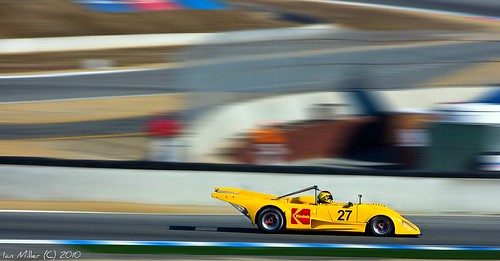
Well, this is where it starts getting tricky. In the photograph above, the photographer was standing in the infield of the racetrack and tracking the cars as they drove past. Tracking is when you have a moving subject and you must move your camera perfectly along with the moving the subject. When done correctly, the movement of your camera will cancel out the movement of the subject making it appear focused and sharp, but will create motion blur in everything that is not moving at the same speed as your camera. In most situations, a sturdy tripod or monopod with a smooth pan will greatly improve these types of shots.
Now that you we've talked about which method to use in which types of situation, the question of the day is, “What camera settings do I use?” Unfortunately, it's not that simple. Just like with any photograph, your camera settings will vary greatly depending on factors such as available light, subject matter, how much blur you want to achieve, etc. Here are a few tips to get you started:
- Set your camera to full manual or shutter priority mode. Fully manual will give you complete control of your camera, whereas shutter priority mode will allow you to select your shutter speed while the camera does the rest of the guesswork for you.
- Use small apertures, high ISO ratings, and/or a neutral density filter. These will all help you avoid dreaded overexposure.
- Use a tripod. You will be working with longer shutter speeds which makes camera shake very noticeable. A tripod eliminates it.
- Take test shots and experiment. Yes, we've mentioned this one already and we stress it because it's important. When in doubt snap a picture. This will give you an idea of what you are working with and allow you to make adjustments. Getting out there and practicing is the single best way to improve your photography.
Tiffany Mueller is a professional music and fine art photographer. Published in various publications including magazines, art journals, as well as books, Tiffany has been fortunate enough to have been in a perpetual state of travel since her youth and is currently working on a 50-states project. You can also keep up with Tiffany via Twitter at or on her personal blog.

7 Comments
Good article – but you can be brave and do it _without_ a tripod: yes, use high iso, definitely manual or TV and as slow a shutter speed as you dare. This was taken at 1/25:
Original: https://farm7.staticflickr.com/6133/5985702906_8178a38b6e_b.jpg
Panning greyhounds at the tracks:
https://farm8.staticflickr.com/7277/6898004976_04f4a28e64_m.jpg
Original: https://www.flickr.com/photos/natecochrane/6898004976/in/photostream
excellent!
motion blur….
https://www.flickr.com/photos/gatesofdawn/6886826138/in/photostream
https://www.flickr.com/photos/gatesofdawn/3995067759/in/set-72157622430009771/
https://www.flickr.com/photos/gatesofdawn/3995581907/in/set-72157622430009771/
it’s easy to say, but getting such a shot is really tricky
Model:NIKON D70
Shutter Speed:1/100 second
Aperture:F/22.0
Focal Length:200 mm
ISO Speed:200