So you have been thinking about how to start a photography blog to go along with your shooting and you're wondering how to get started. Well, you've come to the right place!
Since the beginning of Light Stalking, we have learned a huge amount about how to start and maintain a popular photography blog.
The truth is, it's quite a bit of work. But it's also hugely satisfying, rewarding and probably more straight-forward than many people realise. Below, we have put together all of the resources that you need to set up a photography blog that rocks.
Why Start a Photography Blog?
As a photographer (or any creative really) your main concern is your craft. Get good at it! But your secondary concern is obscurity. People don't know who you are (yet).
A blog is a very effective tool in your arsenal to change that. Used properly, it can be just as effective as your portfolio.
Not only will a well designed and maintained blog help you become a better known artist among fellow artists, it will help you get leads and clients as you demonstrate your skills and knowledge of your craft.
In addition, it's an easy place to point people who want to find out a little more about what you do.
Note: Many of the links below are affiliate links, meaning we get a commission if you decide to click on them and purchase something.
How to Start a Photography Blog
The four core steps to starting a photography blog are these:
- Register a Domain Name and Get Hosting
- Get WordPress Up and Running
- Get a Good Looking Theme
- Get People to Read It
Pretty straight forward right? Right! This should take you about 20 minutes if you're quick! 😉
Start at the Beginning: Get a Domain Name and Host
So what's your domain name going to be? We chose www.LightStalking.com because we wanted an easy-to-remember domain that was clearly associated with photography! We also wanted it to be “brandable” and memorable. Try to get a domain name that matches your topic and values. (Your actual name is a great idea as a .com too – like ChaseJarvis.com)
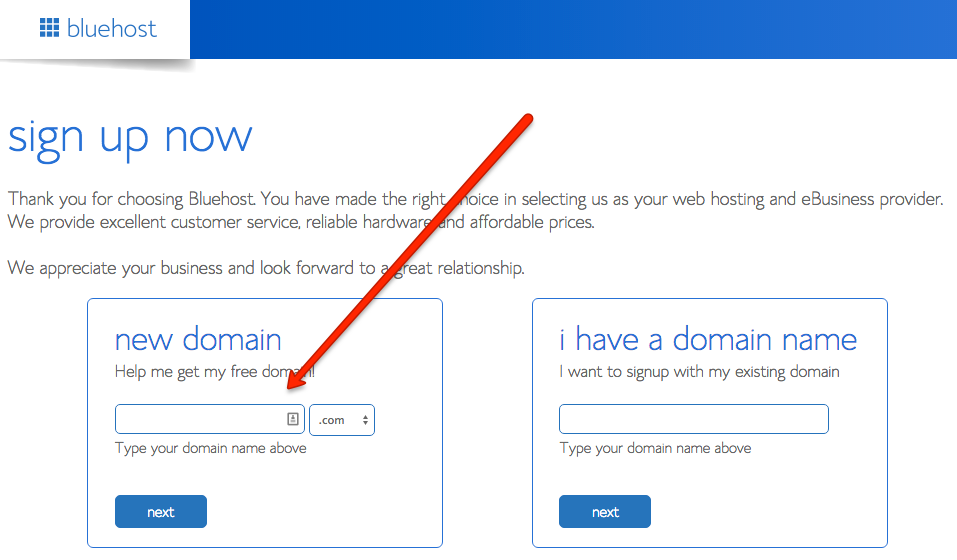
When you come up with an idea, jump over to Bluehost and find out if the domain name is available. When you go through the whole process with them, they can take care of both registering the domain name and hosting your website (which makes things a lot simpler).
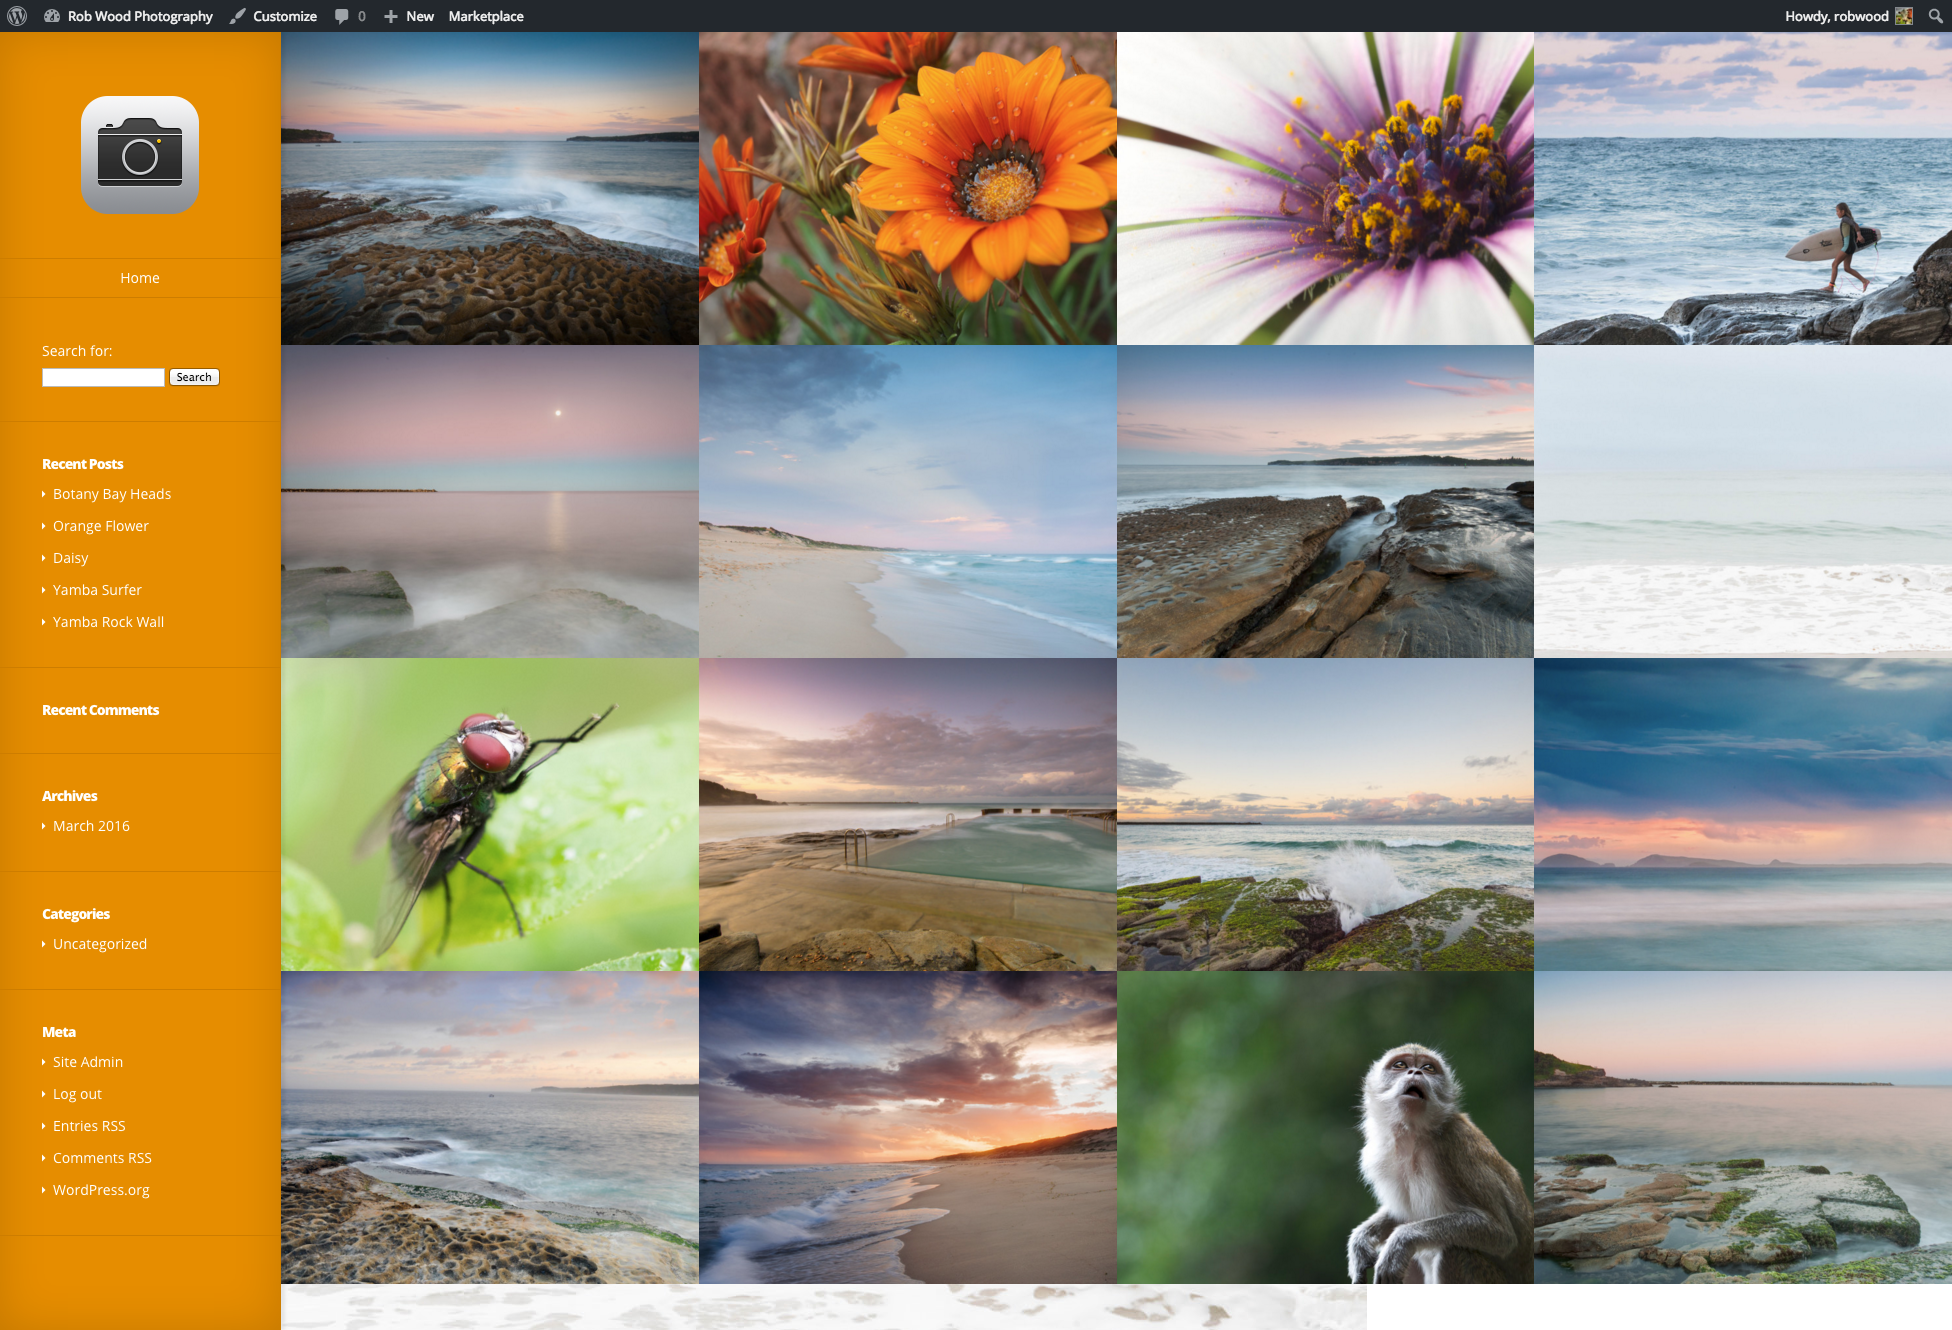
I'll use www.robwood.info for this demo to show you the backend (But definitely choose a .com if it is available as it's a lot easier for people to remember).
You'll need to get both your domain name and your hosting from Bluehost (actually you can do it separately, but it's a lot more messing around, plus Bluehost will give you the name for free if you buy the hosting with them).
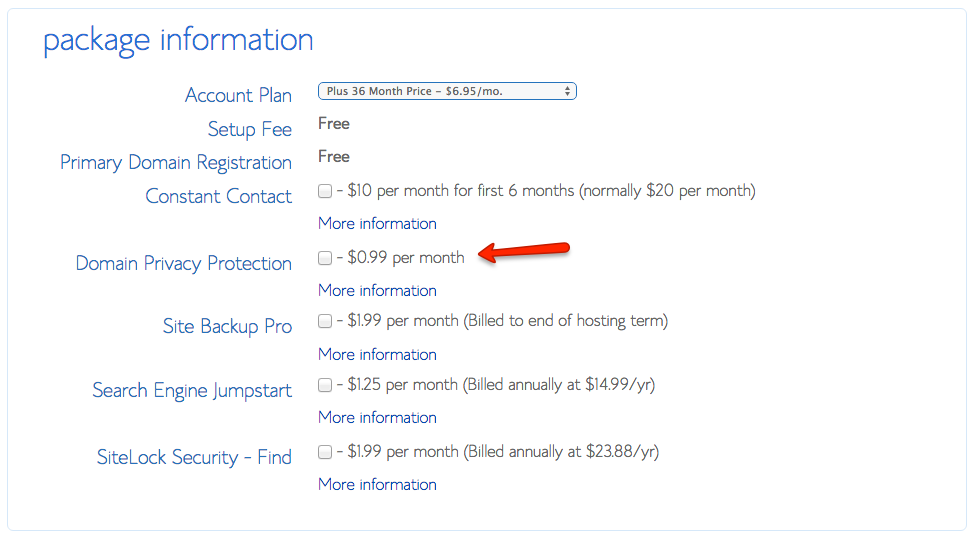
You will probably want to grab the Domain Whois Privacy package as it hides your personal phone number and details from the internet at large. Not a big deal if you don't though.
They let you pay via credit card or Paypal which is handy.
After the payment page, they will let you create a password, so be sure to write it down.
How to Start a Photography Blog With WordPress!
There is a reason that so many photography blogs (including Light Stalking) use WordPress. It is the best. You should use it too. The good news is that it only takes a few clicks to install.
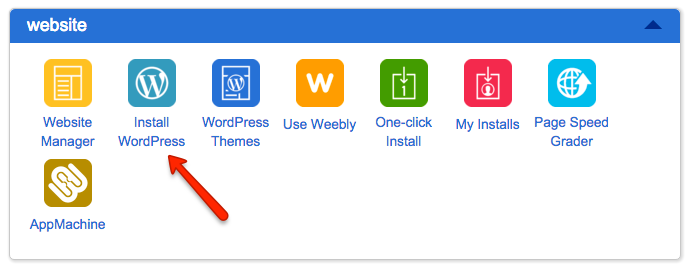
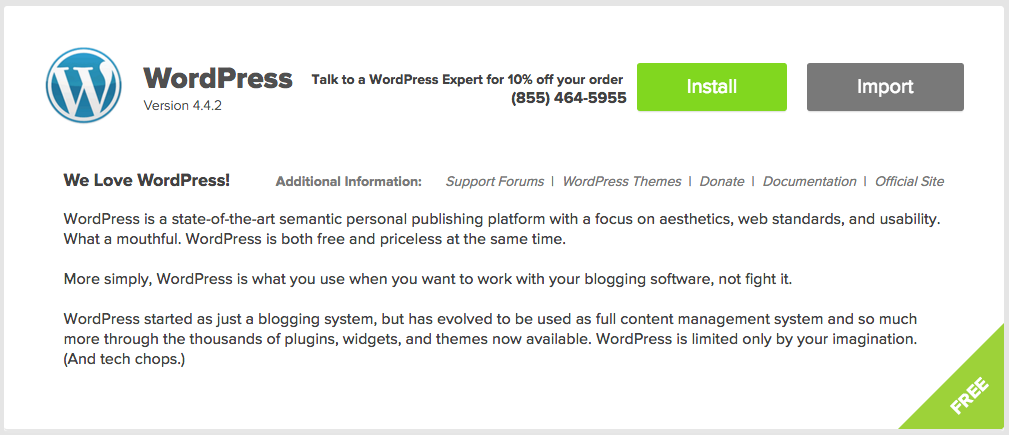
The simplest way to do that is to log into your new Bluehost control panel and look for the WordPress logo in the Software / Services panel. It looks like this:
Then click on “Install.”
(Yes, you can pay to have it done for you if you like, but it's really quite simple)
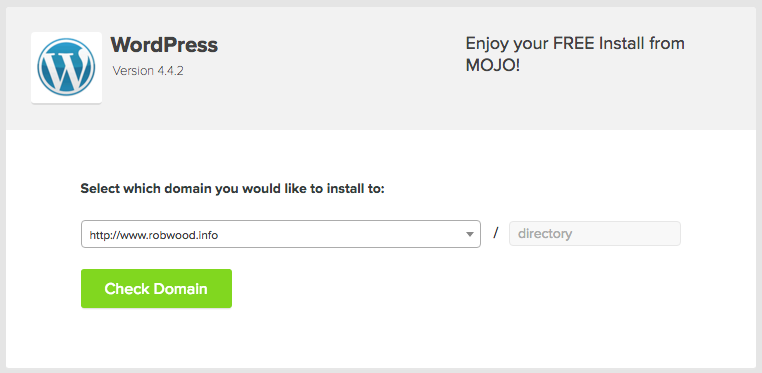
On the next screen, if you want your blog posts on the front page (in this case, robwood.info) then leave everything blank and click the “Check Domain” button.
If you'd like the blog on a sub directory (for example, robwood.info/blog) then fill in “blog” (or whatever you'd like to call the directory) in the directory box.
We recommend you leave it blank and install the blog on the front page of the domain.
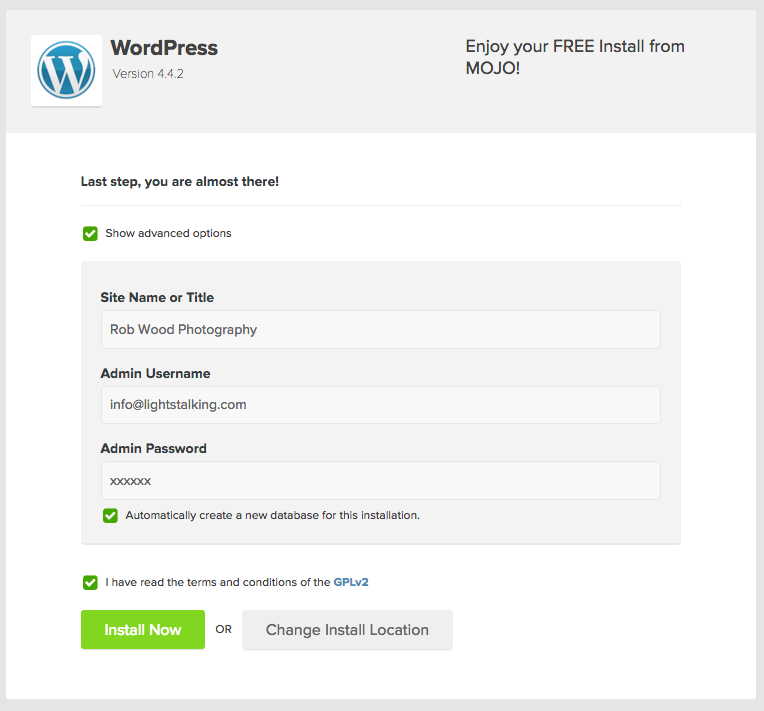
On the next page, click on the “Show Advanced Options” check box and fill out the options.
The click the “Install Now” button.
Now make sure you write down your login URL, username and password (I usually email them to myself and archive the email so it is always available).
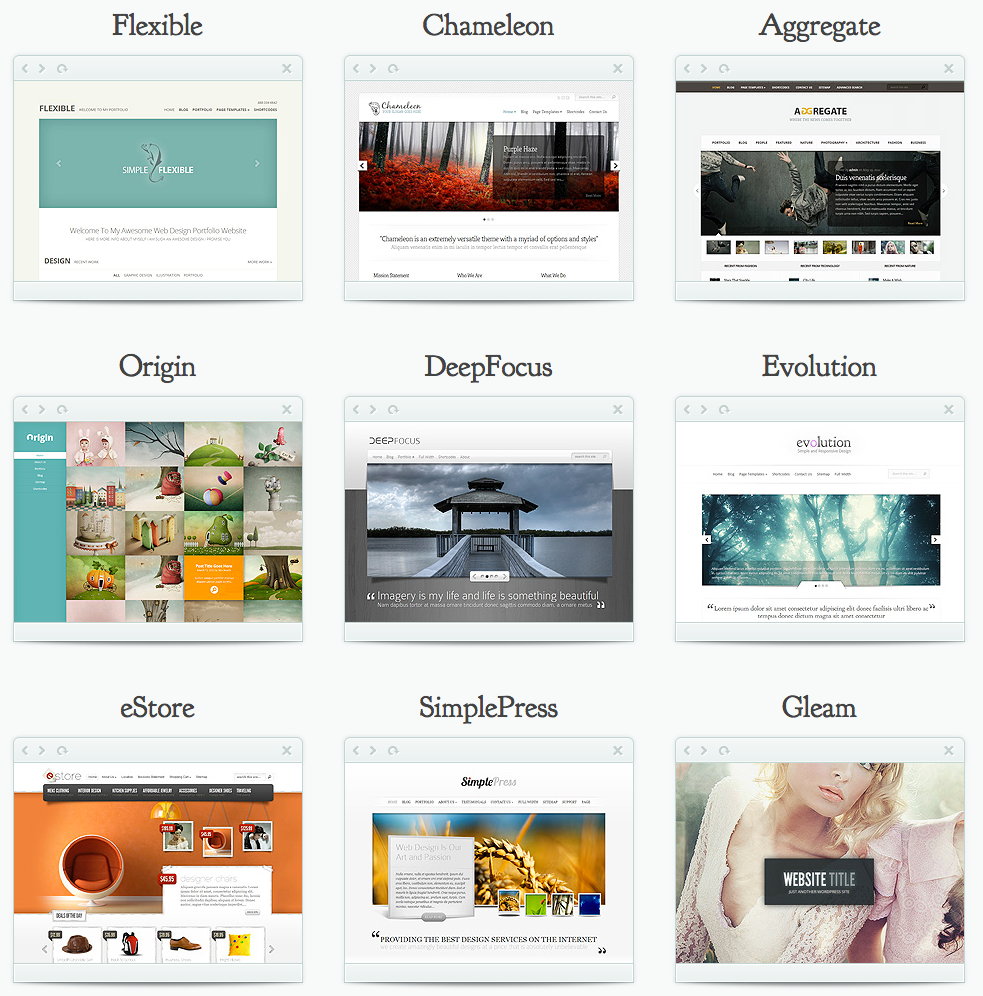
That's it! Your wordpress blog is up and running. Now, Bluehost will offer to sell you a wordpress theme through their partners Mojomarketplace, but as a photographer you have some fairly specific needs so we recommend that you stop right there.
Go log into your new WordPress install. The main site will be at the domain you registered above.
You can log into a wordpress installation at your domain followed by /wp-login.php
How to Install a WordPress Theme and Make Your Blog Look Awesome
The front page of your website probably looks very plain (read: ugly). No problems – it's time to install a great photography friendly theme which will make the website look professional and allow you to show off your work to the world.
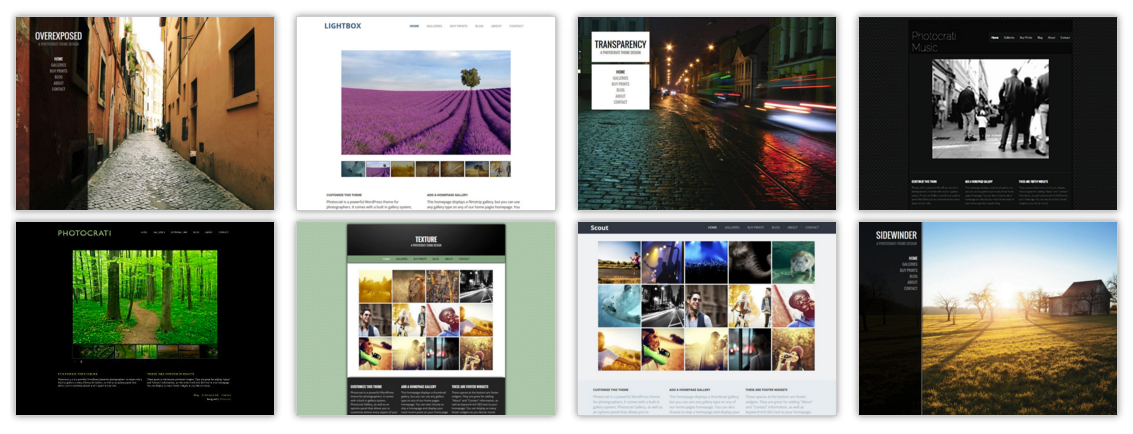
The first thing to do is to find a theme that you like. There are several places that you can do that. You can actually get some for free at the WordPress theme repository, but usually the paid ones are much better quality. Here are some of our favourites.
Elegant Themes – Great themes with a lot specially designed for use by photographers.
PhotoCrati – These guys make beautiful WordPress themes for photographers. One of our favourites.
After you are done with buying your theme, the next step is to install it. Don't worry, it's pretty easy and fast.
Always read the instructions given to you by your theme designer first. Usually though, you will just have to go through this easy process:
- Download the theme zip file to your desktop
- Login to your WordPress backend
- Navigate to Appearance >> Themes >> Add New >> Upload >> Choose File
- Select the zip file on your desktop
- Once it is uploaded, choose “Activate”
Our friends at Bluehost even put up a useful little Youtube video on the process.
That's basically it! You are now ready to start blogging and uploading photos.
How and Why to Install Plugins on Your Photography Blog
Blog plugins open up a lot of functionality that your blog probably doesn't have yet. Think of them as apps for your blog. But which ones do you install?
Let's take a look at our favourites.
Yoast SEO – If you want people to find you through Google, then this is the one to install. Don't over think this one (SEO is a rabbit hole), but just have it and use it as you grow more comfortable with it.
W3 Total Cache – This just makes your site run a lot faster. Install it, set it up and forget about it.
Google Analytics by Yoast – This just lets you set up and install your analytics so that you know who is coming to your site and how many of them there are!
Contact Form 7 – You want people to get in contact with you, don't you? This is the easy and free way for that to happen.
Any Social Media Sharing Buttons Plugin – They’re all pretty good and any one of them will help you increase shares on your photography blog by making it easy for people to share!
How to Get People to Read Your Photography Blog
Well, if you've made it this far, you're probably motivated to make a real go of this photography blogging thing. Welcome to the family! Next step is to start promoting it. This is a huge topic, but we'll cover off the basics.
Write Stuff That Matters and Make it Readable
It should go without saying that if you want somebody to read something then make it worth reading. This is literally the most important thing you can do for your blog. But what do we mean by that?
Well for starters, as a photographer, you will only ever want to be sharing your best photography in your blog posts. That is a given and one of the absolute keys for photographers in how to start a photography blog and build it for success.
But further to that, you’ll also want to consider several things for each and every one of your blog posts.
- Does it have a title that piques curiosity? – People are far more likely to read something with the title of “These 9 Things Will Make You a Better Landscape Photographer” than they are something titled, “Landscape Photography,” so make sure you think about your titles.
- Is it easy to scan? – People do not read online. They scan. Break up big blocks of text with smaller paragraphs (4 sentences tops), sub headings, lists and bullet points and people will stick around to consume your posts.
- Is the information useful or entertaining? – These are basically the only two reasons that people stick around. So be honest with yourself and write for these reasons.
Simply taking a bit of time to get those things right will put you ahead of 99% of bloggers online. Take pride in what you write on your blog and the audience will be more inclined to click through and stick around again and again.
Promote Each Blog Post That You Write
Promoting a piece of written content is a huge topic. But we want to give you a few ideas as writing it is only the first part of growing an audience. Here are a few ideas that you may well want to do after each post you write.
- Email relevant people about your new blog post
- Post the blog post to your social media pages
- Ask people with followings to share it (if it’s relevant to their audience)
Come to think of it, we might do a whole new blog post on how to promote a photography blog. Stand by!
Resources for Starting a Photography Blog!
- BlueHost – Solid and simple hosting for your photography blog
- Elegant Themes – Beautiful WordPress themes
- Photocrati – WordPress themes for photographers






10 Comments
Good stuff! Thanks à lot.
Hi! I would love to read a little more about the promotion. If people just do it how you describe it without having a little deeper knowledge it could actually lead to the opposite: Everybody ignoring you. What do you consider a “relevant” person and do you really send blog post links to other people to share them (if it is relevant for their audience) even if you didn’t had contact with them before?
I guess not and for bloggers it’s common sense, but for people starting a new blog, you should probably give some more information. Hope to see a follow up blogpost about that here ;-P
Nice simple points for getting that photography blog going – thanks
A very instructive piece.
Thanks for some useful information. At 70 years old I am busier with projects than I ever thought I would be, photography being one of them. Considering my age I am toying with the idea of trying to encourage other seniors to remain active and pursue interests they may have neglected in earlier years.
Photography is such a great way to spend time thought, Ray. I’d encourage anyone to take it up!
Thanks for the valuable information. But I am a bit confused. Why do I need Blue Host if I have WordPress? Aren’t they basically the same thing? Thanks for the help.
Hey Rob, This post will be super helpful for photographers just starting a blog. I am a big fan of WordPress and Elegant Themes, so this is all great step-by-step instruction for getting started.
I already have a domain name registered through Go Daddy. Can I just jump into WordPress without dealing with Bluehost or will Bluehost host with my current domain name?
It is possible to point your domain at the bluehost DNS servers. You would need to log into bluehost to find out what the DNS address is. Then log into Godaddy and change the DNS of the domain name to that address.