Light is what makes photography. OK, a little more then just light, but without the ability to capture, bend and manipulate light, photography wouldn't exist and if it did, it would be really boring. Since we've already covered color temperatures and setting your white balance manually, this article will focus more on the trickier subject of indoor lighting.
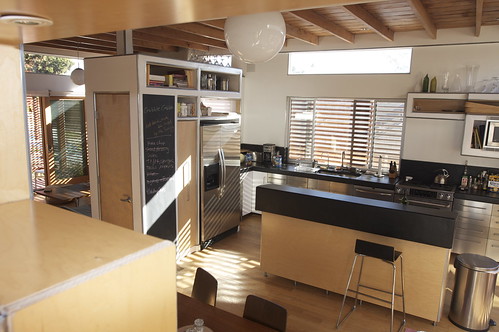
Shooting inside can be one of the most frustrating and difficult things to master for any photographer because the number of variables seems to a million. Each bulb that illuminates any part of the scene has a color, as does the natural light flooding in the windows, but what about light that bounces off a taupe wall and a creme colored ceiling? Even a neutral light source like the sun showering in a window could become colored due to the materials it reflects off of. These factors must all be taken into consideration when shooting inside.
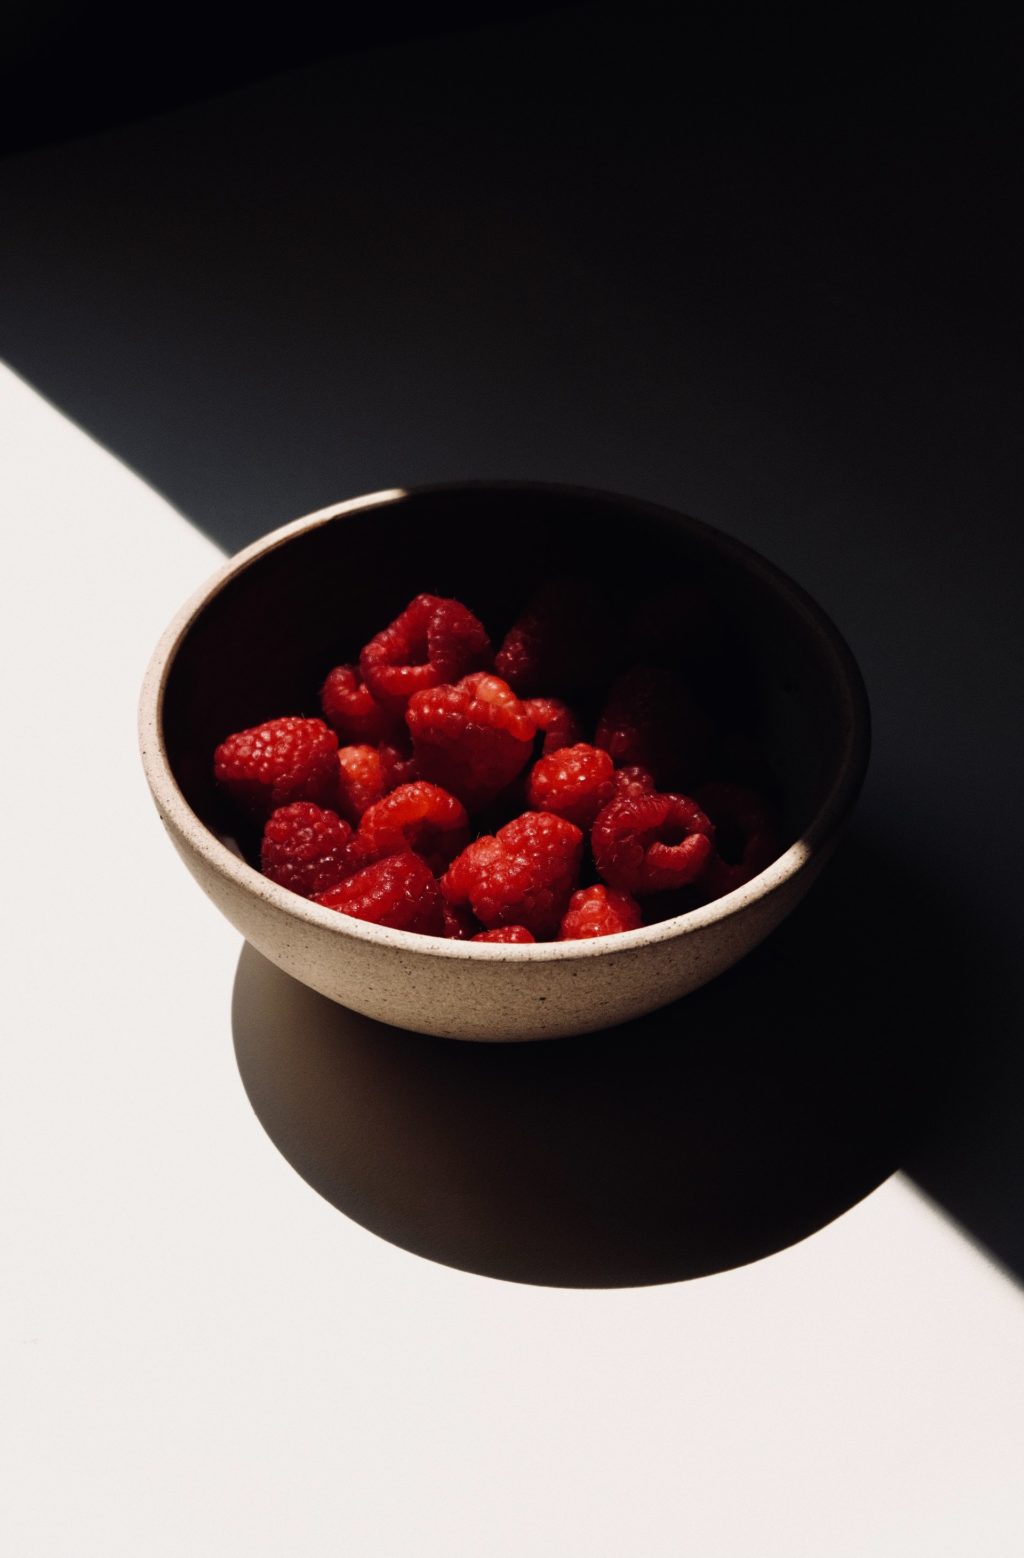
Whenever possible, set a custom white balance for the area in the scene which is your main focal point. This will ensure the color is correct for the most important part of the frame. If you're shooting people, you want their skin tones to be a natural color, the rest of the room should evoke the color that your natural eye sees it, warm or cool.
Try to avoid using flashes of any kind. This may mean boosting the ISO and shooting more wide open, but the end result will be much more pleasing. If possible, use reflectors to bounce the natural light where you need it. A 5-in-1 reflector will give you a few options to warm or cool the area you are illuminating. If you must use a flash, bounce it off the ceiling or wall to help reduce the shadows.
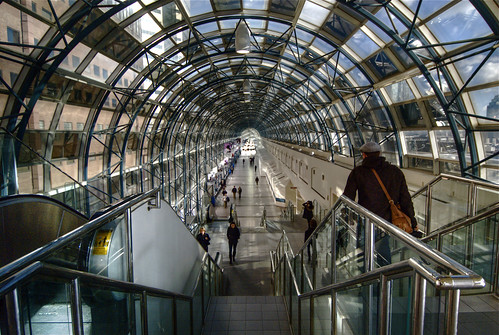
Indoor lighting also lends itself to larger venues, say sports events on any level. If there is no where to bounce a flash and / or your subject is more further away then the guide number of your flash will allow, raising the ISO level and shooting with fast glass wide open will be your only option. Indoor high school sporting events like volleyball, basketball and wrestling are among the toughest indoor lighting conditions any could ever face, a monopod could very well be your saving grace.
If you are shooting architecture, get yourself a solid tripod to work from and a light meter. The tripod will allow you to setup the camera and frame the shot while you take meter readings from around the room. Utilizing reflectors, flags and diffusers will help you get a more consistent reading with your meter across the room, so no one spot is over or under exposed.
When shooting candid photography inside, say following a toddler around the house or a birthday party, setting up reflectors, closing curtains for windows and other techniques just aren't possible. You're best bet is to utilize an off camera flash (to help reduce red-eye) and diffuse it, with an omni-bounce, or Phong device coupled with wide open apertures and doing some exposure compensation as needed.
Lastly, be aware of your surroundings. If you use a flash, try not to position yourself in front of windows, mirrors, TV sets or framed art as the glass will reflect something nasty back to you.


7 Comments
You do know that custom white balance in camera is moot if you’re shooting RAW, right?
It might be true if the camera is capable of shooting RAW+JEPG. However my camera shoots JEPG only and I all most always set the manual (custom) WB.
Shooting indoors… basketball, swimming, any sport which requires a faster shutter speed, and wide aperture…. is only covered briefly…. I can not find any good articles on shooting sports indoors.
Who has time to shoot raw, if you do a custom white balance then you don’t need to shoot raw! unless you like sitting at a computer.
Just a bit of information. Unless a light meter is compensated to match the characteristics of a given digital camera, the reading will always be variable and off target. The hand held meter is many more times accruate than that of the camera, and the iso readings of both are often not equal. Canon’s 100 iso can vary from 80 to 120; using an uncompensated hand held light meter with such a wide camera variance will yield a good bit of frustration. Years ago one could simply set the iso printed on a film box into the meter and then shoot with confidence. And then came the digital sensor!
I hate using flash and I currently have no lighting equipment. What is the best way for me to photograph people in dimly lit settings? And as Maury pointed out, the ISO in my Canon fluctuates tremendously. I would appreciate any guidance.
How can we protect our camera while doing photography as well as after photography. Specially the lens are getting effected by fungus and after having cleaned the lens are not gaining there sharpness as the beginning.