Tabletop photography is one of the easiest way to capture interesting photos indoors and it does not require a fancy studio or complicated gear and setups. It is a type of photography that has become quite popular and photographers can creatively set their subjects on a table and photograph them, and mostly with things they have in hand or lying around the house.
Here is a simple guide to tabletop photography that includes tips, ideas, and setup.
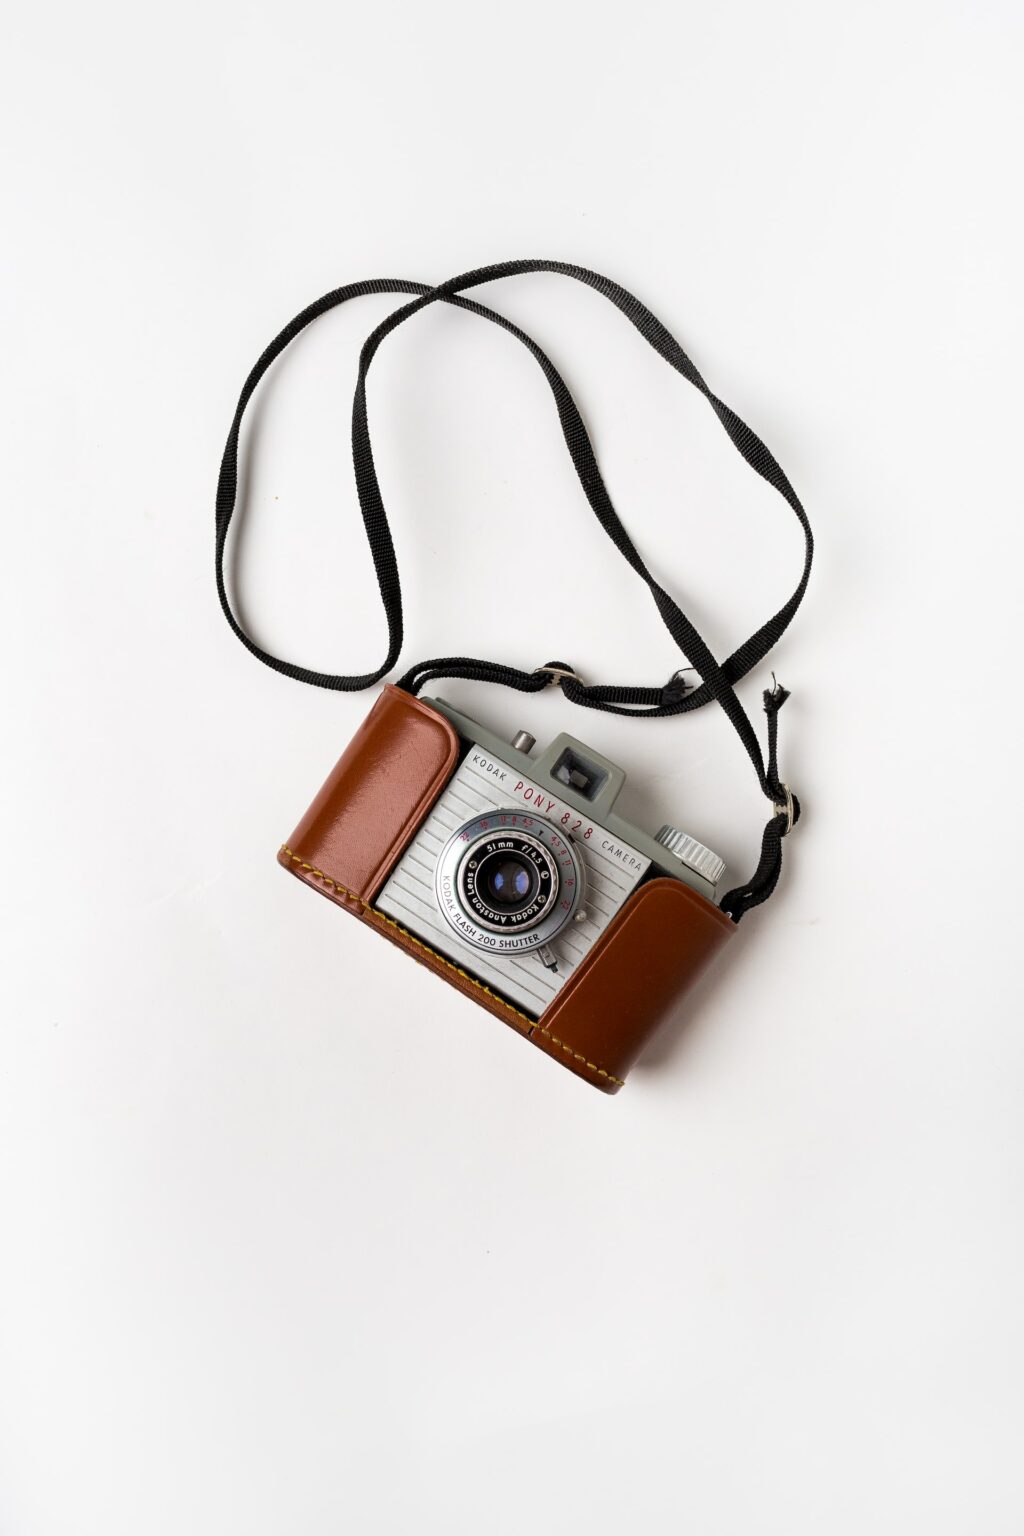
Tabletop photography is a kind of still-life photography where the objects are placed on a table to be photographed. The objects are kept standing on the table or in a lay-flat manner (usually food, drinks, gadgets, jewelry, lifestyle, travel, and even toy photography done indoors) for them to be photographed.

Tabletop photography can be of two main categories and could be used to photograph,
- Products for commercial purposes or
- For creative photography like food, lifestyle, and even some still life. Flat lays are also a kind of tabletop photography
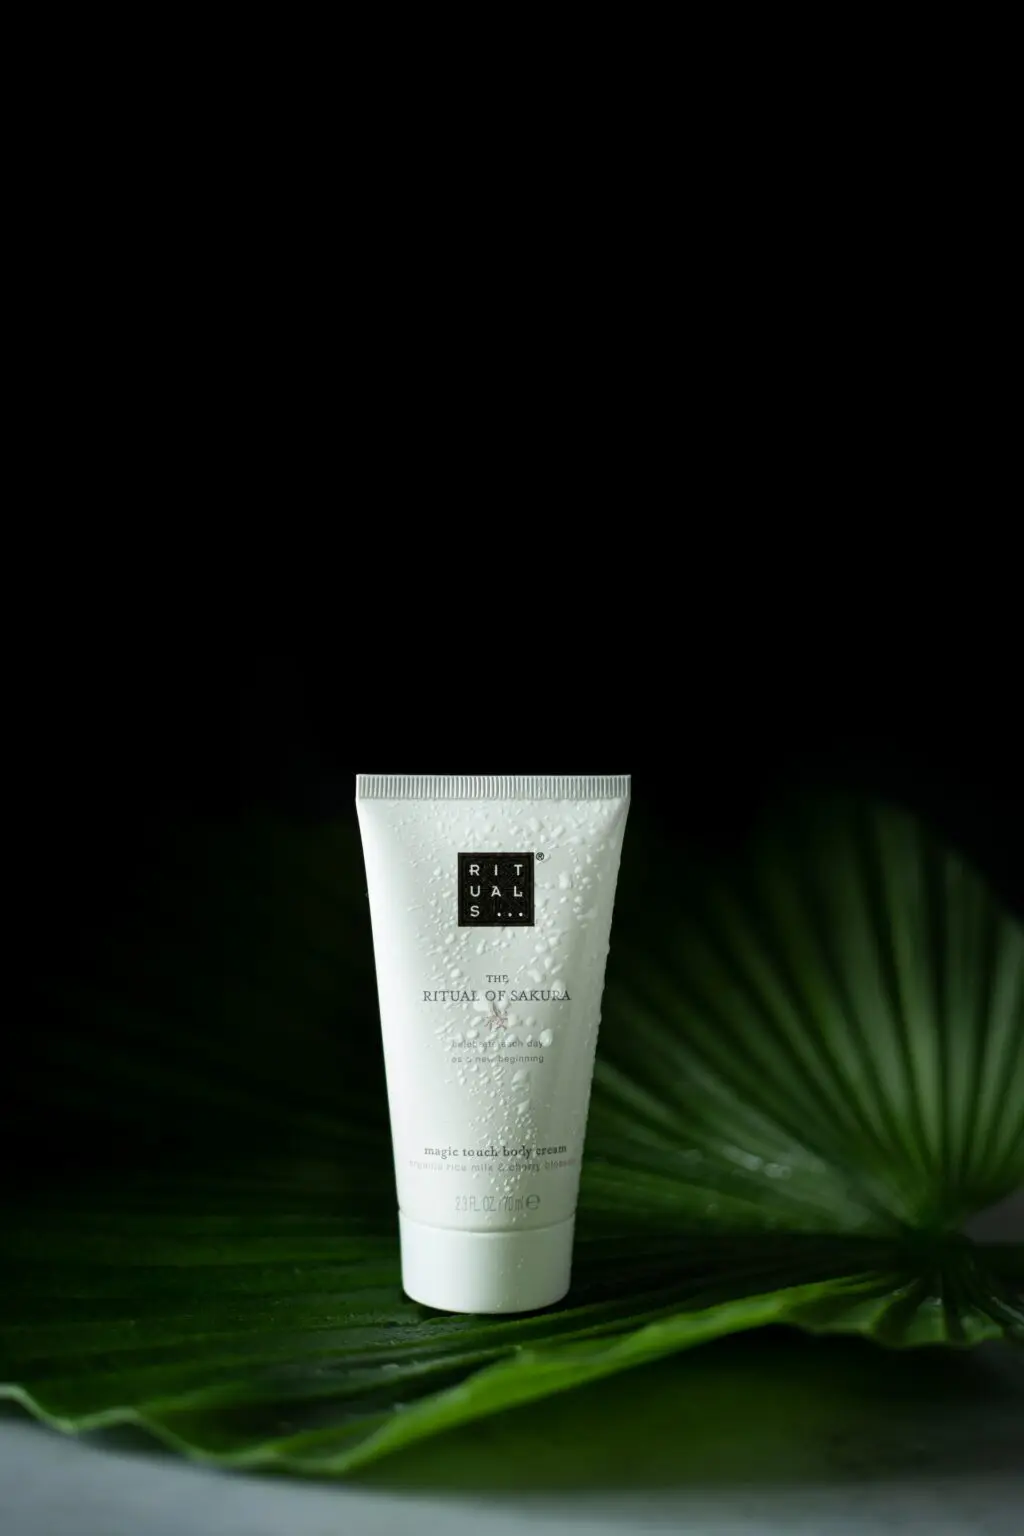
Tabletop photos shot for commercial use usually have a white background, and the object fills most of the frame (usually greater than 50% to 70%). The image needs to be bright with proper lighting, minimal shadows, accurate focus, and with a good depth of field so that the subject details are clearly visible.
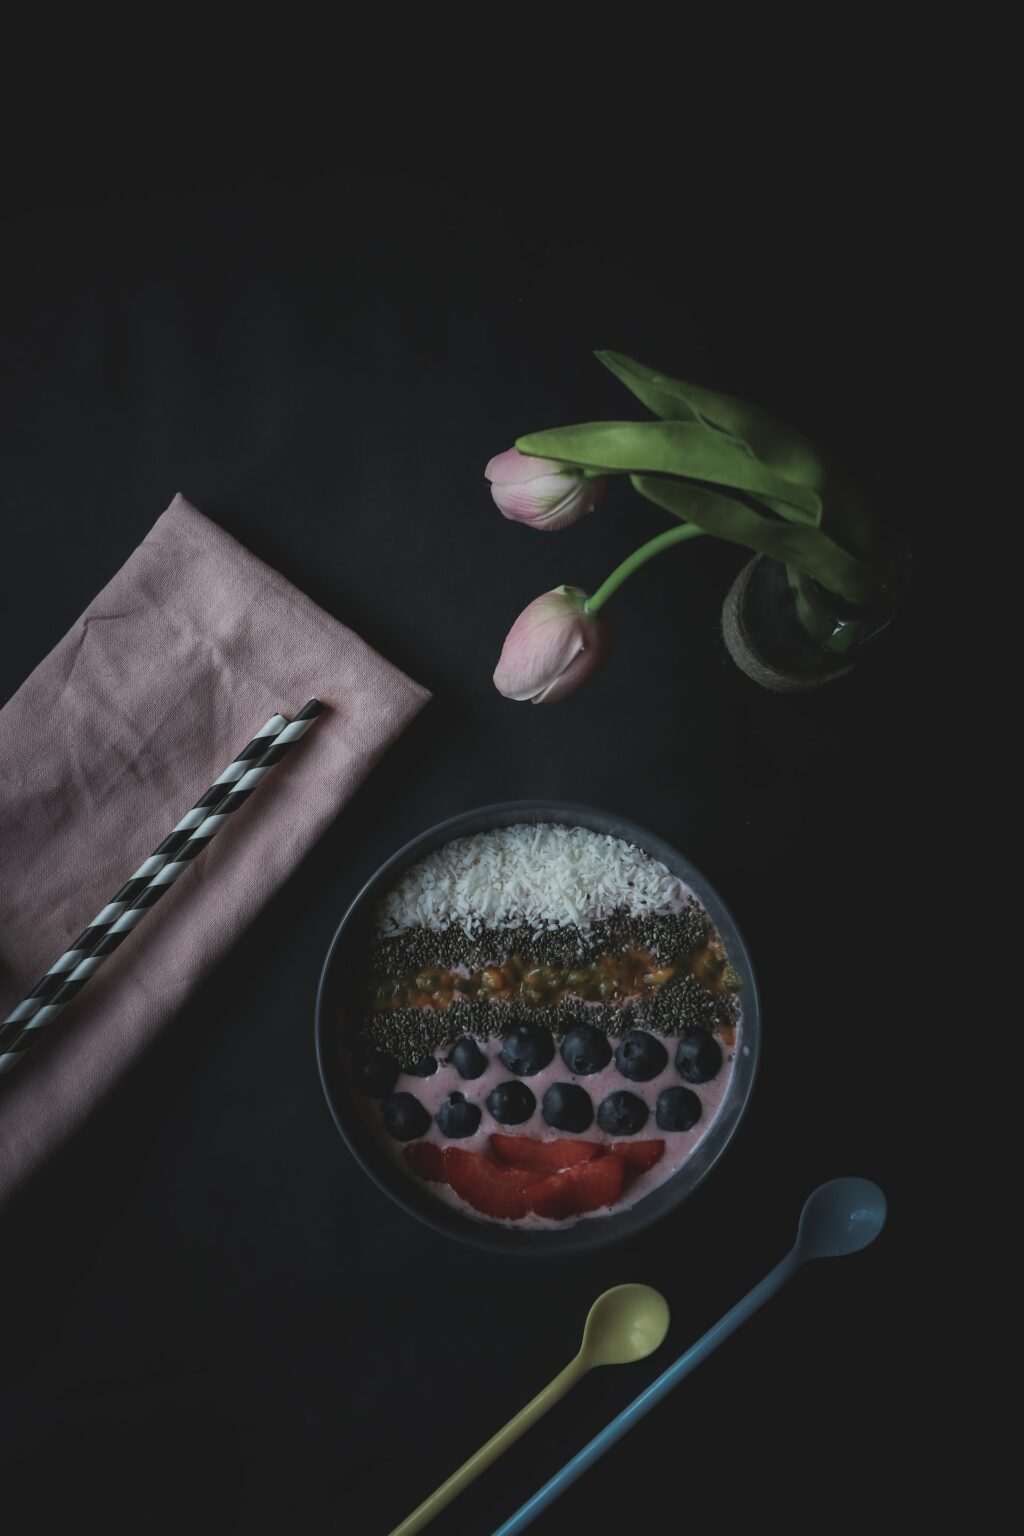
When capturing styled images like food and lifestyle, it is more about creativity and visual appeal/aesthetics. These images are artistic and have a concept.
These creative images are mostly captured for advertisements, magazines, or for sharing on social media. Because of these reasons, exciting props, beautiful backgrounds, colors, and subjects are used, and sometimes even a pet or a human element is included in the frame.
What You Will Need For Tabletop Photography
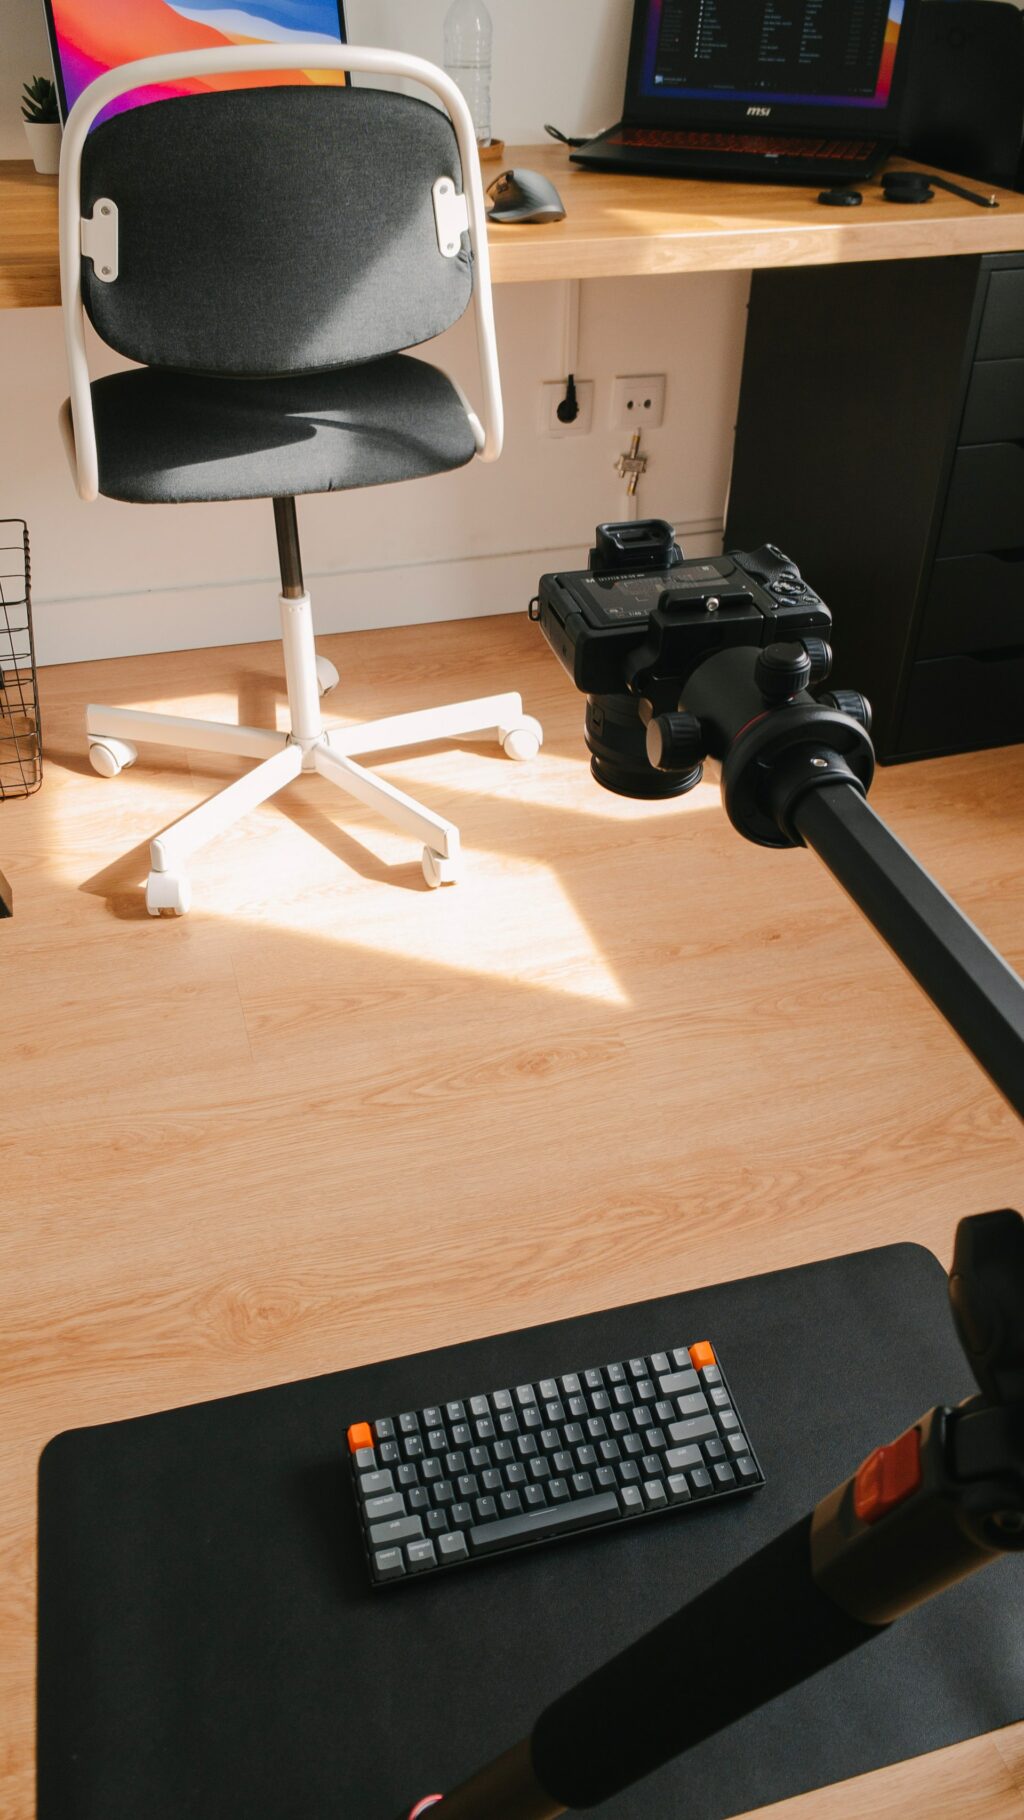
For successful tabletop photography, you will need to have a few basic things for the setup and photography. Most of these are things that you will already have lying around the house.
- A camera can shoot in manual mode, but remember that you can also use a smartphone for this type of photography.
- A macro lens will work great for product photography but is not necessary. A 35mm lens will work great for products, other tabletop setups, and flat-lay images. If you have a kit lens, use it at the desired focal length based on how wide or narrow you want the frame.
- You need a sturdy surface to set the scene or the product that you will be photographing. You could choose a normal table, bench, or any other surface to photograph your subject/s.
- The table or surface can be of your preference. You can choose to have an artistic one depending on what you shoot, for example, for food and lifestyle, or you can choose any surface and use an exciting background that will go well with the subject/s that you are photographing.
- Some backgrounds you can use are white paper for product photography. Sometimes black and other colors or textures will work great, too, depending on the product.
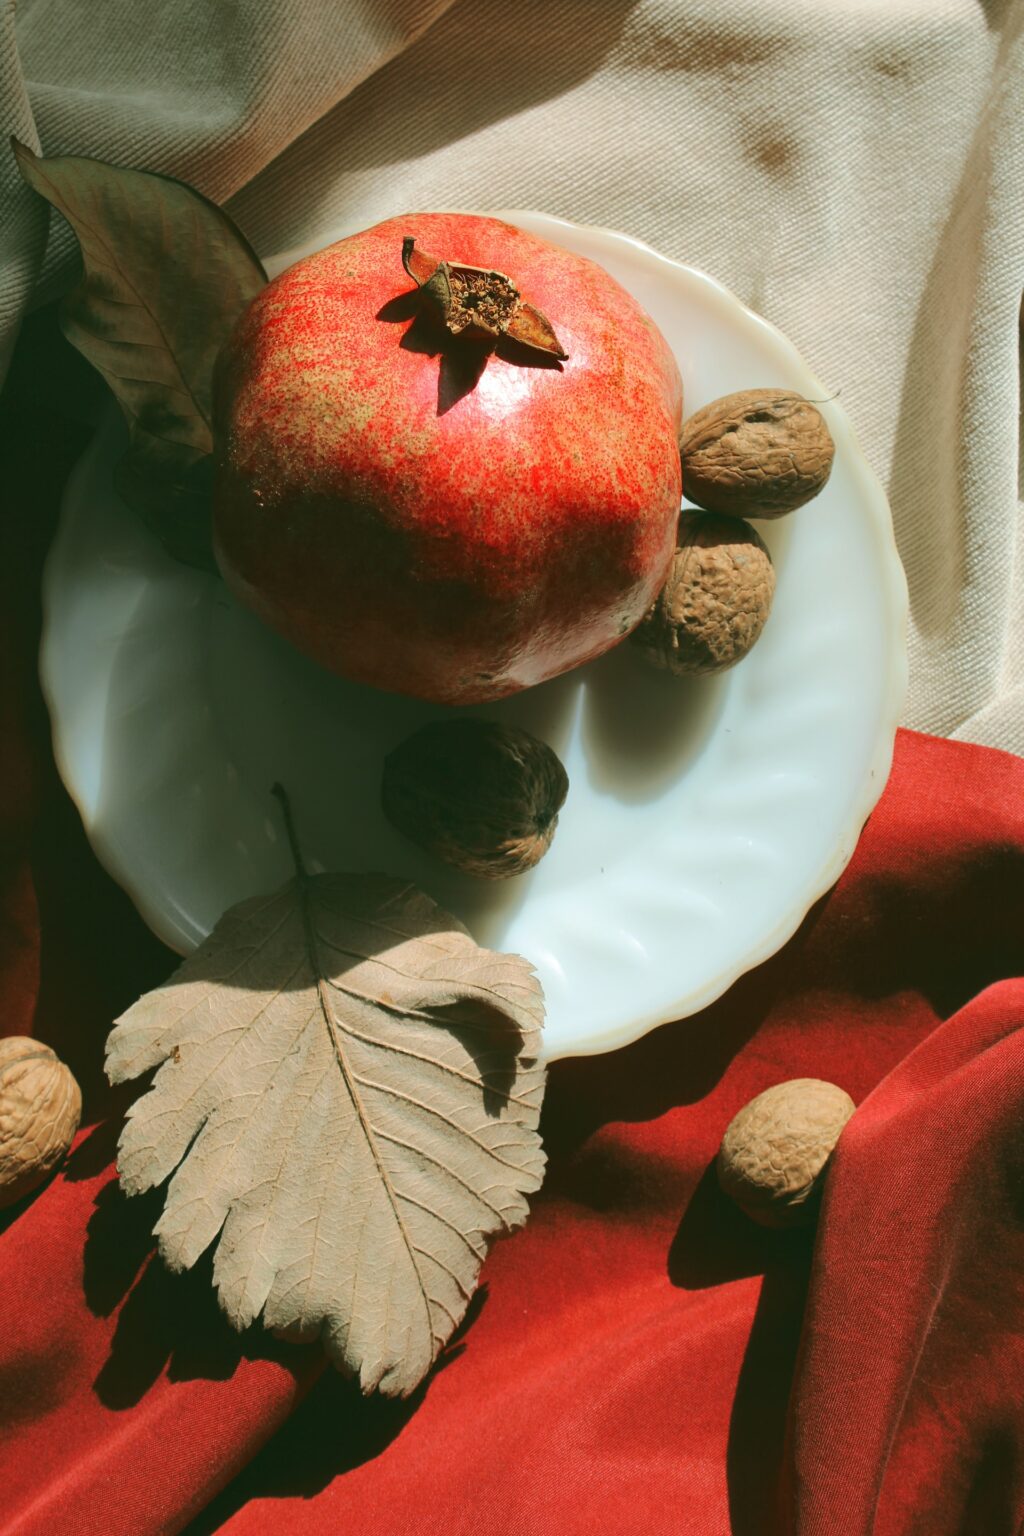
- Other great backgrounds for tabletop photography are attractive fabrics, textures, weathered wood, other wood boards, metal sheets (especially rustic-looking ones), foam boards, vinyl boards, placemats, etc. It depends on the subject and the final results you are looking to achieve.
- If you have a temporary setup where you will need to hang backgrounds to capture a photo, you will also need some stands, clips, clamps, etc.
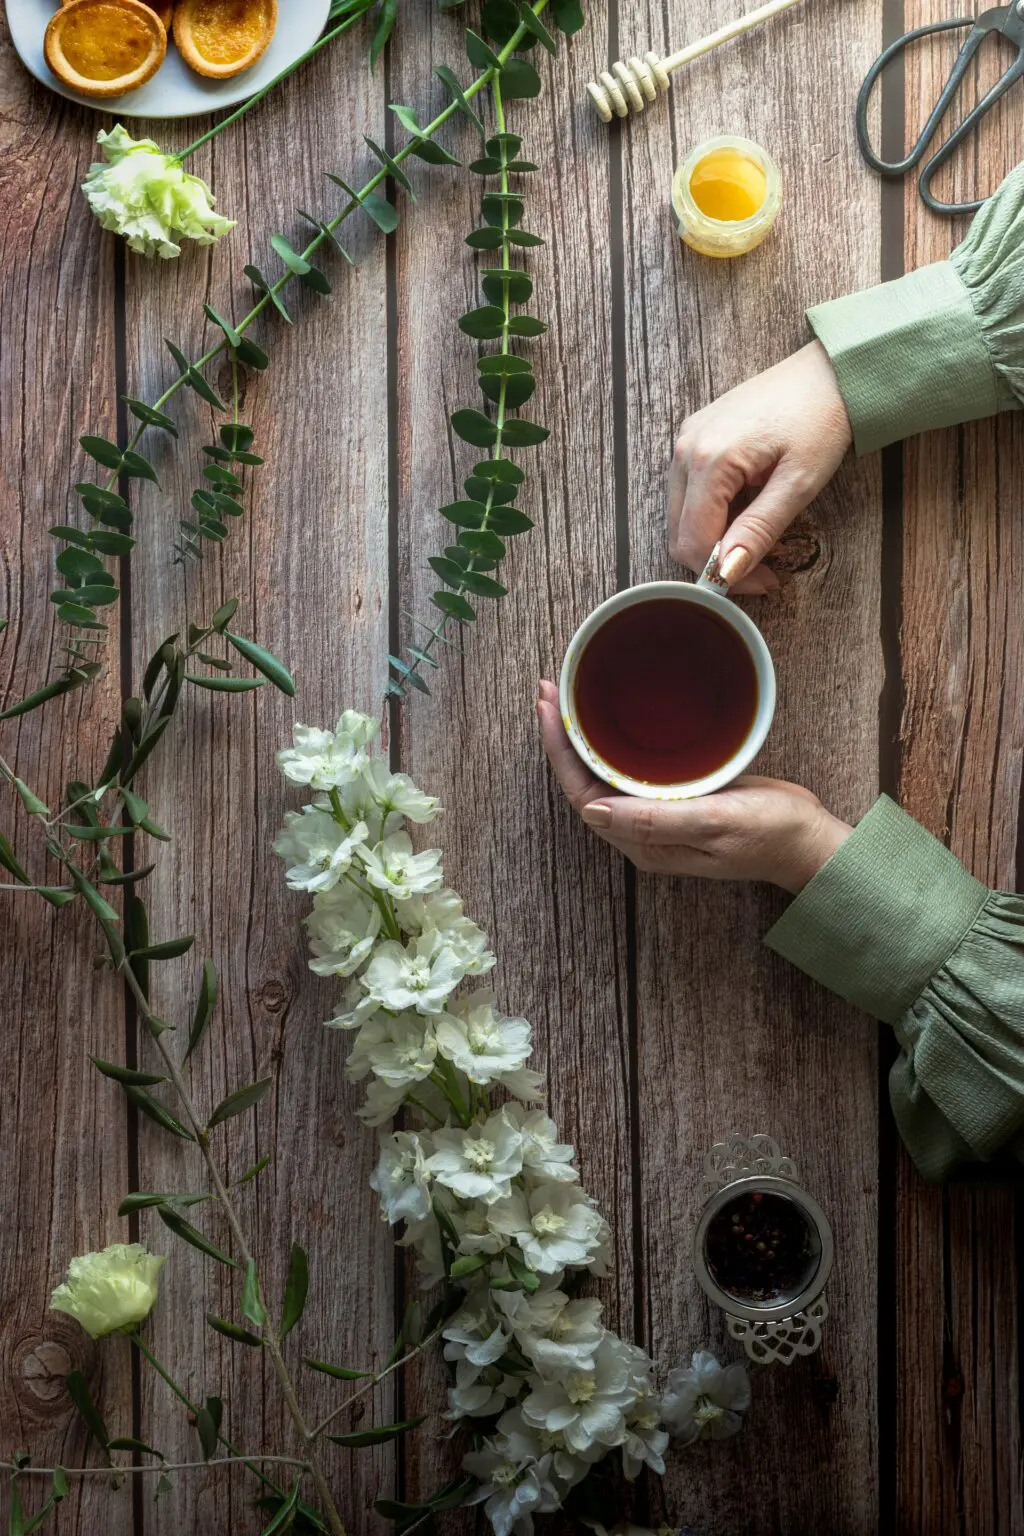
- For photographing food, you will need some cutleries, dishes, stands, new props, kitchen towels, and any other styling items that are relevant to what you wish to photograph and the end results you are looking to achieve. Tiny plants and candles can add life and mood to an image. It is good to use props associated with the main subject and story so the resulting image looks meaningful.

- A misting bottle can be a great accessory to make subjects look fresh where applicable. It can also be used to create some effects when capturing your subject, especially when they are backlit.
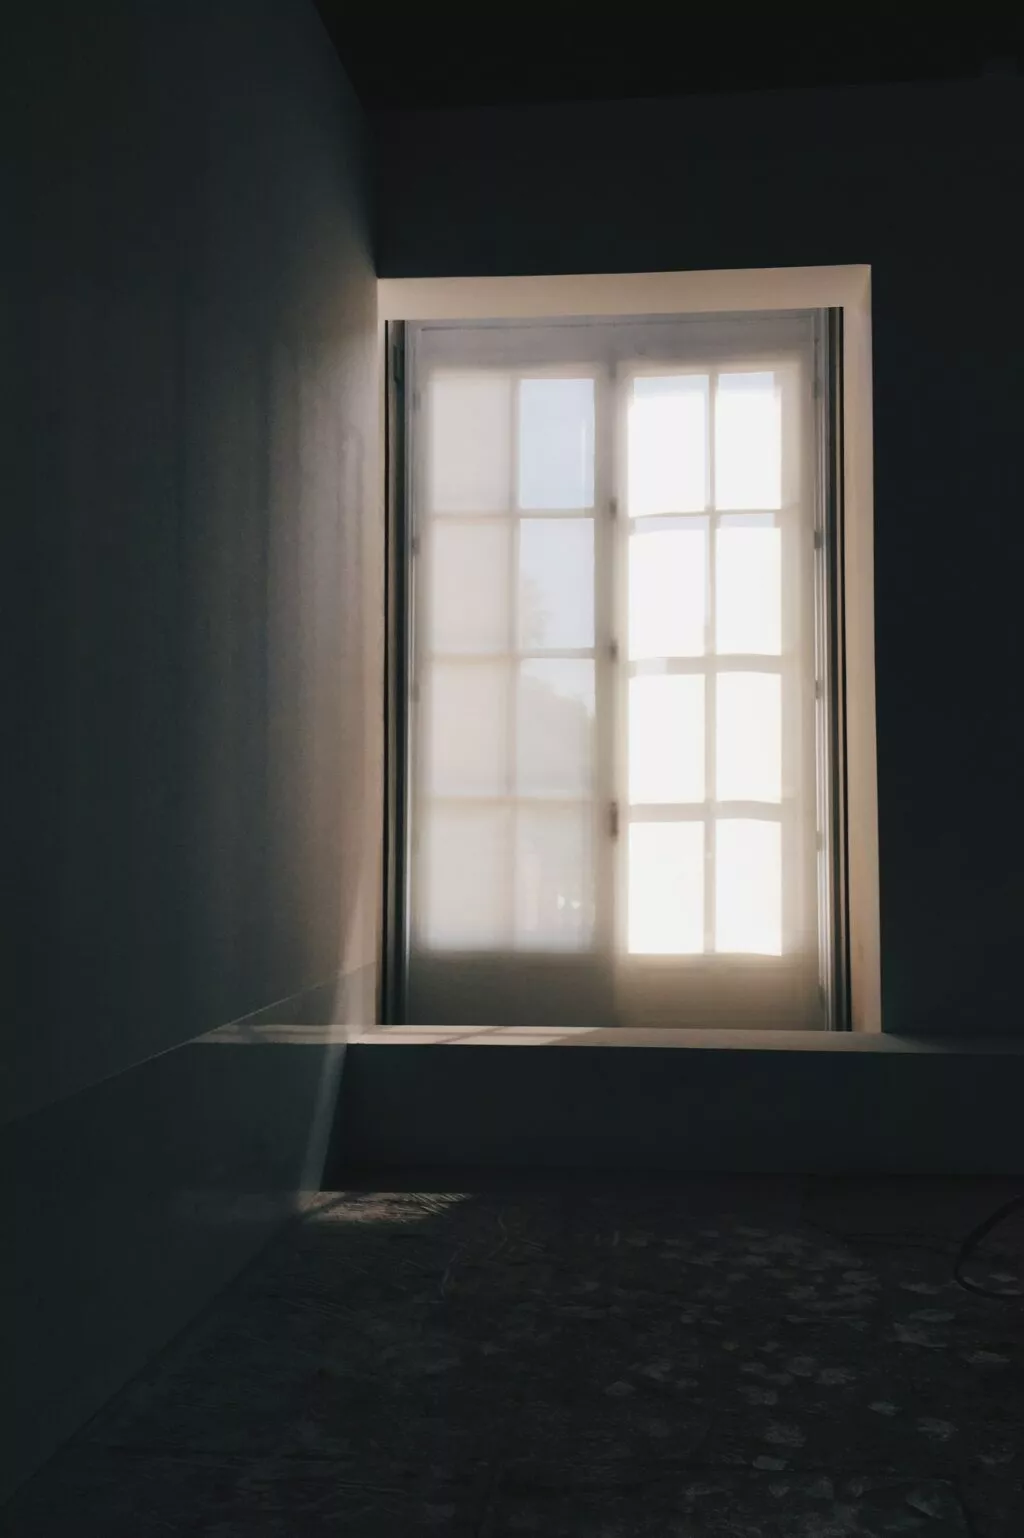
- Tabletop photography is usually done indoors. To keep it natural and straightforward, you need an excellent natural light source, like a large window or door.
- You can use a reflector for fill light or a sheet of white paper or board.
- A tripod will be an excellent accessory for tabletop photography, as you will sometimes shoot from a top-down perspective with the camera at 90 degrees to the table. This is mainly for flat-lay setups. Having a tripod otherwise will allow you to shoot at low iso for high-quality images, be flexible with composition, and help avoid camera shake.
Preparation And Setting Up The Scene
With tabletop photography, you do not need to worry about specific gear and accessories. Start with the equipment that you already have. Brainstorm ideas based on why you want to capture this particular photograph and then decide on a scene, setup, or object you wish to photograph.
- For product photographs, make sure to have the subject cleaned, dusted, and speck free. If you are photographing a defective product, then by all means, show the product as it is.
- When photographing flowers, vegetables, fruits, and food, photograph them when they still look fresh and beautiful. Also, remember that imperfections are perfect and natural looking for non-commercial photographs.
Once you have your subject,
- Find a good location to photograph your subject/s.
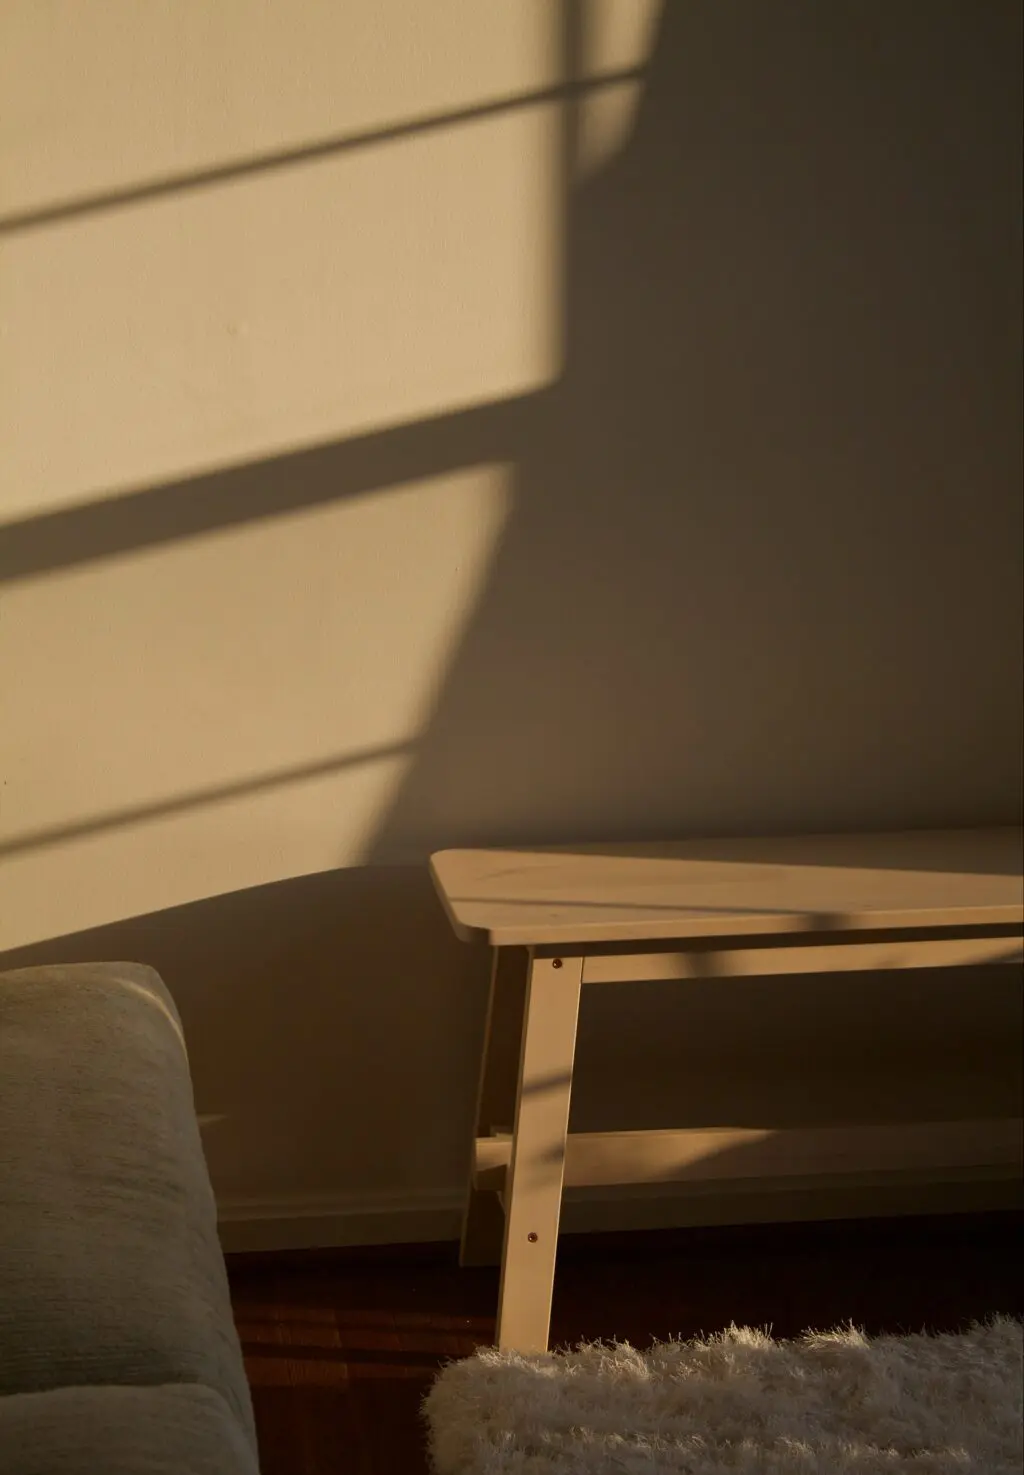
- The best location would be by a large window where you can beautifully side-light the subject or scene.
- Soft morning or late afternoon sunlight, light on overcast days, work great, but at other times you can diffuse the light if it is very harsh.
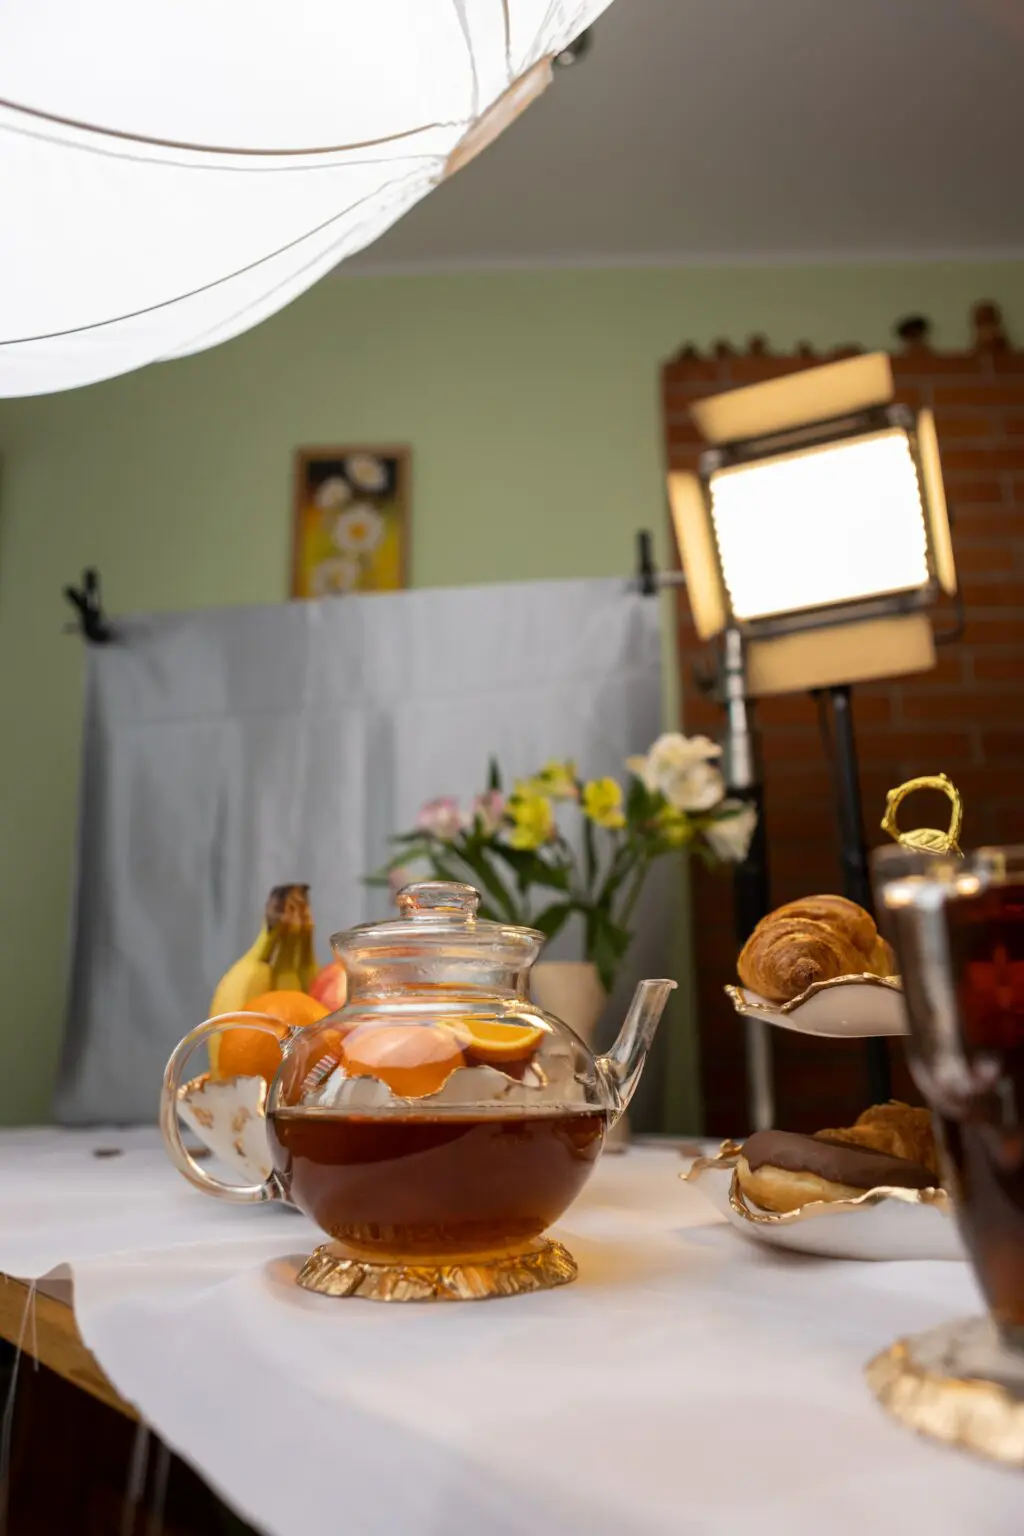
If you do not have a place to use natural light or you wish to use artificial light,
- Use a light source from the side at an angle to illuminate the subject or scene.
- Use soft light to illuminate the scene or subject.
Experiment with different lighting techniques for artistic purposes.
- For product photography, side lighting works the best.
- For creative photography, you could try side lighting, backlighting, top lighting, etc.
- If photographing on a glass table top, you could even try dramatic lighting from the bottom if that suits the style and story you are looking to capture.
- Always use soft light or a diffuser if the light is too harsh.
- If any areas are dark with details lost due to shadows and need illumination, use a reflector to fill light into those areas.
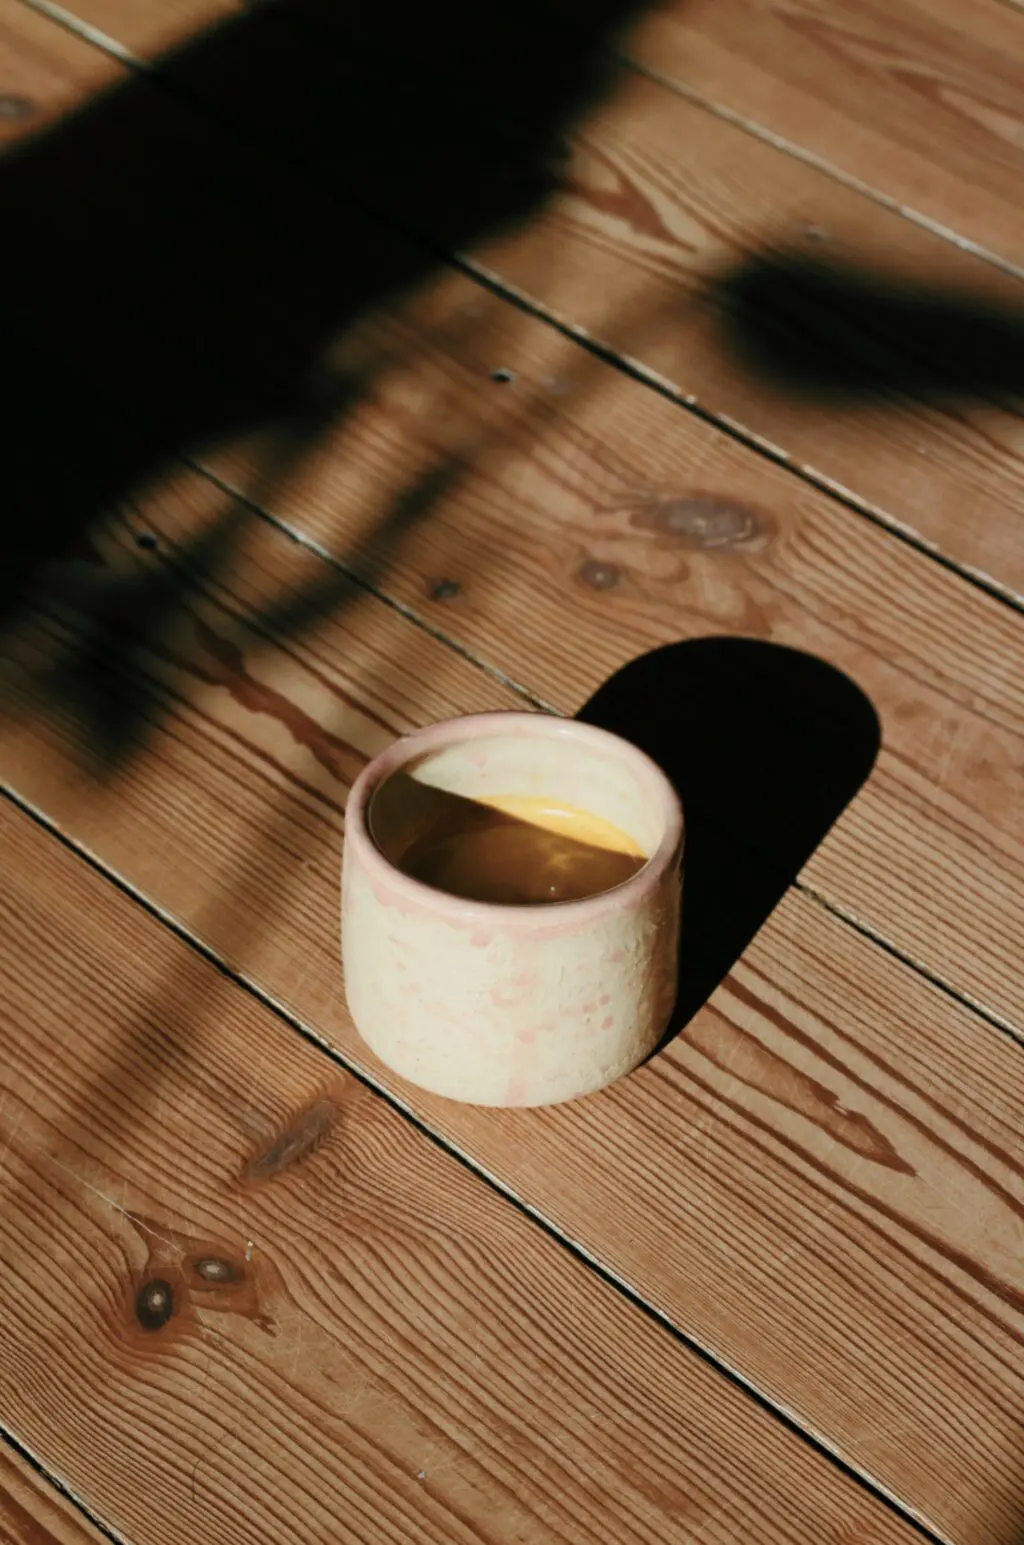
- Sometimes, shadows can be used to effectively compose and capture dramatic tabletop photographs.
Decide on any props that you wish to add to make the frame look interesting.
Also, pay attention to the background.
- If you are photographing from the top, looking down, then the table or any other background laid on the table will be the backdrop for the image. Select them wisely, so they go with the theme and color of the subject and props in the frame.
- If you shoot from a lower perspective, then you will need to pay attention to the surrounding backdrops, like walls and other background areas.
For product photography,
- You will need to photograph the product without other elements being distracting in the frame.
- The background also needs to be plain or minimal without taking away the attention from the product.
Think about the composition.
- Make use of compositional guidelines like leading lines, curves, rule of odds, rule of thirds, minimalism (not for product photography), contrast, colors, etc., to capture effective photos.
- For each setup, you will need to play around with the composition, and you can even try multiple compositions for a particular scene, capture test shots and see what works well.
For tabletop photography,
- If you already have an effective background and the best light, you can photograph the subject on its own, but always adding a supporting element for non-product photography can tell a story and add meaning to the subject you are photographing.
- Sometimes adding a prop works for product photography too. In this case, you need to keep the props or supporting elements to a minimum to not distract from the main subject.

Capturing A Tabletop Photograph
Once you have done setting up the scene or subject, you need to capture the photo.
- Set your camera on a tripod in manual mode and shoot raw. Shooting raw will help you to be flexible when post-processing.
- Set the white balance depending on the light in the scene.
- Set the iso to the lowest possible, and adjust the aperture depending on the depth you wish to achieve in the image.
- For product photography, you will need a deeper depth of field, and hence aperture values like f/7 to f/11 or f/16 can be used based on the requirements. For other tabletop photos, you can decide on the best aperture value. Start with f/5.6 and then make adjustments depending on the end results you need.
- Make sure to illuminate the scene well in order to get perfectly exposed photographs.
- Set the shutter speed based on the above settings.
- If you are not using a tripod, you will need to work around the iso and shutter speed so that the shutter speed is greater than 1/focal length, considering the crop factor.
- Also, if you do not have a tripod, capturing flat lays can be quite tricky as you may have to climb onto a higher level to capture compelling images.
Move your camera to get the best angle, perspective, composition, and light in the frame.
- Try photographing from various angles and perspectives and various light intensities. A slight change in angle or lighting direction can make a massive difference to how the subject looks.
- When using a tripod, make use of a remote or cable release to avoid camera shake. You can also make use of the timer delay feature.
- Capture test shots and decide on the best one that works best for you.
When setting up for tabletop photography, depending on the setup, the size of the subject you are capturing, perspectives/angles, and the focal length used, you may not always be able to frame the scene without the setup being visible. You may need to crop the image in the post to get the desired composition and frame. Capture the image with this in mind, as you do not want the essential elements to be cropped off when post-processing.
Finally, when you have captured the images, make sure you post-process them before presenting, delivering, or sharing them.
- You will need to adjust the white balance and crop to get the desired composition in the frame.
- Remove any unwanted dirt, specks, imperfections, etc., in the frame.
- Once done, make basic adjustments, and add a pop of color if required using the vibrance slider. Specific colors can be worked on using the HSL panel. Use brushes to make local adjustments to shadows and highlights in the frame if required.
- Some subjects, depending on their characteristics, will look good with some added clarity and textures.
We hope that the tips above will help you with getting started in tabletop photography. It can be pretty exciting and a lot of fun to create a scene or story on a tabletop and capture them artistically.
If you have any tips for tabletop photography, please share them with us in the comments section below.


4 Comments
Thank you Dahlia smashing info as ever 🙂
Thank you very much Patrick 🙂
Misting bottles are perfect for getting that natural/crisp photo of fruit and vegetables, the gleam of a chilled beverage, or a light dew on flowers. Thanks for posting this article! I love how you were able to take a regular cup of tea and make it the perfect subject for photographing.
Hi Marcus, yes, misting bottles are great. Thank you for reading and sharing your thoughts 🙂