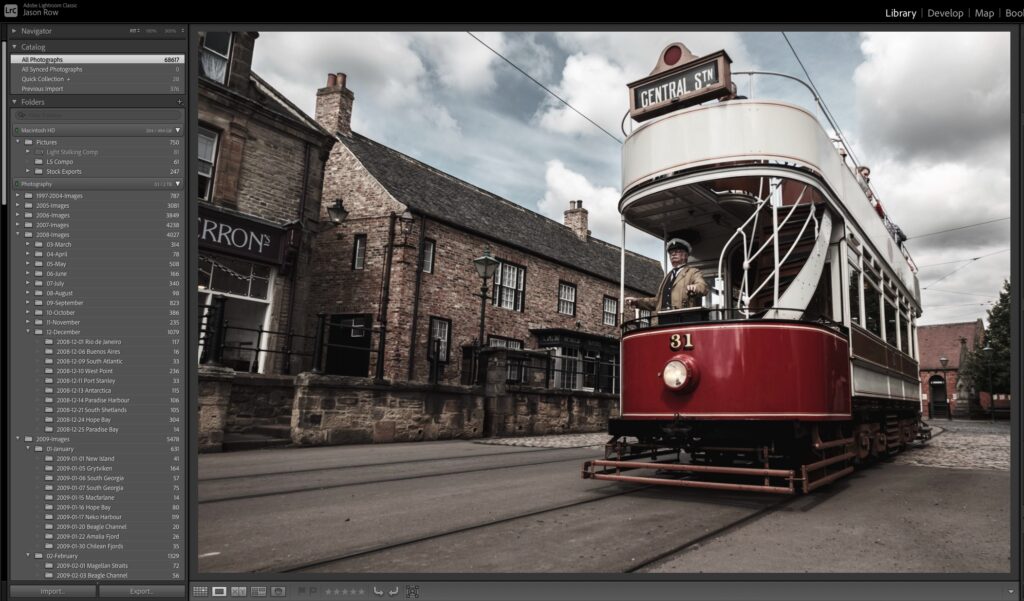
Before you can truly harness the power of Adobe Photoshop Lightroom, the most essential thing you must know is how to import your digital photography files into a catalog.
As mentioned in the previous tutorial, Lightroom is a modular based program where you can organize, develop, print, share and display your photography, among many other things. In order for Lightroom’s vast number of features to be useful to you, you must first import your images into a catalog so you can work on them.
The importing process is done via the “import dialogue box.” There are two ways to quickly access the import dialogue box:
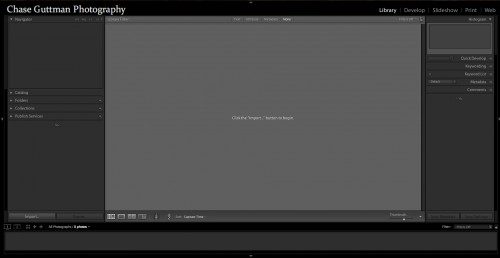
By default, when you create a new Lightroom catalog (File<New Catalog), or you're just starting out with Lightroom, the library module should pop-up on your screen (if that’s not the case, then you can always access the library module via the identity plate). In the library module, on the lower left side of the program, you will find a large import button. Click on the import button to open up the dialogue box.
An alternative way to access the import dialogue box is by clicking File<Import Photos on Lightroom’s top menu.
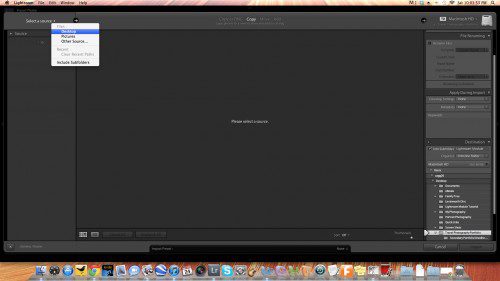
Once the import box is opened, Lightroom provides you with numerous options.
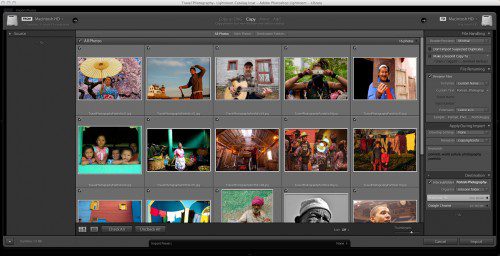
The first step in importing your photographs, takes place on the left side of the import box. There, you must select the source that your images are being imported from. You can select an inserted memory card, one of the various folders and subfolders from your hard drive, or quick select a source by clicking on the very top left area of the dialogue box (there Lightroom displays commonly used sources like your desktop or picture folder as well as recently used sources).
As you click on different sources, the recognized file types (such as jpeg, raw, tiff, etc.) associated with the given folder will be displayed in the large middle screen. When you finally settle on the source from which your images are being imported, the top-middle section will also allow you to choose what you will be doing with the images: whether you’re copying the images as a DNG file (an explanation of DNG files can be found here), copying the original file format, or moving or adding the images into Lightroom.
The other main purpose of this middle section is to decide which images from the source folder(s) will be imported. At the bottom, you can “check all” or “uncheck all” the files. You can also check on and off individual images. These actions tell Lightroom which images you plan on importing into the program. In case you’re unsure of whether to import a specific file, every image seen in the dialogue can be enlarged by double clicking on it.
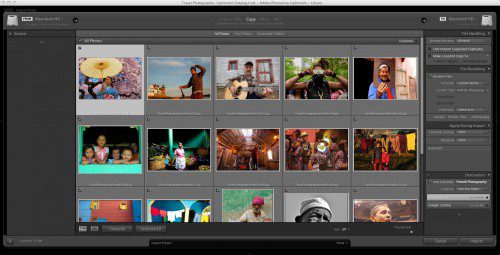
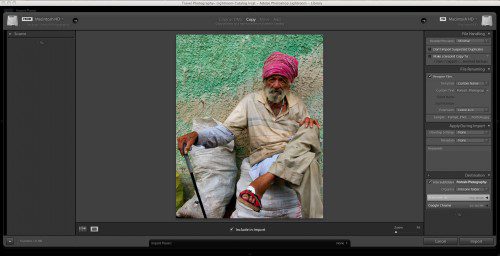
Notice in the screenshot below, that the images that aren’t going to be imported are less bright than the images around them that are going to be imported.
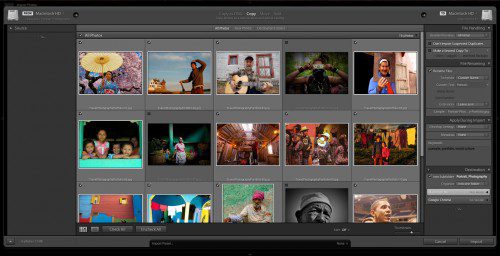
The right side of the import dialogue allows you to apply custom settings to the images. Under the File Handling menu, you decide how Lightroom should render previews of the images (minimal is an option I recommend for maximum program efficiency), whether Lightroom should allow duplicates to be imported or whether you want an additional copy of your images made during the import process.
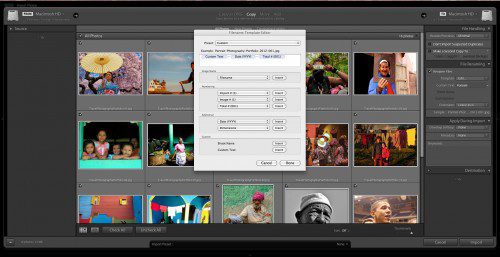
The next menu, File Naming, gives you tons of options in renaming the files as they get imported into the program. In naming the images, you can choose from a template or create your own custom template like the one in the screenshot below. The Apply During Import menu allows you to add keywords, metadata and even to develop the images without leaving the import dialogue (click on the respective drop down menus to choose a develop or metadata preset, or create a new one on the spot). Lastly, the Destination menu allows you to choose where you plan to re-locate or copy the images.
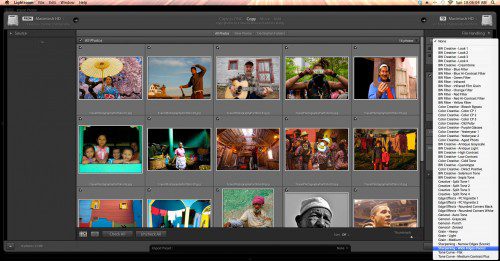
An important note: All actions applied through the menus on the right hand side of the import dialogue affect all of the images you’re importing.
Now that you've told Lightroom which images to import and how to handle the files, simply click on the import button on the lower right side of the dialogue box. Lightroom will then import the selected images and gather them together into your library module. When the import process is complete, you're now ready to develop, organize and share your images.
Chase Guttman is the winner of Young Travel Photographer of the Year 2010, and a Grand Prize winner, in his age group, in National Geographic’s 2011 International Photography Competition. Guttman's photography has been published internationally and has been exhibited at the prestigious Royal Geographical Society in London. Be sure to follow him on Facebook, Twitter and Google+ (where he’s currently offering a free photography eBook) and subscribe to his blog.


