While the old adage of “get it right in camera” is something to take seriously, post-production skills are also very valuable. Applying realistic makeup in Photoshop is a skill that could prove valuable for you at some point. Certainly the skills associated with it will help you with your post-production in general. So let's take a look at how you might do this.
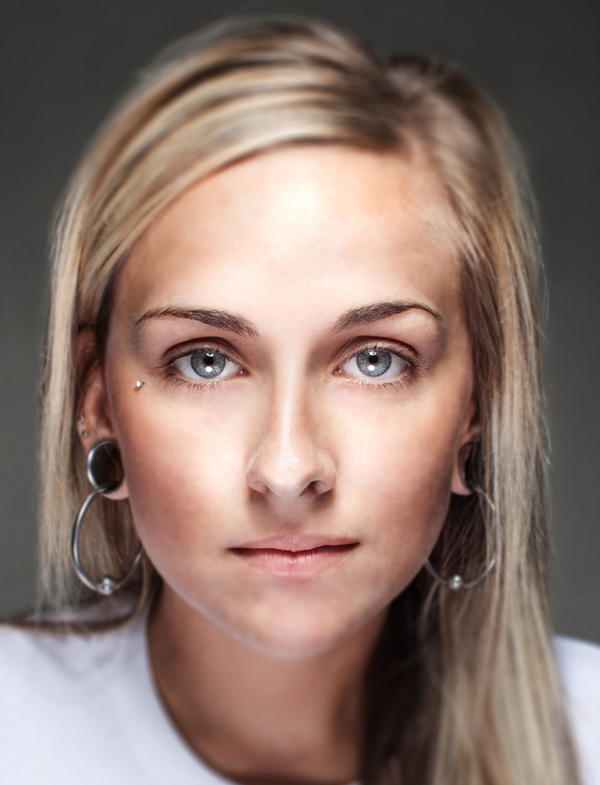
Here is the photo I chose for this tutorial. She is a gorgeous model with amazing eyes, and the portrait is certainly complete as-is. However, her bare face is perfect for the purposes of this tutorial.
You can download this photo from Flickr or follow-along with one of your own.
Perform Basic Photo-Retouching
This particular model has very good skin and required very minimal touch-up to start with. If there are any visible blemishes or other imperfections on your models skin, you can first use the spot healing brush to erase them. Choose a basic round brush, which is just slightly larger than the blemish and set it at 50% hardness.
If your model's skin has a lot of problem areas, this portrait retouching tutorial contains some helpful tips on minimizing them prior to makeup application.
Contour The Face
Contouring is a technique that real makeup artists use to make a face appear thinner or to emphasize/minimize facial features.
Using the eyedropper tool, select the brow color.
Set the brush mode to Soft Light and choose a low opacity. Somewhere around 20% to 50% is usually best. Also, set the brush hardness at 0% so that you will get a nice soft effect.
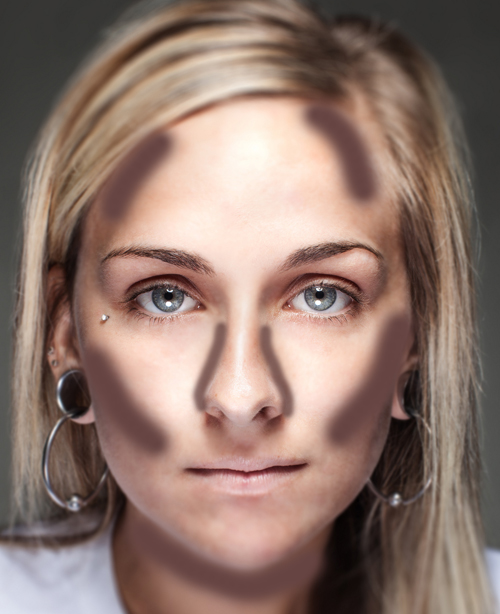
While you may want to play around with contouring different face shapes, generally there are a few places that are universally flattering. Sweep the color along the underside of the cheekbones, under the chin and part of the neck, the sides of the nose and along the temples. Here is a rough depiction of where to place your contours, although the actual effect will be subtle.
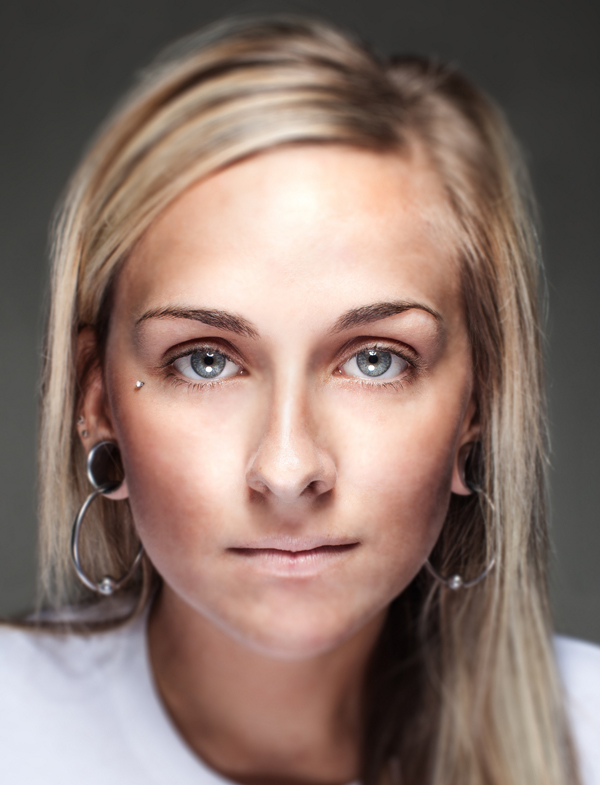
Once you are done with contouring, your portrait should look something like this.
Add a Soft Glow to the Face
This step will add a flattering glow to the face as well as bring out the eyes of your model a bit.
Create a new layer.
Set the Brush Tool to Normal mode, opacity 30% and choose the color #e4bba7.
Set the layer opacity to 40. You can adjust the layer opacity up and down depending on how subtle or dramatic you want the glow to be. I chose a subtle effect in this instance.
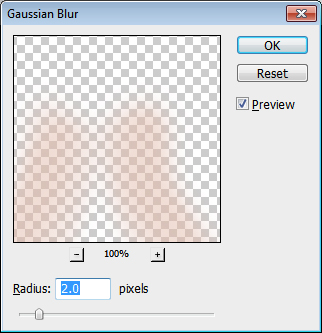
Paint in the same areas that you painted your contours and then choose Filter>>Blur>Gaussian Blur. Set the radius to 2.0 pixels.
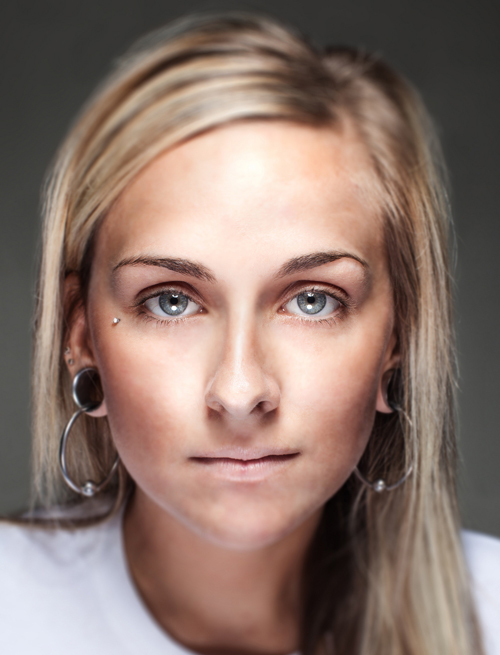
Here is the result of adding a soft glow to her face.
Add Lipstick
Create a new layer and choose “Soft Light” as the blending style.
Choose a round brush with 0% hardness and Normal blending mode at 50% opacity.
You are going to use two different shades which will consist of a lighter shade on the inside and a slightly darker shade on the outside.
Paint the lighter color over the entire lips, trying to stay within the natural outlines of the lips. If you go over, erase it with the eraser tool at 0% hardness and 25% to 50% opacity to keep the outlines soft.
Once you have filled in the lips, make the brush smaller and outline them with a darker shade of the color that you used to fill in the lips.
When you are satisfied with the shape, use the blur tool at 50% strength to blend the lighter and darker shade together.
This technique can be used to add a very sheer, almost imperceptible wash of color over the lips or to give the look of full lipstick by changing colors and opacity.
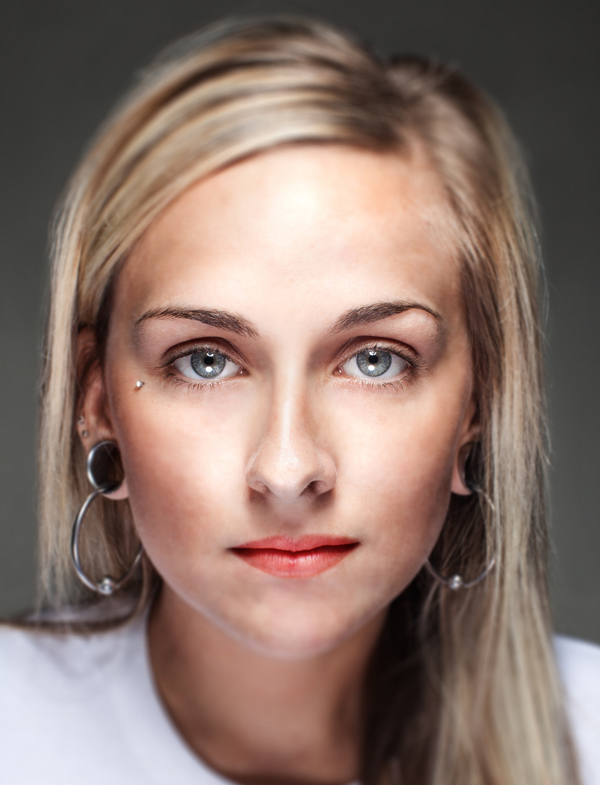
Here is a very natural result, as if the model had only lip balm on:
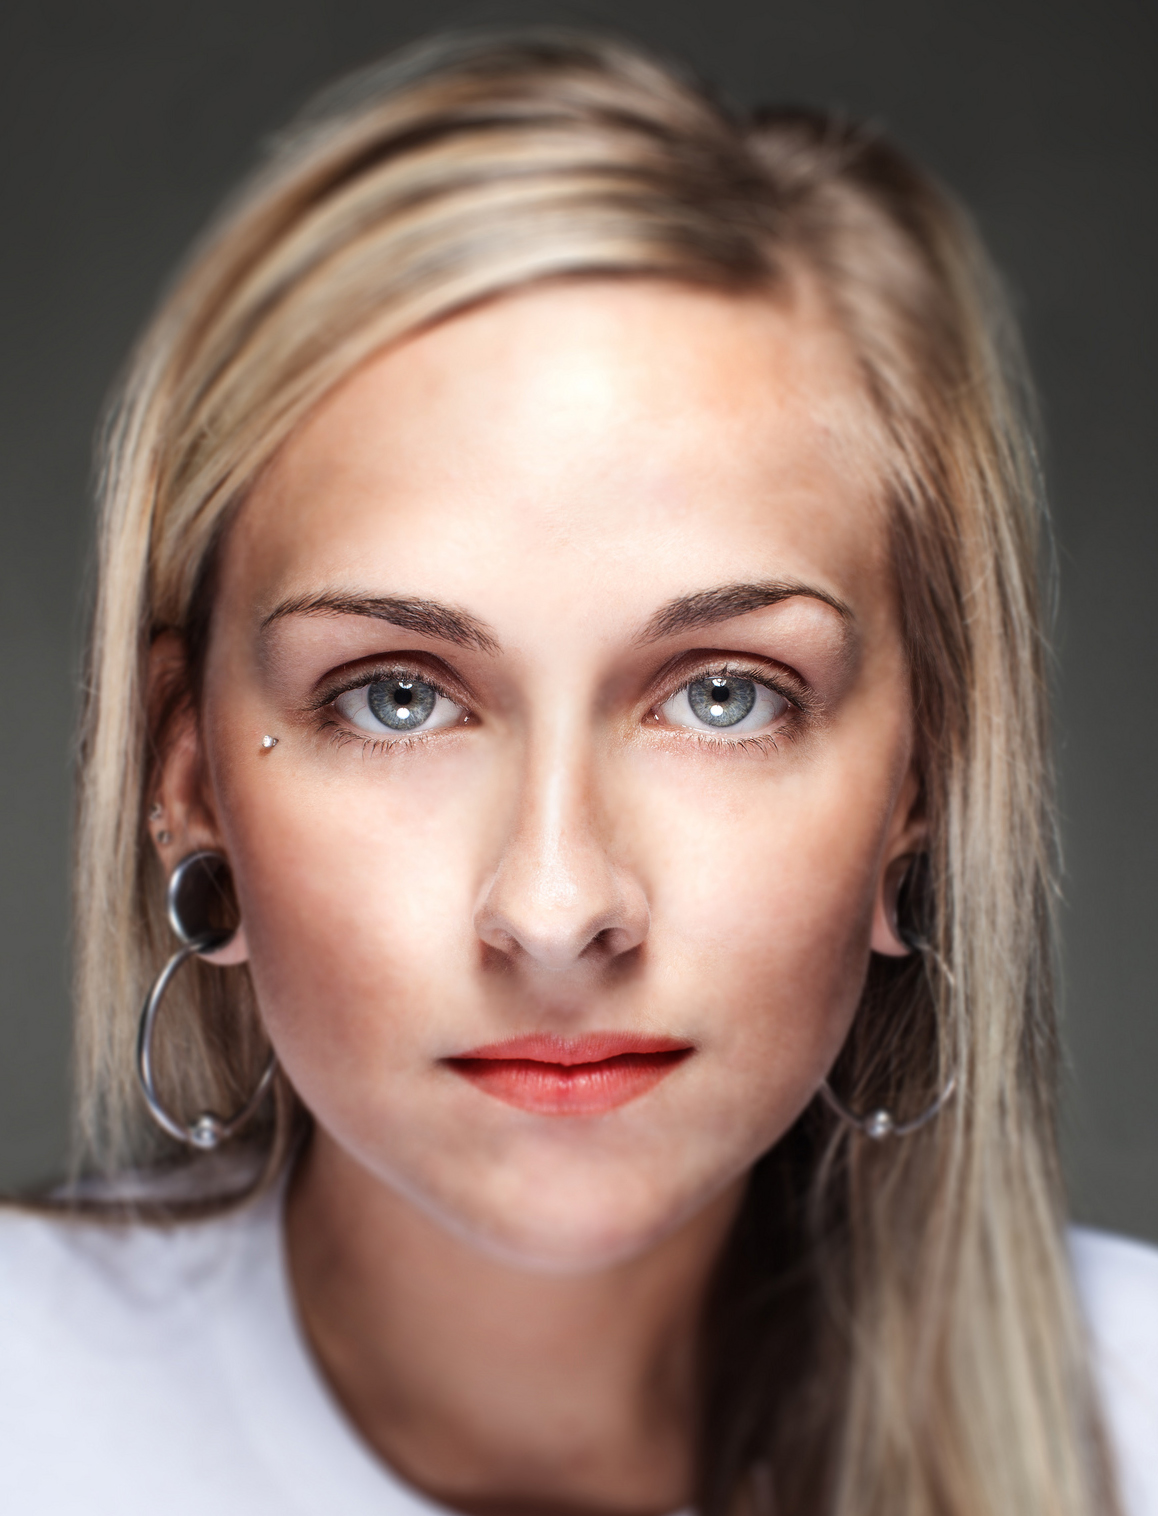
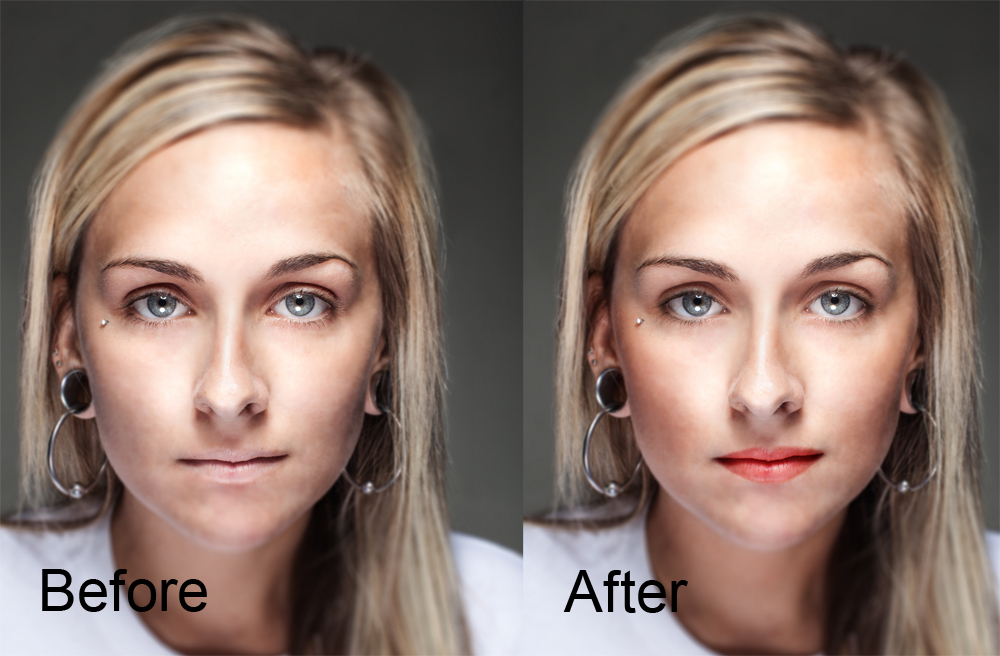
Here is a more dramatic, but still classy, lipstick look:
Add Lipgloss
This part is truly optional, but it will add a touch of glamour to your portrait.
Create a new layer. Set it to Overlay blending mode and 70% opacity.
Choose a nice soft brush and set it to Soft Light at 60% opacity.
Paint a few highlights on the lips. It doesn't have to be precision. Once you have swiped a few highlights on, go to Filter>Blur>Gaussian Blur and set the radius to 10.
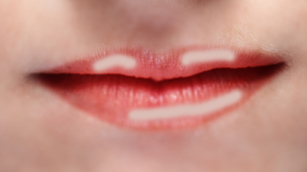
While the actual effect of this step will be blended and subtle, here is an example of where to apply highlighting.
Now make a new layer, Overlay blending mode, 100% opacity.
Set your brush to Soft Light, 25% opacity and choose the color white.
Paint a few reflections with the white, being careful not to overdo it. I am going for a subdued effect in this tutorial, but you can always play with settings and create more dramatic reflections if you wish. Here is where our portrait is at now.
Eye Makeup
I hesitate to add any makeup to her eyes since they are already so gorgeous, but we can glam them up just a bit. I am going to make a very subtle change since that is my personal preference for this photo, but you can use these same techniques to create a more dramatic makeup look by changing colors, blending modes and opacity.
Brighten the Eyes
Create a new layer.
Use a soft, round brush set at 0% hardness. Change the brush blending mode to Soft Light and 20% opacity.
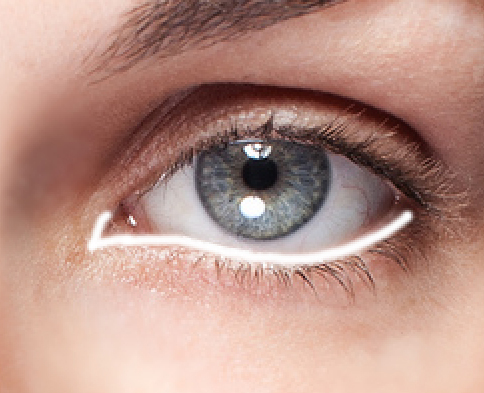
Draw a thin white line along the inner eyelid and inner corners of the eyes, and use the blur tool to blend it. This will subtly brighten the model's eyes and make her appear more rested.
The actual effect will be subtle but in case a visual aide might help, here is exactly where to draw the line.
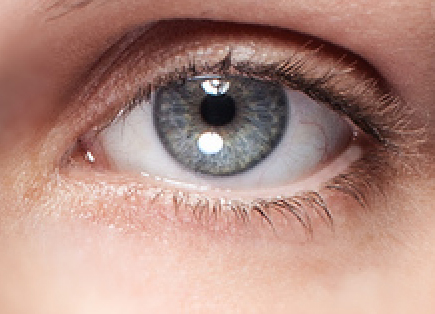
Here is an example of the actual result.
Eyeshadow
Create a new layer.
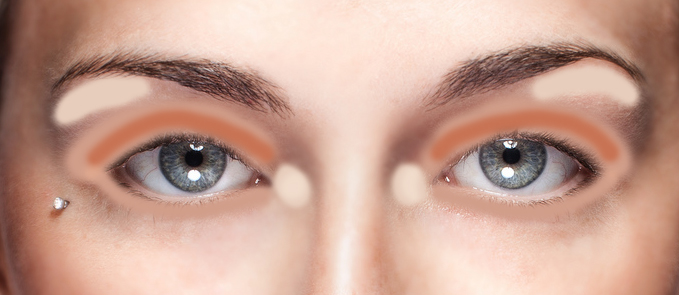
You're going to need 3 different complimentary eye-shadow colors. Light, medium and dark.
A fairly universally flattering combo is:
#e8cebd (light)
#d29f8a (medium)
#602513 (dark).
Choose a round brush set at 0% hardness, Soft Light blending mode and 20% opacity.
Paint the three colors in the areas shown here. The actual effect will be much more subtle.
Once you have painted the eye-shadow on, go to Filter>Gaussian Blur and choose a radius of 5.0
Darken the Lashes
Draw a thin black line around the eyes, matching this image. Blend by going to Filter>Blur>Gaussian Blur and set the Radius to 5.
All Done!




3 Comments
Thanks for the post, Rachael!
Though I still find the original photo more appealing, due to personal taste 🙂 , I must say that makeup looks quite natural here, the techniques are very delicate. Bookmarked 🙂
I’m a fan of the no to low makeup look as well, which is why I focused on a natural result.
Thanks 🙂
How I feel about makeup is not the subject of this tutorial. I am grateful that you took time to share this tutorial. It is simple and most effective. Thank you very much.