If you are looking to take your landscape photography to the next level, then you should be looking at making panoramic images that are created by shooting multiple photos and merging them together while post-processing. In this article, we will look at how to shoot panorama photos and stitch them in Adobe Photoshop – a process that is quite simple and straightforward.

What is a Panorama?
The dictionary defines a panorama as, “an unbroken view of the whole region surrounding an observer.”
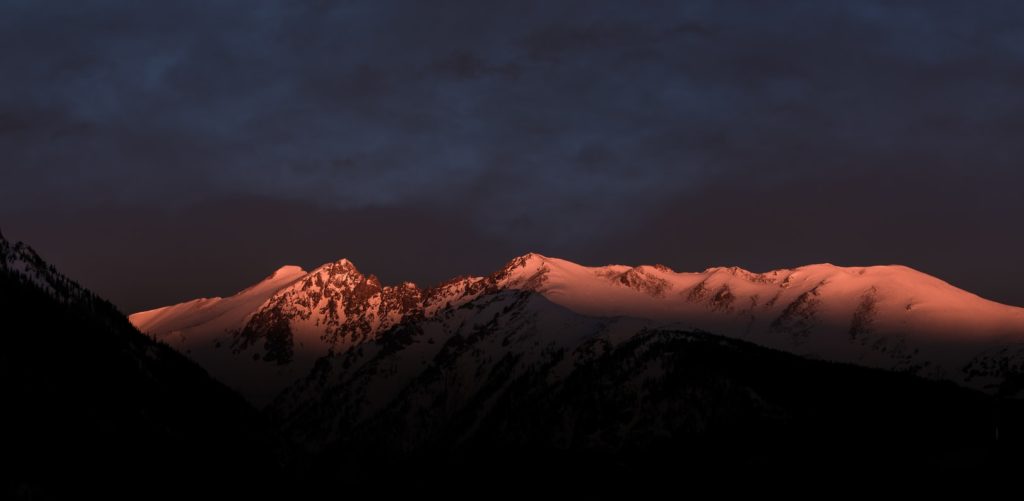
A panorama is an uninterrupted view of the whole region surrounding the viewer and a panoramic photograph is a photo of the whole view that you see. It is taken by shooting a series of overlapping photos of a scene and then later stitching them using a post processing software. The scene can be a vast landscape, a nightscape, a cityscape, an architectural structure, etc. and panorama photography is not so complicated as some might think.
Why Should You Try Shooting Panoramas?
Now you may have a question – why shoot panoramic photographs when you have a wide angle lens that can shoot a wide scene?
- A wide angle lens that most landscape photographers have in their kit, may not always be enough to capture the whole scene that is right in front of you in a single frame.
- We also know that the wider the lens, the greater the lens distortion that can be sometimes not very pleasing to the eyes. This can be overcome by shooting panoramas using a lens with moderate focal length.
- A panoramic image is created by stitching multiple images and this way you get a larger sized image that can be printed large on canvas without deterioration in quality.
How To Shoot Panoramas?
Shooting panoramas, as some might think as complicated is a very easy and straightforward process. There are a few things and some tips that you need to keep in mind and take care of in order to create beautiful panoramas. In the sections below, we will look at the settings, gear and the process to successfully create beautiful panoramas.
Settings You Need For Panoramas:
- First and foremost, always shoot in raw format so you have the flexibility to edit well.
- Set your camera to manual mode so that the exposure values do not change from one frame to another.
- Remove any filters from your lens.
- Like you would do camera settings for landscape photography, set the aperture to between f/8 and f/16 whichever value gives you a sharp image – this varies between lenses.
- Have iso as low as possible and adjust the exposure by having a reasonable shutter speed in order that any moving trees etc. are not causing motion blur in the frame.
- Always focus manually so that the focus point does not change in between frames. Focus one third into the scene or use hyperfocal distance to have the entire scene of the frame in focus.
- Do test panorama shots to see if the exposure is right with no blown out highlights or very dark shadows. Make changes if necessary to get a good exposure throughout and set this as the exposure value for all frames. It is best to meter by shooting the brightest part of the scene.
- Set the white balance manually to photograph panoramas because leaving it in auto may have different white balance values for different frames making the final stitching process difficult and confusing. A sunny or cloudy white balance preset depending on the weather should work fine, but do a test shot and make adjustments from there.
- Make sure you use mirror lock up if you are using a DSLR so as to avoid shake due to mirror movement.
- If you use a tripod for shooting panoramas, turn off image stabilisation in the lens and in your camera if it has an option for that.

Gear:
1. Lens: While we all know that a wide angle lens is a good choice for landscape photography, it is not a good choice when it comes to shooting for panoramic photography. Stitching various wide angle images will lead to a resulting awkward image with unpleasantly distorted areas. Moreover, the stitching application will struggle to seamlessly create a panorama.
Do not shoot very narrow as the field of view will be very less in a narrow lens and you will have to shoot too many frames both vertically and horizontally.
The best choice of lens for shooting a panoramic photo is a standard lens with moderate focal length – neither too wide like an ultra wide lens or very wide angle lens nor too narrow like a big telephoto lens. This way you can shoot an acceptable number of images to be merged together later. The best choice of focal lengths would be between 35mm and 85mm depending on how close the view/subject that you are planning to shoot is, but, you can always experiment with even longer focal lengths.
2. Camera: There is no specific camera for shooting panoramas. Any digital camera that allows manual settings will be great to shoot panoramas. It can be either a DSLR, Mirrorless or even a compact one that will let you shoot in manual mode.
3. Tripod: A very sturdy tripod would be very helpful when shooting panoramic photos as you need to pan across the scene in alignment across frames without moving the camera up or down. Using a solid tripod will take care of that and that way there will be less wastage of usable frame area due to camera movements leading to having a wider and larger view of the scene. Always level the tripod with a bubble level so you pan along a perfectly horizontal line.
4. Double bubble level: After mounting your camera to the tripod, you can level your camera even further by attaching a double bubble level to the hot shoe on your camera.
5. Cable Release: It is always best to use a shutter release of some kind when shooting landscapes and architecture so that you eliminate shake due to shutter press.
Note: For example, if you are shooting very tall scenes like a tall waterfall or a mountain or building, you will need to do a vertical panorama and in that case, you will pan in the vertical direction using a tripod without having the camera move left or right.
The Process:
Once you have the settings right, the next process is taking images for panoramic photos. Here are some tips to follow while shooting panoramic images.
- When you are shooting a landscape for horizontal panorama photos, shoot in portrait orientation as this will give you more room on the top and bottom of the frame so you can work flexibly when merging your images to create a panoramic format result. Bear in mind that by taking images in portrait orientation, you will need to shoot more images than that you would while shooting in landscape orientation.
Note: If you are shooting panoramas of waterfalls or buildings, then shoot with your camera in landscape orientation either bottom to top or top to bottom, so you get more space on either side of the subject in the images shot and also allowing space for cropping after stitching the images together. Tilt shift lenses work great if you have one.
- You can shoot panoramic pictures handheld, but as always advised, it is better to have the camera mounted on the tripod so you can steadily pan while shooting without fear of your camera having up and down movements which will lead to losing scenes in the frame after the final stitching process.
- Another factor to be taken care of is how much overlap you need between frames. Make sure you overlap by 30% at least if you are shooting in landscape orientation and by about 40 to 50% if you are shooting in portrait orientation so that the final image can be easily and seamlessly stitched without having missing areas between frames and with no distortion.
- A useful tip is to rotate the camera around the no-parallax point for best results. This is usually near the midpoint of the lens.
- Shoot the panorama photo as quickly as possible as you do not want the weather to change drastically and create changes in skies and light conditions across the frames as this can cause issues with exposure settings. You also need the same white balance in all the frames, so it is better to choose custom white balance rather than auto white balance.

How To Stitch Panoramas In Photoshop?
Once you have taken the individual photos, it is necessary to stitch images together using a stitching software, to create the final panorama. There is a lot of software that can help you stitch panoramic images, but in this article, we will be focusing on how to stitch panoramas in Photoshop and it also helps with creating high resolution images.
Stitching panoramas in photoshop is straightforward and very easy if you have shot the images well following the procedure above.

- Open Photoshop -> Go to “File” -> “Automate” -> “Photomerge”
- A dialog box will appear as shown below.
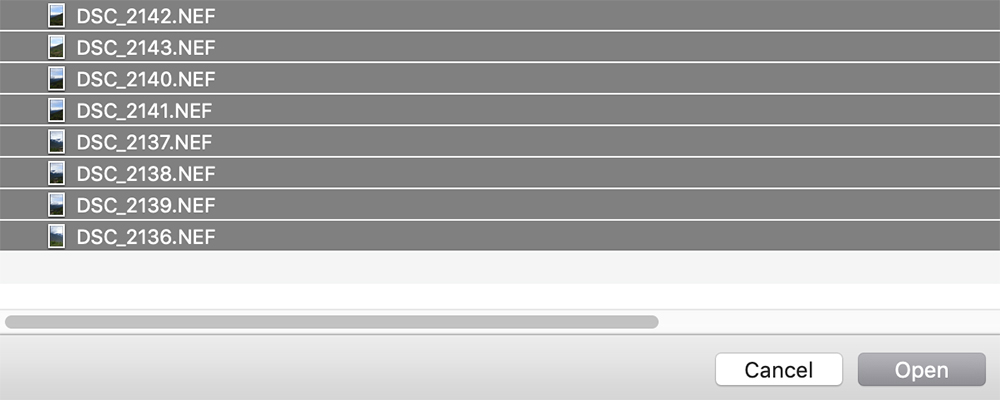
- Browse and go to the folder containing the images that need to be stitched together as a panoramic image. Select the images that need to be stitched and click “Open.”
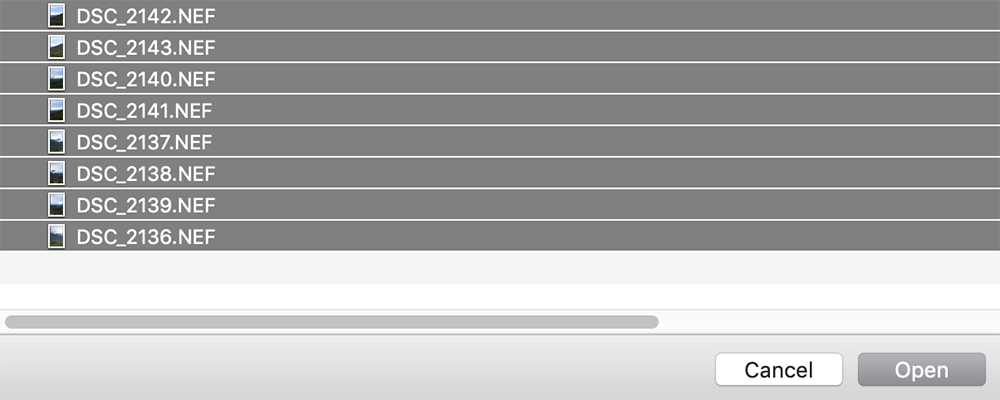
- Check “Blend Images Together” and “Geometric Distortion Correction” and click “OK”
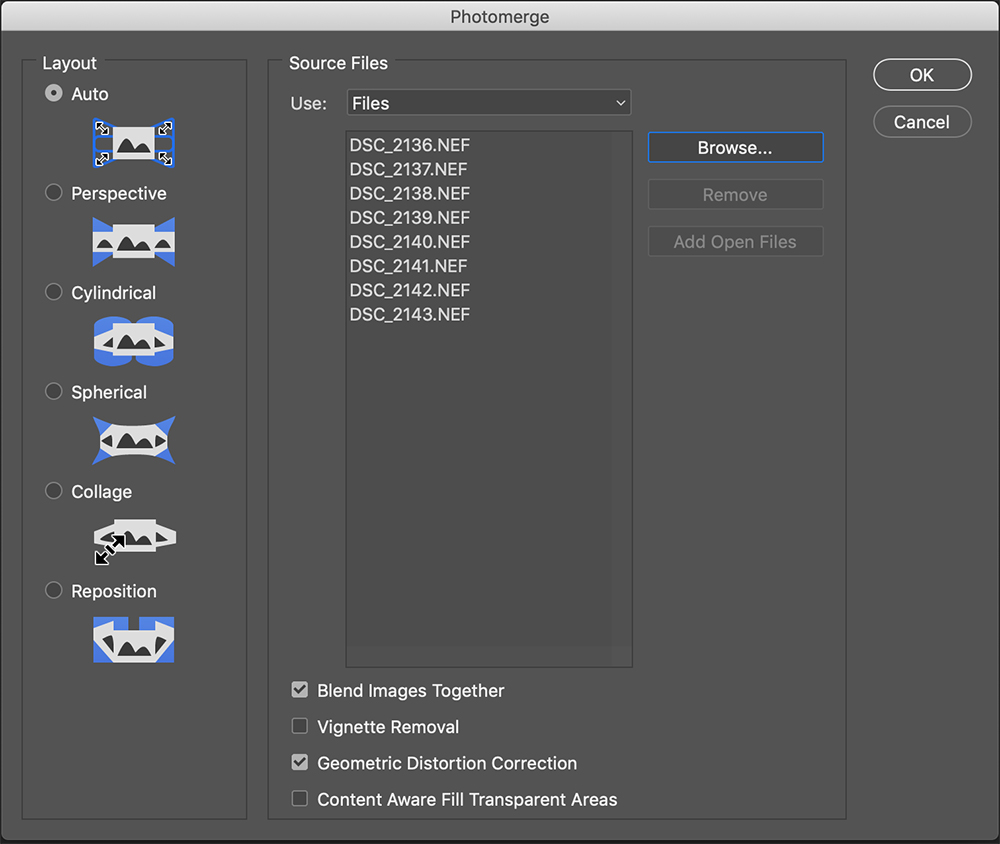
- This will start the stitching process and this process takes some time depending on the number of images and the size of images. You can see the progress on the screen.


- Once the stitching process is complete, you will be presented with an image which you will have to crop to your liking.
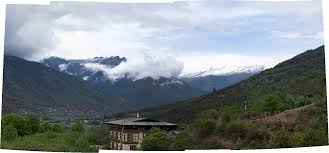
The resulting image will have jagged edges as you see above and it is quite normal with panoramic images. You can use the auto crop feature, or use the crop tool to crop the image to the desired aspect ratio.
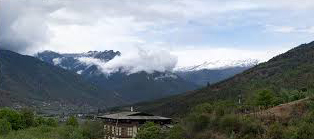
You can see that the stitching process is very straightforward and easy. Once you have completed the stitching process, post-process your image. It is best to do post-processing in the end to avoid changes in colours and exposure between frames and to not confuse the application during the stitching process.
Tip: If you are shooting sets of panoramas of the same scene or slightly different scenes, in order to easily recognise each set, it is best to shoot a blank shot before and after each set so you know the photos that belong to a particular set. This is just an idea and you can use similar strategies to recognise different sets.
Do you shoot panoramas? If you have any tips, please feel free to share them with us in the comments section below. You can also share your panoramic images with us here.
Further Resources:
- Ever Seen Panoramas From The Turn Of The 20th Century? These Are Very Cool
- How to Create A Realistic HDR Panorama
- Landscape Photography—Shooting Multiple Image Panoramas
- How to Make a Panorama – A Simple Tutorial
- Creating Panoramas With and Without a Tripod
- How To Shoot Panoramas in HDR


2 Comments
Dahlia when I shoot panos to differentiate between sets I just stick my thumb in from of my lens and shoot that. It is also very important to level your tripod so you are working with a level surface. I have a device that sit underneath the ball head that I use to level the tripod. I level the tripod and then mount the ball head. This will help a lot when shooting many panels to complete the image.
I also use a nodal bar to get my camera/lens to the proper position to rotate about.
Hi John, thank you so much for that. Really helps! Regarding the nodal bar, is it easy to set up?