In March 2021 and without any great fanfare, Adobe slipped a new tool into their Adobe Raw processing software. It was called Super Resolution and it did exactly what its names suggested, increased the resolution of RAW files.
Despite Adobe’s low-key release, the Internet hailed this new tool as a revolution in post-production. Some commentators went as far as to announced the death of ultra-high-resolution sensors. The hyperbole was real, the clickbait extensive. This got me thinking.
Why Do We Need Super Resolution?
As I write today, 100mp sensors are readily available yet not priced for the enthusiast photographer. They are in higher-end professional, medium format cameras. The reason for this is that only high-end commercial photographers really need this kind of resolution.
Most of us inhabit the world of the 24mp sensors and to be quite honest for the majority of enthusiasts and professionals alike, this is more than enough.
Now, increasing image size is nothing new. Photoshop has been able to do this since day one. However, the standard ways of increasing image size in Photoshop were based on simple mathematical algorithms. These would be fine for a 10-20% increase in size, but anything over would really start to show.
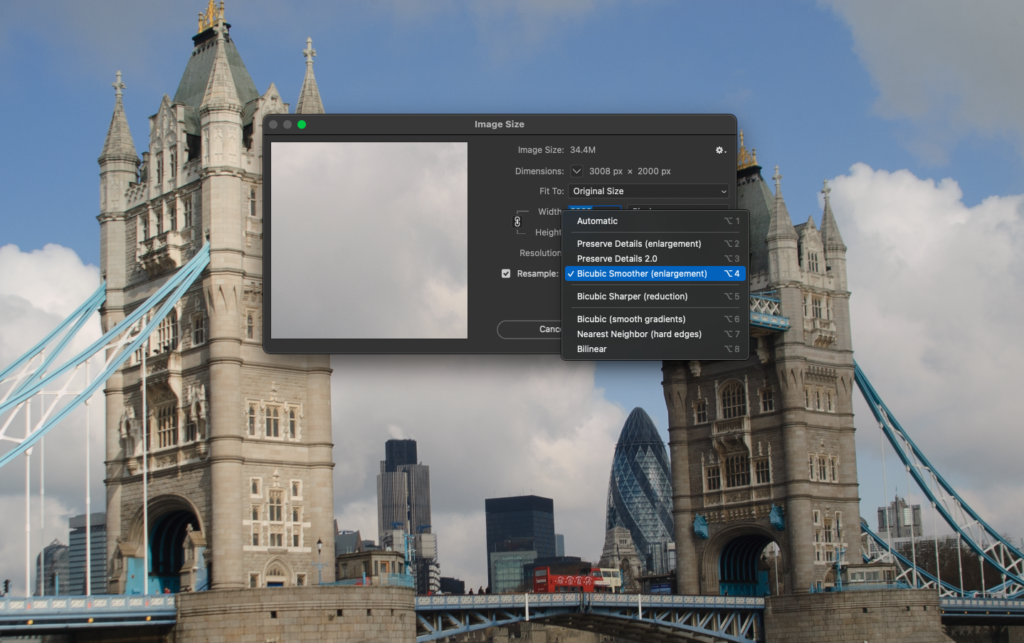
Modern software, however, uses machine learning to upscale and this allows for much greater enlargement of images.
Most of our images will only ever be seen online. Some may print their images and a 24mp file will give you a beautiful and very large print if handled carefully. There is one specific area, however, where I feel Super Resolution may be very useful. That is in resizing images from older sensors.
With that in mind, I decided to compare Super Resolution on an old Nikon D100 6mp file and compare it to a modern Fuji 18mp file.
Resizing The Nikon D100 Raw
My original plan was to compare the Fuji .RAF raws from a 2004 Fuji S2 to a modern Fuji X series camera. However, in the fine tradition of best-laid plans, that did not go well. The Super Resed S2 image ended up being compressed along its width to about half size. This might be something to do with that particular Fuji sensor at the time. So I hastily formed a plan B and went for the D100 file, a camera I had around the same time as the Fuji S2.
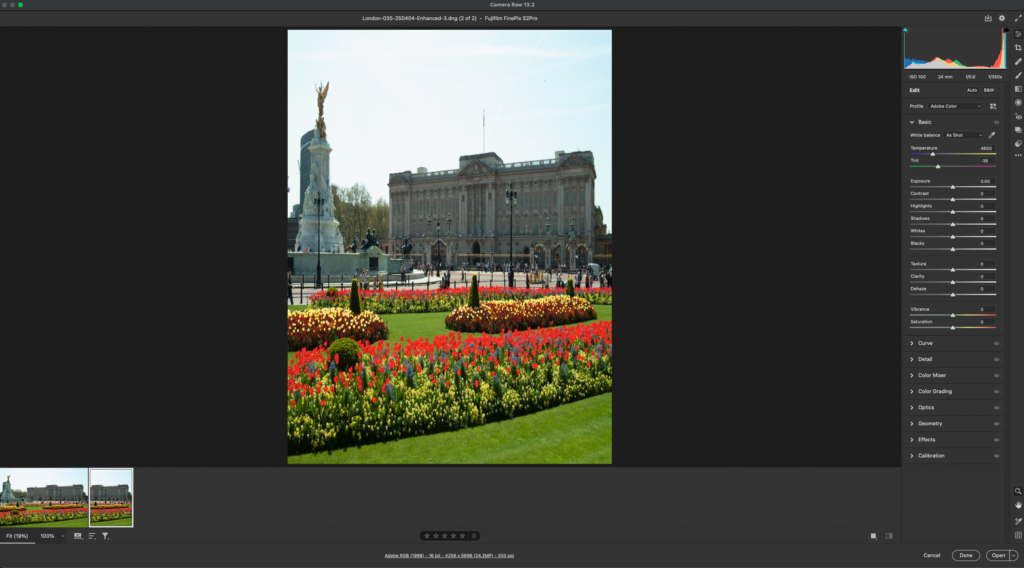
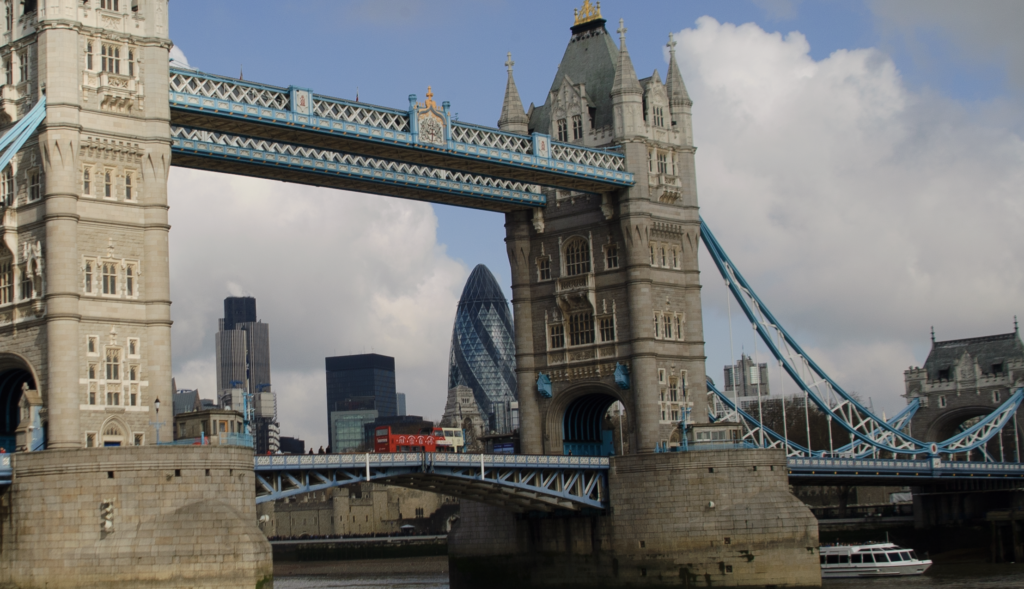
To give a reasonable impression of the difference, I have chosen the same location for the D100 file and the Fuji X file, Tower Bridge in London. Whilst the lighting conditions and position vary greatly, both images are nice and sharp and the detail in the bridge will allow for a good comparison.
The process to actually enlarge the image is remarkably easy. You open the RAW file in Adobe RAW, right-click on it and select Enhance. An Enhance Preview window will open. Super Resolution should be checked by default, but if it’s not, simply check it and click on Enhance.
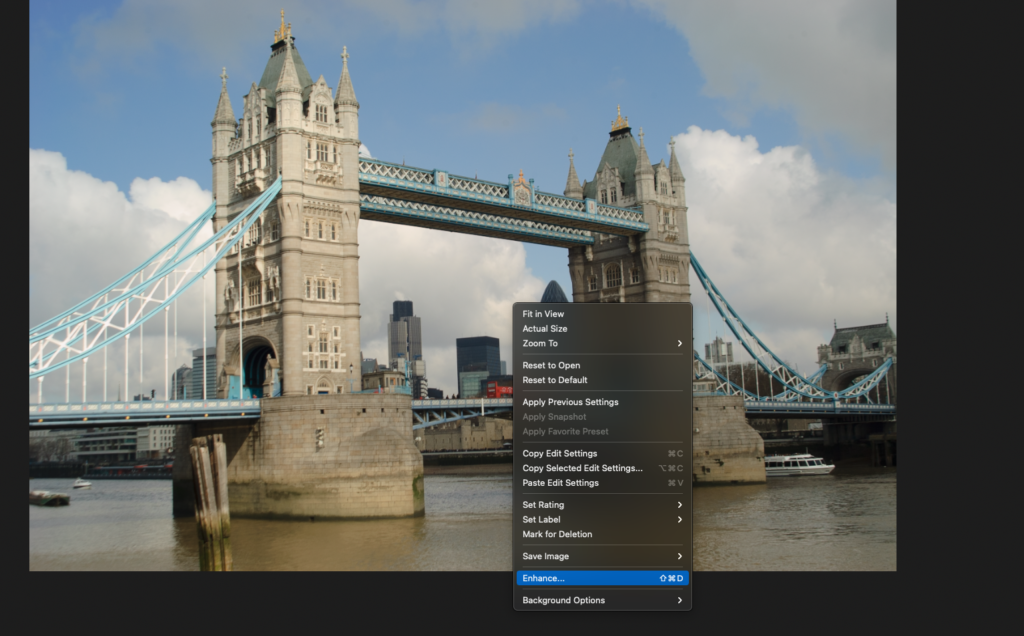
Adobe will now run its machine learning mathematics and after a while, a new, enlarged image will appear on the Adobe Raw timeline. On my Apple Silicon Mac Mini, this takes literally 3-4 seconds as Apple’s M1 processor has very powerful machine learning cores.
The end result is an image that is both twice the horizontal and vertical resolution, effectively a four times increase in resolution. For my humble D100 that meant going from 3000×2000 pixels to 6000×4000 pixels. Which is pretty close to the 18mp of my Fuji X-Pro1 that I am using for the comparison.
The 6mp D100 Versus The 24MP D100
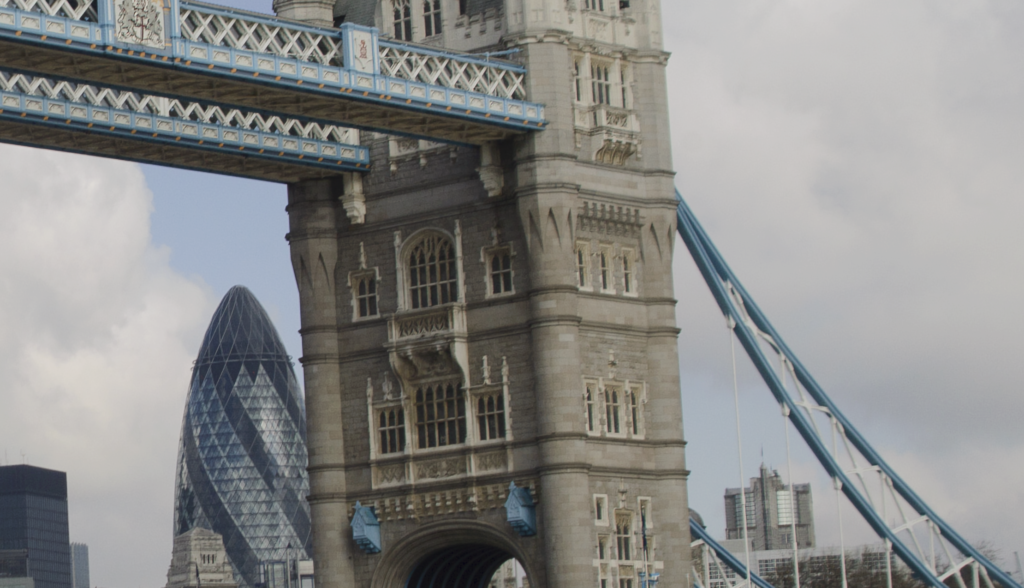
Once processed, I took the 6mp image, then cut and pasted it into the 24mp image. The size difference is staggering. Zooming the 6mp image to 100% the image is fairly sharp, however bringing it to 200% giving a similar size to the 24mp file, the lower resolution image clearly shows aliasing along the contrast edges.

The 24mp image at 100% shows no aliasing on the edges and has maintained impressive sharpness. There is perhaps a very slight softening of the edge, a look that is similar to the anti-aliasing filters found in games, however, this does not detract from the overall quality of the image. Interestingly, there also seems to be an improvement in chromatic aberration. This is clearly seen in the edges of the 6mp file but seems to have gone from the 24mp file.

The 24mp D100 File Versus The 18mp Fuji X-Pro1 File
So the real acid test on enlarging old files is how well they stand up to a more modern sensor. For this, I opened the Fuji RAF file in Adobe RAW and without any correction, opened it in Photoshop.
Here, 10 years of technological improvement really begin to show. The Fuji is clearly sharper, has more contrast and detail. Some of that could be down to the lighting conditions, some to the quality of the lens but the difference is still very apparent.
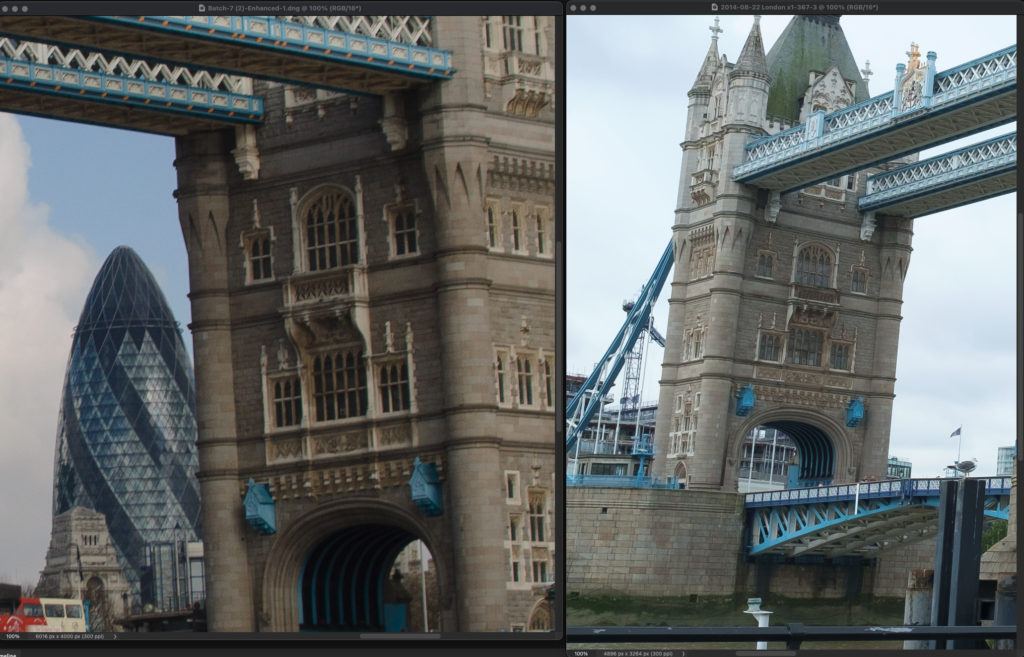
Viewing the Fuji file at 125% in Photoshop, giving a similar view to the D100 file, the image still maintains quality and lacks any artifacts and aliasing. The dynamic range is clearly an important factor in any image and the Fuji sensor has significantly more. This is something that Super Resolution cannot improve, at least at the moment.
Super Resolution is clearly a powerful and extremely useful tool. For modern cameras it allows photographers to bust through their resolution limits. This is particularly useful if need to crop very close on an image.
For photographers that have been around for a while, it allows us to breathe new life into older images. We can take a 15-20-year-old digital image and enlarge it well enough to get a decent-sized print out of it.
For those of you using Fuji Cameras, I created a video showing my techniques for avoiding worm artifacts when using Super Resolution on X-Trans sensors. You can find it here.
What it cannot do is replace the dynamic range, contrast, and color fidelity of a modern sensor. However, we are only in the first iteration of Super Resolution and with the exponential rise of computational photography, the future looks very interesting indeed.
Further Reading:
- Use These Basic Post Production Techniques to Speed up Your Workflow
- How to Have a Non-Destructive Workflow In Photoshop
- The Benefits of Optimizing Your Workflow Can Be Massive
- Case Study: An Example of One Photographer’s Workflow
- How To Photoshop Faster | Simple Tips To Speed Up Your Photoshop Workflow


2 Comments
Hey Jason,
Thanks for the great post.
Thanks for the article Jason. I’ve been wondering about the usefulness of super resolution – it seems that it’s probably not a big improvement over standard image enlargement tools yet, but I guess we’ll see how it develops.