While it's easy to think of sand as a pretty boring photographic subject, a little thought and imagination from a photographer can turn it into quite a photography project.
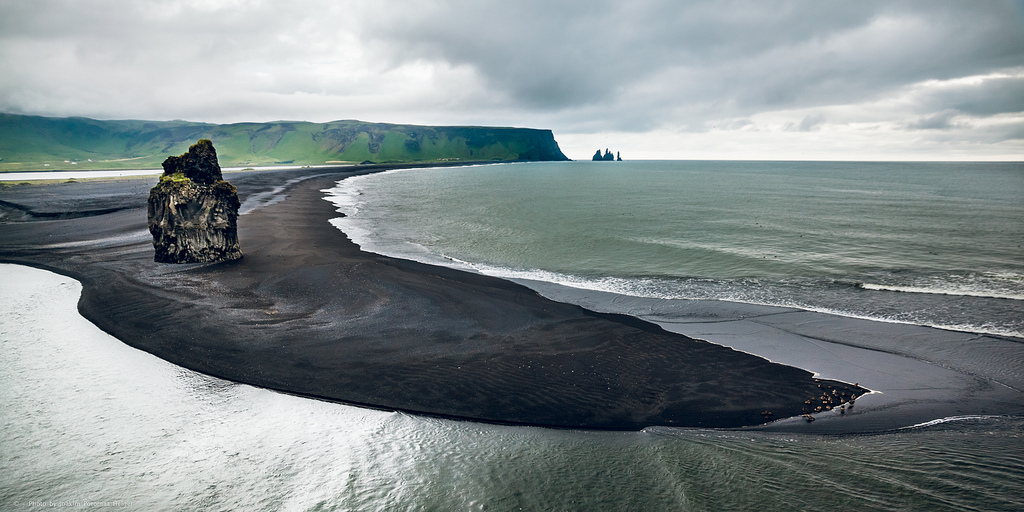
The white sands of New Mexico, the black sands in Iceland, the pink sands in Bermuda represent a fraction of the varied mineral grain compositions that exist in sand.
But let's look at ways we can use our imaginations as photographers to turn a rather mundane subject into something beautiful.
In photography, sand serves as a foreground, background and middle ground. Sand, with its intricate textures, patterns and colors can also be the primary subject. When photographing sand as the subject, we'll explore
- Techniques & Perspectives,
- Tools
- Timing.
We'll include several images for inspiration too…
1) Techniques & Perspectives
Texture
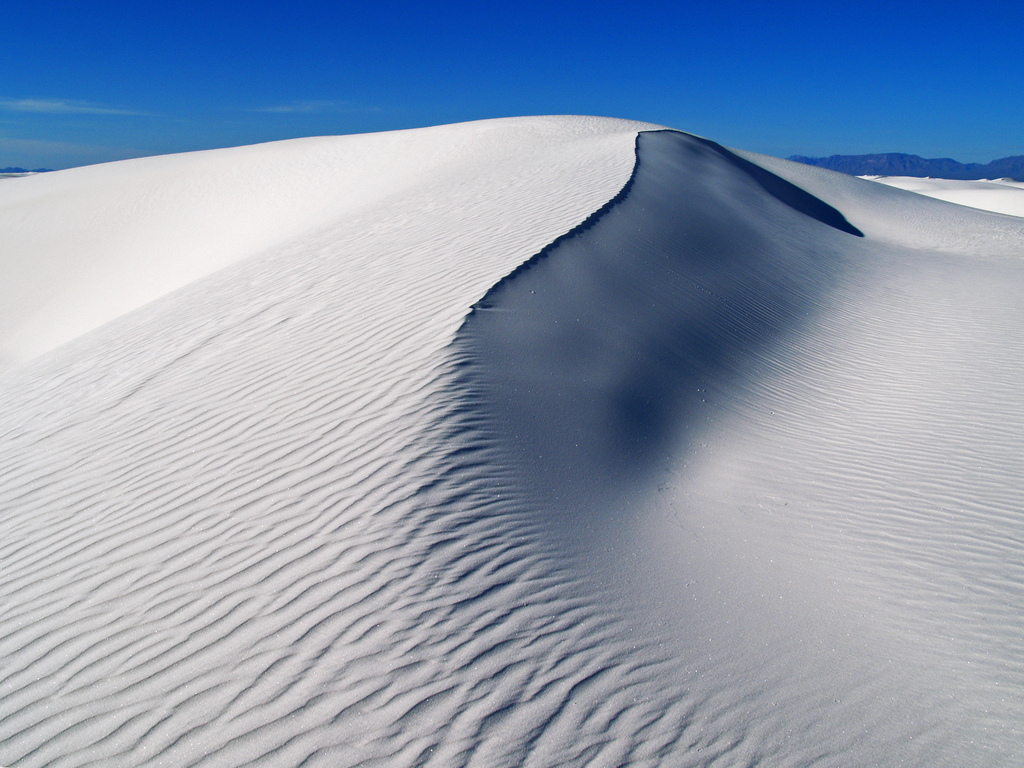
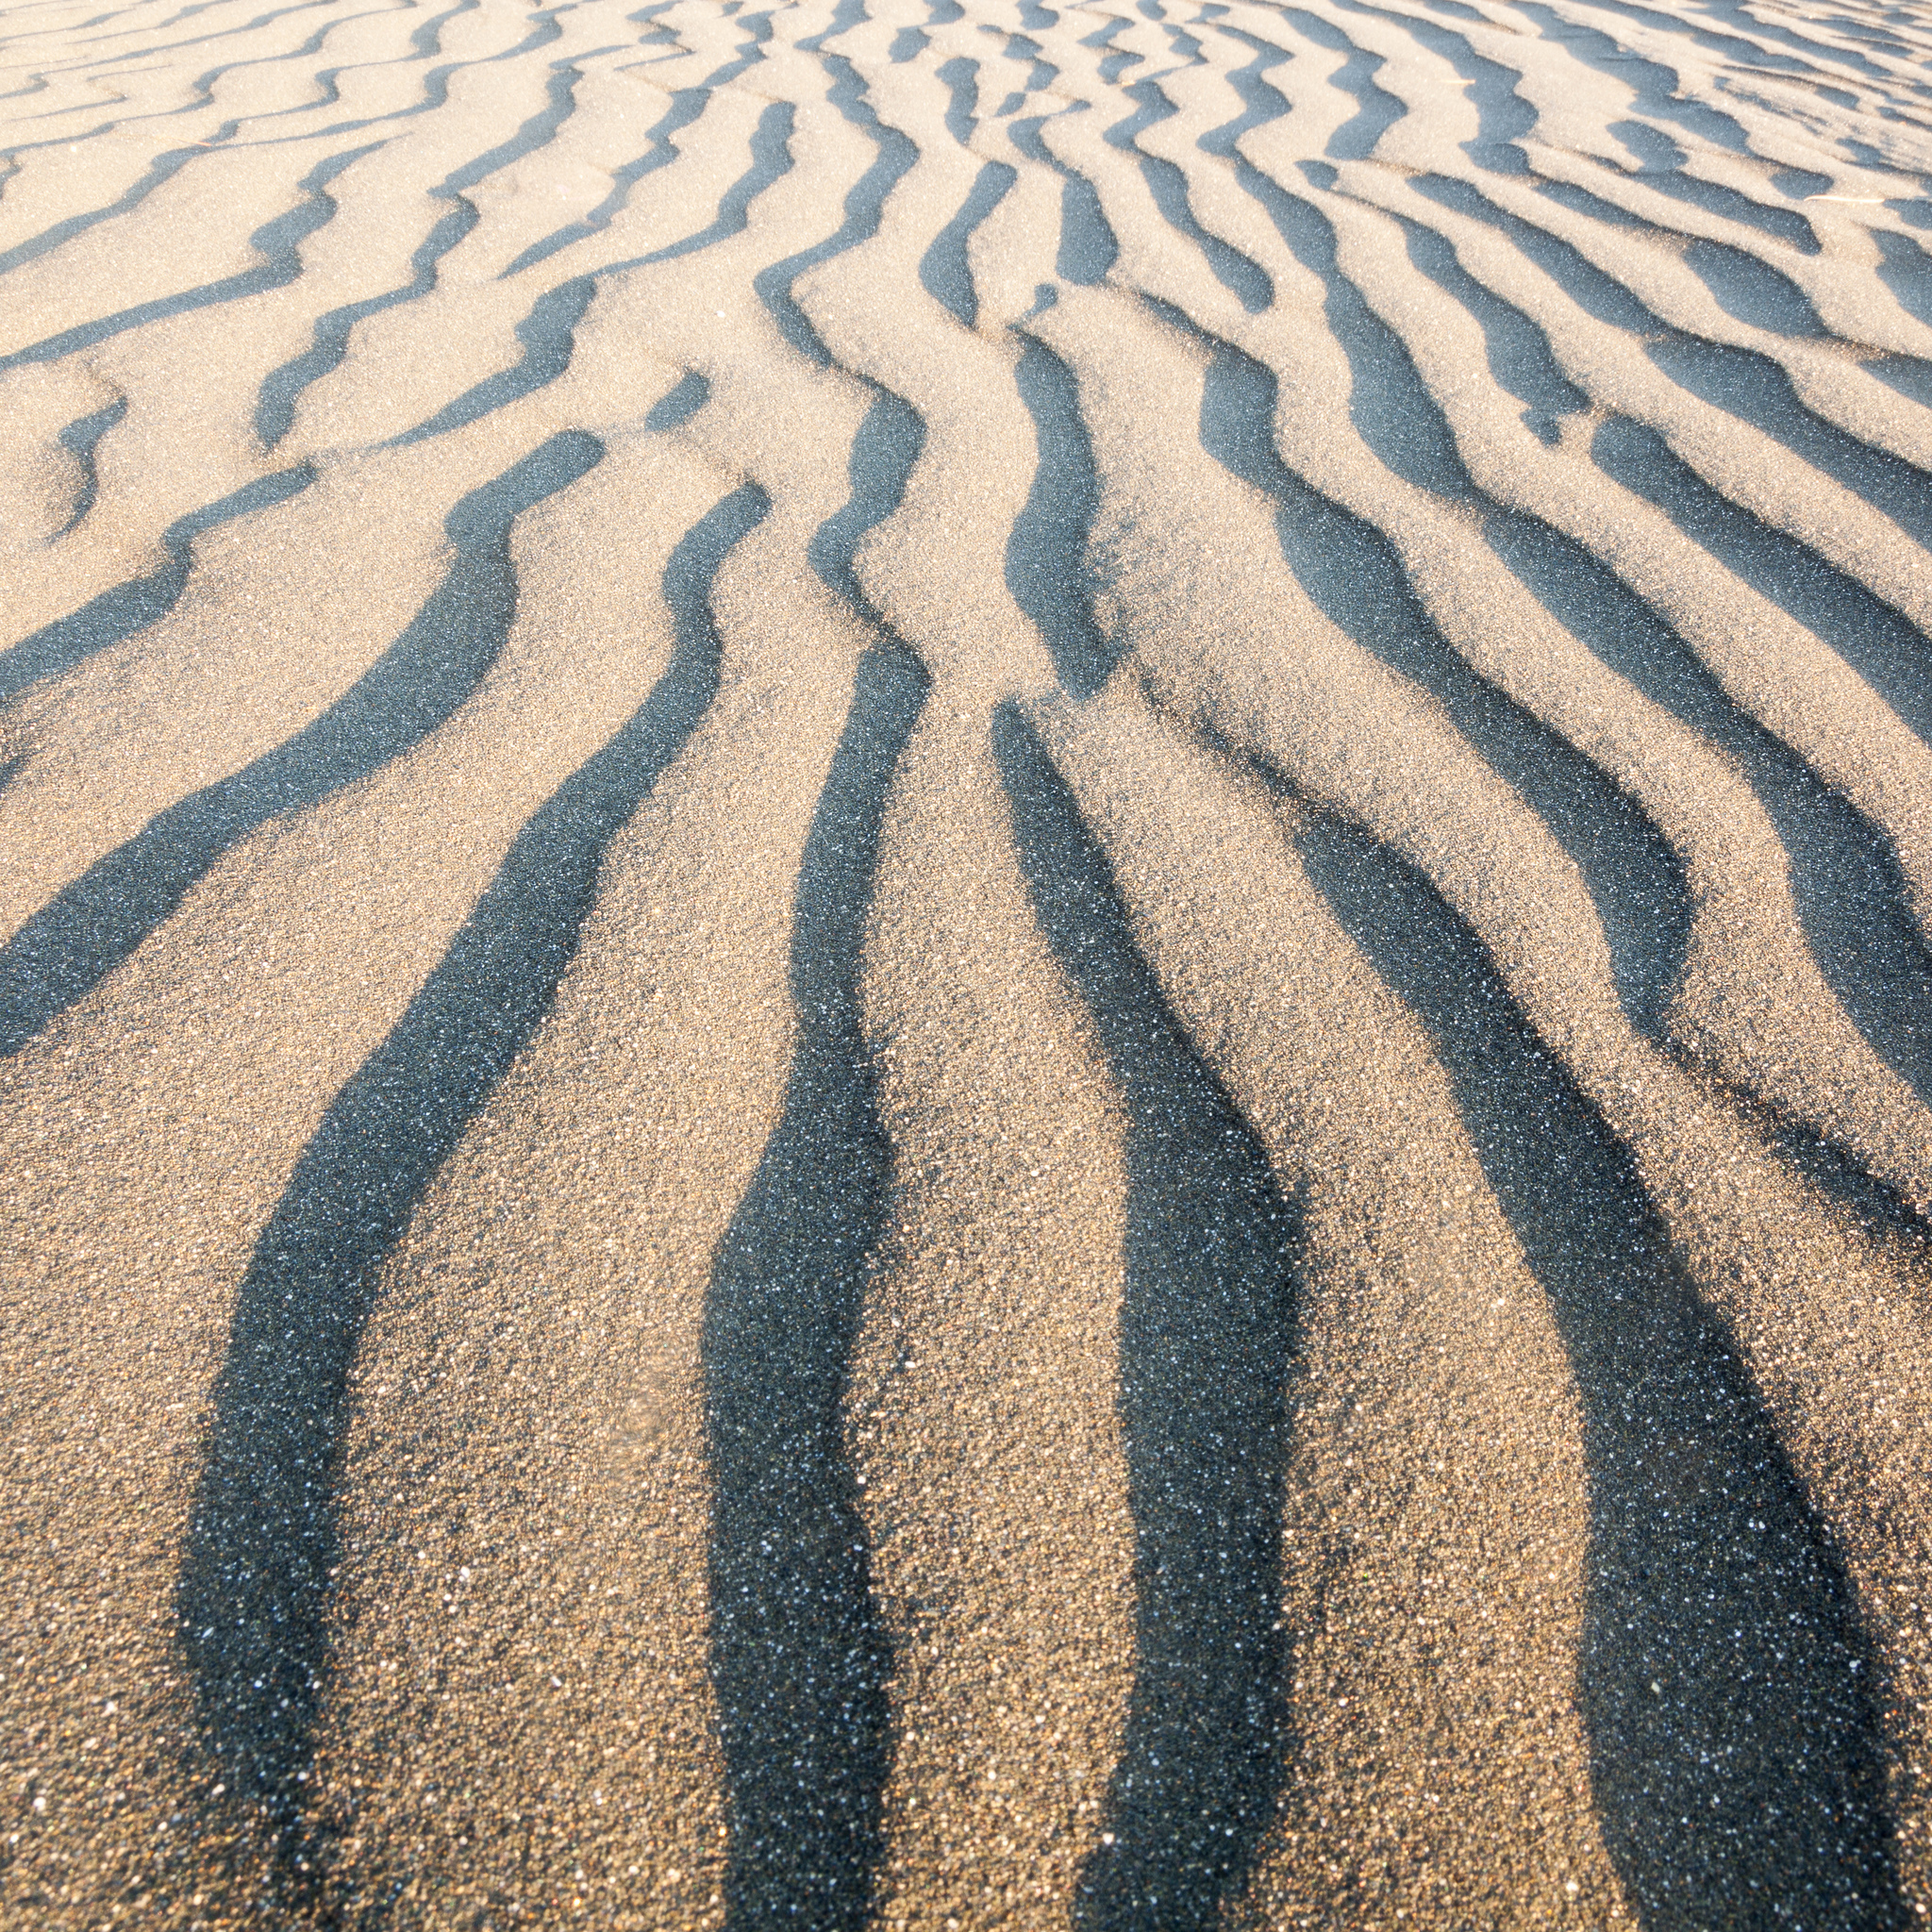
Sand ‘art' happens naturally. Winds, rains, human footprints and animals all leave their brief stamp in sand only to be changed by nature in a matter of seconds or days. Use what the earth provides as any variation offers its own unique beauty. The two photographs below depict diverse moments in the sand.
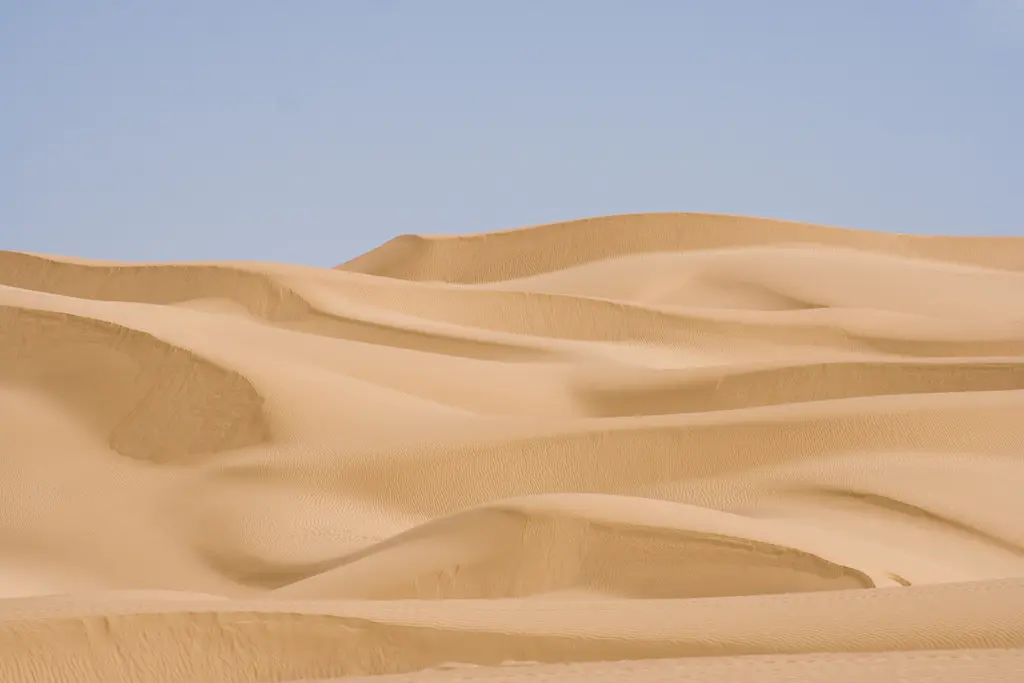
The first includes a frame-filled harsh textures and patterns. The lines move into the distance with shallow patterns. The flowing repetition of patterns are not identical, yet they lead the eye upward.
The second photo softens the scape taking advantage of soft pastel colors and cake icing textured sand. In both cases, the photographers effectively used textures and colors.
Color
The color and shade of sand ranges from whites, golds, reds and blacks and anywhere in between. Many sand scapes have just a few colors. However, the black sand beach foreground in the image below emphasizes the rich greens and blues with small hints of warm colors.
Scale & the Human Element
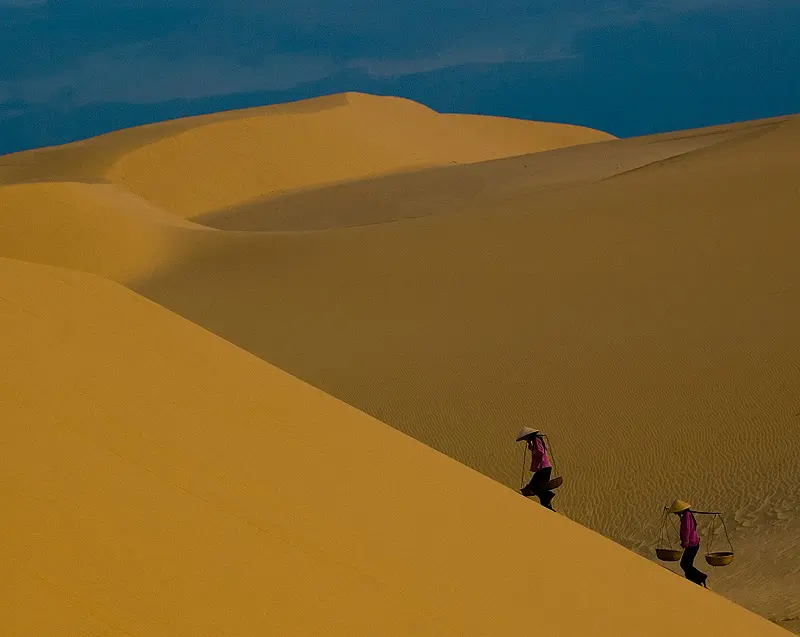
Height, depth, color, livelihood – introducing the human element in a sand environment tells a story. What does the image below say to you?
by Victor Phung
Isolation
The desolate terrain of the desert is dotted with occasional sightings of formations, wildlife and foliage. Similar to scale as illustrated above, using an isolation/minimalist approach using single subject is another technique that works with sand terrain. Use a telephoto to hone in on the interesting area or use a wider angle to convey a sense of size and scale.
Vastness
by Mark Bowman
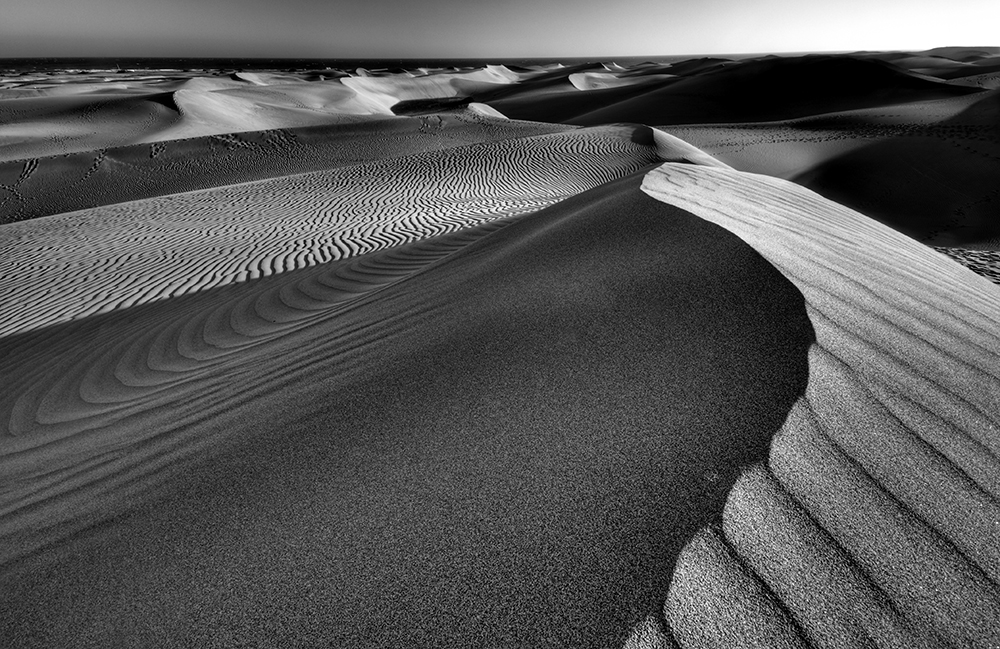
Photographing sand dunes expands your photography skills. Hills, distances, peaks, valleys, harsh and smooth textures, harsh and soft light, all or some are included in the big, vast areas of the desert and sand dunes. Capture the vastness with wide and extra wide angle lenses.
Framing
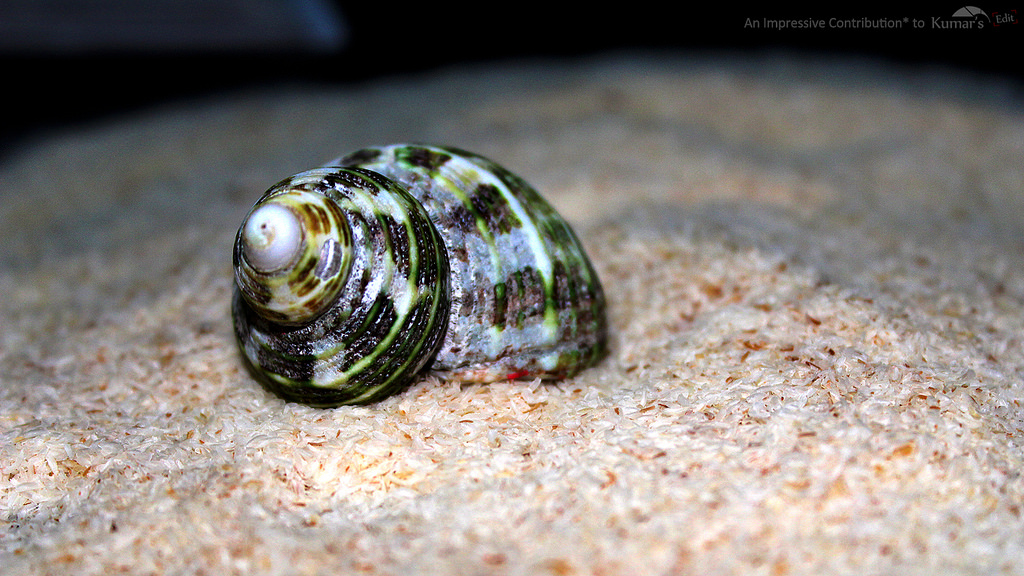
Sandy environments support their own ecosystem. Bring out the macro and let the sand frame interesting creatures – great and small, wild and tame.
Perspective
The perspective of the desert is your choice. The images above illustrate many angles using different lenses. Be prepared to open your mind and explore the possibilities. Close ups, distance shots, wide angle lenses, mid ranges, telephotos all can be used to capture what your mind sees.
When you return to post processing the creativity can continue. Bring out shadows and contrasts, soften edges and mute colors or go for dramatic black and white.
2) Tools
As in all types of photography, a few tools are very helpful in the desert:
- Polarizing filter for color saturation as the light goes higher in the sky
- Tripod for camera stability and for composition. A tripod gives additional time for planning and staging the moment.
- Flashlight for walking in the dark. The desert has a lot of sand and some creatures – watch and listen for where you step.
- A hat and sunscreen – while this won't impact the photos, it will protect your skin and allow for extended photography time.
- Bubble blower for blowing dust and sand off of your lens. Use the blower on the camera and lens before putting the camera back in the camera bag too in order to keep your bag free of dust.
- Lens cleaners for your lenses and camera. When in sandy conditions don't change lenses outdoors, wait until indoors and away from drafts and vents. Your sensor will thank you.
3) Time of day
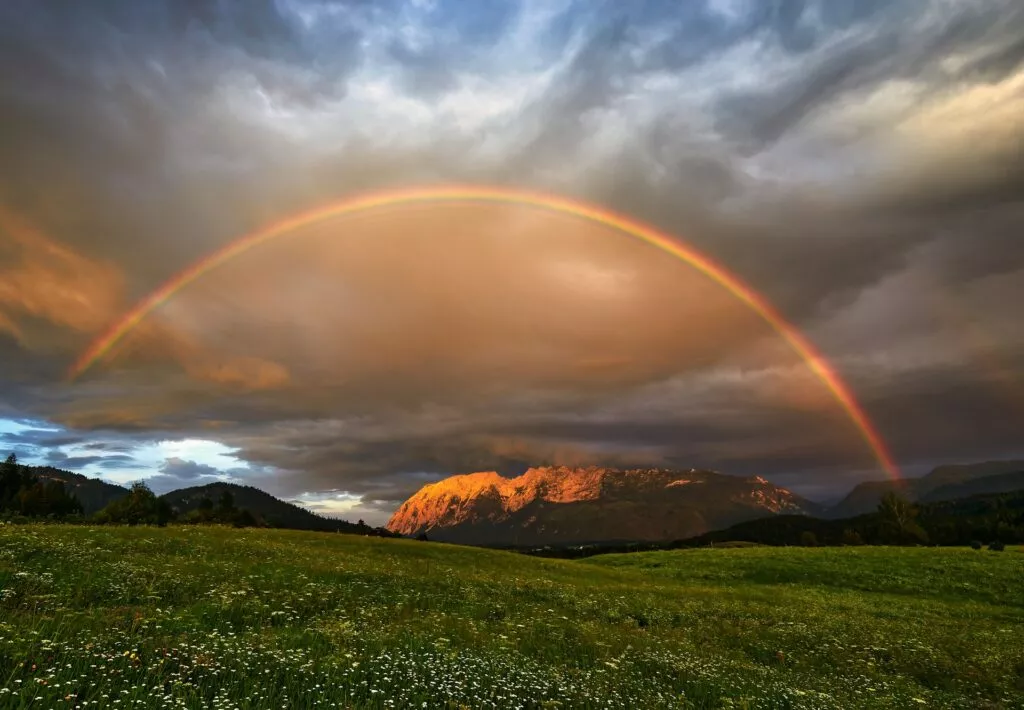
Work with many settings at various times of the day, including when the light is harsh or when the light is soft and gentle. Start early morning from the blue hour and capture the sun cresting the horizon. Midday and into the afternoon take advantage of the brights and highlights. As the sun fades, another world enfolds from dusk into the starry skies.



2 Comments
I enjoyed reading this, I find sand patterns mesmerising! Beautiful images!
Thank you so much Zelda!