Since its original release, Adobe’s Lightroom has grown into perhaps one of the best tools a photographer can use. Initially designed as an image management tool with limited post production tools, it has blossomed into a product that can rival its older cousin, Photoshop in many aspects of image editing. It's possible to spend hours on a single image using Lightroom’s extensive tools but the raison d’être of Lightroom is to speed up the photographer’s post production workflow. Today we are going to look at some very quick and easy edits that can dramatically improve the look of your photos.
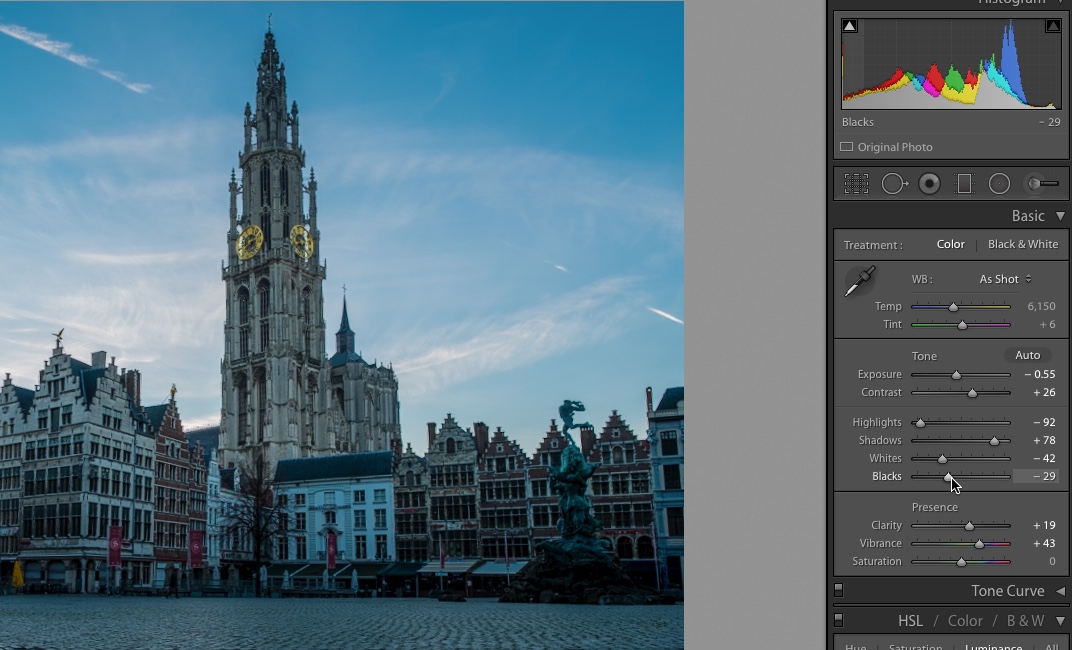
Clip the Blacks: A common technique for adding contrast in film and video, this can also be used to great effect in photography. Move the black slider in the Basic tab of the develop module to the left, carefully watching the histogram. You are aiming for the left side of the histogram to “clip” very slightly off the edge (stack against the left side of the graph). If the overall image starts to look too dark, bring the exposure slider to the right very slowly and carefully. If the black becomes “unclipped” move the black slider agains slowly to the right. Keep doing this with small adjustments until you are happy. You can then slide the whites and highlights sliders to correct the lighter parts of the scene.
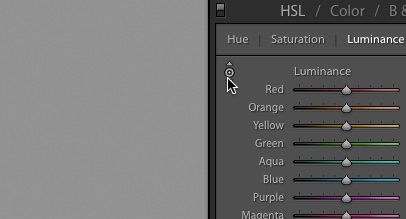
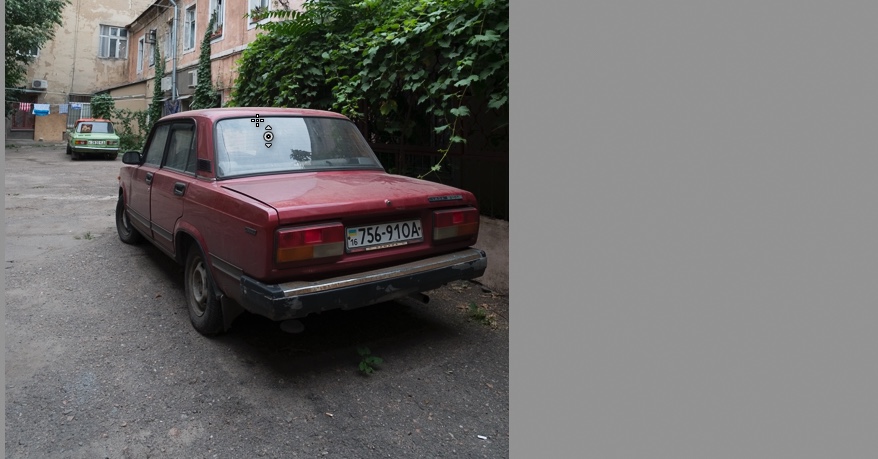
Brighten a Single Colour: Sometimes it’s an individual colour that looks dull in our shots. It might be dark dull grass, an oversaturated red flower or a wishy washy blue sky. Enter, the luminance tool of the HSL tab. In this section you will see sliders for all the primary and secondary colours as well as three tabs, Hue, Saturation, Luminance. Select the luminance tab. Now rather than using one of the dedicated colour sliders, Lightroom has a neat little trick up it’s sleeve. Just under the Hue tab is a small circle icon. Click on this then go to the colour you wish to improve in the main image window. Click and drag on that colour to change its luminance. Slide up to lighten it, slide down to darken it.
Improve a Blue Sky: There is one excellent tool for improving the blueness of skies, very quickly and easily. Its called the Vibrance tool and it works as a simple slider. Sliding to the right, increases the saturation only of colours that are not already saturated. This works particularly well on pale looking skies. Move the slider slowly and pay attention that you do not introduce banding or noise into the sky. Used sparingly this is a very quick way to improve the sky.
Apply a Preset: Presets are the unsung heroes of the Lightroom world. They can allow you to very quickly add edits to multiple images at once. There are a few excellent articles here on Lightstalking on how to create and use presets but here is a very quick recap. Make all the basic edits that you need to your image in the Develop module. Exposure, Lights, Darks, Blacks, Whites and Color. When happy with the basic edit, go to the Presets tab on the left of the screen and click the Plus icon. Give your Preset a suitable name, then put a checkmark against all the edits you wish to include in the preset. Click Create to save it.
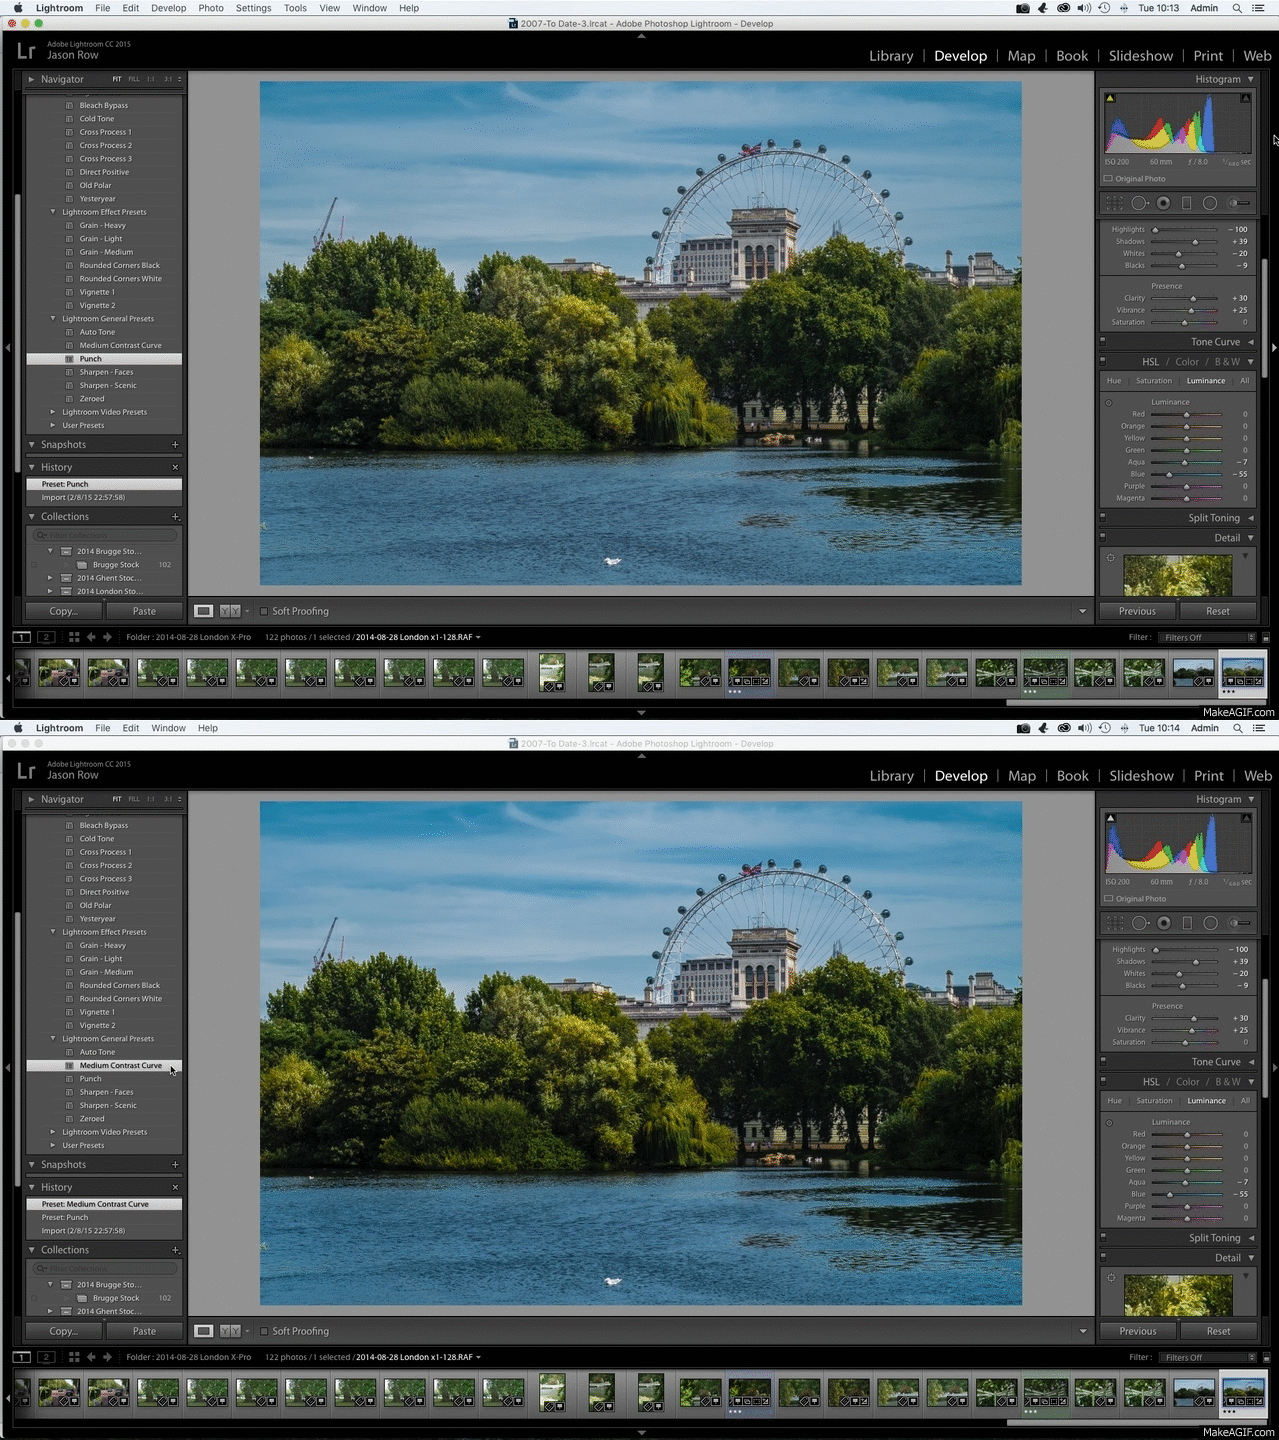
Now you can apply this preset to all similar images simply by selecting them in the filmstrip at the bottom of the Develop Module and clicking the relevant preset in the Preset tab to the left of the screen. This will apply that preset to the first image. To apply it to the other selected shots, click the Sync button at the bottom right of the screen.
Dehaze: This amazing tool was slipped into a 2015 update to Lightroom CC. It is found right at the very bottom of the Develop Module in the Effects Tab. Carry out your basic, exposure and colour corrections first, then go to the Dehaze tool and slowly move the slider to the right. The tool boosts contrast and clarity within the mid-tones of the image giving a much better punch to the shot.

As a bonus, in a recent update, Dehaze was added to the Graduated, Radial Filter and Adjustment Brush tools. This allows you to make target fine adjustments of Dehaze within parts of the image.
Lightroom is an amazing tool and sometimes we can get lost in time using all its many varied features. These small tips will help you add detail and definition very quickly when time is at a premium.


6 Comments
Sadly dehaze isn’t available to those of us who have bought the product outright. There are hacks around that purport to do it but there’s nothing for the local adjustment tools. There are some presets but they don’t work as you would expect.
You can do a lot by adjusting the exposure and contrast to remove haze. The haze adjustment is just a combination of the existing adjustments if you learn to play with them.
Fantastic article
Love Lightroom and all the changes of late. Lightroom has become the workhorse of my post production workflow. I save Photoshop for just the fun stuff now.
This was a good read! It’s really just a reminder of what I already know and use regularly, but I find that I sometimes forget to use some of these when I get to working a little faster than I probably should. I find that reading articles that may be meant for beginners, (or maybe those new to using Lightroom), tend to serve as a great refresher and help to keep my work looking its best. Thanks again!!
I love Lightroom and thanks to Lightstalking I have improved with my photography and each time you post one of these tips and I have used it to improve my photos amazing stuff. Thanks for you help.
Pamela