There are numerous factors that go into making eye-catching portraits: the subject’s facial expression, the lighting, the framing and composition, various post-processing touches. These are all essentially “foreground” issues, issues related mostly to the face(s) in a portrait. But another (sometimes overlooked) characteristic of a good portrait is that it is free of distractions. Any number of things could act as a distraction and it is easy to take care of the most obvious problems like stray hairs or blemishes. But be sure that you don’t neglect the background. Having a distracting background can easily ruin a portrait (or many other types of photos, for that matter).
Don’t worry if you don’t have a studio and backdrops for your portrait sessions; there are plenty of other ways to include — or exclude — a background so that it enhances rather than distracts from your image.
1. Make Your Own Backdrop
This will probably seem obvious to all the DIYers out there. If you don’t want to pay for fancy “professional” backdrops, all you’ve got to do is make your own and you probably already have most of the necessary supplies on-hand, namely a wrinkle-free, pattern-free bed sheet (remember you’re trying to remove distractions, but I'm sure some of you can use wrinkles and/or patterns to great creative effect). While a basic black or white sheet will be ideal in terms of achieving a classic look, you can use any color sheet you like. If you really want to go all out you can even build your own chroma key (green screen) setup and, by extension, have any kind of background you desire.

Photo by Gianfranco Blanco

Photo by Category5 TV
2. Use Shallow Depth of Field
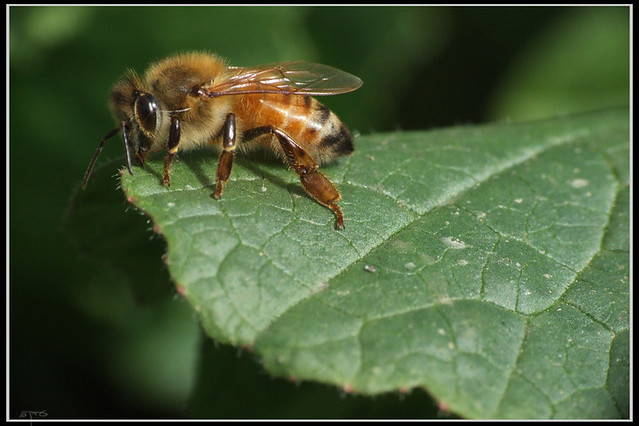
Portrait photographers tend to love large aperture lenses and using those lenses wide open. The shallow depth of field created by shooting at a large aperture is not only flattering to the portrait subject, but it also helps blur out the background. For this approach to be most effective, use a telephoto lens and keep a good distance between your subject and the background.

Photo by Mikhail Esteves
3. Change Your Perspective
If you find yourself in a situation where everything is working for you (subject, framing, lighting, etc.) except for what going on behind your subject, sometimes all it takes is a change of perspective. Shoot from up high or shoot from down low. This can work either indoors or out — the floor, ceiling, ground, and sky are perfect candidates for unique backdrops.

Photo by heipei

Photo by Vesna Tiricovska
4. Photoshop It
Making use of Photoshop’s (or some similarly capable application) layering/masking/selection tools, you can remove a problematic background and replace it entirely with a more pleasing, less distracting one. This video tutorial will teach you how to do it.
5. Clone It
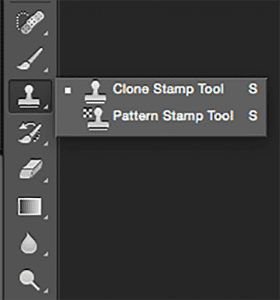
Sometimes the offending background distractor in an image is relatively small in size, yet prominent enough to draw your eyes straight to it every time you look at the photo. Replacing the whole background is unnecessary in such a scenario. Just use the Clone Stamp tool to cover up that stray soda can or fill in those bare patches on the ground with green grass. It’s an effective method than can makeover a blemished background.
6. Crop It
Another means of perfecting a background after the shot has been taken is simply to crop out the distracting portion. Distracting elements can, for any number of reasons, go unnoticed until you get your images off the camera and onto a computer monitor. If you’re lucky, these unwanted elements will be placed in areas where they can be easily cropped away without having too much impact on the subject. You can help maintain your original vision for the photo by keeping the aspect ratio the same when you crop. But if you have to crop so much that you lots of resolution, you will be better off using a different solution.

A distracting background. Photo by Eran Finkle
The edited background. Photo by Eran Finkle
The background can have just as much meaning to a good photo as what’s in the foreground. Don’t let a shoddy background take anything away from your images. If you have other solutions for how to get good backgrounds or fix bad backgrounds, share them in the comments!



4 Comments
This is a great refresher for us intermediates and beginners.
Very useful and detailed explained. I want to give one more resource for those who are interested in Product photography: https://www.youtube.com/watch?v=G9jCHes1t3Q
Great tutorial. Thanks for sharing, Sofia!
Thanks for sharing..