You have plenty of options to choose from when you want to reduce the noise in your images. However, you first need to understand why noise actually occurs. How does it get there? Well, the answer to that question is: signal-to-noise ratio. Broadly speaking, the more you amplify the signal, the more noise you get. In order to avoid noise you need to provide more signal and less amplification. When we put that into photography terms, it means you need to expose better and use lower ISO, having in mind that exposure itself is the signal, and ISO is the amplifier of the signal. That is why you get more noise when you increase the ISO.
Nevertheless, noise can be reduced in two general ways: while taking the image, and in post-processing.
Photo by Toffee Maky
How to Reduce Noise When Taking the Photograph
- Shoot RAW – Raw files contain so much more information than regular JPEGs, and don’t undergo compression, which is known to generate noise and some artifacts. Also, that information can be used later on for reducing the noise even further.
- Lower the ISO – As previously mentioned, less amplification means less noise. Therefore, lowering the ISO will result in cleaner images. Sometimes you’ll need wider aperture or longer shutter speed to achieve decent exposures without increasing the ISO, so prepare ahead and you’ll have no problems.
- Expose to the right – This means you should overexpose your images as much as possible, but avoid clipping. When you see your histogram of the image it will be pushed into the right, hence the term “expose to the right”. This is done to provide as much signal as possible, and it also greatly reduces noise. It works better with RAW, of course.
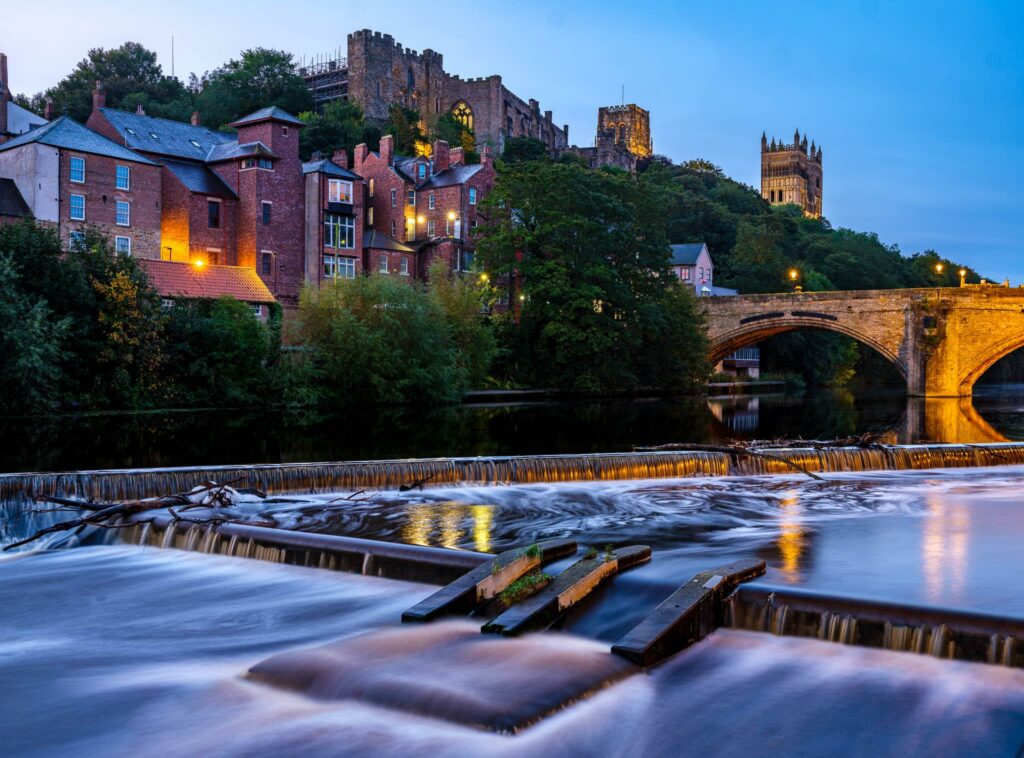
- Avoid Long Exposures – Long exposures tend to heat up the camera sensor, which allows for more noise to be generated via the, so called, “hot pixels”. Keep in mind that you’ll get less noise if you expose to the right even with long exposure instead of regular. The post-processing will be a bit different than with regular exposure since you’ll need to tone down the exposure in order for the image to look natural.
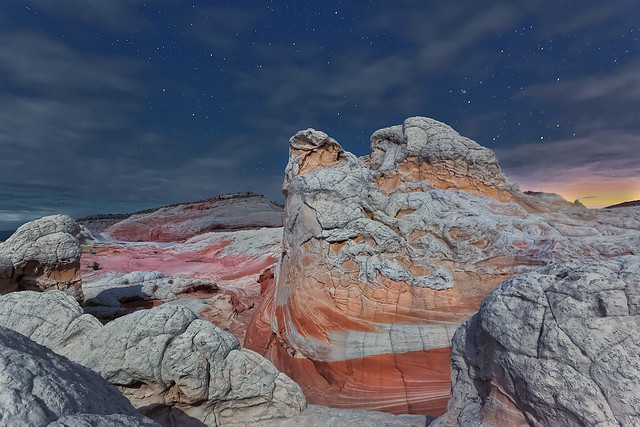
Photo by snowpeak
- Black frame – If avoiding long exposures isn’t possible, put the lens cap back on after you have taken the long exposure shot and take another shot with the same settings. You will get a black image with some noise on it. Afterwards, you can apply that image to the one or several longer exposure shots to eliminate hot pixel noise. You can apply the image/images in Photoshop just by putting it a layer over the original image and setting the blending mode into subtract or difference. Adjust the opacity until it looks right.
How to Reduce Noise in Post-Processing
We've seen how you can reduce noise when you're taking the photograph. But what if you want to reduce it after you've photographed? Bear in mind that reducing the noise afterwards, in post-processing, comes with more downsides when compared to reducing it while taking the shot.
- Noise reduction plug-ins – Nowadays, they are everywhere, built-in into Adobe Lightroom, Capture One, Photoshop, etc. There are also third-party plug-ins, such as Noise Ninja, Topaz DeNoise, and so on. What all of these have in common is the disadvantage of reducing noise at the cost of detail. As far as I know, there isn’t any plug-in that reduces the noise without messing up the details in the photograph.
- Image stacking – Sometimes, you need that clean product shot, but what if even at 100 ISO and exposed to the right you still aren’t satisfied with the result? There is a way to reduce the noise even more. All you need to do is take 10-20 identical shots (this will require tripod, intervalometer and consistent lighting) and then blend them into one using median in Photoshop. This will get the average values of each pixel location, thus effectively reduce random noise.
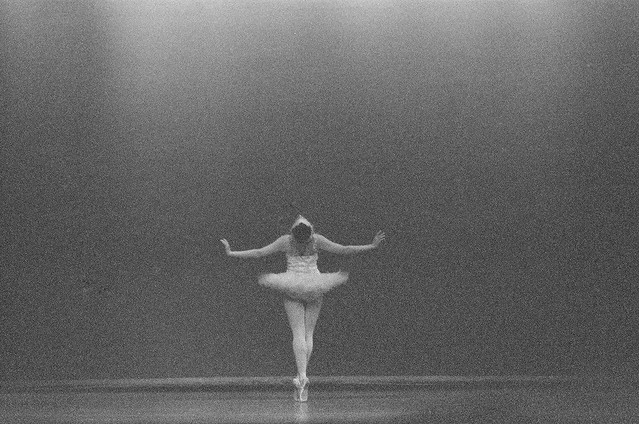
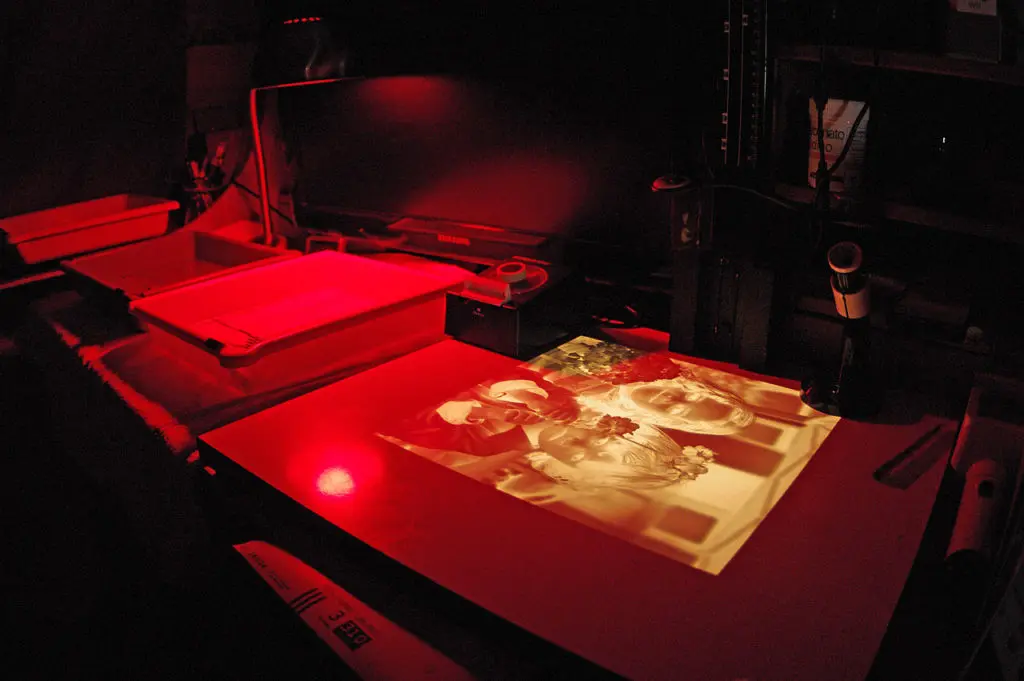
- Go black and white – This might not be a method of reducing noise, but it is a method of accepting it. Since the beginning of photography, noise and grain have been present always. However, grain on black and white photos sometimes actually looks good and you can achieve that similar effect by making your image black and white. This works better with certain situations than with others, but it often makes the image more pleasing to the eye.
Photo by bokeh burger
On another note, don’t be so strict about noise. It is better to have slightly noisy image than not to have any image. There is an abundance of good photographs that have noise, some even a lot of it. Often, noise is used to create dramatic effects, to simulate certain ambience, or to make the photo look old or to simulate an era.
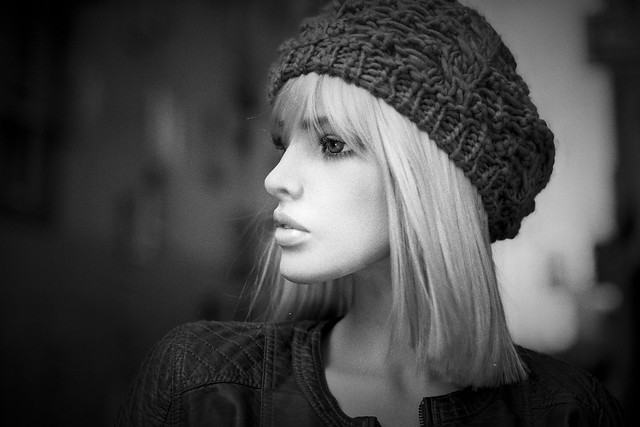
Photo by Björn Bechstein



1 Comment
Stacking is probably my favourite, as long as subject-motion is understood. After all, the exposure time is the sum of that of all the frames, so things like waterfalls really benefit; the data is coming from real photons rather than NR algorithms, which is a real advantage.
Note that the effective ISO halves with every doubling of the number of frames, so it might help to stick with powers-of-2 (or a few more to allow for screwups).
If the scene can be shot hand-held, then do so, too; you can use sub-pixel alignment differences for super-resolution – just enlarge at the end of RAW conversion, then align and blend together (mean or median) and if two images’ pixels collide, you’ve got stacking, or if they don’t, they fill in the gaps between pixels. Either way you’ve shot a lot more megapixels where one frame would have sufficed within the same field of view, so trade-off space versus noise to taste. (Typically 33% size boost is quite feasible for a mere 3-4 source images.)