I started with digital photography and after learning the basics, I stepped into film photography. Baack in the days, when I was a kid, I used to visit the photo lab with my parent. We used to wait for a couple of hours before we could actually see the images. My parents also warned me of the importance of not leaving any fingerprints on the photos.
Even when living in the digital age, film photography can still give us a lot of valuable experiences. Personally speaking, it has taught me to think more about my frames in a sort of “image economy” sense with this simple formula:
Quality > Quantity
As long as you know how light gets captured by a camera, you can use pretty much any photographic gear in the world. That is why I consider film photography to be just another format rather than a genre of its own.
Processing film is a magnificent experience and is something every photographer should try at least once, – it is almost like magic. There are two main stages when it comes to developing film. The first one relates to actually being able to see something in the emulsion, this is called the “film development” stage, and the other big one in the workflow is the “printing process”.
Today we'll talk about the items you need to have so you can develop your own film and prints at home and how to build a darkroom to do it in.
“My father taught me photography. It was his hobby, and we had a small darkroom in the fruit cellar of our basement. It was the kind of makeshift darkroom that was only dark at night.” – Sam Abell
Here Is What You Need For Developing Film
1. Development Tank
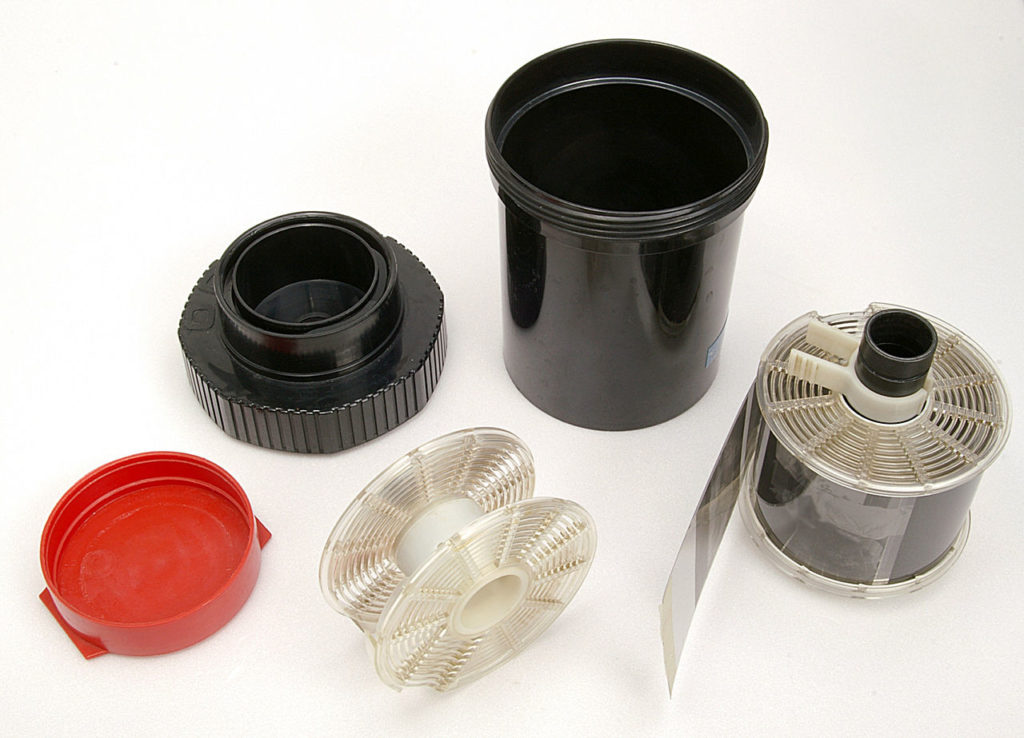
First thing's first, this is perhaps the quintessential thing that you need to have to develop film. Forget about investing in all the gadgets if you don't have this, to begin with. Here is where all the magic happens, no matter the place. Literally, you can develop film anywhere as long as you have this tool.
There are two types of development tanks – stainless steel tanks (which require more practice to use) and plastic tanks. The latter ones are easier to use thanks to a spooling mechanism they have. These tanks work safely thanks to a design that allows them to be filled with liquid without allowing any light to hit the film during the filling process.
2. Chemicals
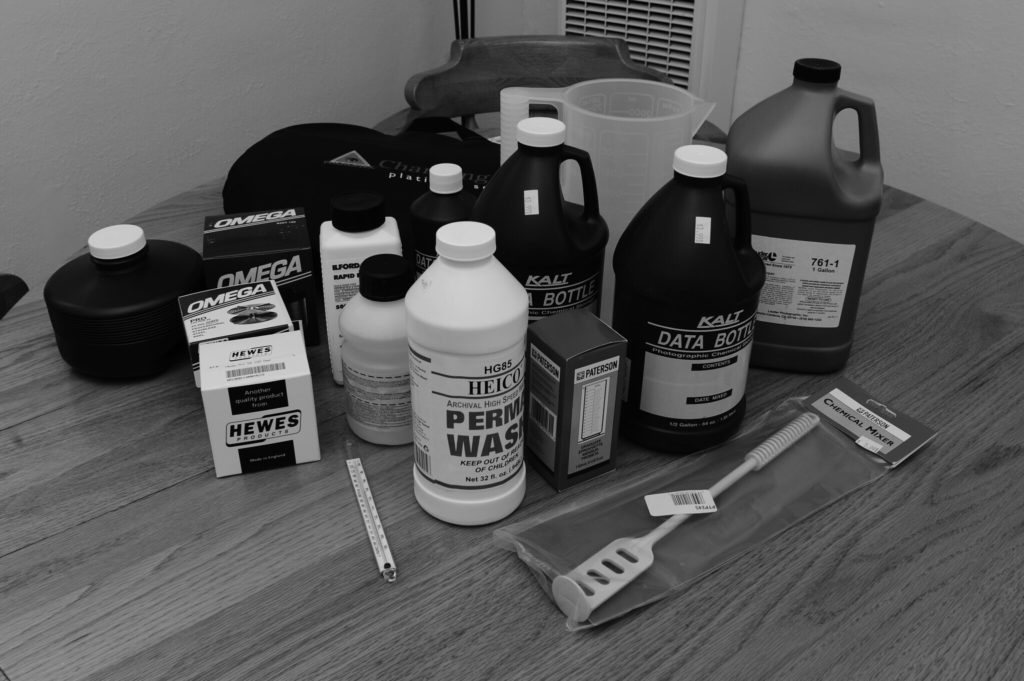
Developing film requires a series of chemicals that vary among Black and White and Color film. There are many brands out there and that is perhaps one of the best parts of film photography, there are huge creative possibilities.
Black and White:
- Developer (the most popular and easier to find are any D-76 variant and Rodinal)
- Stop Bath (you can use water from the faucet too)
- Fixer
- Finishing Bath (you can use water with a drop of dishwashing soap)
Chemicals can be found in powdered and liquid versions.
Color:
- Developer
- Bleach/fix (also known as blix)
- Stabilizer
Color film photography has two main types of development processes:
- C-41 (which is for color negatives)
- E-6 (which is for slides)
3. A List Of Tools That Will Make Developing Your Film Easier
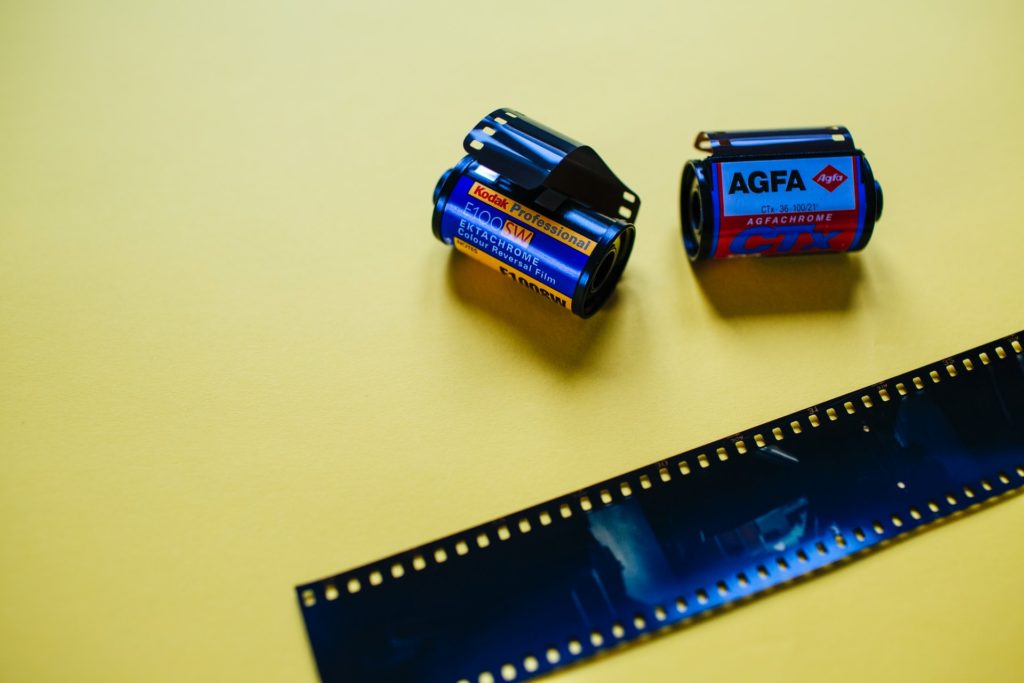
- Measuring Cups or Beakers
- Film Can opener (or your bare hands)
- Scissors
- Needleless Syringes
- Thermometers
- Silicone Spatulas
- Film Clips (or Clothes Pins)
- Film Squeegee (or a microfiber soft cloth)
- Funnel
- Stirrers
- Negative plastic sleeves
- Chemical jugs (amber ones tend to protect more the chemicals from the light)
- Storage box
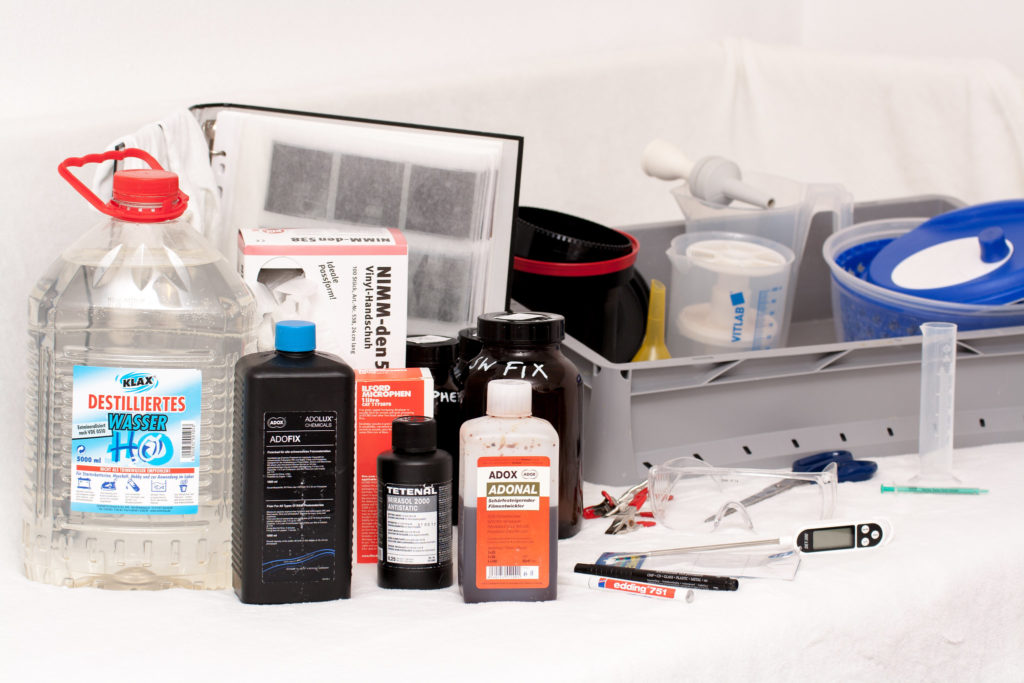
All this stuff can literally fit in a regular plastic box and there are several places that sell complete kits, but I think is way more fun to buy stuff separately.
Here's What You Need For Printing
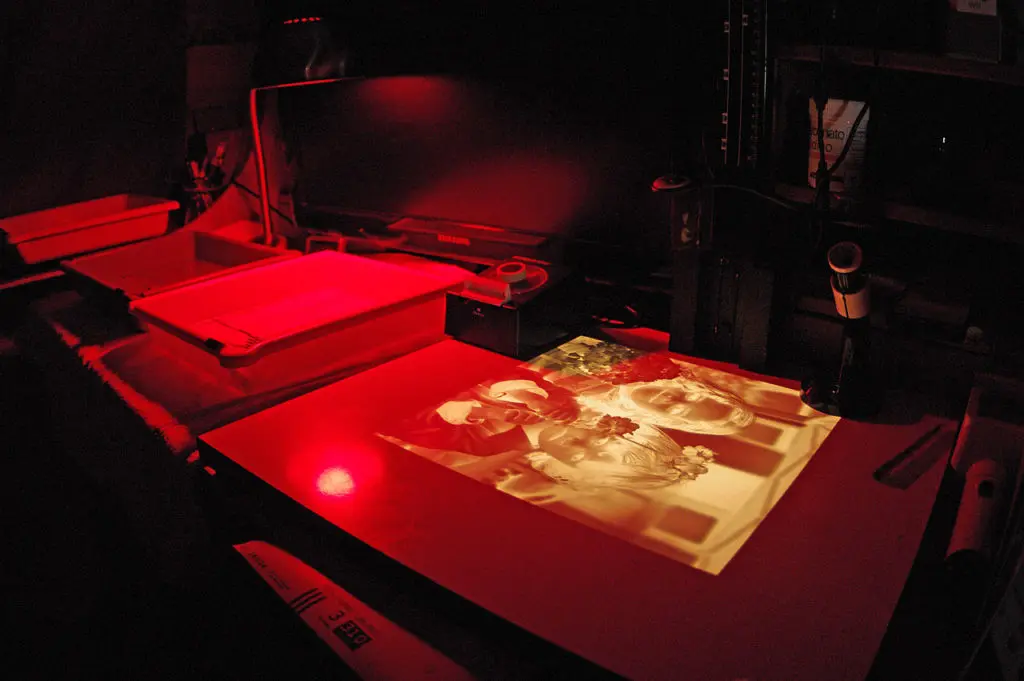
Printing is the next stage of film photography. Does the red safelight from movies depicting darkrooms ring a bell to you? Well, here is where you actually use the red safelight, unlike the film development stage, which has to be done in complete darkness (but only taking the film out of the camera and mounting it into the reels that go inside the development tank task).
Printing requires three basic things besides paper and chemicals. These are the red safelight mentioned above, the trays, and the enlarger.
1. Red Safe Light
Unlike undeveloped film, photographic paper isn't sensitive to a specific light, the red light (the film is prone to expose itself from any light).
Please, whenever you buy a new pack of paper just don't open it under regular lighting conditions, trust me, it happens…
The printing process is why so many say that photography is indeed an art, and there is no exact recipe, each photograph requires a specific development time while printing. You'll waste a lot of paper here; but trust me, it is absolutely worth it. Seeing your photograph appearing on the sunk paper in a positive (and understandable) format is simply priceless.
2. Trays
Film printing trays aren't regular plastic trays. They are resistant to chemicals and they have a beaked corner to enable you to reuse chemicals without missing a drop. You can have as much as you wish but basically, you need three – one for developing the exposed paper, another for stopping the process, and a last one for rinsing the paper.
3. Enlargers
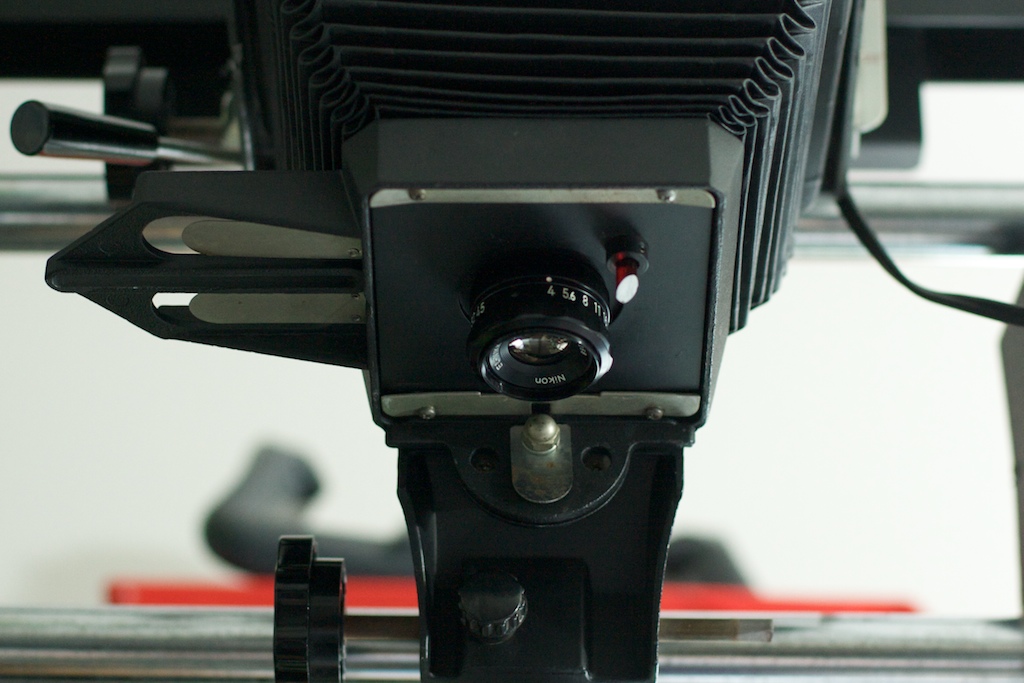
Enlargers are a whole world, they are like cameras, but for exposing the paper with your film. You can make large prints with these bad boys, and they also have lenses (with apertures) for sharpening purposes.
4. A List Of Items That Will Make The Printing Process Easier
- Timer
- Print boxes
- Print Squeegee
- Print Tongs
- Weighing scale
- Dusters
- Gloves
- Aprons
- Drying racks (or strings with clothespins)
- A completely dark room
- Water hoses
Some Stores
As you can see, setting up a dark room is quite fun and isn't obviously something you set up in no time. It will evolve with time as you add items that work best for you. There are several places that sell specialized film photography equipment, and these are a few:
We apologize if we skipped something that you think is crucial since there are infinite possibilities for setting up a dark room. For me, the ideal dark room would be the one that Alexey Titarenko has, and I'm really sure that he has invested quite some years and money in it.
FAQs
Hydroquinone, monomethyl para-aminophenol sulfate and phenidone.
Potassium dichromate and potassium chlorochromate are regarded as toxic and carcinogenic. Hydrochloric acid is a known corrosive. And potassium chlorochromate can produce toxic gasses if heated or mixed with acid.
Amber or red lights are generally used in darkrooms and won't generally expose photographic paper.
If you've got any thoughts, then please leave us a comment below.



1 Comment
Good detailed reading , thank you 🙂