Lord Kelvin, AKA William Thomson has a lot to answer for. It was this Glasgow University based physicist that developed the scale of measuring temperature that we use in photography today. So why does a scale of temperature have relevance in photography? Well the Kelvin scale also measures the colour of light. The science of this is somewhat complicated but put in it’s simplest terms, if you have a pure black radiating object and heat it up until it is glowing, when the temperature is below 4000K it will appear reddish, above 7500K it will seem bluish.
So why is this important to us photographers?
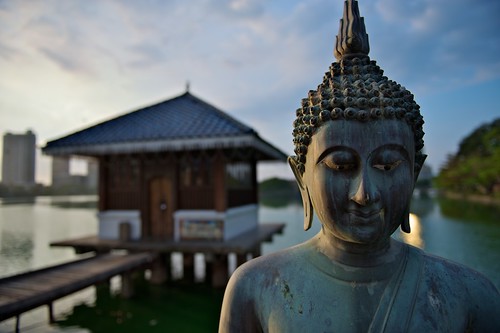
Well, light at different times of the day and under different conditions will have different colours. Our eyes are so highly developed that we do not see this change, our brain quickly adapts to the difference but colour film and more recently digital sensors cannot adapt.
In terms of film, it can only be set to one color temperature, usually 5500K which is the average colour of the shade on a sunny day at noon, or, 3200K which is the temperature of tungsten light, for example the average household light bulb or professional photoflood studio lights. Digital sensors can be set to a range of colour temperatures but rely on one of two things to get the right white balance – the camera’s metering system or the user setting it manually.
Neither of these are entirely infallible so if we can understand a little of what the colour of the light is in a given scene, we can improve the colour rendition of our images.
Let's start off with daylight – as mentioned the temperature of the shade on a sunny day around midday is around 5500K, however if clouds start to obscure the sun, the colour temperature will go up to 6000K-7000K – this is quite a bit bluer. Generally your camera’s colour meter will be able to deal with this, but where it has problems will be at the beginning and end of the day or when there are large blocks of a single colour in the image.
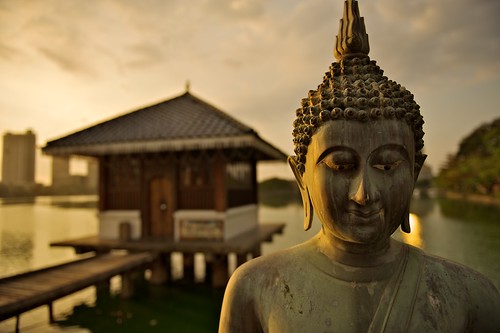
During the sunrise and sunset times, the temperature of the light is much cooler, which ironically is warmer in look i.e. reddish yellow. Because the camera’s sensors are tuned towards shooting in the midday sun, they can, if used on auto white balance, try to over correct the colour moving it towards what it thinks should be noon daylight. The effect of this on your beautiful sunrise or sunset shot is to remove some of the rich reds or yellows by neutralizing them. To counter this effect we can use on of the camera’s preset white balances or set a manual white balance. The best setting for a sunset is actually the daylight preset, or around 5200K if setting manually. This will render the color as seen with the rich yellow/reds intact.
When shooting an image with a large block of single colour, for example a large green field, it’s best to use a preset for the actual conditions, for example the cloudy setting, or to take a manual reading. To do this you will need a plain white piece of card. Place it in the direction you will be shooting and measure the white balance from the card. You may need to refer to your camera’s manual on how to do this or see our guide on how to set your white balance manually.
When shooting indoors, you will find that flash light is somewhat bluer than daylight, although most camera’s will automatically detect when the flash is being used and compensate. Problems can arise when shooting under fluorescent light, for several reasons chief amongst them is that different fluorescent tubes can have different colours and that the colour of the light emitted by these tubes does not fall easily on the Kelvin scale.
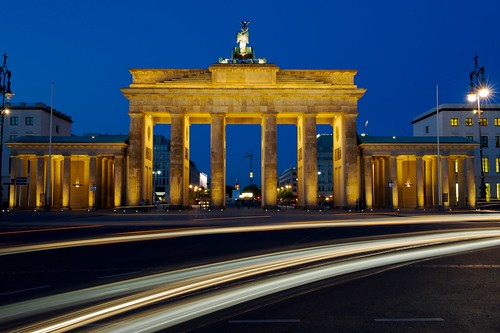
Mixed lighting can also be problematic, for example when shooting in the Blue Hour, balancing the available light with neon signs and street lighting, here, experimentation will be the best policy.
Despite all this, there is one universal technique for solving most colour temperature problems – shooting RAW. As the name suggests, a RAW file contains only the direct data read from the sensor without any corrections made to it. Because of this we can manually set the white balance in post production using a RAW convertor, ensuring that we get the exact colour we require in an image without sacrificing the quality.
Hopefully this basic rundown lets you adjust for the hues of your own shots!
Jason Row is a British born travel photographer now living in Ukraine. You can follow him on Facebook or visit his site, The Odessa Files. He also maintains a blog chronicling his exploits as an Expat in the former Soviet Union

2 Comments
Thanks. Nice useful article
Thank you! Absolutely great article and love the photo’s. 🙂