One of the most fascinating and democratic things about photography is that, despite almost reaching 200 years of technical advancement, its fundamental concepts haven’t changed that much at all. So whether you are shooting with an iPhone, a vintage film camera made out of a sardine can or a fancy mirrorless camera, visual terms will apply no matter the medium you pick.
In a nutshell, these terms can be crunched down to composition and exposure. However, we love going the extra mile and took the liberty of crumbling them down into smaller and more precise terms; just like a glossary if you prefer! At the end of the day, we came up with 50 photographic terms that will make you aware of the complexities behind each shutter button you press. Also, we tried to group them in an intuitive way rather than sorting them alphabetically.
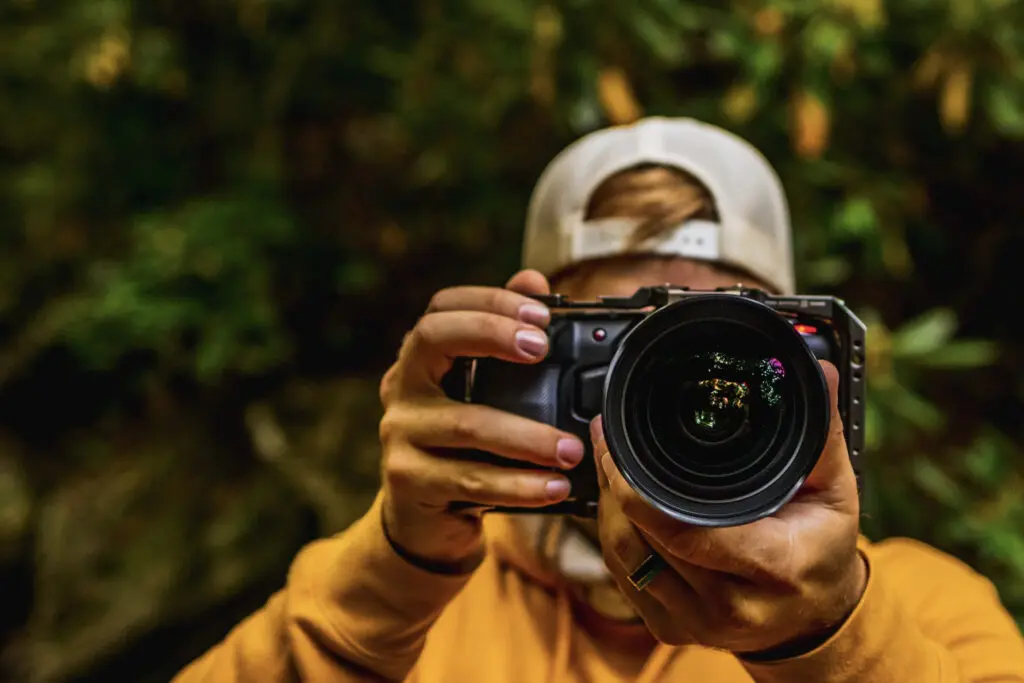
Aperture Or the confusing ƒ/stops you’ve probably encountered by now. Aperture controls the amount of light that passes through your lens just before hitting your camera’s sensor or film. Therefore, ƒ/5.6 is the equivalent of 1/5.6; which is larger than 1/22 and smaller than 1/2.8. Since we can consciously control them, the aperture should be understood as the equivalent of our eyelids instead of our irises. Beyond affecting exposure, aperture values also change how the depth of field gets recorded.
Shutter Speed If the aperture defines how much light gets through our cameras, shutter speed sets the amount of time it becomes exposed to the light. More properly, how much time will the sensor or film be exposed to light? Shutter speed values are also expressed in fractions like 1/8 or 1/200 of a second. Remember, visible light is extremely fast, so 1 second is an eternity for any camera. Therefore, fast shutter speeds are great for freezing stuff, while slow ones are necessary for capturing motion.
ISO Aperture defines the amount and shutter speed the time, but what about the qualities of light? It’s not the same to work with light softened by a cloudy day as shooting under bright and sunny conditions. Therefore, we need something to inform our camera about these light-related specifics so it can adjust to an adequate sensitivity. Back in the days of film, photographers regularly carried 2 or 3 camera bodies loaded with different ISO values. Now, digital sensors have adapted to this. Low ISO values like 100 are perfect for shooting under bright conditions, high ISO values like 1600 will allow you to work under low-light situations. Take into account that the electricity needed for this adaptation could deliver some noticeable static or noise in photographs.
Pro Tip: If your camera allows it, shoot in raw format rather than JPEG. These files offer more flexibility in post-processing and noise reduction.
Exposure Is the sum of all three — aperture, shutter speed and ISO — combined. These are the building blocks of what in photography is known as “the exposure triangle”.
Depth of Field Or DoF, refers to the distance range in a photograph that appears sharp, which also relates to how much of the frame appears blurry or out of focus. This optical effect is popularly known as “bokeh”, which I’ll explain in short. A wide aperture value like ƒ/1.8 would produce a shallow DOF with a very blurry background. On the other hand, a narrow aperture like ƒ/22, will result in a broad or deep depth of field.
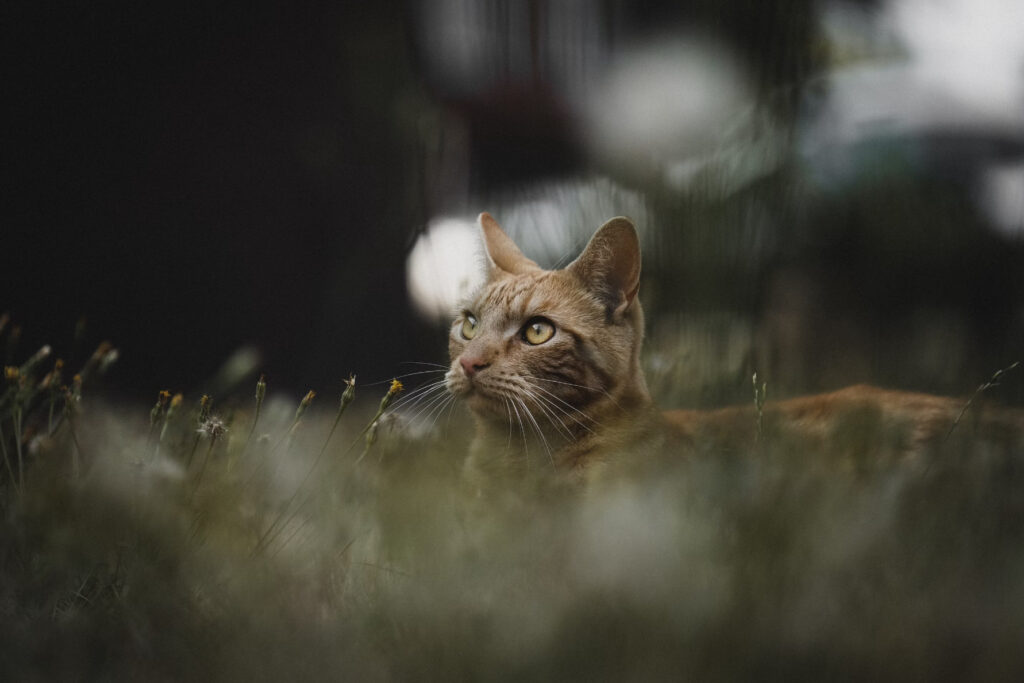
Composition Just like writing, images need to follow a certain cadence or rhythm to be pleasant to the eye. By following this logic, certain photographs achieve the ultimate goal of visual storytelling; delivering aesthetic experiences. Classic compositional guidelines like the “rule of thirds”, the “rule of odds” and even the use of leading lines help us photographers when seeking to enhance composition from frame to frame.
Rule of Thirds Perhaps the most popular, yet not overrated, compositional principle in photography. Its wide use might come from both its easiness and effectiveness. One simply can’t go wrong when following the rule of thirds. This guideline parts from dividing the frame in a tic-tac-toe matter; the result, is a perfect grid of 9 segments using two horizontal and two vertical lines. The beauty becomes evident when we use any of the four intersections to place the main point of interest. Breaking the rule of thirds is also a popular topic, but one must be agile with it before disrupting it while still keeping good-looking results.
Histogram Oh boy, this one gave me a huge headache before understanding it correctly! The histogram is a powerful tool which represents light’s broadness in a comprehensive kind of way. Meaning from blacks to whites or from shadow to light. This graph is composed of 256 bars and shows how light is harmonically scattered on a given scene.
Pro Tip: Without blowing out your highlights, is often beneficial to slightly overexpose your image under various circumstances. This technique is better known in photography as “exposing to the right”; a phrase you’ll likely already heard or read before. Exposing to the right is just a compact way of referring to how digital cameras gather more image data in the brighter areas; therefore, helping retain detail and reducing noise in post.
White Balance should be always considered as the baseline of any story attempting to be told through the means of visual communication. Warm tones speak clearly about joyful feelings, while cooler ones are great for conveying moody sentiments. Regarding this on camera, a smart move is to leave it in auto and then tweak in your favourite digital development software.
RAW, files are uncompressed image file which retains ALL the data captured your the camera’s sensor! Therefore, it delivers more flexibility in post-processing but requires special software; digital development software.
JPEG files are a bit the opposite of raw files, but that doesn’t make them good and usable. JPEG or JPG files are just renders of a raw capture according to predetermined, and therefore flattened, recipes. For example, we all love pizza, and having an artisan one is nice. But sometimes, we are more content with a fast-food version of it. Right? That’s how I would explain the whole raw vs JPEG dilemma. Which by the way is an attribute, not an abbreviation so it should be written “raw” instead of “RAW”.
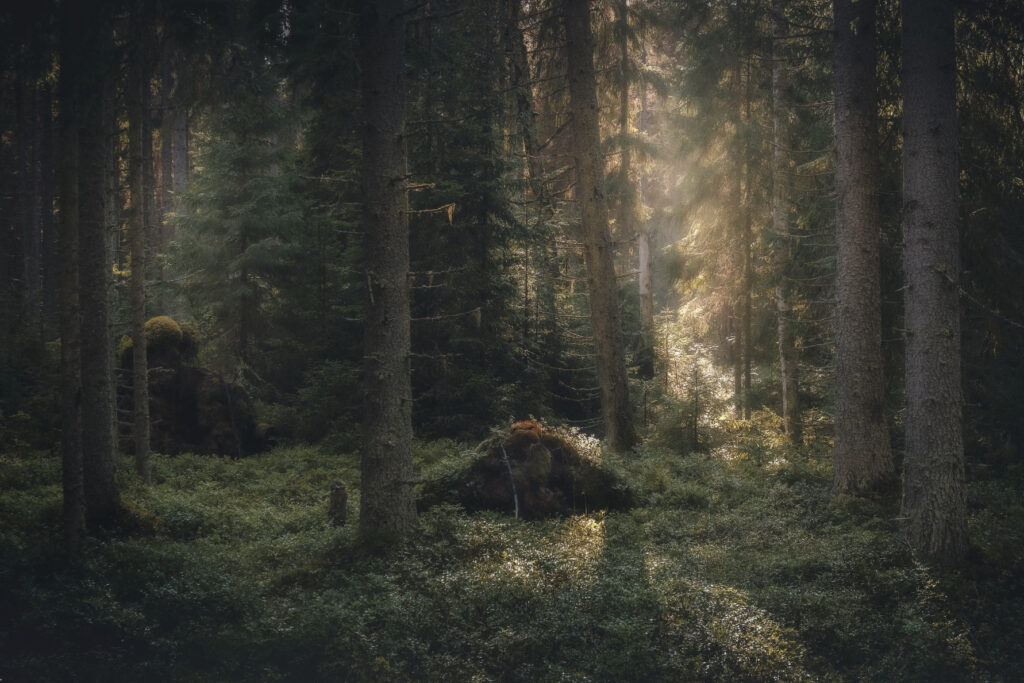
Exposure Compensation is a feature but also a mindset. As the name suggests, it serves the purpose of compensating exposure in the camera. The mindset comes after realising this only applies to auto and semi-automatic settings, like aperture priority and shutter priority modes (we’ll get to them in a bit). Exposure compensation empowers us photographers to tell our cameras how we want the final exposure to be calculated. This setting is found in different places across brands, so make sure to check the user manual on yours!
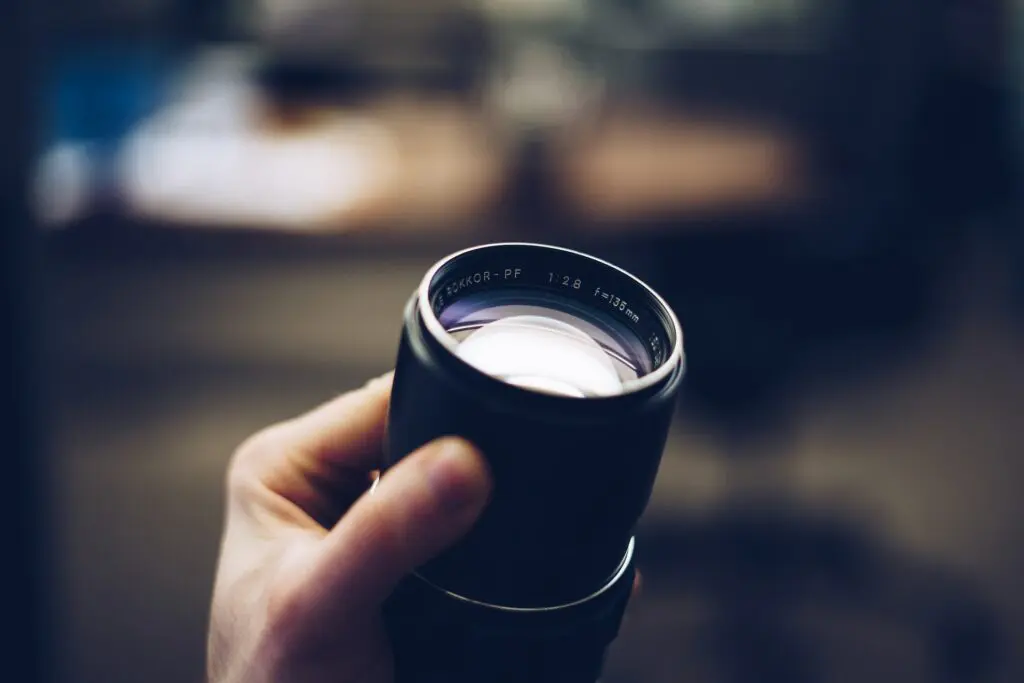
Focal Length is the metric distance between the zone where light rays converge to form a sharp image and our camera’s sensor. This focal point resides within the photographic lens and does not represent the size of the overall housing. The distance is stated in millimetres like 18mm, 28mm, 35mm, 50mm and so on.
Zoom refers to the ability of certain lenses to change their focal length across a given distance. For example, kit lenses usually come with a zooming scope of 18mm to 55mm. This variability comes in handy when we need to reach a bit further without moving from a specific place.
Prime Lens lack this ability to zoom in, but compensates for this limitation with wider apertures and sharpness. Fixed focal lenses are popular among photographers, with 50mm being perhaps the most demanded of them all. The reason why, might have something to do with it being delivering a seamless focal length when compared to human vision.
Pro Tip: Prime lenses force us to be more thoughtful and therefore more creative. When using them, one can’t simply zoom in or out, so we need to keep on walking to compose our shots. This restriction can be seen as an advantage as it forces us to simplify our compositions while deliberately focusing on our subjects and leaving distracting elements out of the frame.
Wide-angle Lens is a grouping category for all lenses below 50mm. The tag corresponds to the wide-framing results produced by the optical distortion of shorter distances below 50mm. Extremely wide-angle images are the outcome of very short focal distances like 8 or 10 millimetres to say a few.
Telephoto Lens is the other classification in which focal lengths span beyond 50mm. And as you might have already guessed by now, they produce a magnifying result due to their zooming nature. Extreme telephoto lenses like the ones present in wildlife and sports imagery usually span above 400mm.
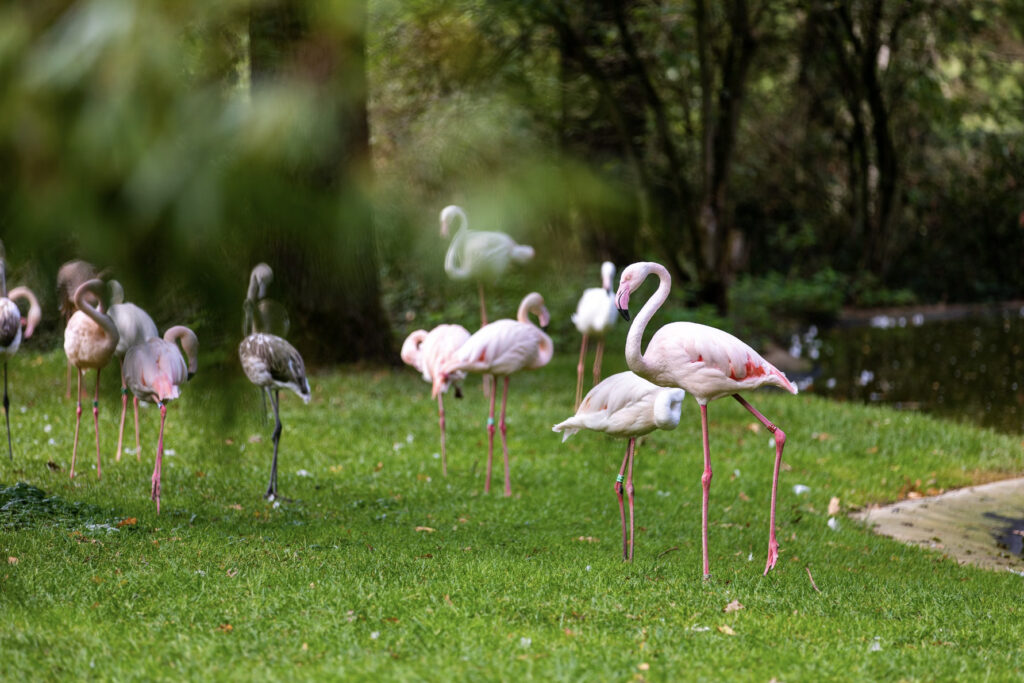
Bokeh you already know, but just in case, it refers to the aesthetic blurring we get from out-of-focus areas in a frame. For example, the pleasing effect we see in portraits in which the subject appears sharply focused against a blurred context.
Tripod or the best friend a photographer can have when attempting long exposures! In a technical sense, tripods are three-legged flexible structures designed to keep our cameras fixed safely and sturdily.
Pro Tip: Tripods come in various materials, primarily aluminium and carbon fibre. The first are more affordable and robust but heavier as well. On the other hand, carbon fibre tripods are more expensive but lighter and more resistant to vibrations; making them ideal for travelling and long exposures. The construction material should be picked in accordance with your budget and usage needs.
Metering Modes in cameras are engineered to evaluate light across scenes in a precise and consistent way. The standard metering modes you can find in your photographic gear are (a) matrix, (b) centre-weighted, © spot and (d) partial metering. Take a look at this older post to dive deeper into all of them.
Autofocus is a marvel of optical technology, and refers to the needed mechanics for automatically adjusting attached lenses to achieve sharp focus on the subject. This capacity gets enhanced thanks to the focusing motors inside every lens; as expected, some are swifter than others.
Manual Focus because not every shooting situation benefits from automatic adjustments, especially when working under low-light situations. Some cameras and lenses require you to switch between focusing modes while others allow us photographers to manually adjust via the focusing ring without forcing our lens.
Exposure Triangle is the relationship between aperture, shutter speed and ISO mentioned above. Although, the visual representation of a perfect equilateral triangle is not something one should pursue. It is just a good resource for understanding how one setting can and will affect the others.
Bracketing refers to the act of taking several images each with a different exposure — from under to over. But why someone would do this? Well, High Dynamic Range (or HDR) images require this series of images as the input for stacking. Also, exposure blending can be done in post-processing for richer results.
Long Exposure is a creative technique in which the shutter is left open for an extended period of time. This enables us photographers to capture motion from light trails, silky clouds in the sky and smooth water surfaces.
Pro Tip: Even the slightest of movements can produce a camera shake during long exposures. To further minimise these undesired results, use a remote shutter release or a timer function on your camera. This will prevent the need to touch the camera’s shutter button when taking the shot.
Framing can be achieved on the field by using objects within the scene to frame the subject. This is also called “sub-framing” and adds depth and interest to the overall composition.
Leading Lines are another compositional asset that can be used beyond the rules we discussed above. Horizontal, vertical, diagonal, organic and implied lines within a photograph lead the viewer’s eye to the subject, creating a sense of direction and movement.
Foreground alludes to the area of an image which appears closest to the viewer and is often used to add depth to a photo. For this, we recommend you consider a long-exposure setting and a small aperture value like ƒ/22.
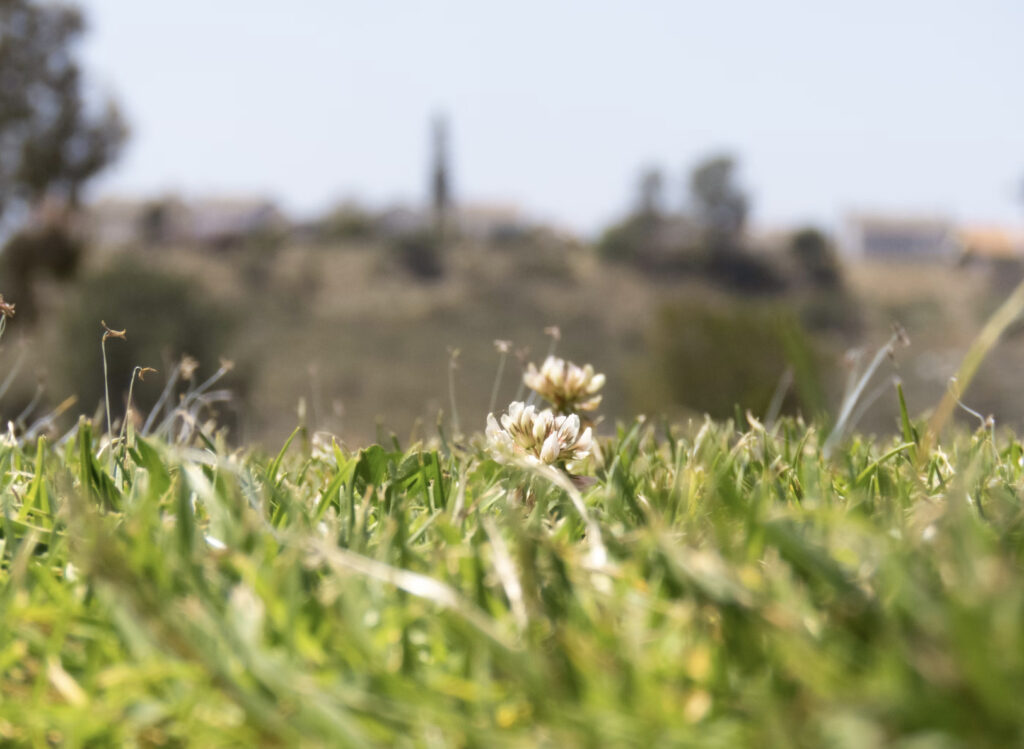
Background is the area of the image appearing the farthest from the viewer. Background often provides context for the subject and is a fundamental element for telling stories through the means of visual imagery.
Light Meter is a feature used by our cameras to measure the amount of light coming through the lens. Built-in light meters help determine the correct exposure settings but there are external devices for metering this as well. These precision tools are used to read the light falling in a given context over a specific object or subject, like a studio!
Aperture Priority Mode often abbreviated AV for “aperture value”, is a slightly automatic mode used for circumstances in which one trusts the camera to adjust the shutter speed for a specific ƒ value. To be honest, I consider this mode useful for getting properly exposed images every time when doing street photographs.
Shutter Priority Mode also known as TV for “time value” is the counterpart of AV and works around a specific shutter speed value. When selected, the camera will figure out the best aperture value and ISO for exposures to come as expected. Don’t forget to use exposure compensation in both AV/TV modes.
Manual Mode refers to the full control over aperture, shutter speed and ISO values. It is the most flexible exposure mode but sometimes can be a little frustrating to use, especially when running back and forth from bright patches of light to deep shadows.
Pro Tip: Remember, as you adjust the aperture, you may need to compensate with ISO or shutter speed to achieve desired exposures every time. In brighter conditions, you may need to use faster shutter speeds and lower ISO values to avoid blown exposures.
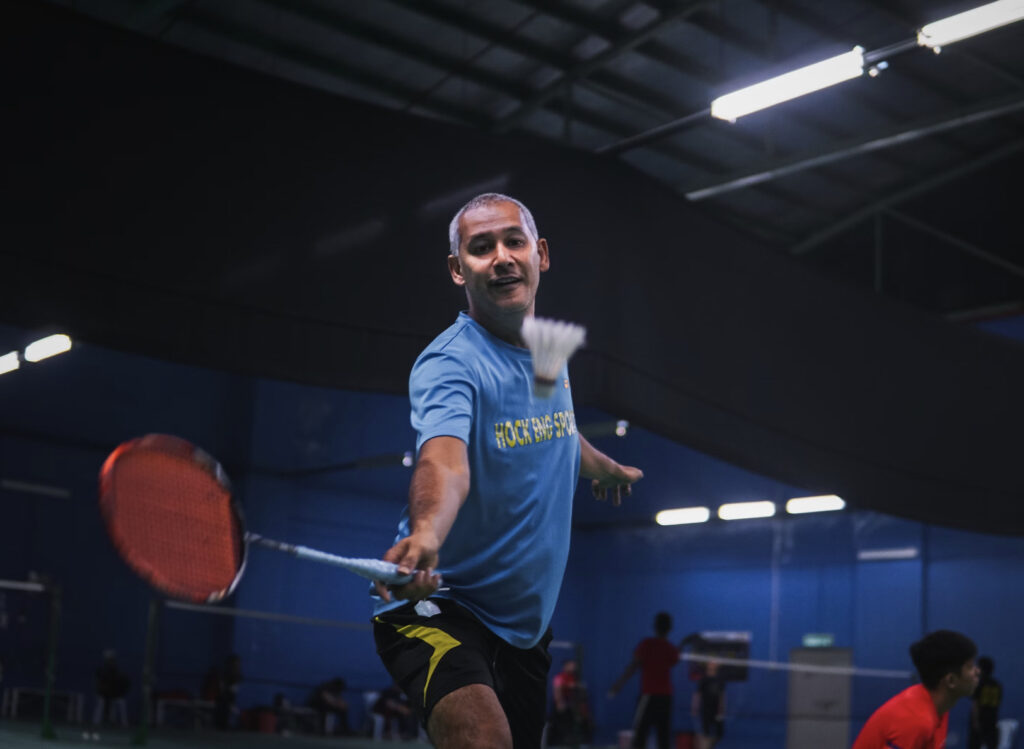
Burst Mode is a camera setting that allows us to quickly capture a series of frames while pressing the shutter button. It’s no cheating and is quite useful in photojournalism and other action photography needs.
Exif Data or embedded metadata in every image file. It includes information about camera settings, date, location, post-processing and more. Read this if you find Exif data to be boring and even irrelevant.
Overexposure is what we call an image that is just too bright or even blown up! Overexposures often result in detail loss in the highlight tones of a photograph.
Underexposure is the contrary of overexposure so refers to images being too dark, resulting in loss of detail in the darker zones of our photographs.
Pro Tip: Many cameras have clipping warnings for both overexposure and underexposure areas. They render a blinking effect in the affected zones and correspond to highly clipped histograms. Enable this feature to help you identify overexposed zones of your images while reviewing them.
Golden Hour is a favourite among photographers and refers to the brief period right after sunrise and before sunset. The golden hour is craved for its soft, warm, and flattering lighting!
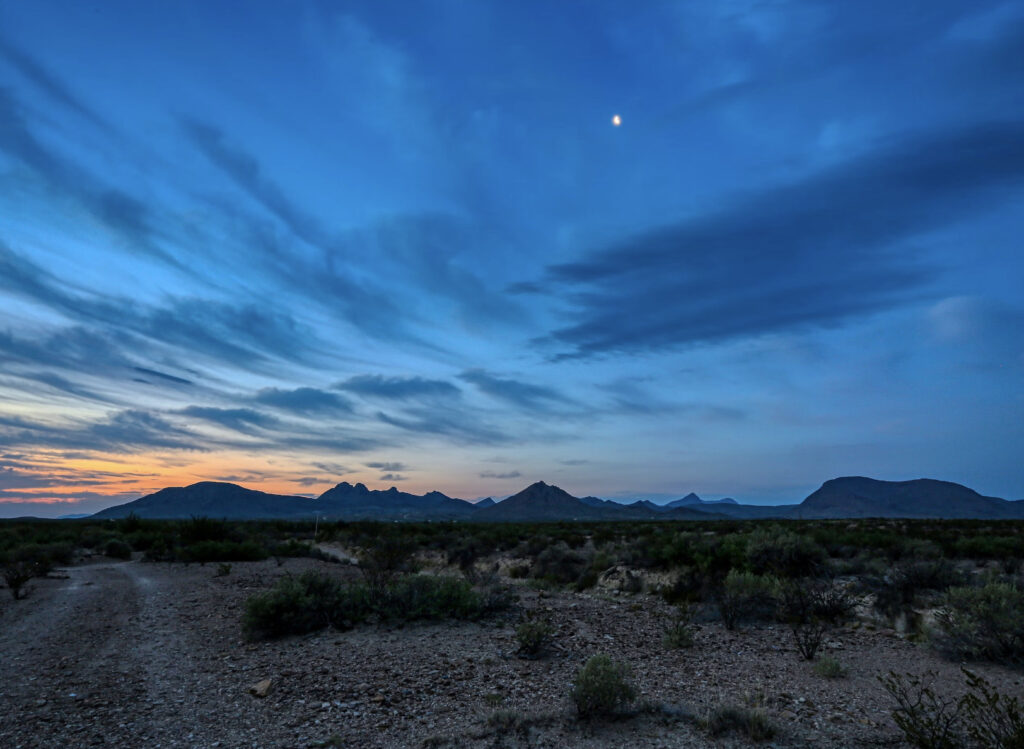
Blue Hour is a broader period when the natural light takes on a soft, cool, and predominantly blue hue. Corresponding to the Golden Hour, it occurs both in the morning before sunrise and in the evening after sunset.
Fill Flash is an artificial lighting technique used to illuminate shadows on a subject. The desired result can be achieved with a dedicated flashlight, a fixed source and even a circular reflector.
Aperture Blades are the small mechanisms which open and close to control the amount of light passing through your lens. The number of blades varies across lenses, but is regular to find something around 6 to 9. This is important to know because it affects how bokeh will behave from shot to shot.
Monopod is similar to a tripod, but offers a whole different level of flexibility. They are useful for sports and wildlife or any other circumstance in which you need support with a heavy body and lens setup while still keeping hand-held mobility.
Panning is one of the most common uses of monopods, and is a technique in which one tracks a moving subject with the camera while exposing the shot. Results are always a surprise and mastering requires practice and some luck as well!
Vignetting comes in two major flavours, natural and applied. Natural vignetting is just a nice way of calling optical aberrations from a lens due to barrel distortion. Then, applied vignetting is used to produce a slight darkening or brightening on the edges of a frame. The result enhances drama and should always correspond to a creative decision.
Hot Shoe is the metallic mount on top of a camera. Hot shoes serve the purpose of attaching external accessories like microphones and flashes and are brand-specific. An interesting fact about hot shoes, is that some cameras can be also found on the side and there’s a cold version; they only work for attaching stuff with no electronic communication with our cameras.
ND Filter or the secret ingredient of long-exposure photographs. ND stand for neutral density, and these filters are designed to drastically reduce the amount of light entering our camera without affecting its quality. Some ND filters are so dark they even allow several-minute exposures under daylight conditions. ND filters are different from polarising filters and require some basic maths to calculate proper exposures.
Rule of Odds is a composition guideline which recognises how odd number grouping — like 3 or 5 — is great for the human mind. Basically, it is taking advantage of how we tend to gather stuff in groups of threes or fives.
Pro Tip: Don’t force yourself to work with a straight line or a symmetrical arrangement of your subjects. Experiment with different arrangements like triangles, diagonal lines or even curves. These variations can create unique visual dynamics in your photos.
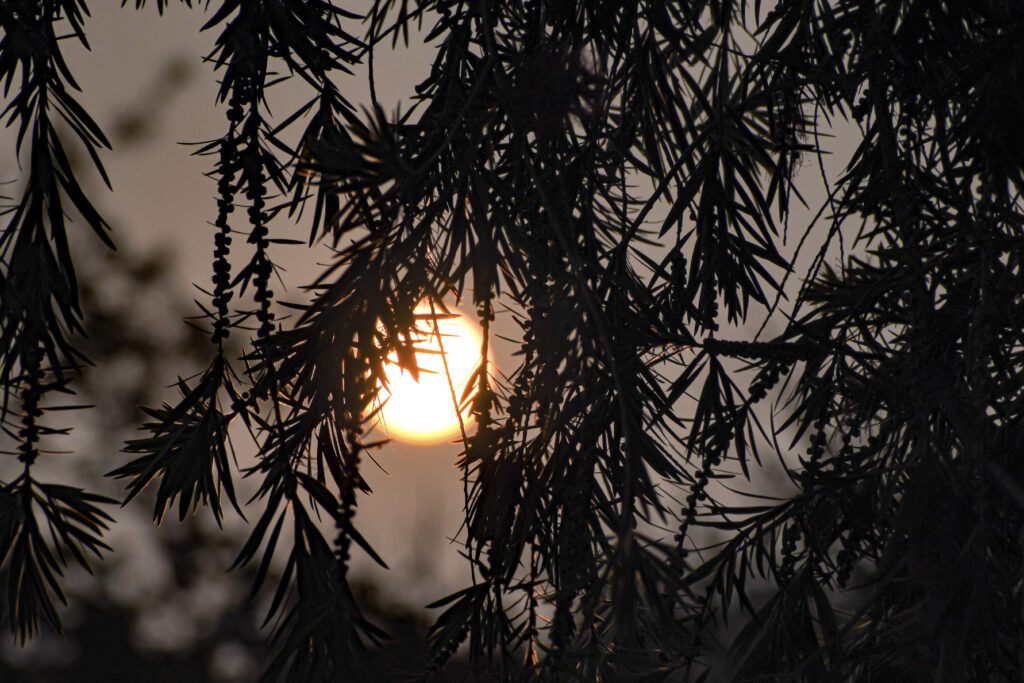
Silhouette is a photographic technique where the subject appears as a dark and flattened shape against a bright background; usually, a bright and golden sky! If you are interested in this result, also consider closing down your aperture to a value of ƒ/16 or even smaller. This reduces the amount of light and enhances the silhouette result.
Cropping refers to the decision of trimming or resising an image during the post-processing stages of the photographic workflow. It differentiates from in-camera-framing because of the high level of control one has during post and is a very effective way of enhancing a photograph. In this regard, I always retain the original aspect ratio of the raw file. This way I don’t get unpleasant surprises when printing my shots.
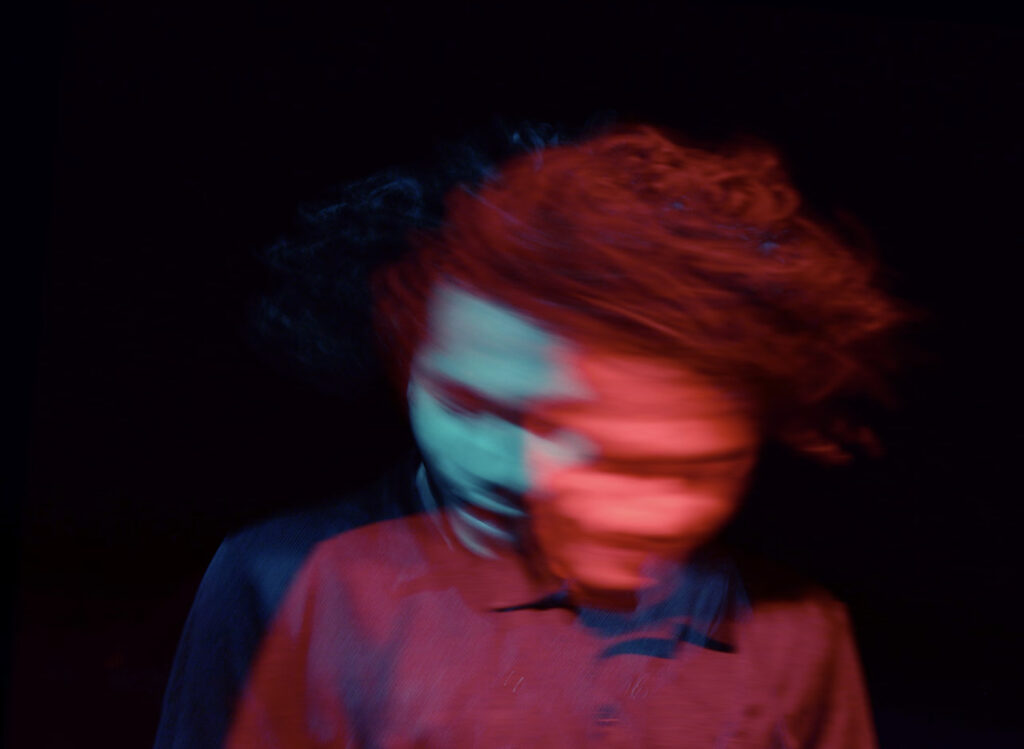
Double Exposure is a creative technique in which one combines two separate images into a single frame; the result is an eerie or surreal effect. Multiple exposures can also be made, and some cameras allow to produce this by combining shots. Fun fact, this comes from the analogue era in which film cartridges could be stopped from advancing while exposing the same area, cool don’t you think?
Whoa! What a list! I hope it serves the purpose of acknowledging how complex photography can be as a technique and as a practice. Now get out there, have fun with your cameras, and share some of the results with us at the forums as well!
Further Reading:
- Meet AI Chat, Your New Photography Assistant
- 120 Epic Links That Will Cement The Fundamentals Of Photography In Your Mind
- Check Out These 7 Tutorials To Capture Striking Urban Photographs
- Photography Project In One Day
- 10 Resources To Shoot Like A Pro Using Your Smartphone
- Boost Your Creativity By Shooting Once A Week


