While a lot of more experienced photographers are well aware of color management but newcomers or those less experienced might not know just how important it is. The first time you might become aware of it is when printing your images. This could either be at home or through a printing lab.
If you have ever received back prints that look wrong, be it dark and muddy, with a color cast or overexposed, you have drifted into the world of color management.
Today we are going to look at just why colour management is so important and also why it’s not quite as complicated as you might think.
“Colors, like features, follow the changes of the emotions.” – Pablo Picasso
All Devices Are Not Equal
When you look at your latest and greatest image on your computer monitor, you are not looking at reality. You are looking at a decoded version of the image you took. When you captured the scene, your camera translated the light into 1s and Os added some complex calculations, and saved them as a file. That light is made up of an almost infinite amount of colors, far more than any camera could possibly capture, so the camera will decipher the color within what is called a color space. That color space defines the number of different shades and tones between the primary and secondary colors.
What this means is that if you work in the same color space from shooting to printing, your colors should be pretty much consistent. Except they won’t. Your monitor, for example, needs to be calibrated. You cannot just tell it to display a particular color space without making sure that what it’s showing you is consistent with that color space.
So in, perhaps an overly complicated way, we see that all devices are not equal.
So where do we start?
We Start With The Camera
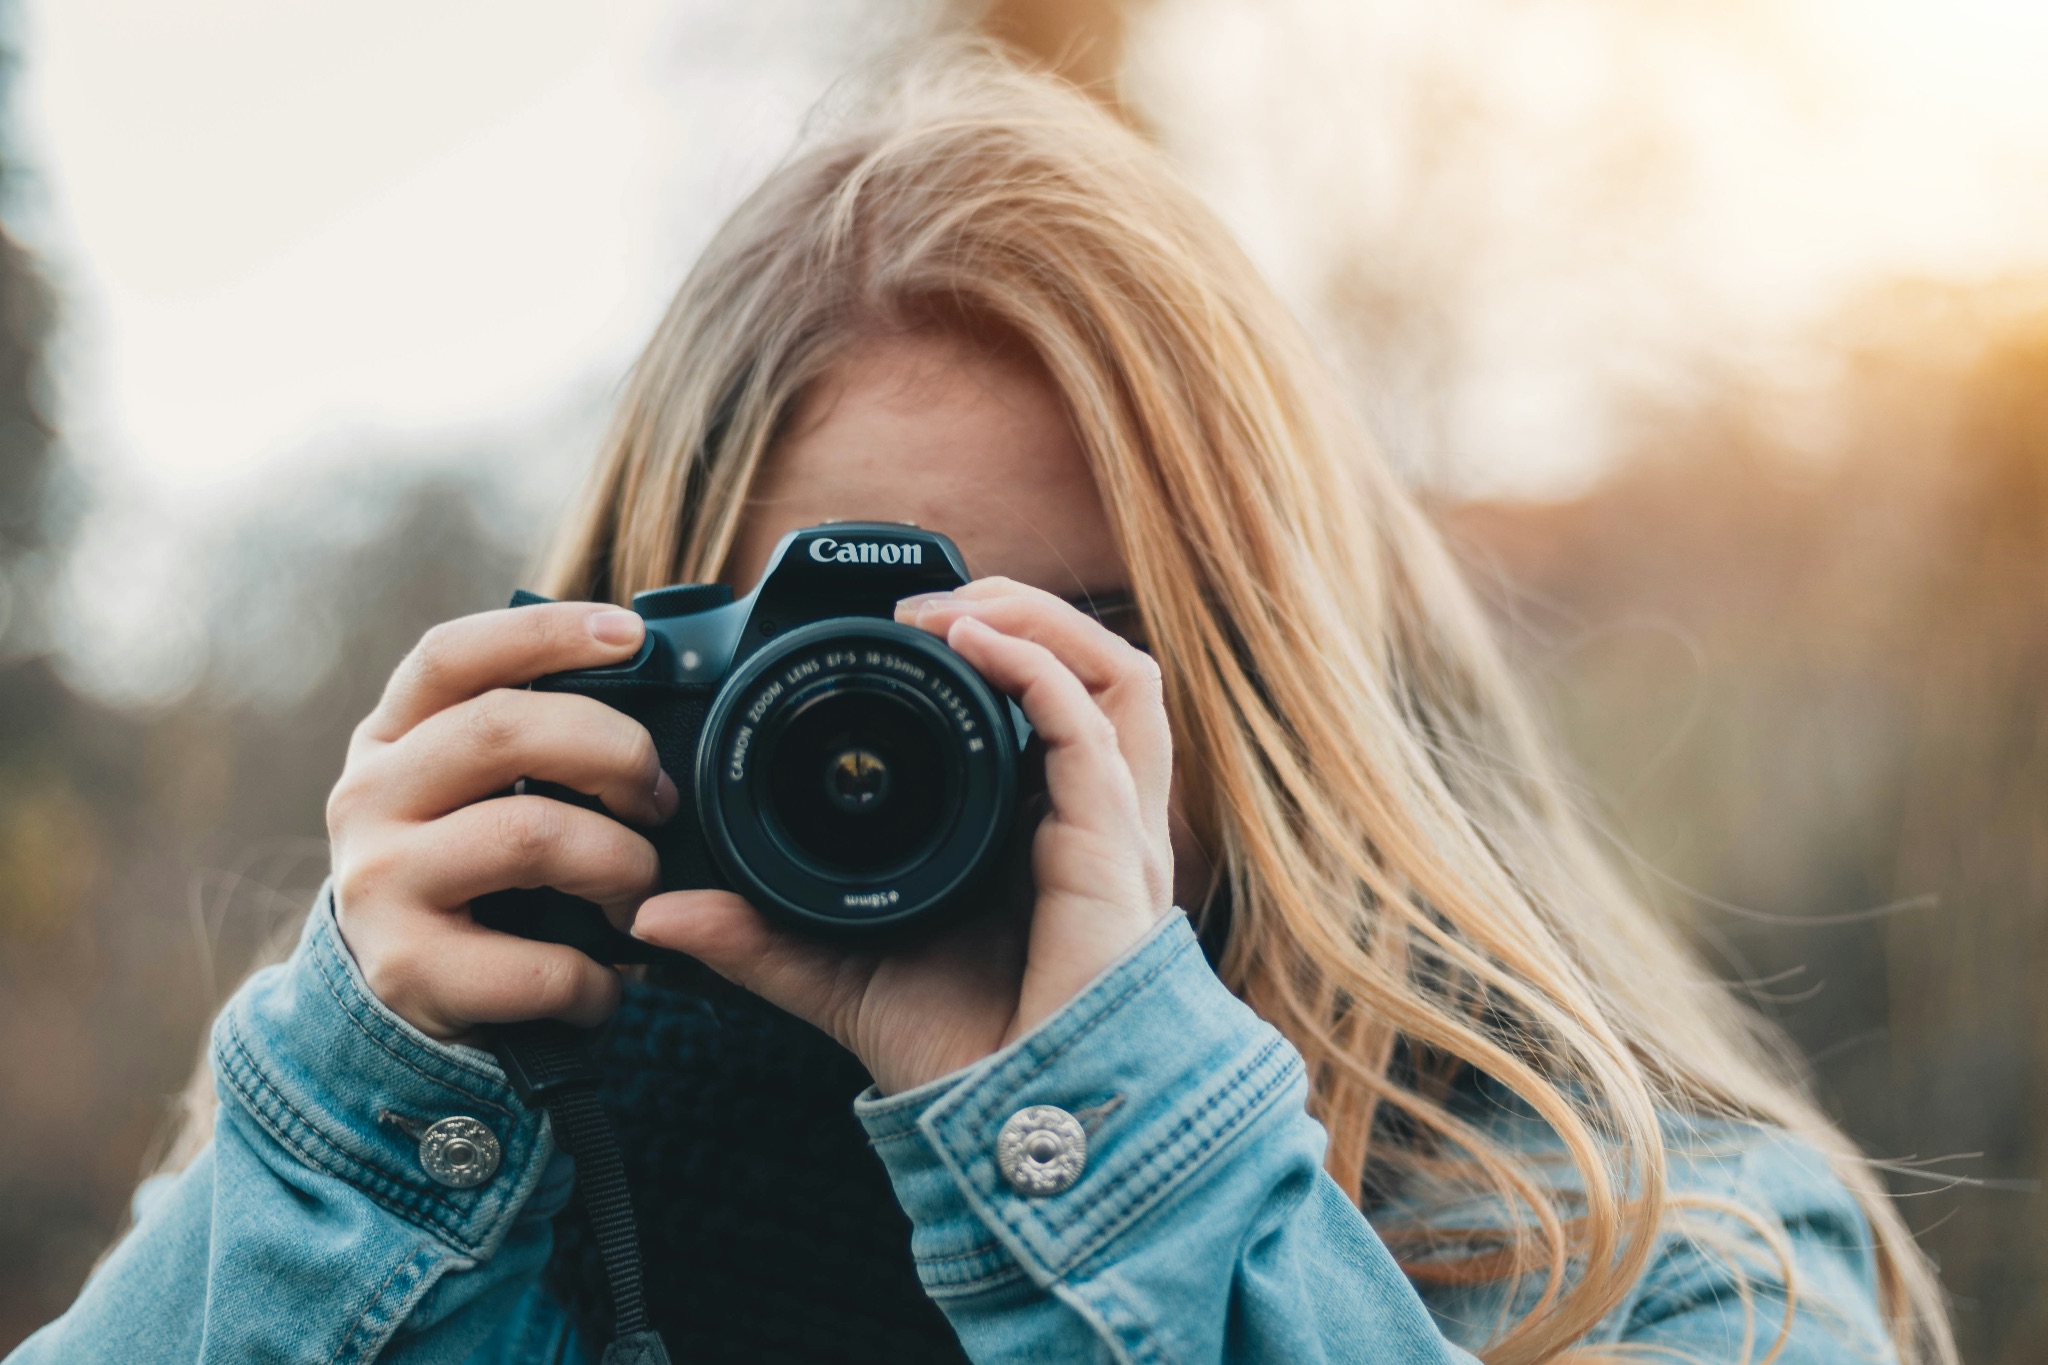
We start here because this is where the image capture is made and because it also makes color management fairly simple. Most modern cameras will shoot in one of two color spaces, sRGB and Adobe RGB. Adobe RGB captures more colors, also known as having a wider gamut than sRGB. As such you should pretty much always have your camera set to Adobe RGB.
But how to do this?
Each camera will be different, but in most cases, the color space will be found in either the image quality section or the shooting section. As well as sRGB and Adobe RGB you may find one or two other spaces, but in general, Adobe RGB will capture the most color.
Why Monitor Calibration Is So Important
A monitor is our primary way of seeing and editing our images. Every monitor is different and each displays color slightly differently. As you will know your monitor comes with color, brightness, gamma, and contrast controls. All of these are designed to allow the average user to set his or her display up exactly the way they want.
The problem is that most monitors are not designed with photographers in mind. They are set up by default according to their primary market. For example, a monitor for day-to-day office use may be set to reduce the blueness of the screen and protect the eyes. A gaming monitor might saturate color more than normal.
We then need to add in some more factors. Depending on the cost of your monitor it will display a certain number of colors. This figure is often described as a percentage of sRGB or Adobe RGB.
For example, cheaper monitors might only display 90% sRGB. If you remember from earlier, sRGB is actually a lower color count than Adobe RGB. If we are seeing only 90% then when we edit we are not getting a true reflection of the colors our camera captured.
Another factor that’s important is the environment that we edit in. It might be a well-lit room with fluorescent lights or a dark corner with no light. Each environment will affect the way the image looks on screen. So as you can see with all these factors in play, it’s important that we calibrate our monitors.
How Do We Calibrate A Monitor?
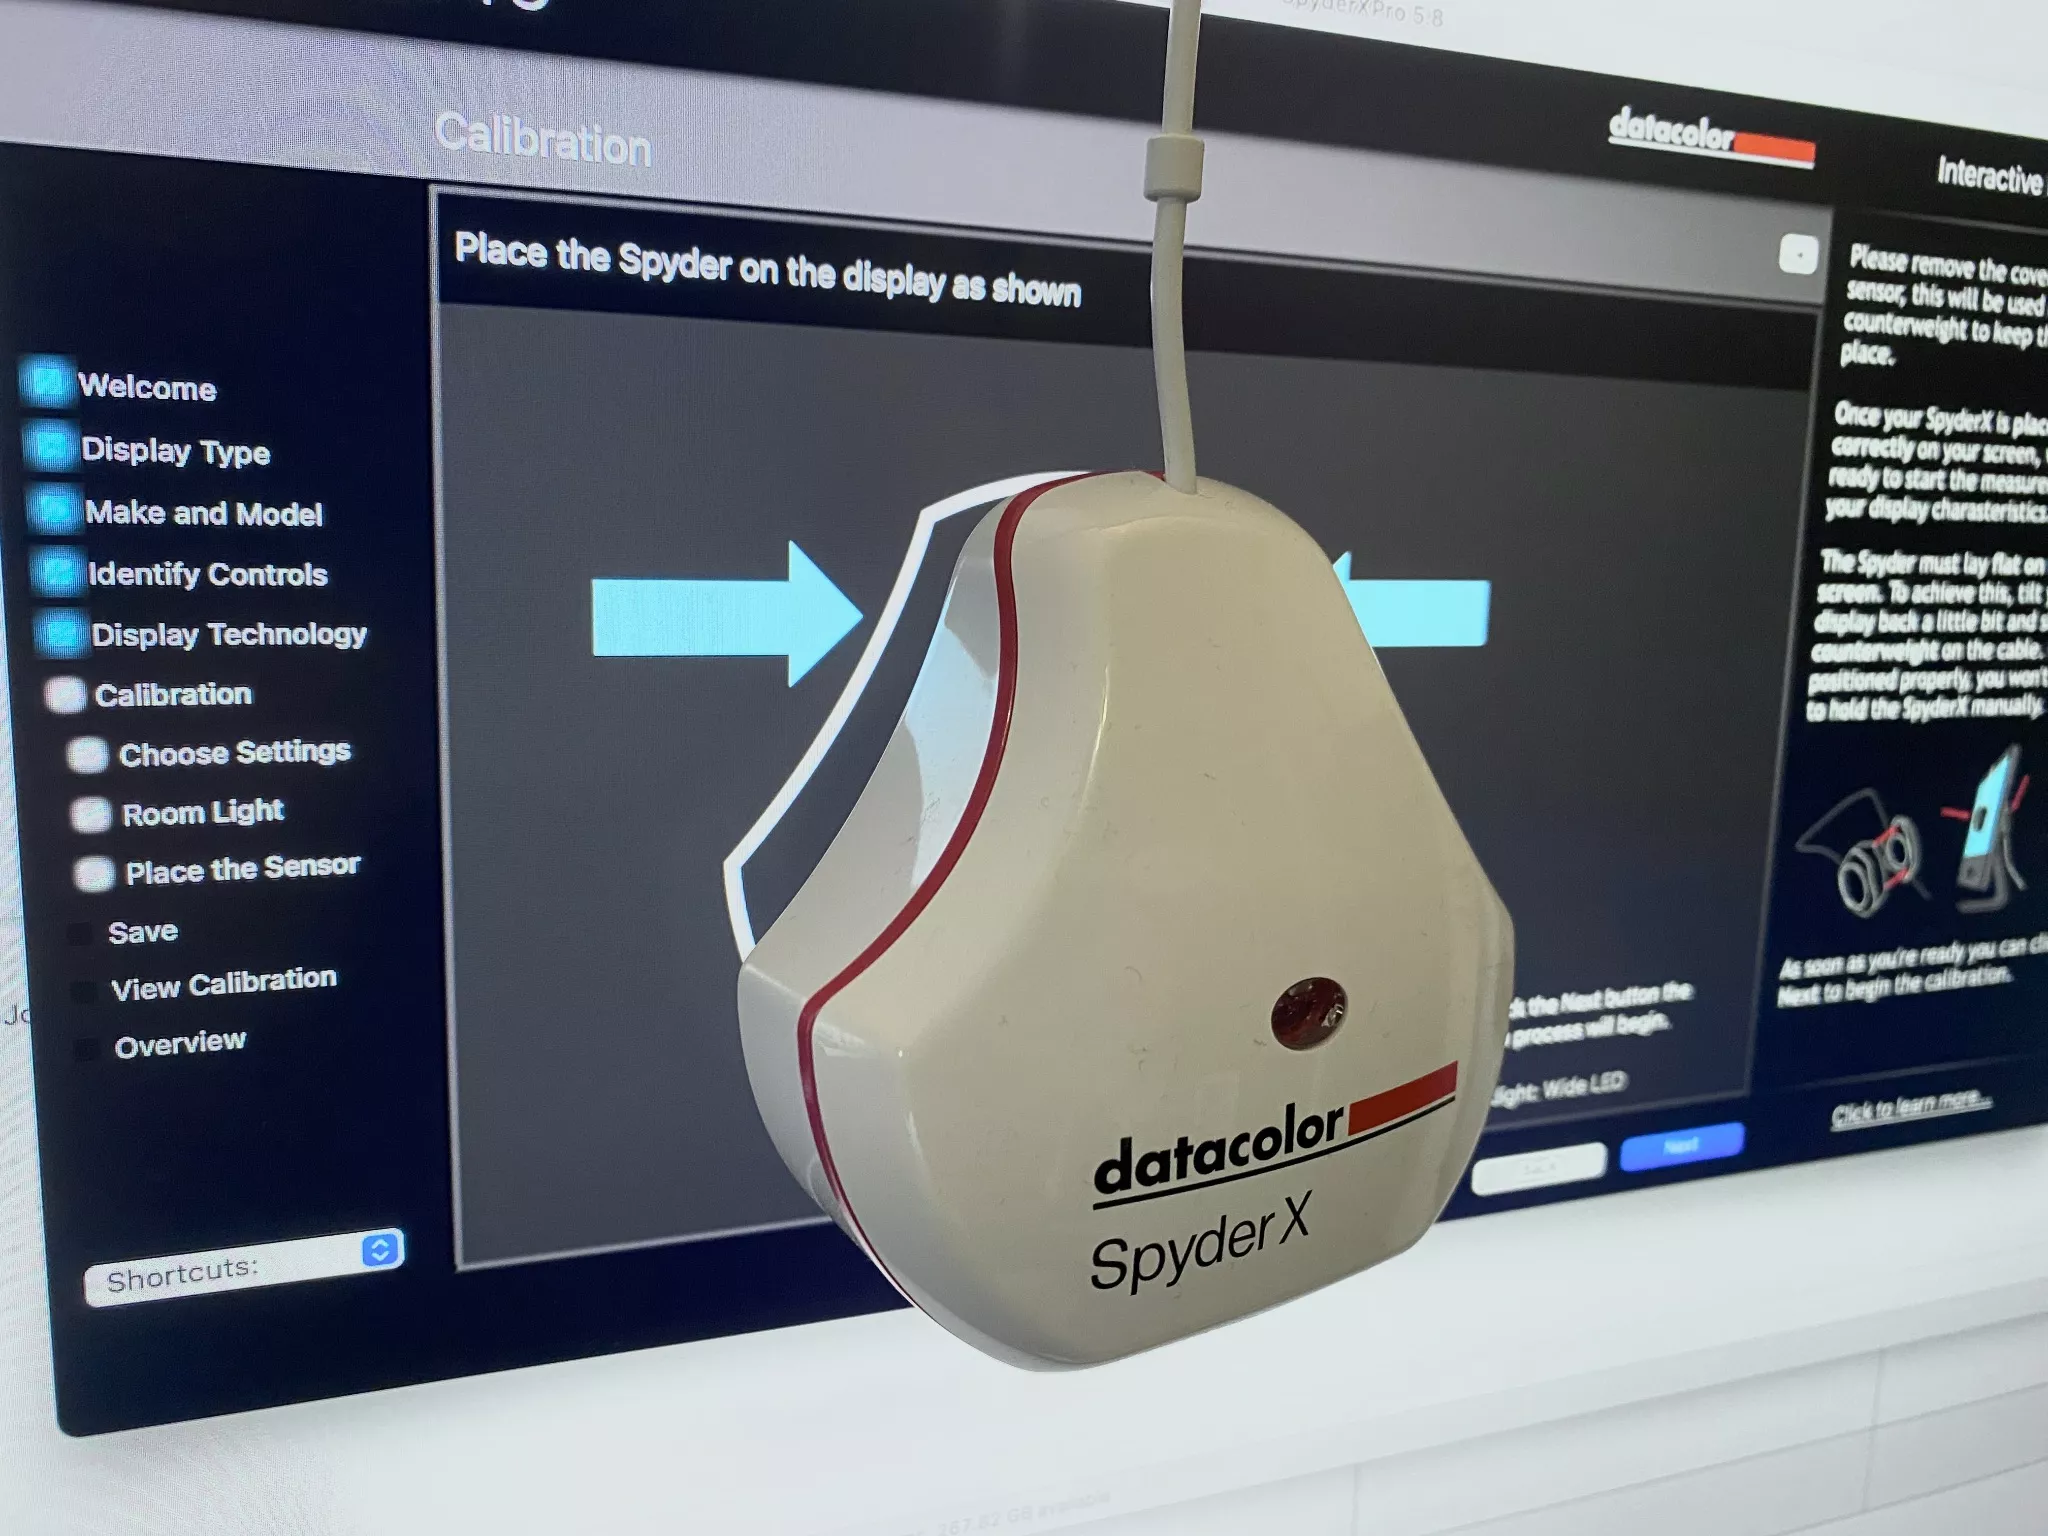
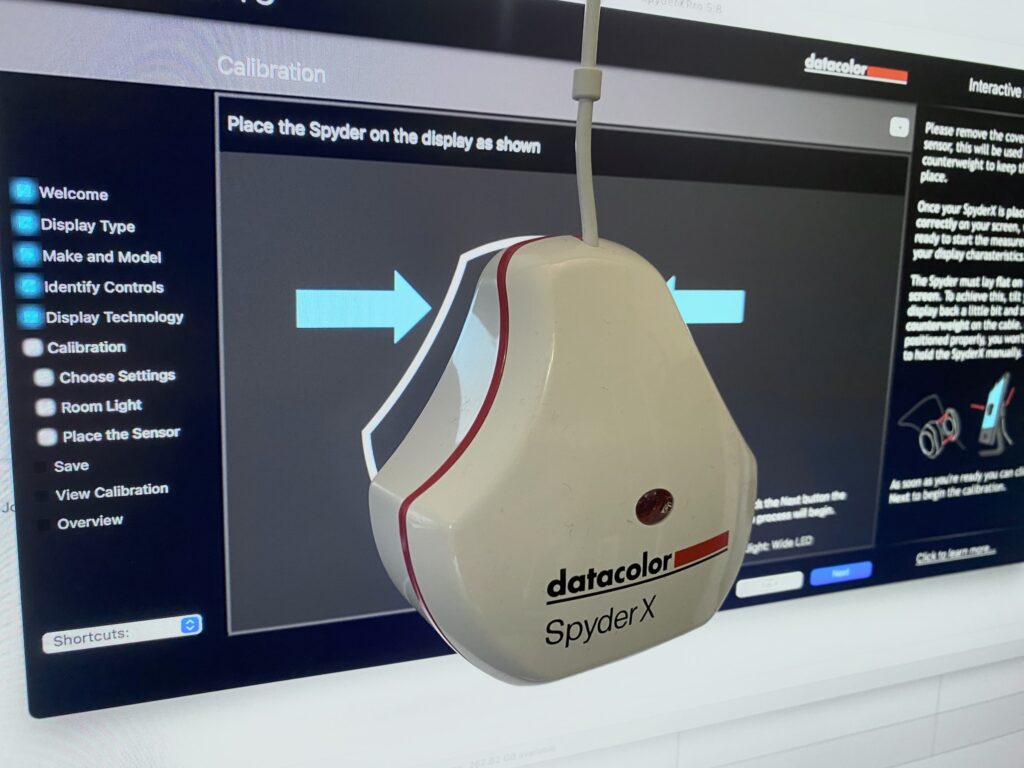
The very best way is to use a monitor calibrator. These are not super expensive for the most basic models but will dramatically improve the color output of your images. They are effectively color meters that are pressed onto your monitor.
You then run a preset program that flashes primary and secondary colors on the screen along with blacks and whites. The calibrator will measure those colors and create a color space. Every time you boot your computer, the monitor will default to that color space giving consistent color.
More expensive calibrators will also read the amount and color of light in the working environment such as daylight from windows and make on-the-fly adjustments to your screen to maintain that consistency.
So That’s It Then?
Not exactly, unfortunately.
There are two further parts to the jigsaw. They are editing app color space and output color space. Fortunately, they are not too difficult to understand. Firstly if you are a Lightroom user, it automatically uses Adobe RGB. This means that if your camera is set to capture in Adobe RGB, and your monitor is calibrated, what you see on screen will be a true and accurate representation of what was captured.
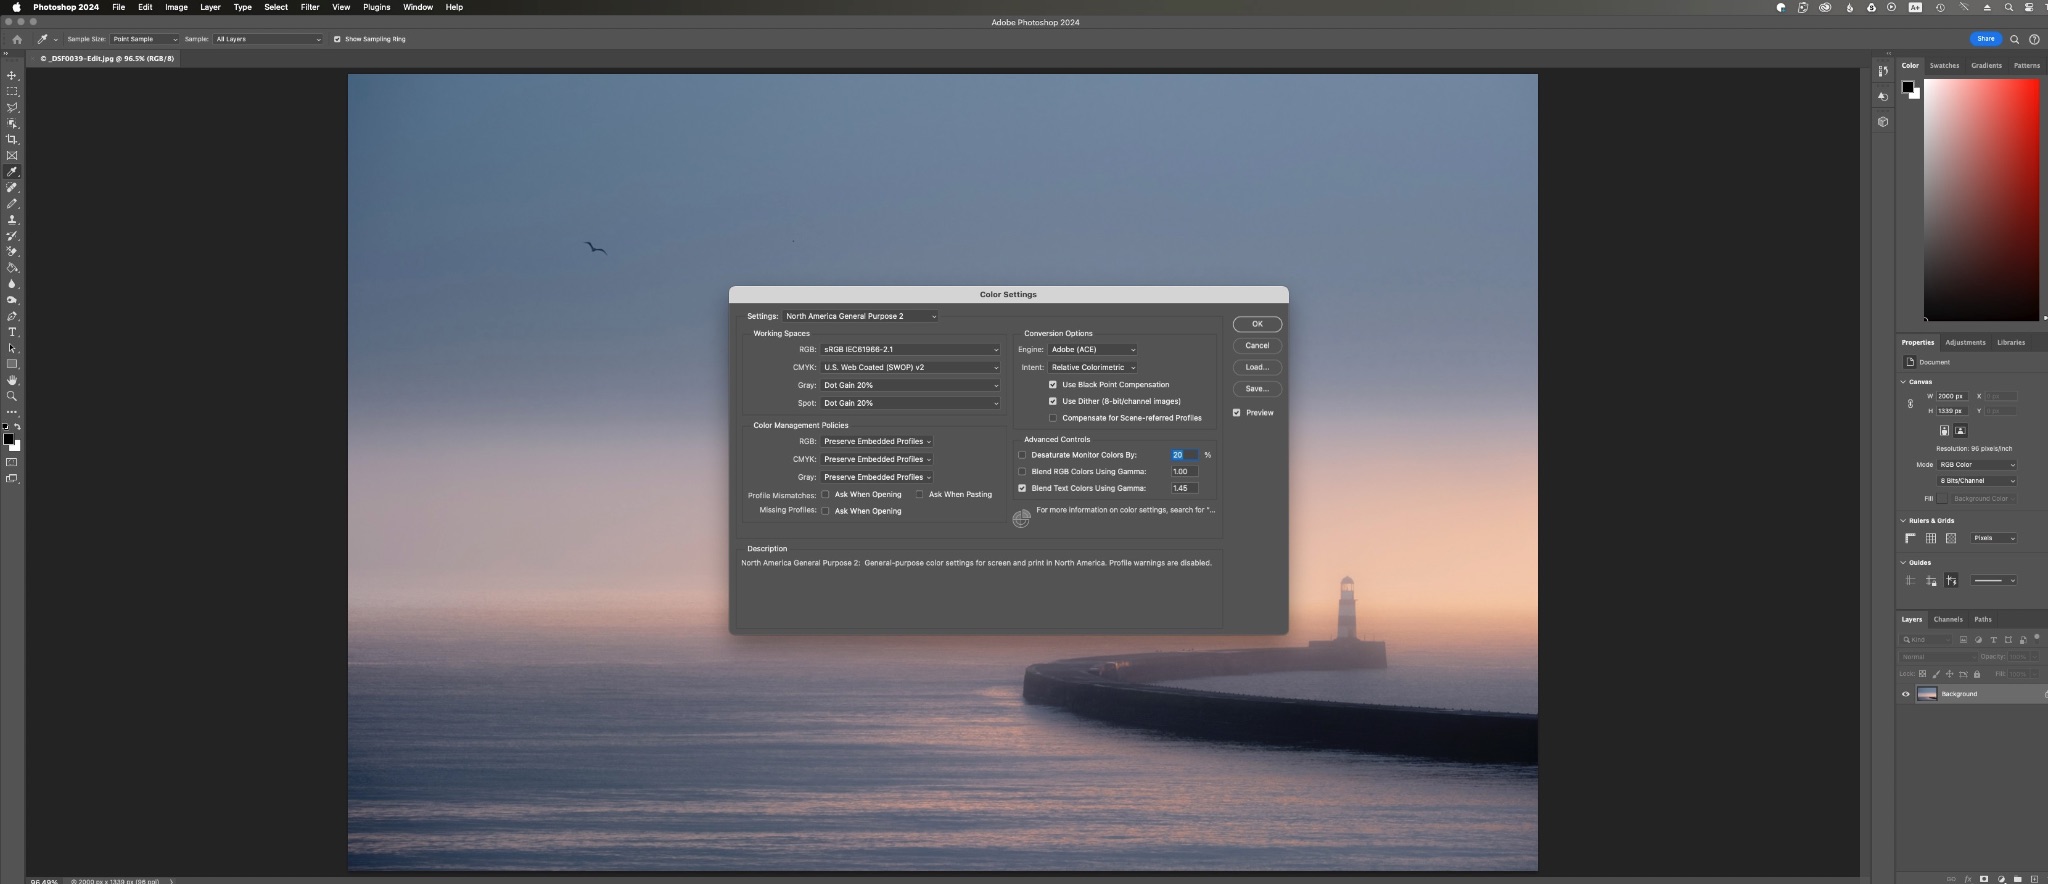
If you are using Photoshop you will need to set up your color management according to how you intend to work with your images. This leads us neatly to the final part, outputting your images.
How to Manage The Final Output to Get Accurate Images
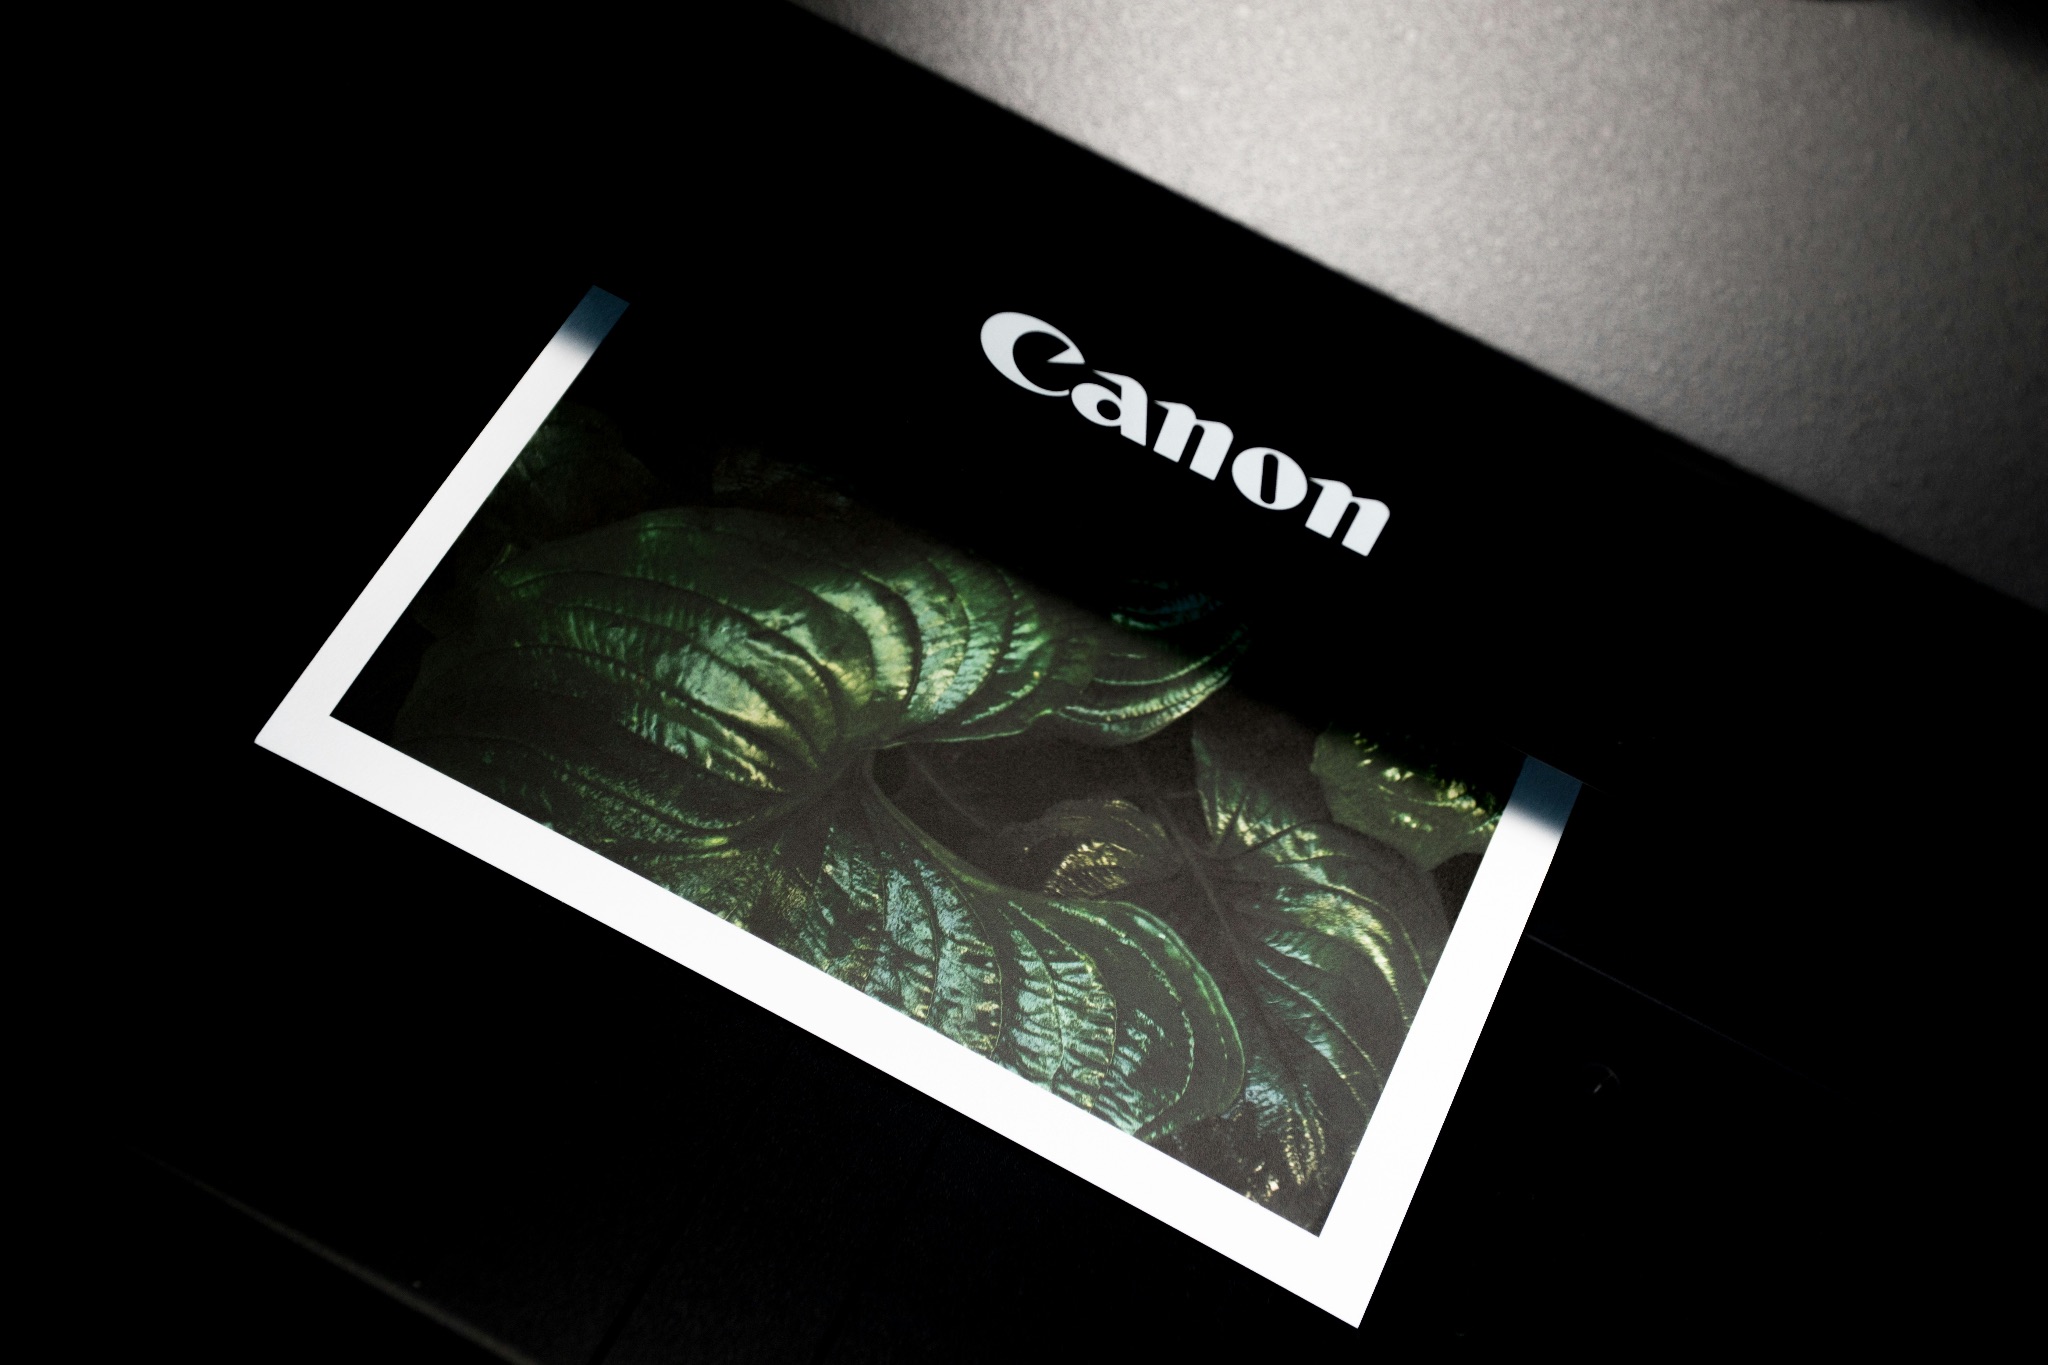
Again for most of us, this is actually not a big issue. We output to sRGB. The simple reason for this is that most print labs will use the sRGB space and any image displayed online will also be in the sRGB space. Depending on the editing software, we can proof our image in sRGB before we output it to make sure we are not losing out vital colors or tones.
It’s a little more complicated if we are using a professional-level printer at home as we need to give the printer some color space details. Most pro printers will use either the sRGB or Adobe RGB space.
However, like with monitors, there are variables such as ink and paper types. These are controlled using another type of color space called an ICC. When we print an image we tell the printer which ICC space to use. More advanced software such as Photoshop will allow us to import ICC profiles and proof our images to them before we print.
A Summary of Calibration by Device
| Device/Component | Recommendation | Purpose |
|---|---|---|
| Camera | Set to Adobe RGB for a wider gamut of colors | Captures the range of colors in an image |
| Monitor | Calibrate regularly with a device like the Datacolor Spyder X; aim for a monitor that displays a wide color gamut | Displays the edited images in accurate colors |
| Editing Software | If using Lightroom, it defaults to Adobe RGB; configure Photoshop based on your workflow needs | Used for image editing and preparation for output, ensuring colors match across devices and outputs |
| ICC Profiles (Printers) | Use printer-specific ICC profiles for accurate color reproduction, especially for high-end prints | Manages color output on printers to match what you see on screen, crucial for high-quality prints |
| Calibration Tools | Invest in a good quality monitor calibrator and use it regularly | Essential for achieving accurate color representation on your monitor |
Summary
Whilst color management can seem and indeed is a complicated subject, it doesn’t have to be overly complicated to the acreage photographer. If you follow these simple rules you will find you get consistently good color from your images.
- Shoot in the widest color space you can – Adobe RGB
- Edit in the widest color space you can – again Adobe RGB
- Buy a monitor with the widest colour space you can afford but save a little money for a monitor calibrator.
- Calibrate your monitor often and before major editing sessions
- Output your image to the most suitable color space, in most cases sRGB.
With these simple guidelines, you should get great-looking images without having to delve too deeply into the science of color management.


1 Comment
Monitor calibration is absolutely crucial for anyone involved in digital photography, graphic design, or any visual creative work. Without proper calibration, what you see on your screen may not accurately reflect the true colors and tones of your images or designs. This can lead to inaccurate color reproduction, inconsistent results across different devices, and ultimately, dissatisfaction with the final product.