Now that most people don’t bother printing their photographs, the aspect ratio is not something that’s really discussed very often. However, an understanding of Aspect Ratios can help you not only with the composition of your photographs, but especially with your printing, and especially if you’re having your work printed in a professional laboratory.
Let’s take a look:
What is Aspect Ratio?
To put it very simply, the aspect ratio is how we describe the dimensions of the image (width to height) in a ratio format.
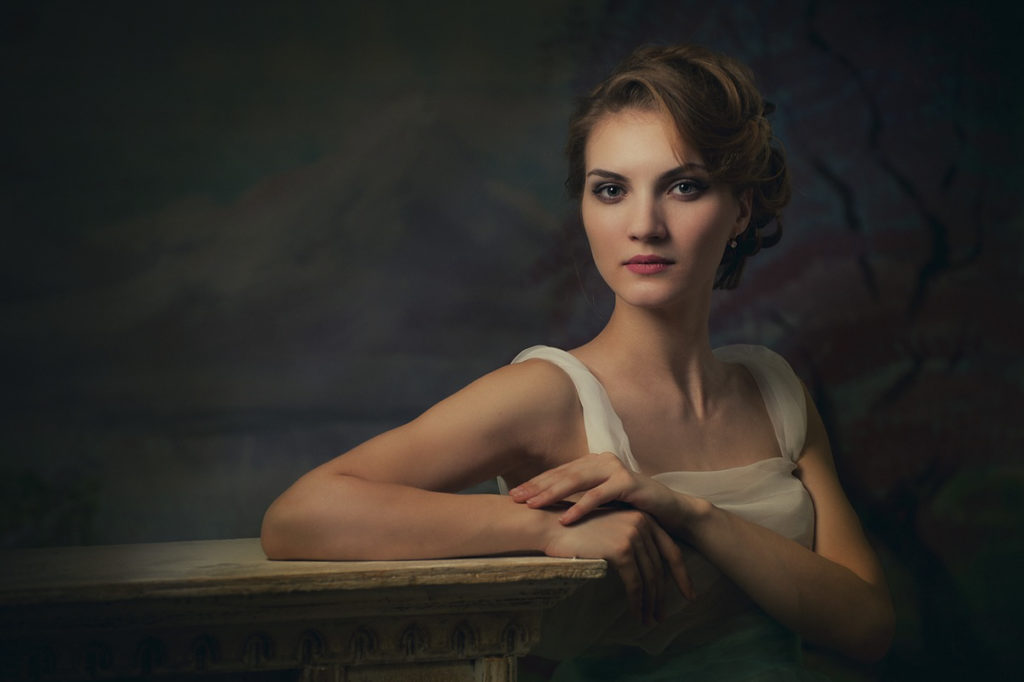
In the past, the Aspect Ratio in photography was determined by the film size, starting with Imperial sized images, such as 10” x 8” plate photography, then down to 35mm photography.
Now that same Aspect ratio has been carried over to full-frame sensors.
But what is yours?
Most Digital SLR’s have a camera sensor that is in a 3:2 Aspect Ratio (Exactly the same as 35mm film). This Aspect Ratio has now become ‘Industry Standard.’
However, Micro four-thirds cameras have a 4:3 Aspect Ratio which is somewhere in the middle of the modern 3:2 aspect and the older 5:4 ratio.
Most digital cameras made today will give you the option to change your aspect ratio; usually within the menu.
Useful Resources for Aspect Ratio Issues
Aspect Ratio Calculators
- The Aspect Ratio Calculator
- And another aspect calculator
- And another aspect ratio calculator for iPhones
Aspect Ratio Resources
- A list of different aspect ratios for various uses in film and photography
- Why The Old-School 4:3 Aspect Ratio Is Coming Back With A Vengeance Right Now (for video shooters, but worth knowing for photographers)
- Good conversation on Reddit about aspect ratio
- Ask a nerd
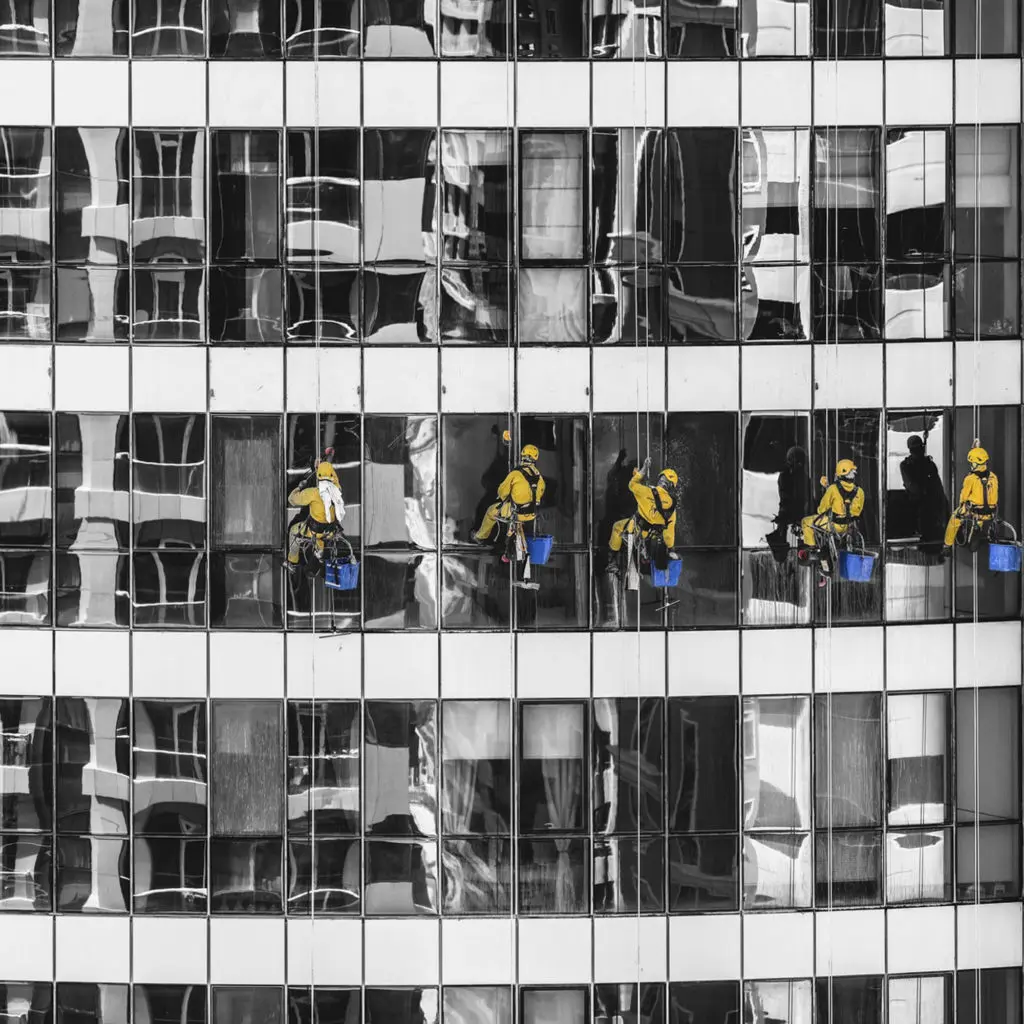
What is the Difference Between Ratios?
The majority of modern cameras now shoot in the 3:2 aspect ratio. This is simply because 35mm film grew in popularity throughout the 21st century and when the transition from film to digital came about, it was THE most popular film size in use. It made sense to keep customers happy by keeping this aspect ratio.
However… Print sizes are in the 5:4 format. ( 8 x 6, 10 x 8, etc…) so if 3:2 had become the most popular Aspect Ratio, how come print sizes were still in 5:4?
A short history lesson:
These sizes were made popular with photographers at the beginning of photography. They used 10 x 8 plates to begin with, then 5 x 4. This set the standard for prints, as it meant that the pictures they took would have no cropping on the print… You could print the full frame of the negative.
While the sizes of negatives changed, the size of the prints hasn’t really kept pace… Even to this very day.
So what?
Well, this means that if you take a picture with your 3:2 camera today and want to get the image printed, onto standard photographic paper, you might end up with some cropping.
If you print your 3:2 image onto 8” x 6” paper, you’ll lose an inch along the longest side.
If you print your 3:2 image on 10” x 8” paper you’ll lose a half an inch along the shortest side.
So you can see it pays to have a good understanding of the aspect ratio and put some thought into how the image is going to be used, once you’ve produced it.
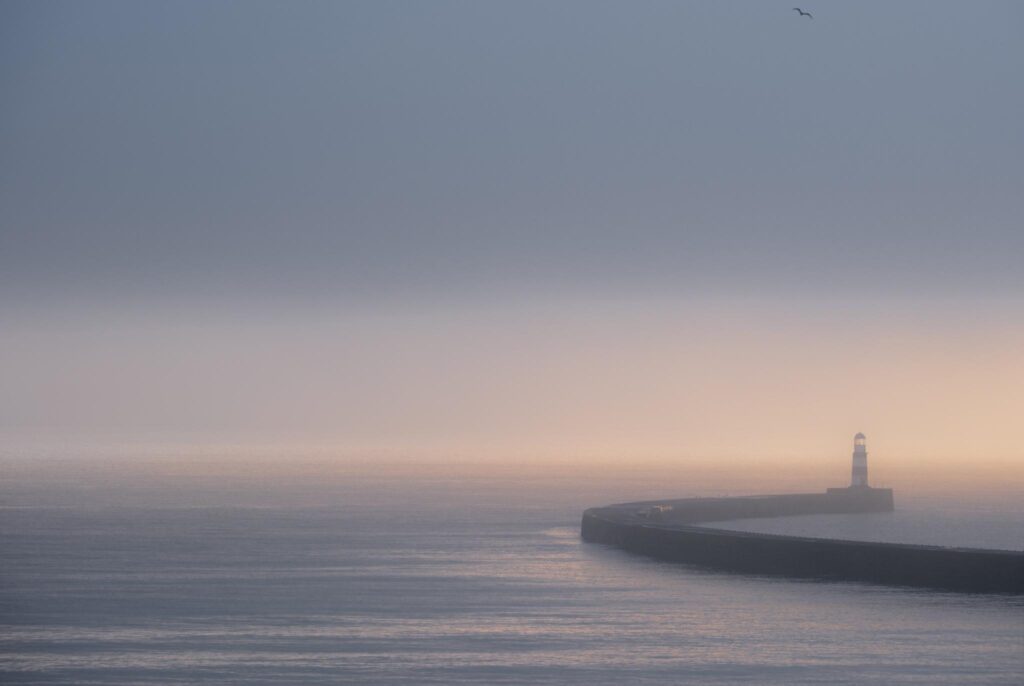
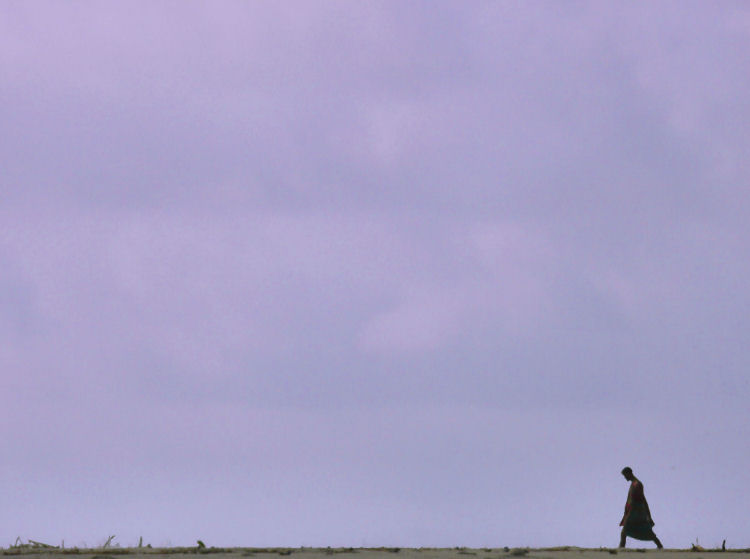
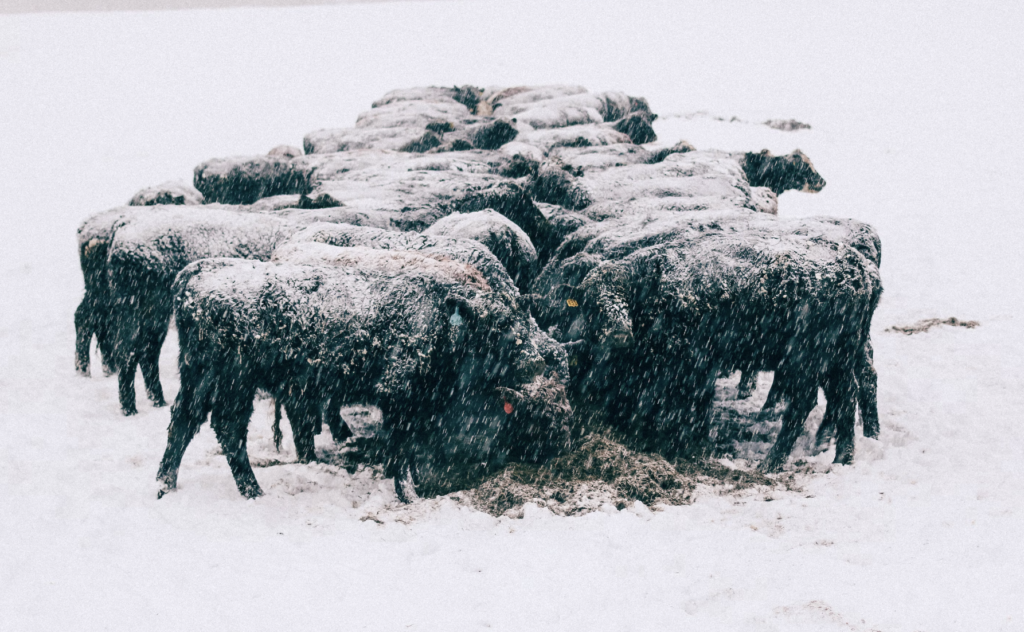
Aspect Examples in Action
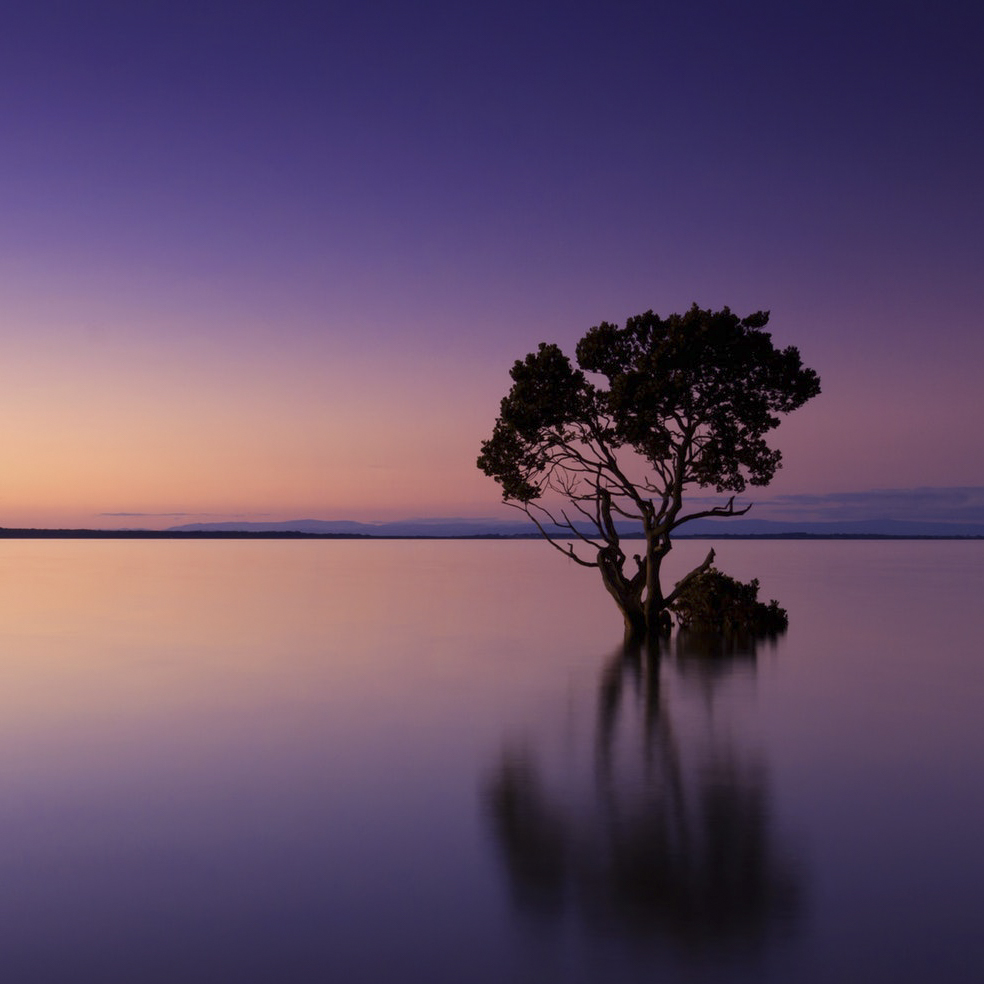
Let's take a look at some common aspect ratios so you can see the difference between them:



Why an Understanding of Aspect Ratio is So Important in Photography Composition (Especially for Prints!)
Hopefully, now you’ll see that it can be really important to understand just how aspect ratios work and why it’s important to really think about what you’ll be using your images for.
Which means…
What may look like a perfect sunset with a gorgeous sky could look utterly amazing when you take it, but if you want to print it on to a 10 x 8, to give to someone in a 10 x 8 frame, you may find that a large chunk of your sky disappears due to an aspect ratio miscalculation!
This is especially important if you are working on a commercial basis… A bride may want 8” x 6” aspect ratio prints for a wedding album for her parents, but will then find that when the images are printed that heads, arms, dresses, shoes or even whole people are left out of images.
This happens an awful lot in the commercial world with prints, simply because your customer will have NO understanding of aspect ratio and will just expect every image to be able to print to whatever paper size/frame size they want.
But the Ratio I See Most is 16:9! Hint: It's Film & Video's Fault!
It’s a fair point…
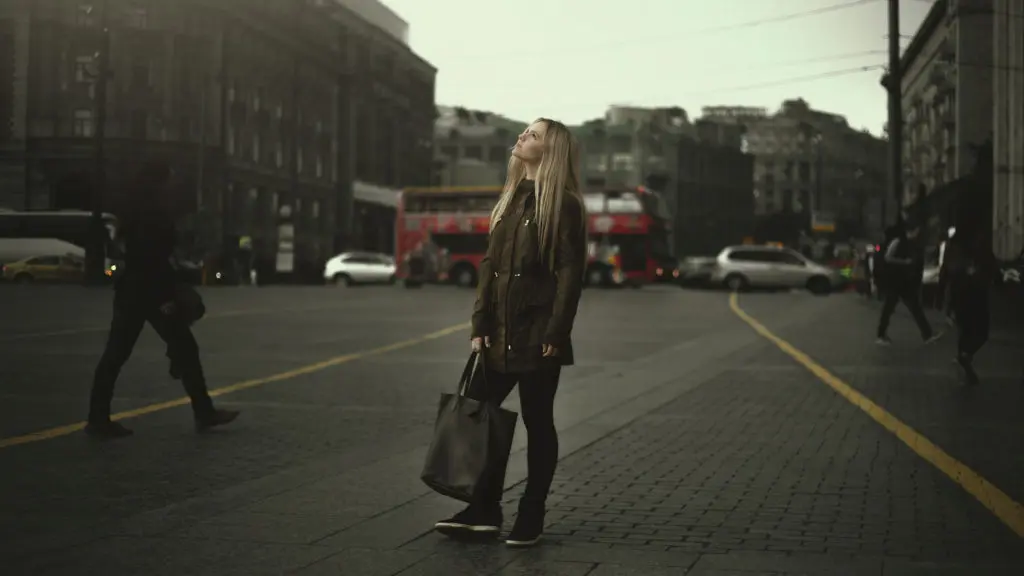
While the Aspect Ratios we’ve talked about so far are all about photography, actually, the most common aspect ratios you’ll have heard about are TV, video and film aspects.
Strangely, in a kind of similar way to the old 5 x 4 and 35mm were both used and intermingled, aspect ratios 16:9 and 4:3 have both been talked about over the years.
In essence aspect ratio 4:3 was the old television standard while aspect ratio 16:9 was the standard for the movies.
You’ll see we suffer the same problem here if you’re trying to watch a 16:9 film on an old 4:3 TV, you’ll either end up with lines at the top and bottom of the screen or a huge crop on either side of the image.
The same will happen if you want to watch a 4:3 film on a 16:9 TV… You’ll either end up with a band on either side of the screen OR you’ll end up cropping a large chunk of the top and bottom of the image.
Unless you have a very specific reason to shoot in the 4:3 format, you should choose the 16:9 format for all of your filming requirements on your Digital SLR.
This will ensure your images will be compatible with all of the current high definition televisions, as well as online video services such as YouTube and Vimeo.
Aspect is Important!
In summary, Aspect Ratio is incredibly important and even more so, if you are intending to print or display your images.
For many professionals, especially those covering weddings, you’ll find that they will end up learning to leave a fair amount of space around the main subject.
This means that if you have to alter the aspect ratio of the photograph to fit whatever print your client requires, thus avoiding the dreaded missing head syndrome!
If you don’t KNOW for a fact what your image is going to be used for, this is a great way to give yourself just a little bit of flexibility. This is especially useful with modern cameras that have huge pixel counts.
However, great planning of your shoot and having a clear understanding of how it will be used is always going to be the best way to work.
More Resources on Aspect
If you have read this far then you have probably realised that photographic composition is uniquely intertwined with aspect ratio and should often be considered simultaneously, especially if you are considering displaying or printing your photographs. Here are some resources to get you up to speed on those various elements of composition. Now you will be able to see their relationship to aspect ratio and adjust accordingly.


2 Comments
Wonderful article Pete!
Excellent article Peter. I never saw an article on Aspect Ratio till now. Luckily I found your article.
Thank you for sharing,
Abhinay