Portrait photography is telling a story through creating a photograph of a person or a group of people where you capture their mood, expression, and personality. In order to create effective portraits, you need to think about the light, background and poses – whether you are in a studio or outdoors.
Portrait photography is not just portraits of people who pose for you, but portraits can be made everywhere – street photography, lifestyle, events such as weddings or other important life moments, for a person’s profile picture for their portfolio or just social media.
When it comes to portrait photography, the photographer needs to make sure that they capture the emotions of the person/people and bring life to the picture. Making a good portrait depends on many factors including having the right gear, using the proper settings in your camera, making use of light, trying creative angles and poses and above all, where children are involved, getting them to stay still can be an almost impossible task.
If you are new to shooting portraits or you’re struggling to get things right while shooting portraits, here are some helpful tips that will help you get started with the art of portrait photography.
What Kind of Portraits Are You Going to Shoot?
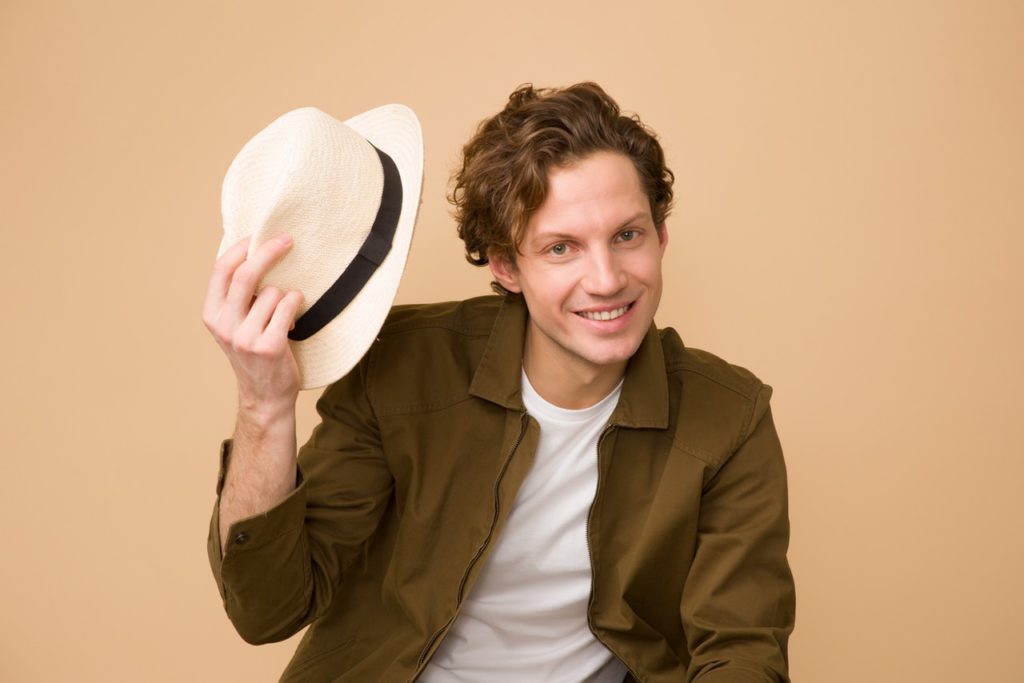
Portraits don't always mean posed pictures of a person in a studio, using a backdrop and some studio lights. Great portraits can be taken anywhere and how these portraits are going to be used will dictate your approach.
Portraits could be traditional studio shots used for business needs, for a profile, directory or a biography page. Other type of portraits could be taken in-situ for business related magazines or markets where people are photographed in their work environment, or lifestyle portraits where people are photographed in their natural living environment (outdoors or indoors) showing how they live or candid portraits that capture the natural expressions of people (mostly when the subject is not aware that they are being photographed).
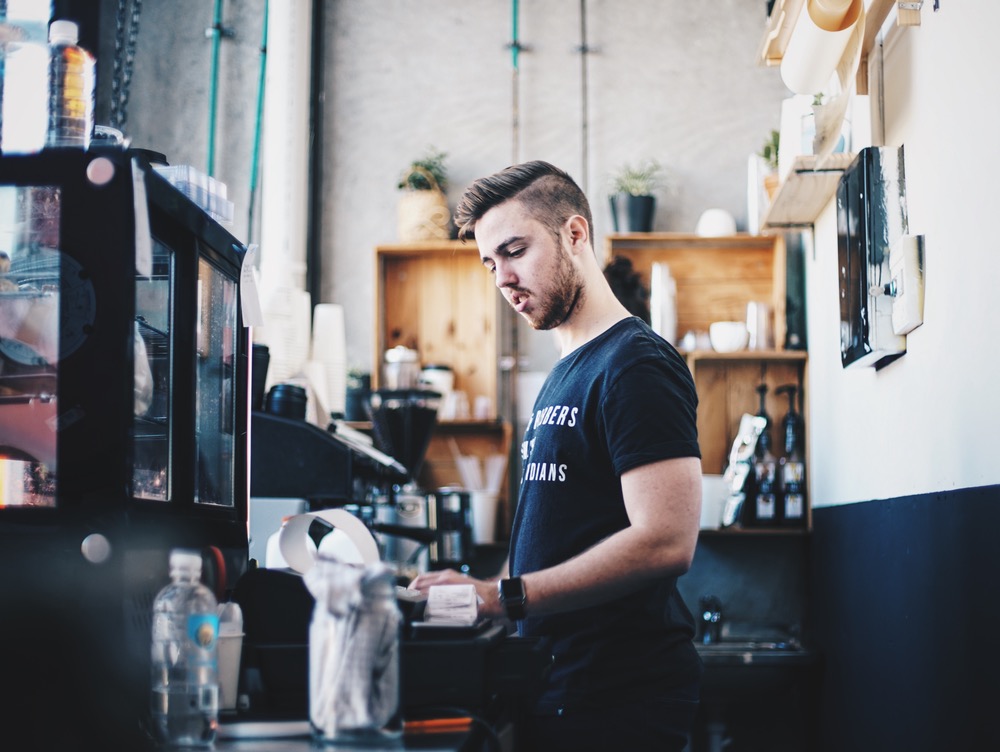
Image from Pexels.com
So whatever the type of portrait you will be shooting, make sure that you get the necessary gear ready and research a little about what type of pictures you can take in that particular session. Have a discussion with your subject beforehand so that you have the right gear with you so you can capture the shot you and they are after.
Essential Gear You Need for Portrait Photography
The gear that you will need greatly depends on what type of portraits you wish to shoot. If you are going for a lifestyle photo shoot and you have limited space in which to move around, the best would be to use a wide angle lens so that you can include the surrounding elements in the frame. Shooting wide and from a lower angle gives a totally different perspective on the subjects in the photo. But the best prime lenses for shooting portraits would be the 50mm (for APS-C sensor) or 85mm (on full frame) lens and the best telephoto lens would be the 70-200mm f/2.8 lens. These are faster and create some sharp images.
Gear Checklist
- A camera the is responsive to low light and performs well at higher ISO
- 50mm (for APS-C sensor) or 85mm (on full frame) prime lens or 70-200mm f/2.8 telephoto lens
- Speedlight in case the lighting situation changes unexpectedly
- Reflectors
- Diffusers
- Gels
- Fast memory card
- Back up batteries
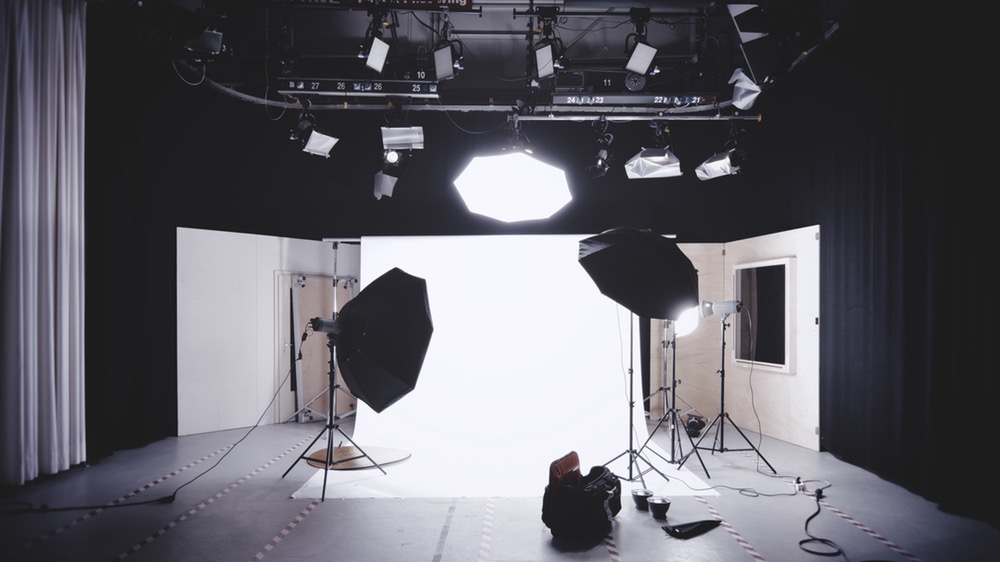
Image from Pexels.com
Camera Settings For Portraits
When shooting portraits, using a wider aperture will get the subject in focus with the background blurred, making the subject stand out. However this depends on the pose; for example, if you are shooting from the side, a wider aperture may have one eye in focus and the other out of focus, which can look really odd. To avoid this, you should narrow down the aperture to anything between f/2.8 to f/5.6 to get both the eyes in focus.
Some photographers make use of the Aperture Priority mode by choosing the desired aperture and then they continue shooting without having to worry about camera settings.
Also, when shooting portraits, the metering mode in the camera plays a very important role. Depending on where you are shooting, and the available light, you may want to make sure that you use the right metering mode. Spot metering, or center-weighted, is the best to use most of the time, as you need a metering reading from the subject’s face.
With white balance, if your camera lets you adjust white balance manually, you can choose the right white balance value depending on the available light. Sometimes, light can change drastically outdoors or during events, and to work under these conditions, if you’re not very good with working on manual values in your camera, you can always choose to use auto white balance to be on the safer side.
Camera Settings Checklist
- Use a wide aperture to make your portrait standout, but ensure both eyes are in focus (f/2.8 to f/5.6)
- Consider using Aperture Priority mode
- Use the right metering mode
- Choose the right white balance value depending on the available light (you can always choose auto white balance if needed)
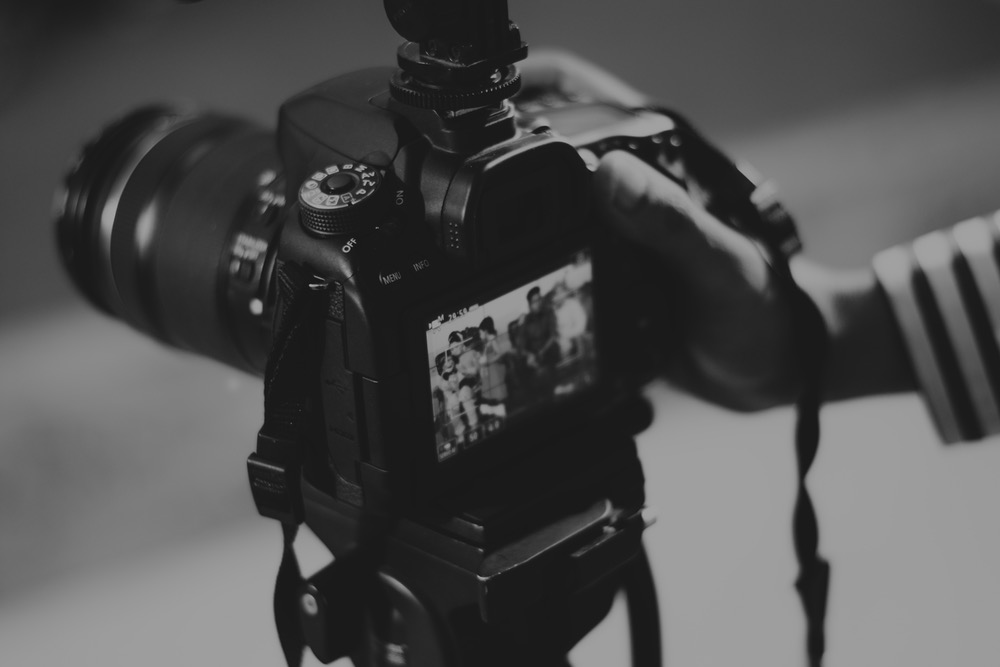
Image from Pexels.com
Location and Lighting
When shooting outdoors in natural light, you have a good chance of getting the natural colors and skin tones in the portraits. But on a harsh sunny day, the sunlight may cause unwanted brightness or shadows on the subject. If such a situation cannot be avoided for a photo shoot, try having the sunlight falling on one side at an angle on the subject’s face or when the sun casts some harsh shadows on the subject, use a bit of fill flash to fill in those harsh shadows on the face.
When you are shooting indoors, an easier way to brighten up the portraits when using available natural light is to use a reflector to get that professional look. This helps to fill in unwanted shadows.
When shooting indoors, use a white ceiling or a white wall to diffuse light from the flash falling on the subject.
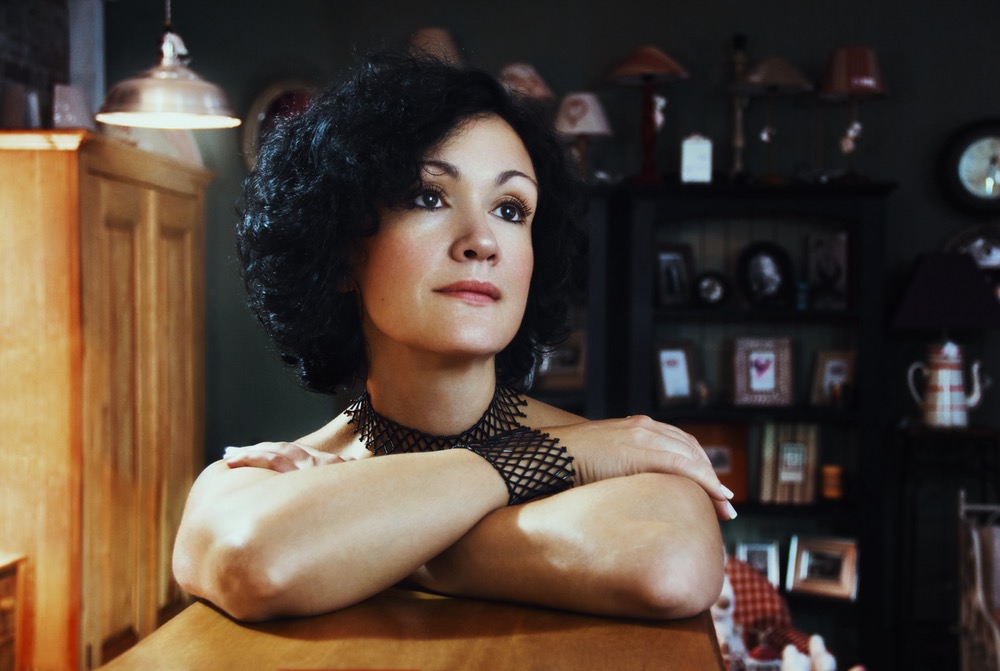
Image from Pexels.com
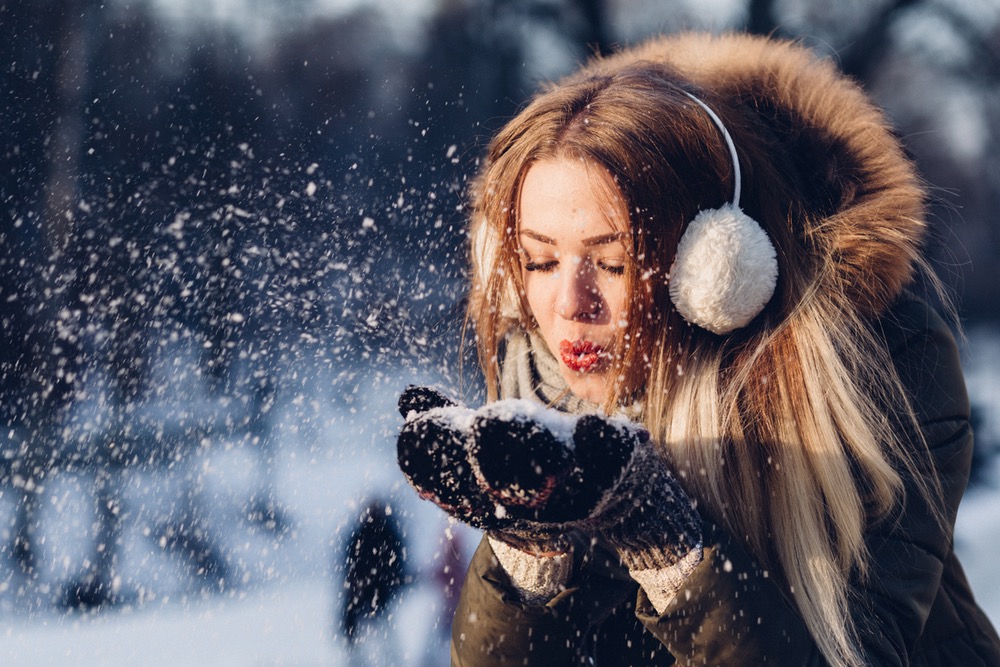
Image from Pexels.com
Quick Tips to Get Started With The Art Of Portrait Photography
First and foremost, make the model/s feel comfortable, without this, it will be hard to get the shots you need. You can do this by spending some time getting to know them before the shoot. Smile and talk about interesting things that will help them feel relaxed and comfortable. This is also the best time to talk about poses and clothing colors that would be appropriate for the shoot.
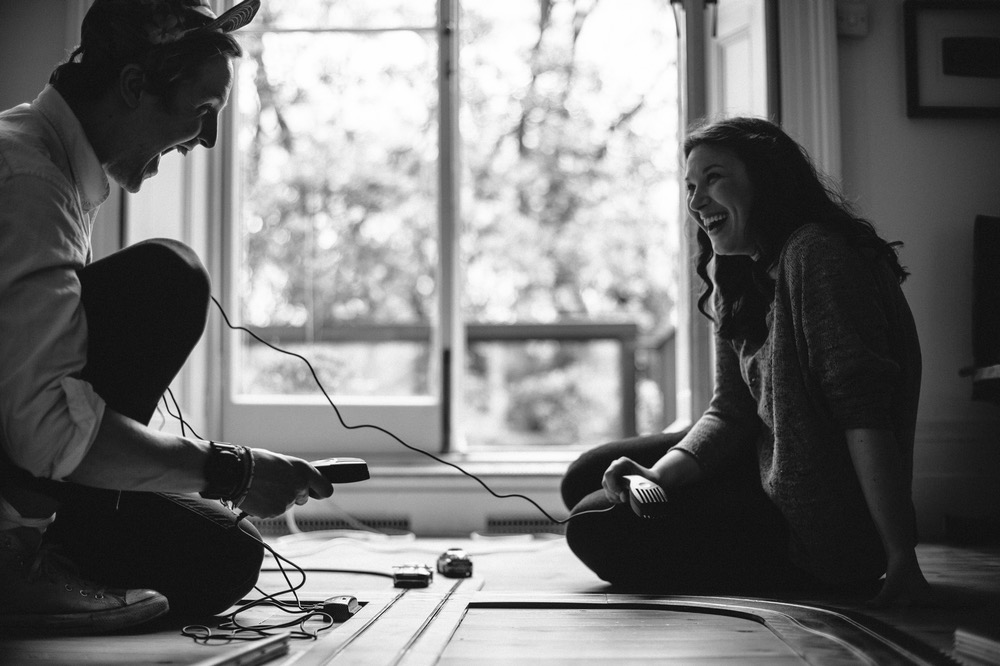
Image from Pexels.com
Always find out what the client needs and create the portrait accordingly. For example, check to see what is important for them; a wide angle photo that includes the surroundings or a narrow angle where you can focus on the client’s features? Discuss this with the client beforehand.
Do not use wide angle lenses for close up portraits as these can distort the face of the subject, but if you are creating something funny and arty, go ahead and play with it!
Always have the point of focus on the eyes of the subject for tighter portraits like headshots and shots that include just head and shoulders. Best to use manual focus if the subject isn’t moving so that you don’t miss out the focus on the eyes. If you are doing a wide angle portrait, focus on the head!
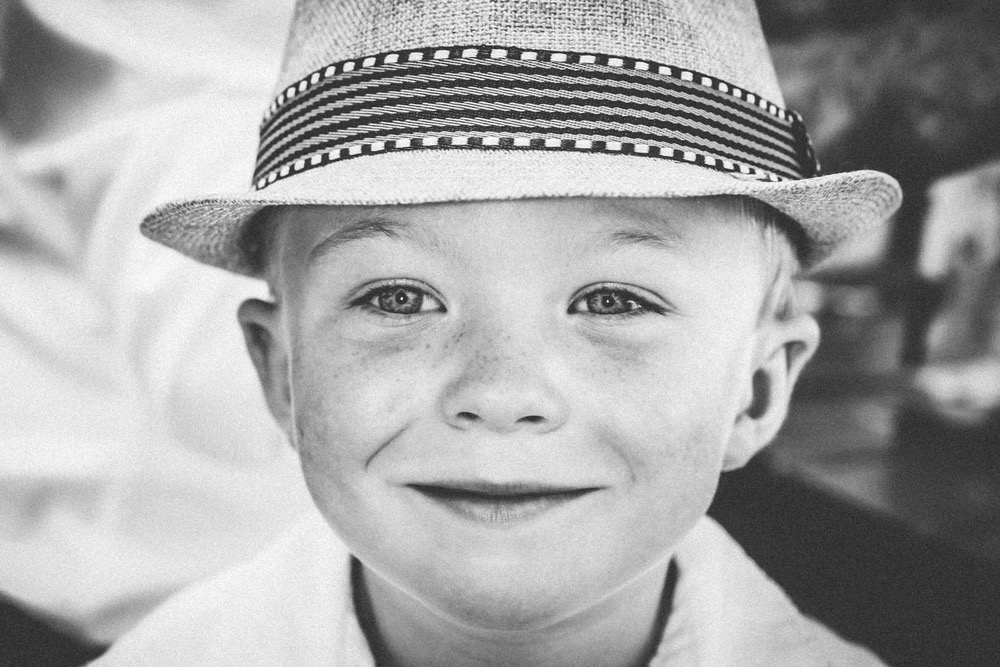
Image from Pexels.com
Use narrow apertures when shooting large group portraits in order to get everyone in the frame in focus.
Always use a shutter speed to match the focal length of the lens or even faster. For example, if you are shooting at 200mm focal length, best to have a shutter speed of 1/200th of a second or even faster. This depends on how steady you are with your gear!
Most of the time when shooting portraits outdoors, compose the shot by positioning your subject to one side of the frame and having space on the other side for the subject or the viewer to look at – this is a great technique for creating some stunning portraits.
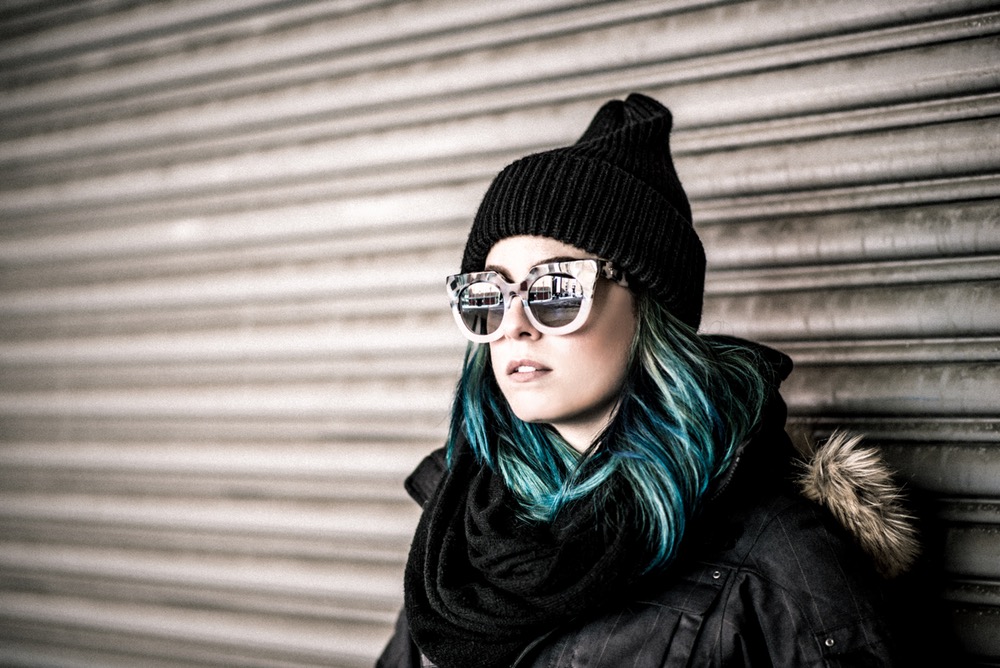
Image from Pexels.com
Look for some unusual angles, lighting and good poses as these make for some dramatic portraits. Do not always go for eye-level shots, go high or low on angles. Look for ideas online from other photographers until you develop your own style.
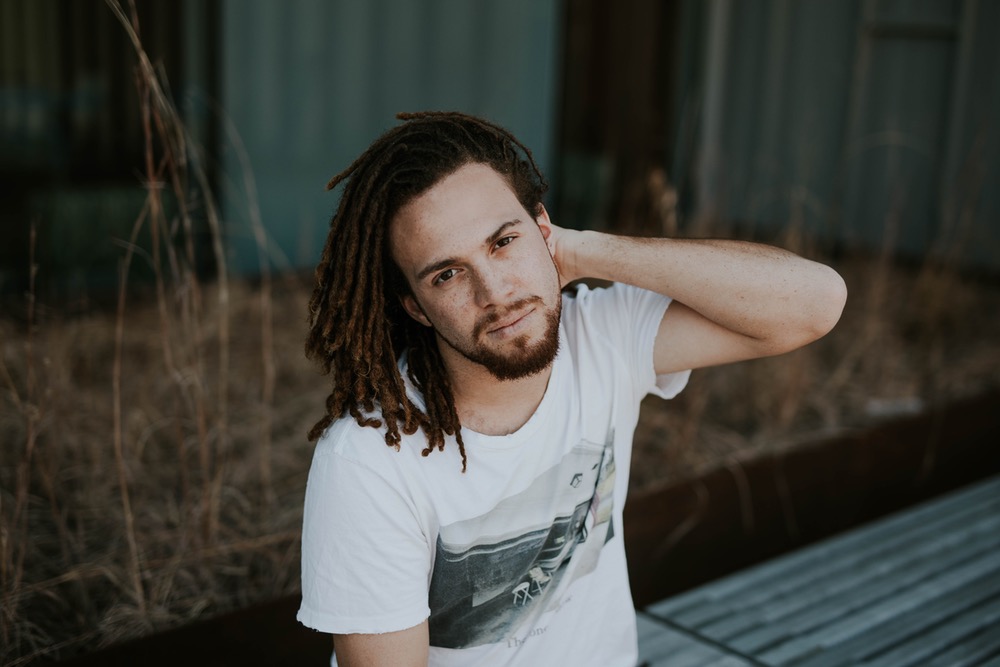
Image from Pexels.com
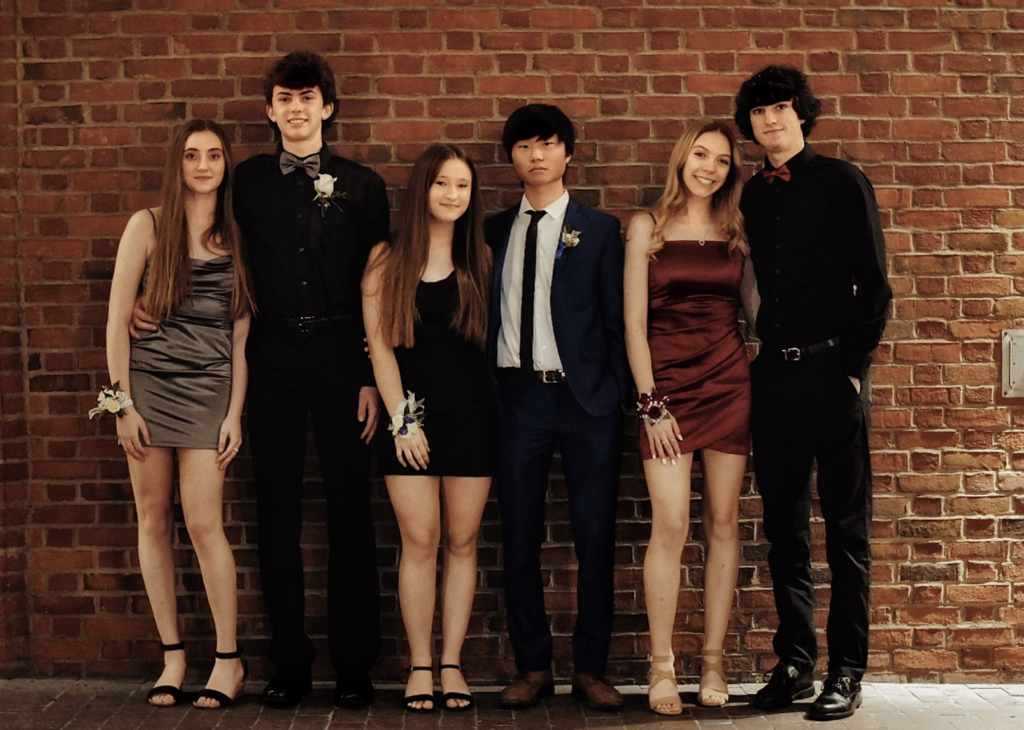
With group portraits, do not go for perfect arrangements lined up in a row or something similar unless otherwise required. Making them stand or sit naturally as a bunch can create more interesting portraits.

Image from Pexels.com

2 Comments
I appreciate the information in this article, thank you.
Hi TRMitchell, glad it was of some help! 🙂