Digital technology seems to be evolving in every field each year including photography so has the interest in olden ways of photographing in film. A lot of analog cameras flood the market and so do some toy cameras and one of the simplest and quite popular film cameras is the lomography camera.
This, despite the fact that they produce what some might consider technically inferior image quality. But it’s that very thing, the unique character and quality of the images produced by these cameras, that makes them so special.
The Holga 120N

One of my favorite cameras of this type is the classic, Holga 120N. This is an all-manual, plastic camera; even the lens is plastic. But the images it produces are magical.


Here are some of the Holga’s technical specs:
- Film. This camera was designed to accept 120 film. I shoot with the included square 6×6 cm mask, which produces 12 frames per roll of film. A 4.5×6 cm mask (producing 16 shots) is also available. A red-colored frame counter window on the back of the camera will display the current number of frame you’re on. That number changes as you advance the film after each shot taken. Make sure to advance the film after each shot, unless you are intentionally creating multiple exposures.
- Rangefinder. Put your eye up to the viewfinder to compose your picture.
- Zone focusing. The viewfinder doesn’t indicate which parts of the scene are in focus; you’ll estimate distances and select simple icons on the lens to place your subjects in approximate focus zones. If you’re shooting a portrait of a single person, use the “one person” head-and-shoulders icon. A group? Use the appropriate “group” icon. I tend to keep my focus set to infinity (the “mountains” or landscape icon) for my street scenes and building/architectural shots.
- Aperture control. The Holga 120N has a switch that allows you to choose either f/8 or f/11 (f/13). These are approximate aperture numbers. If the full sun icon is showing, you’re using the f/11 setting; the other is f/8.

- Shutter speed control. Continuing with the emphasis on simplicity, you have a choice of Bulb (B) which keeps the shutter open for as long as you depress the shutter release, or Normal (N) for 1/100 second (approximately).

The Holga also features a tripod socket and a working hot shoe, which should trigger most basic external flash units.
How I Use The Holga
We’ve established that the Holga is a very simple camera. So, how do we create beautiful, artistic images with it? That’s the easy part. Just follow along and I’ll explain how I use it:
- If you like square images, make sure you’re using the square (6×6 cm) mask.
- Load your Holga 120N with some ISO 400 speed black-and-white or color negative film. Use any of the following: Kodak Tri-X 400 (b&w), Ilford HP5+ (b&w), or Kodak Portra 400 (color). Film is available for purchase online or at local photography shops and film developing labs.
- Pick a sunny day to go out and take photos. I prefer to wait for the sun to drop nice 45 degree shadows across buildings and structures. But, any good lighting will do.
- Set your Holga’s aperture switch to the Sunny setting (this will be approximately f/11). Use the “mountains” icon for your default focus zone setting. And, make sure your shutter mode selector is set to N for normal (approximately 1/100 sec).
Now, get out there, find interesting lines, shapes, shadows – anything bold that catches your eye! If you’re shooting black and white film, focus on scenes with tonal contrast. If you’re shooting with color, find bright, bold colorful scenes.


Get your film developed at a film developing lab. If there isn’t one in your area, there are many online labs that do a great job. Or, if you’re feeling adventurous, learn to develop the film yourself! Many labs can do digital scans of your film for download so you don’t have to wait for actual film and prints to be returned to enjoy your photos.
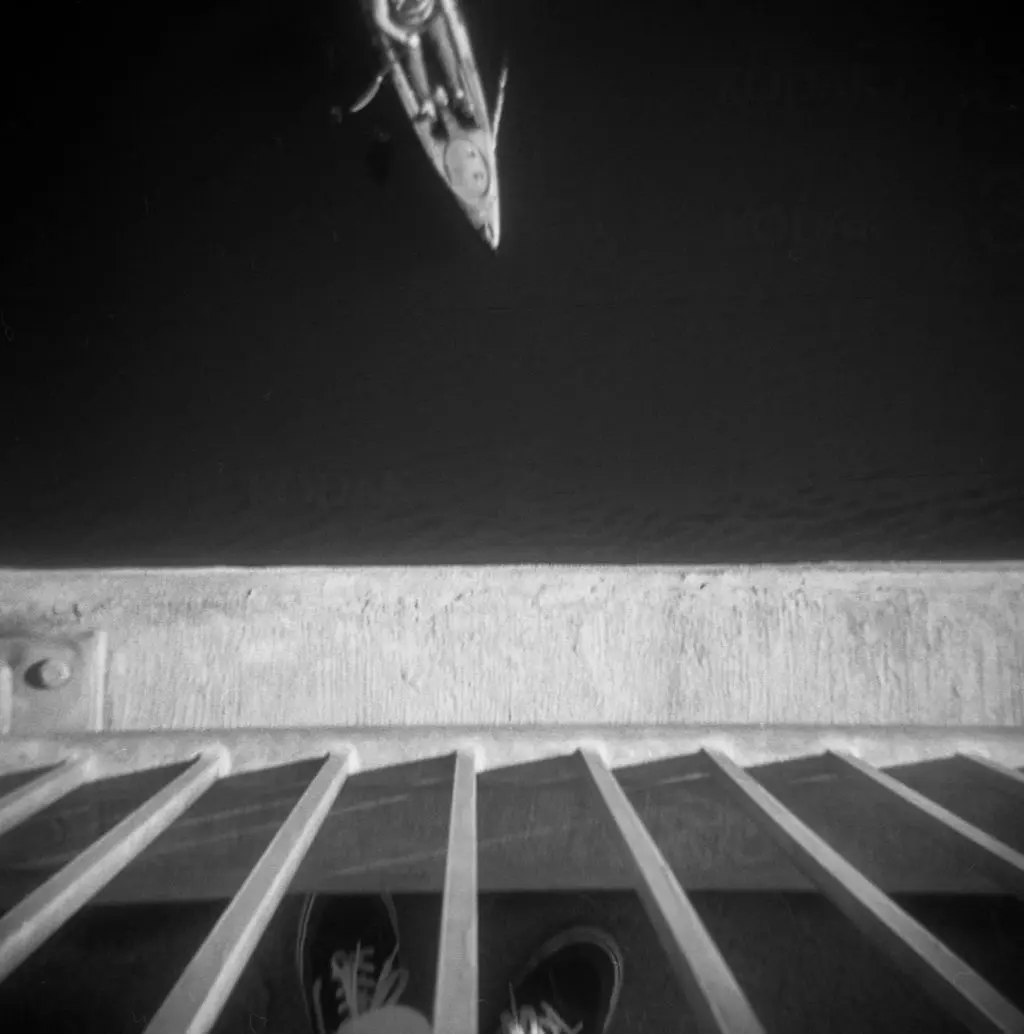
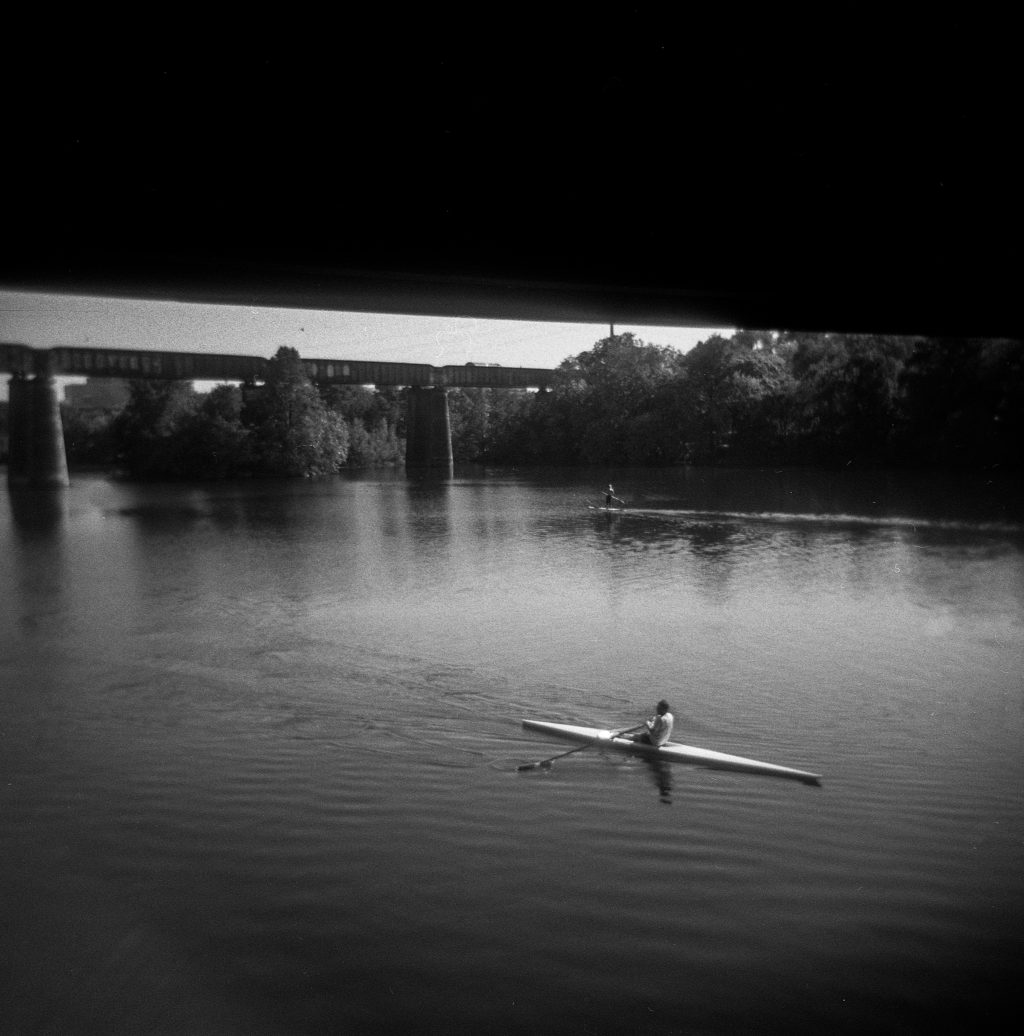
I’ve been so excited about using my Holga lately, I’m regularly sharing photos like these on Instagram:

Why would I, a professional photographer, enjoy shooting with a Holga?
Sure, I’ve got good digital cameras and high-end lenses. But for me, it’s not always about high-resolution and technical quality. Very often, it’s simply about creating images that make me happy. And doing it in a carefree way. Here's a video where I talk about my reasons for loving the Holga:
I suggest you try a Holga 120N. Using it can be so much fun! Forget any big expectations, take your time and soak in the world around you. Then, just point and click when you come upon a scene that looks interesting to you.
I’ve said more than once that when I’m out wandering around with my Holga, it’s about the closest thing to meditation that I can do with a camera in my hands. And I’m almost always happy with the unique look of the resulting photos!
To learn more about the Holga camera, check out the links below.


2 Comments
Hey,
What about the dial on top? There are 4 letters (R/Y/B/W). I got this second hand and no idea what it means. I like to have the film border in the pictures but it only worked on some of them. Thanks!
I think from what I’ve read previously, you must have the version with the flash. That dial allows you to select the colour of the flash (it has multiple different colour filters you can use). i.e. R/Y/B/W = red, yellow, blue, white