One of the often, under valued aspects of digital photography is the ability to create photo books. Back in the day, a photography book a was a huge, expensive but exquisitely printed tomb that adorned coffee tables in living rooms around the world. More often than not the books would contain the best images of a well know photographic icon such as Don McCullen or Annie Leibovitz. They would also be expensive. Fast forward a few years and now it is possible for the likes of you and I to publish our own photographic books, not only for our coffee tables but also for publication the world at large. One of the easiest routes into this is Lightroom and its Books module.
The Book Module:
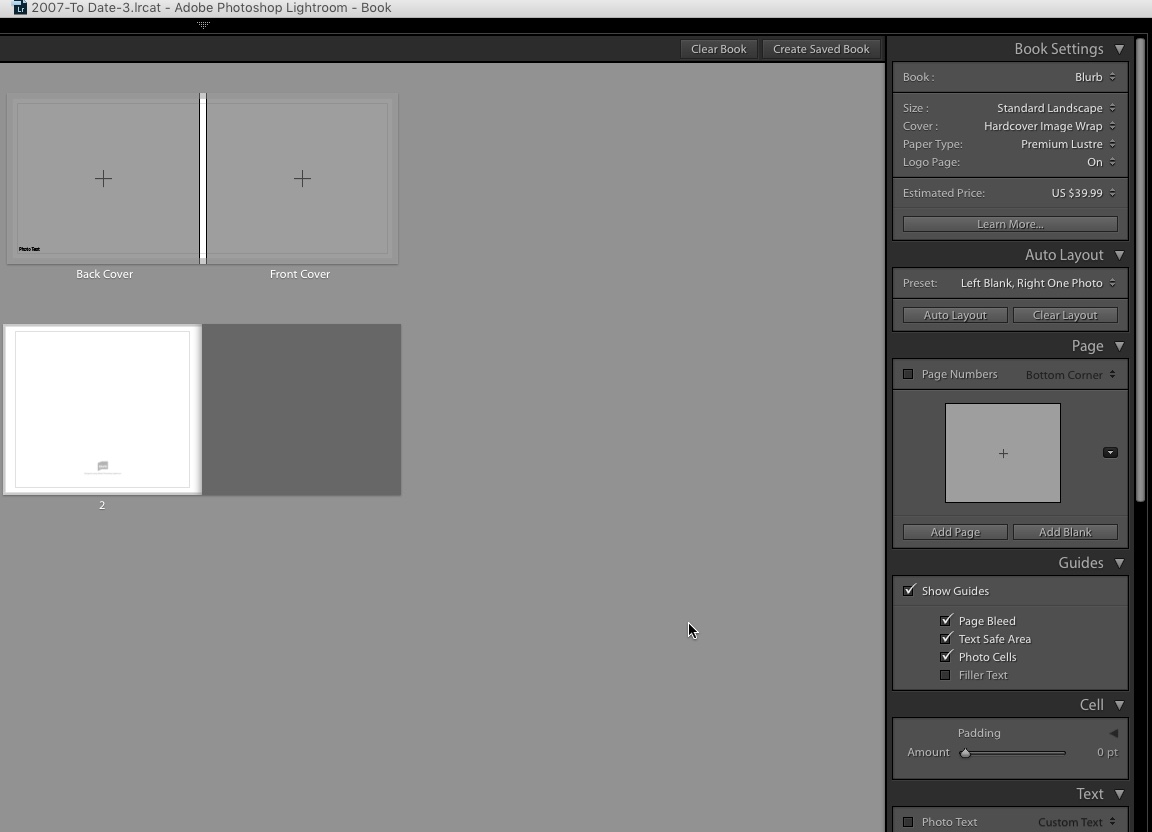
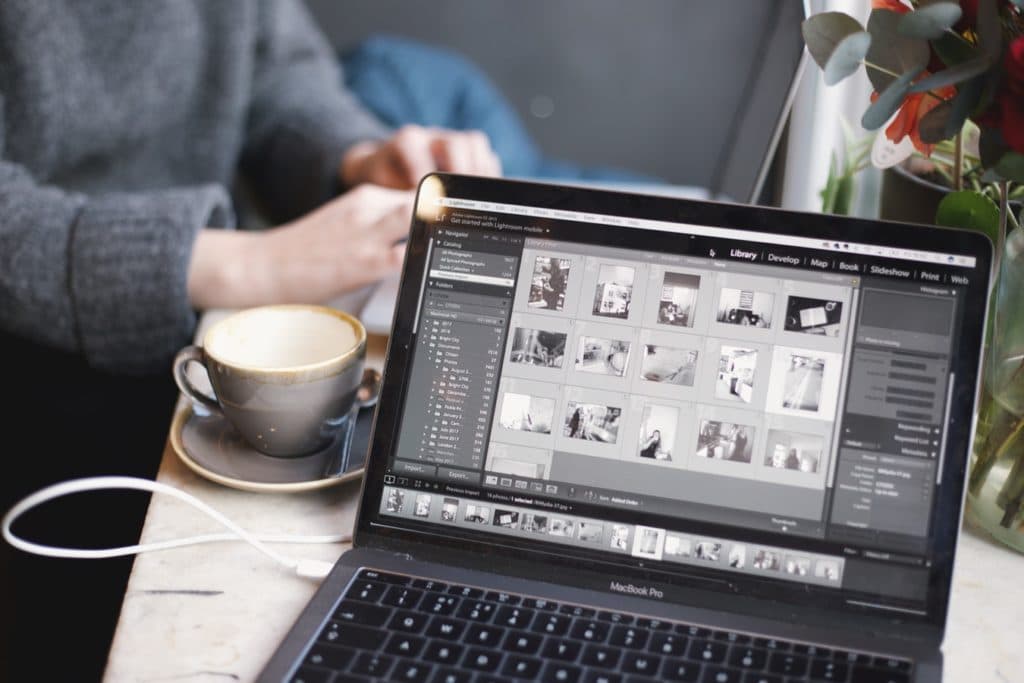
The Book Module is found on the top right of the screen with the tabs for Lightroom’s other modules. Clicking on it for the first time will open up an unprinted layout on the main screen. This will be a landscape format book in 10×8 inch size (25x20cm) The layout of this Lightroom module is very similar to other modules with the catalogue view to the left, showing only collections, not the entire catalogue, the main layout window and the settings window on the right side of the screen. There is also a filmstrip at the bottom showing all the images from your chosen collection. Again, in keeping with the Lightroom UI, the settings are broken down into various sections. Lets take a look at them.
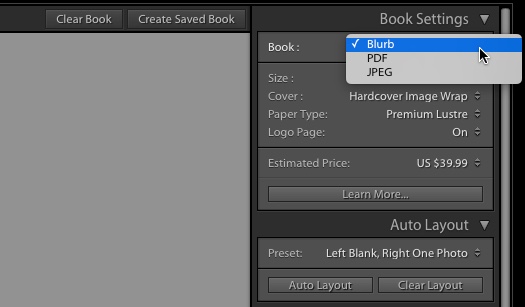
Book Settings: At the top of this section under Book, you have three choices. You can create a layout that can be published directly to Blurb, the online book printing store, or layout of JPEG or PDF. If you prefer not to use Blurb, PDF will be the better option as most book printing stores will accept this format.
Under the Blurb section you can choose the size, cover style and paper type of your book. At the bottom you will see the price of your book for the number of pages you have added. Under the JPEG and PDF headings you can change Size and Cover as well as quality settings.
Auto Layout: This allows you to preselect all your images and then automatically lay them out as per the criteria you select. Useful if you want to create something quickly but may not flow well.
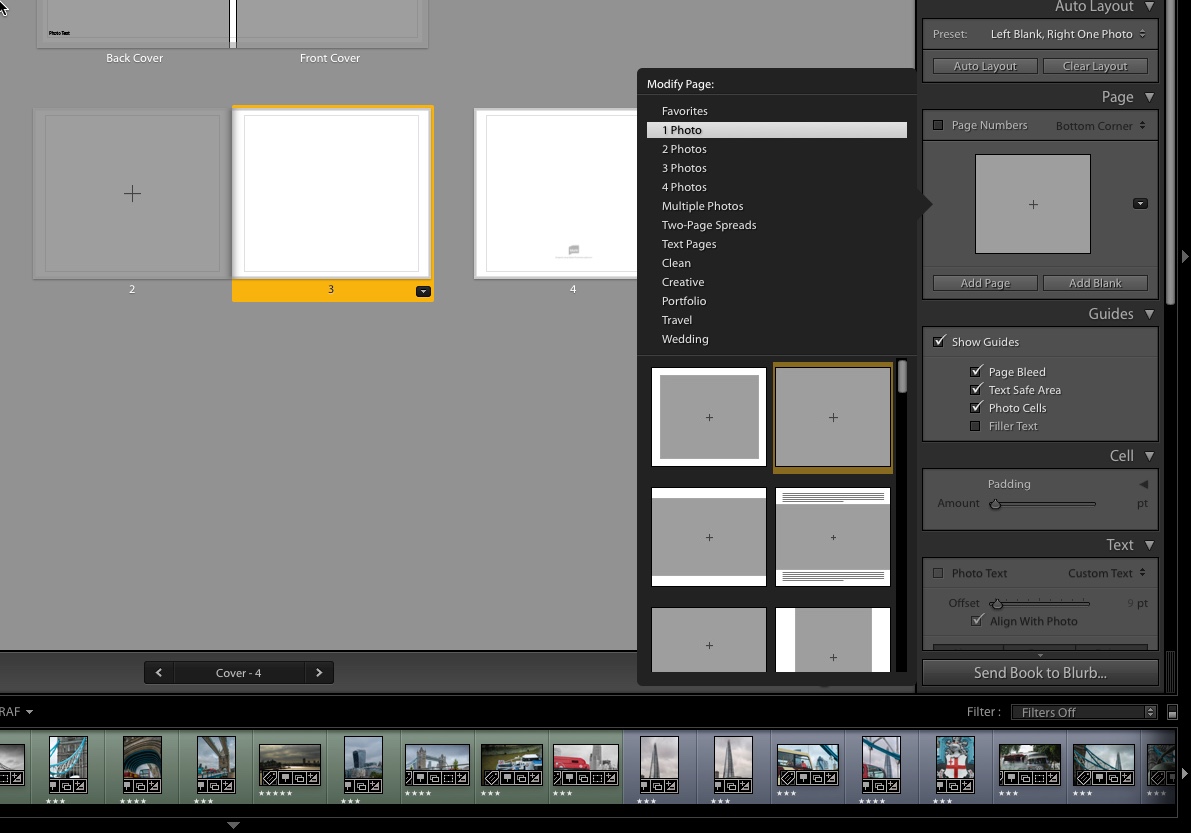
Page: This section allows you to add further pages to your book. Clicking the little triangle on the left of the section reveals a large range of layout options for you page from multiple image pages to page styles such as wedding. Select a page style then click Add Page at the bottom. You can also choose to add page numbers and change their location.
Guides: These help with the layout of your book and show for example where it is safe to display text or to to create Photo Cells where you can drag and drop images and they will snap to that Photo Cell.
Layout Options: Beneath this are three layout options, Cell defines how much space is left around text or images that are in a cell. Text allow you to add comments and descriptions to your book pages, clicking on Photo Text will allow that text to be placed over photographs.
Type allow you to define the font, size and colour of your typography.
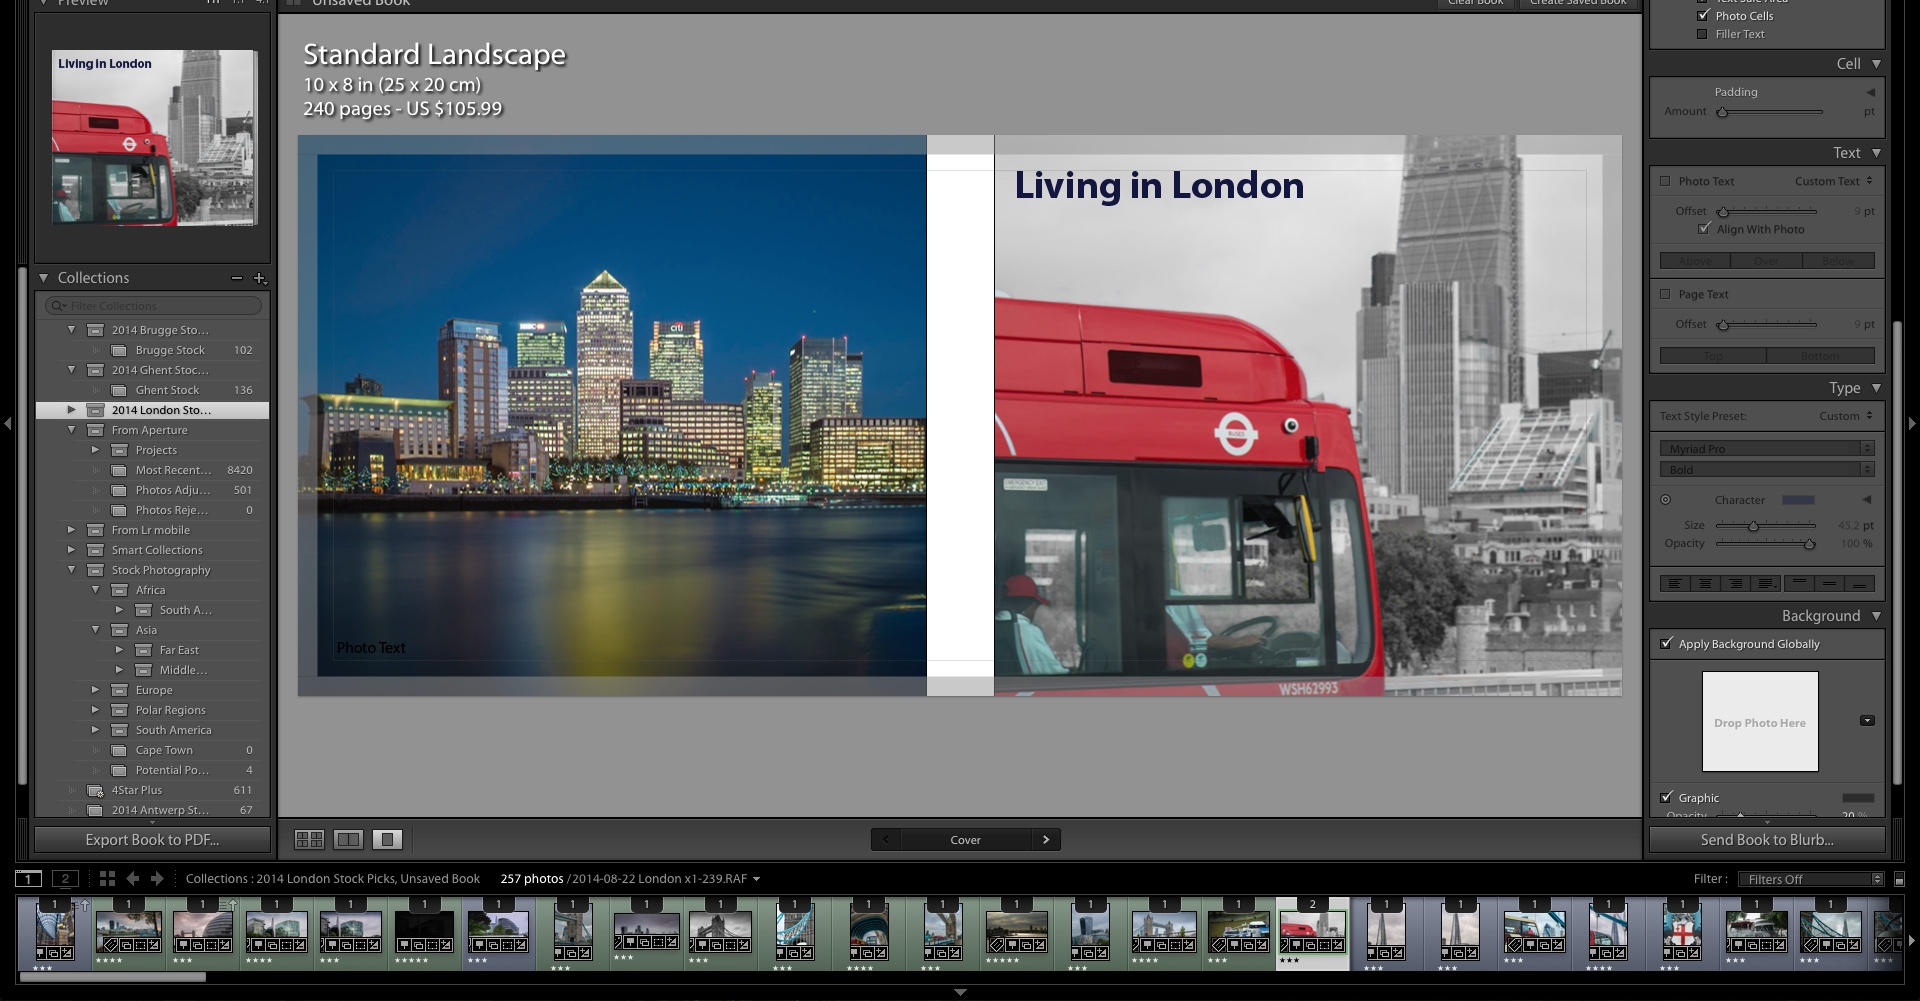
Background: In this section you can choose to use a photo or texture as the background to your pages and define its opacity. You can also choose to use a plain block colour for each page.
Creating Your Book:
The best way to start your creation is to select all the images and more that you want to go into your book using the Library Module. This can be done be creating a new collection and dragging and dropping the required images into that collection. When you return to the Books Module select the newly created collection on the left of the screen. All the images in that collection will now appear as thumbnails in the filmstrip at the bottom of the screen. To add an image to a page, simply drag and drop it. If you have a Photo Cell set you can drop it directly to that. To change the size of the image on the page, click on it and you will see a zoom slider. Use this to resize the image to suit.
At the bottom of the layout screen you can change what you see on screen from multiple pages to the two page book layout or just a single page. This will help in getting the finer details of your design perfected.
Use the Text tool to add a text box either over the photo or on a clear piece of page and write your text into the box that appears. You can drag this box around to move it to the best position.
Publishing: Once the book is complete, you can publish it. Depending on what you selected under Book Settings at the very bottom of the right side of the screen you will see Send Book to Blurb or Export Book to PDF/JPEG.
If you have chosen Blurb, you will be prompted for your login and password and shown the final price for your book.
The Books Module is a great way to get started in creating photo books from your images. Compared to some of the online publishers the layout options are basic but there is enough there to give you a good quality book for your coffee table.


2 Comments
Hi Jason,
Good post!
Made my first book last week, and ordered it from Blurb using Lightroom. Great module, good to point to this!
https://www.flickr.com/photos/rensehaveman/25217094869/
All the best,
Rense
Used Lightroom/Blurb for my first book last week. Not as intuitive as I would have liked, but covered all the topics well. Be prepared to spend significant time to create individual page layouts. Expect the next book to take half the time. Blurb Support Desk was a big help.
Joe