Photographers tend to be preoccupied with image quality. Image quality is sort of an open-ended term that encompasses a multitude of other concepts — resolution, sharpness, contrast (and “microcontrast”?), color rendition and probably eight or ten other terms that escape me at the moment.
It all gets to be a bit much sometimes; this preoccupation can easily mutate into an obsession. But image quality does matter. Assuming it’s not your precious gear that’s somehow misbehaving, problems with image quality come down to user error, meaning these problems are avoidable.
If you’re unhappy with the image quality you’re getting, don’t send your lenses in for diagnosis just yet. Consider the following three points to ensure you’re doing your part to achieve the best image quality.
1. Check Your Technique
Is there a “right” way to hold a camera? Well, there’s definitely a preferred way if image quality is a concern.
Camera shake causes blurry images. Blurry images, of course, lack sharpness. Viewers tend to place this lack of sharpness under the umbrella of poor image quality.
There’s nothing wrong with your lens or camera in such cases. Obviously, when you’re working with slow shutter speeds you ideally should be using a tripod or, at the very least, some manner of in-built (camera or lens) stabilization.
A more fundamental remedy to camera shake starts with good technique.
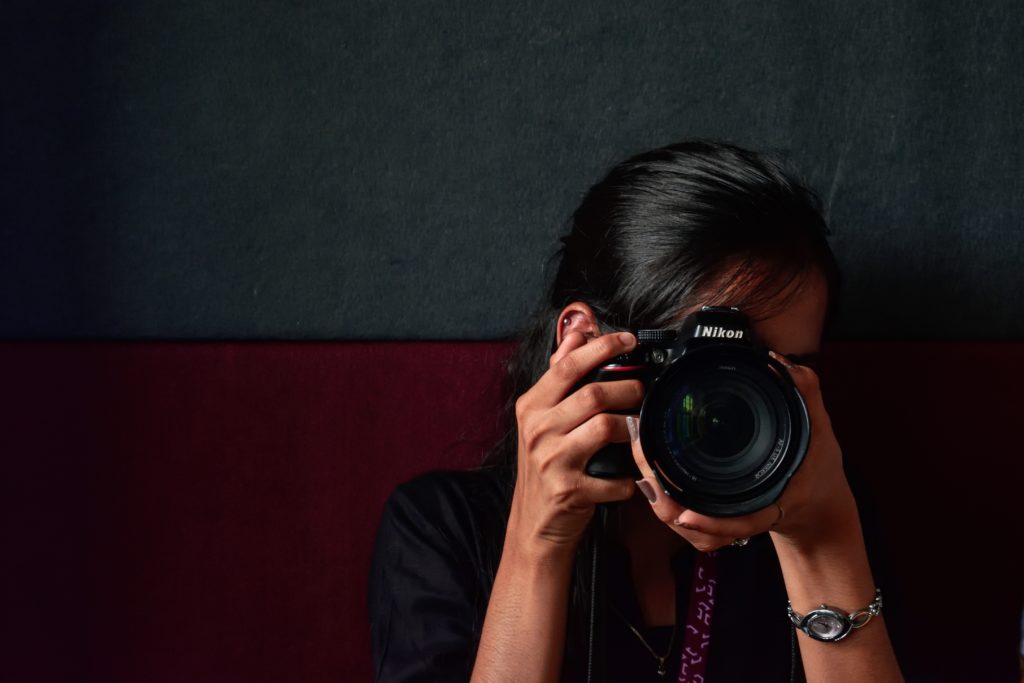
Use two hands — one on the grip, one cradling the lens. Keep your arms close to your body and keep your legs shoulder-width apart. Press and release the shutter gently.
It’s might not be something that crosses your mind often, but getting in the habit of practising good camera technique and body mechanics will eliminate much of your concern about unsharp/blurry images.

2. Stop It Down
Fast lenses are all the rage. It seems that we’re getting to a point where f/1.4 is no longer good enough. People want f/1.2 or even f/0.95. I get it, these lenses do amazing things in terms of their ability to isolate a subject from the background and create creamy bokeh.
But, with few exceptions, lenses don’t give optimal performance at their widest aperture where they’re more prone to vignetting and chromatic aberrations. Not only will a lens not be at its sharpest wide open, but it’s also going to be more difficult to nail focus at such large apertures, further giving rise to the perception that a lens isn’t sharp.
The fix is simple: stop your lens down. I realize this is painful for some photographers, but it usually only takes a stop, maybe two, to get noticeably better optical performance from most lenses. And you really won’t be losing as much as you think when it comes to beautiful bokeh.

3. Mind Your Settings
A camera will work just fine out of the box, but it’s in your best interest to check the settings and make the necessary changes to optimize image quality. When selecting image size, for example, choose the maximum quality settings — RAW file type and highest resolution.
Even if you choose to shoot in JPG, be sure to set the max resolution. My camera, for instance, will let me set a small JPG file, which is 6 megapixels. If I were the type to regularly inspect my images at 100% and I had inadvertently changed my settings to 6-megapixel output, I’d be a bit miffed when I went to look at my images in “full resolution.”
So, it bears repeating — check your settings. Additionally, if you’re getting blurry images due to troublesome autofocusing, make sure your camera’s firmware is up to date.

Final Thoughts
While our cameras and lenses are masterfully crafted tools, they do occasionally succumb to technical failures. Fortunately, these failures are the exception rather than the rule. When it comes to image quality, most failures are the result of user error.
I know, that sounds bad but here’s the silver lining: user error can be corrected. For free!
There are certainly other factors to consider, but the points above are three of the more common mistakes that lead to poor image quality. This is simply an entry point for you to take the proper steps toward maximizing the image quality of your photos.


1 Comment
Thank you for the tips. Every bit helps. Happy holidays