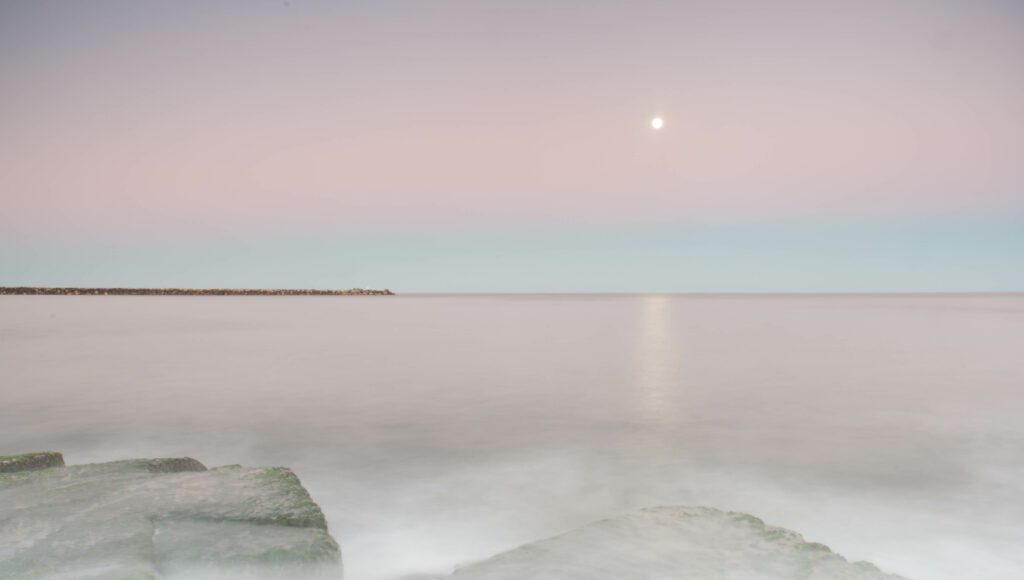
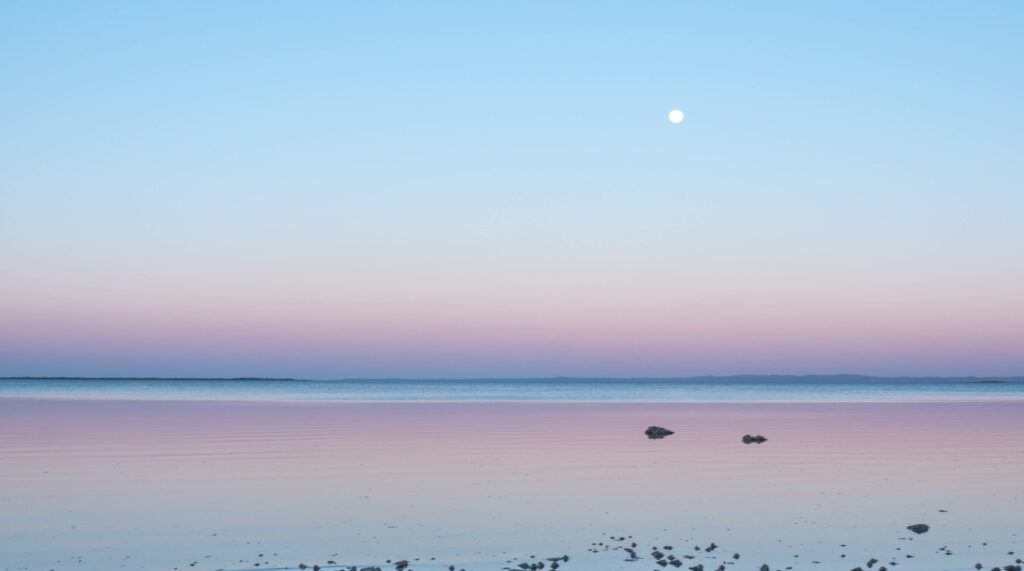
As your photography journey progresses, you’re eventually going to become curious about manual mode. The great news is that this opens up a slew of creative opportunities and ultimate control over your camera and the images it produces.
Congratulations this is where things start to get interesting. Learning manual camera settings will be huge for your photography!
Now, shooting in manual mode certainly involves quite a learning curve. You need to understand how the different settings work and how they interact with each other. Let’s jump into the things you’re going to need to know about manual mode so that you start producing the images that you want.

“The camera is an instrument that teaches people how to see without a camera.” – Dorothea Lange
Why shoot in manual mode?
The main reason to shoot in manual mode is that it gives you a lot of control. Far more than the automatic modes on your camera (like aperture, priority, or shutter speed priority or automatic mode). This means you get to make every mechanical and creative decision that is available to you as a photographer.
Well, this intimidates a lot of people. If you come to grips with manual mode, you will probably shoot in no other mode and, in terms of technical knowledge, be in the elite few photographers who really know the mechanics of their craft. More importantly, put in the work and you’ll get the photographic reward through great control over your artistic vision and decisions.
A lot of photographers regard manual mode and its mastery as the final evolution of their learning of the mechanical side of photography. Only once you know manual mode, can you really say that you know how to use a camera properly. Well, I’m not sure we agree with that sentiment here at Light Stalking we do still encourage people to obtain as much mastery of their tools as possible.
What do you need to know about the exposure triangle
Perhaps the foundational concept that you need to understand when shooting in manual mode, is how the exposure triangle works.
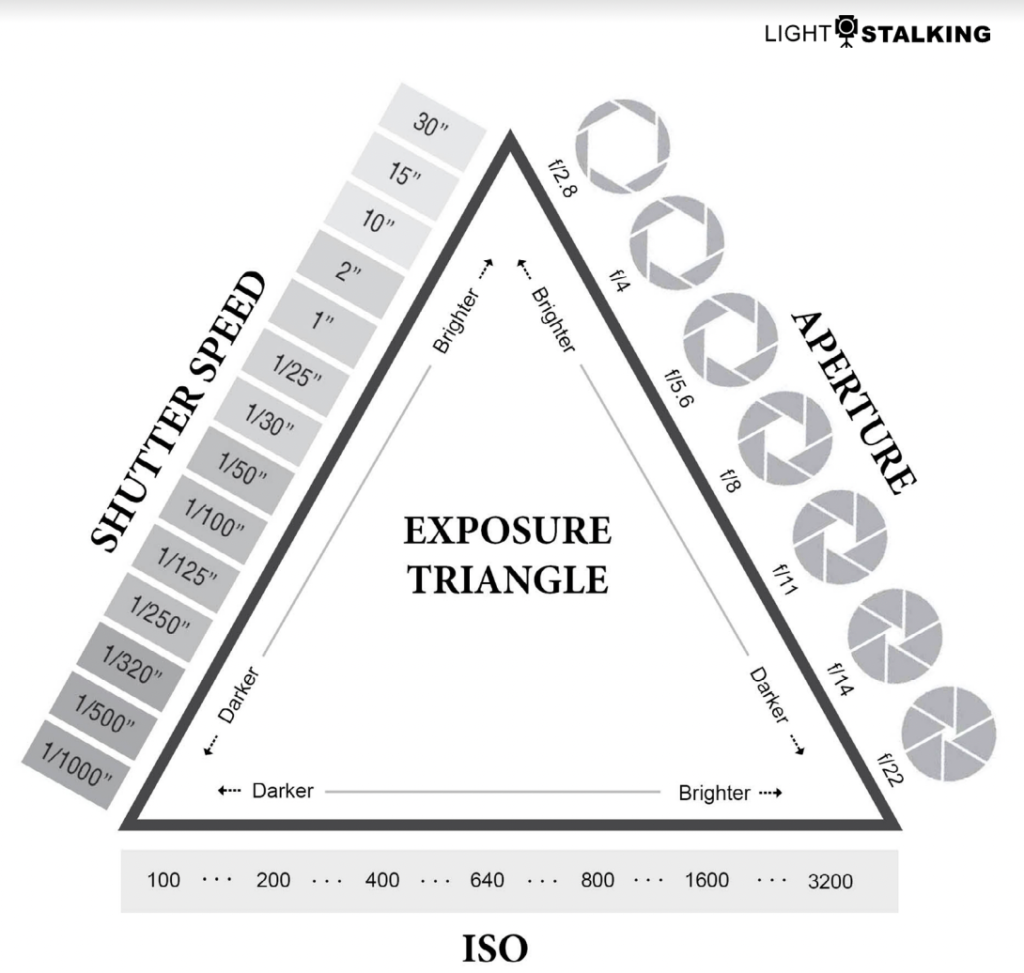
In brief, the exposure triangle explains how aperture, shutter speed, and ISO interact when creating an image. Adjusting one of these camera settings usually requires adjusting another.
Aperture refers to how wide the opening is in the lens of your camera is. Narrowing the aperture lets through a smaller amount of light and will also result in a deeper depth of field. Conversely, a wider aperture will let through more light, but reduce the depth of field, and hence the amount of the image that is in focus.
Shutter speed, as the name suggests is the amount of time that the shutter is open on the camera for any given image. A slow shutter speed lets in more light and a higher shutter speed lets in less. The thing to consider with shutter speed is that longer shutter speeds often result in movement in your images – either intentional or unintentional.
ISO refers to the light sensitivity of the camera sensor. The higher, the ISO, the more sensitive it is to light and hence the brighter your images. Higher ISO, however, also causes digital noise in your images, though this is getting less as technology progresses.

When shooting in manual mode, you will come to learn how these elements balance with one another within the exposure triangle to produce certain effects within your images.
In What Order Should You Set the Camera Settings in Manual Mode?
In very general terms, he will want to set the ISO first, followed by the aperture, and finally the shutter speed. And, yes, there are exceptions to that guideline that are beyond our scope for this particular article.
Quick Tip: To remember the order of things, it’s handy to remember the acronym, “I am shooting.” That is where I = ISO, am = aperture and shooting = shutter speed. This tip is from Spyros Heniadis
See how Spyros shoots in manual mode here:
Tips for ISO
In general terms, you will want to set the ISO first, and you will want to set it according to the lighting conditions of the scene. You intend to shoot a bright scene such as midday at the beach will require a very slow ISO as low as the Camera will go. Generally, this will be ISO 100 (Some cameras even go as low as ISO 50, but others might bottom out at ISO 200).
On the other hand, if you’re in a low-light situation with a lot of movement such as a concert or a nightclub, then you will want to set the ISO to a higher number to make the sensor more sensitive to light. This will usually be ISO 1600 or above.
As you become more familiar with your camera, he will come to get a knowledge of appropriate ISOs for the situations that you tend to shoot.
Just remember that the trainer for setting a high ISO is extra image noise in most cases. If you want that noise, then fine, but if you don’t, then you will need to find other ways to mitigate it.
Tips for Aperture
The aperture controls of your lens refer to the diameter of the opening, allowing in light. A narrow aperture allows in less light and a wide aperture allows more light.
Narrowing the aperture also ensures that more of the same is in focus from the foreground to the background. Widening, the aperture, reduces the depth of field, and often throws both the foreground and the background into blur.
As a general rule landscape and architecture, photographers will shoot with norrower aperture or look for the sweet spot of the lenses to ensure as much of the scene as possible is in focus.

On the other hand, portrait photographers tend to focus only on the subject, and so will shoot with a wide aperture with the focus on the face of the subjects in the background out of focus.
If you’re not comfortable with this, you can always shoot in aperture priority mode on your camera settings to get used to how the aperture works.
Tips for shutter speed
Shutter speed refers to how quickly the shutter opens and closes when you press the shutter release.
Usually, this is the last of the main settings that you will see it when shooting in manual mode.
The faster, the shutter speed, the more frozen the action in your shot will be. The drawback is that a fast, shutter speed allows less light to hit the sensor.
At slower shutter speeds, the camera will be more susceptible to movement both within the scene and from the camera moving. A slower shutter speed is often used to convey a sense of movement in still photographs.
If you want to shoot in manual mode, these are the three main settings you will need to get used to adjusting.
If you’re not quite comfortable with this, you can always shoot in shutter priority mode.
Not Sure Where to Start With Manual Camera Settings?
It’s very normal to be a little, overwhelmed by manual camera settings. Shooting in manual mode is quite a challenge. When I was learning how to use manual settings myself I found one old guideline, very very useful.
There is an old guideline (we shy away from calling them rules) for photography camera settings on a bright day, called the sunny 16 rule. It states that your manual settings on a bright day at midday, all things being equal, should be ISO 100 F/16 with a shutter speed of 1/100th of a second.
Sunny 16 Rule – On a sunny day, set the aperture to f/16 and the shutter speed to the reciprocal of the ISO. For example, ISO 100, aperture f/16, and shutter speed 1/100th second!
This will theoretically get you a reasonable image in terms of exposure in a sunny situation.
That’s where I would start if I was taking a photograph at midday, for example.
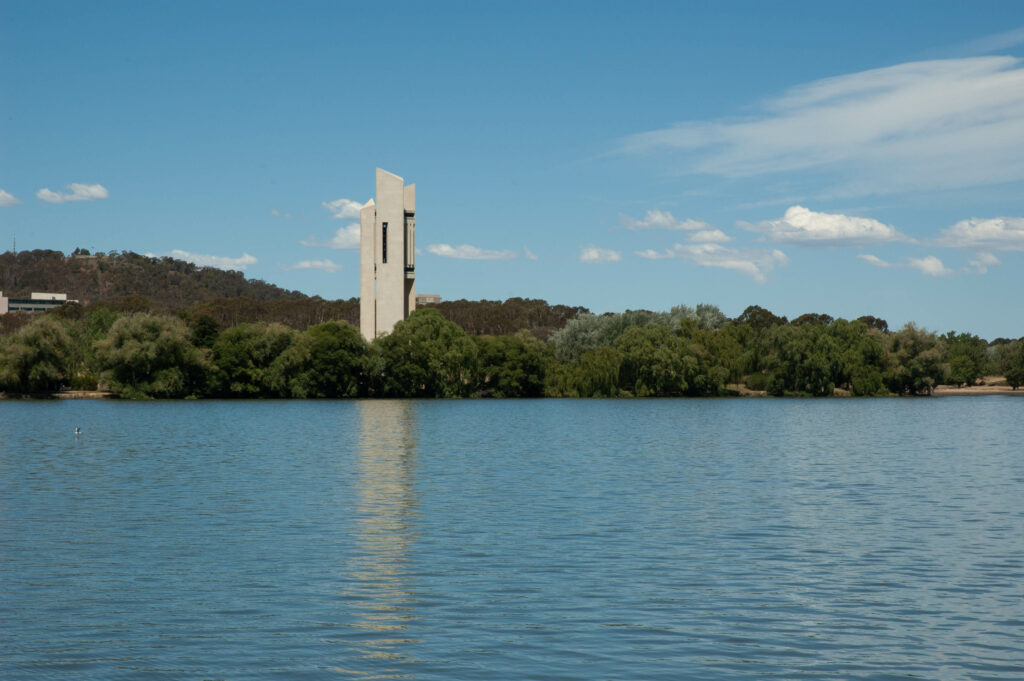
Here is an unedited image using the sunny 16 rule – shot at f/16 with ISO 200 and shutter speed 1/200th second.

It's nothing to write home about (I much prefer shooting scenes like this in the Golden Hour or Blue Hour), but it demonstrates a reasonable exposure achieved with Sunny 16 very close to the middle of a sunny day.
NOTE: When shooting in manual, it also pays to learn how to read a histogram which is available on most digital cameras and uses the built-in light meter.
But also I find myself also using it as a reference point for other situations.
If the scene is darker than a sunny day at the beach (maybe it’s late afternoon) then maybe I start by adjusting my ISO.
If the scene is both darker and has fast-moving elements in it (maybe I am photographing an afternoon game of beach volleyball) then maybe I start by adjusting both the ISO and reducing the shutter speed. In doing so, I know that I will have to start watching out for noise (caused by increased ISO) and motion blur (potentially caused by the slow shutter speed).
Your camera’s manual mode allows for these creative decisions!
When to Use Manual Mode Settings
This is one of those things where it really depends on your proficiency with your own camera gear. Some people are practiced enough in manual mode that they can get a proper exposure in their images in almost any shooting conditions. Think nightclubs, concerts, sports or other fast-moving situations.
And certainly, that is the level that we should all aspire to.
But in the beginning, shooting in manual mode in fast-moving situations is a very tough ask.
Manual settings are much more easily adjusted in slower situations like landscape photography or architecture and macro where you have time to consider the impact that changing the shutter speed settings, aperture and ISO will have on an image and then go back and change them accordingly.

In the beginning, at least, manual mode camera settings might need to be reserved for these less dynamic situations.
Final Thoughts on Your Camera’s Manual Mode
Learning to shoot in manual mode is one of the things that every serious photographer should at least attempt. That is mainly because it gives you ultimate creative control over how your images turn out through it is certainly not the end of your learning.
With that being said, it’s also important to remember that shooing with the other camera modes is a perfectly legitimate way to make your own images. You are the creator. How you do it is entirely your decision. Many a professional photographer still shoots in other modes!
Happy shooting!
Our Practical Photography Drills will enable you to master shooting in manual mode in record time. They are designed around specific shots and ideas and you can take them out into the field with you as you're actually shooting. That is practical learning!


2 Comments
Thank you Rob. This article was very helpful in helping to understand some steps to getting the correct exposure by using the I am shooting process. My goal and desire is to master my camera, create professional looking images and begin creating an income as a photographer.
Glad it helped, mate! And good luck with your journey.