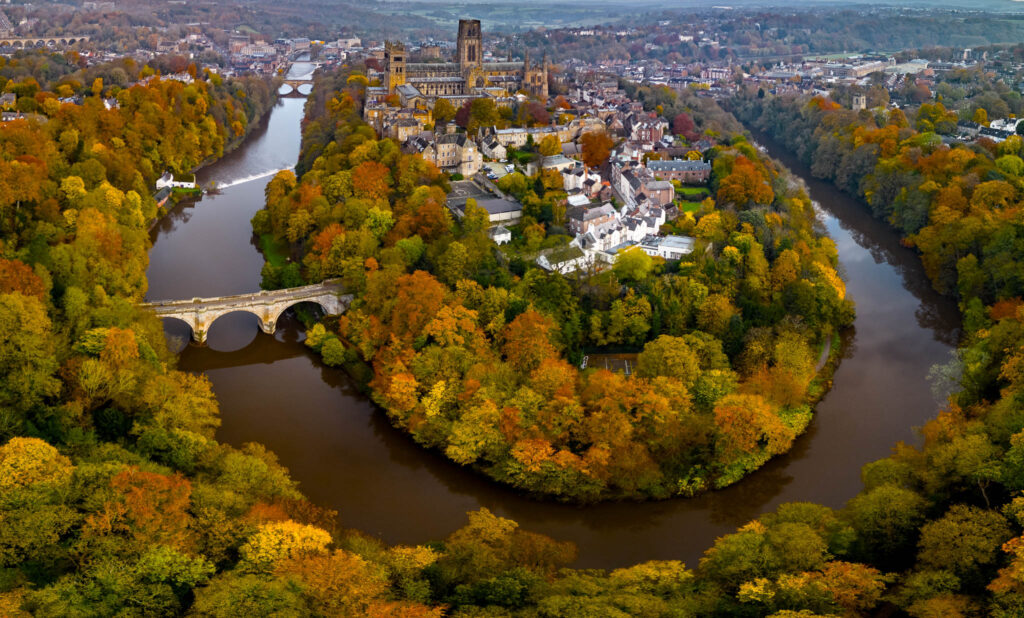
Is it me or does the art of the panoramic seem to be dying? I rarely see great panoramics online anymore, despite their ability to wow the viewers. I think that there are fairly obvious reasons for this, mainly based around the platforms on which we display our images.
At best, we live in a 16:9 world. Often that world is 4:3 or 5:4. What on earth are you talking about I hear you cry. I am talking about screen ratios, the ratio between the long and short sides of our monitors. But it’s not only monitors, smartphones, tablets et al all conform more or less to these ratios. By definition then so do the social media platforms on which we display our images. We are confined by Instagram and Twitter’s screen ratios, anything left field of that, simply doesn’t look good. To me, that’s a shame so in a vain attempt to revive the lost art of the panoramic today, we are going to look at quick and simple ways to produce one.
The Humble Smartphone
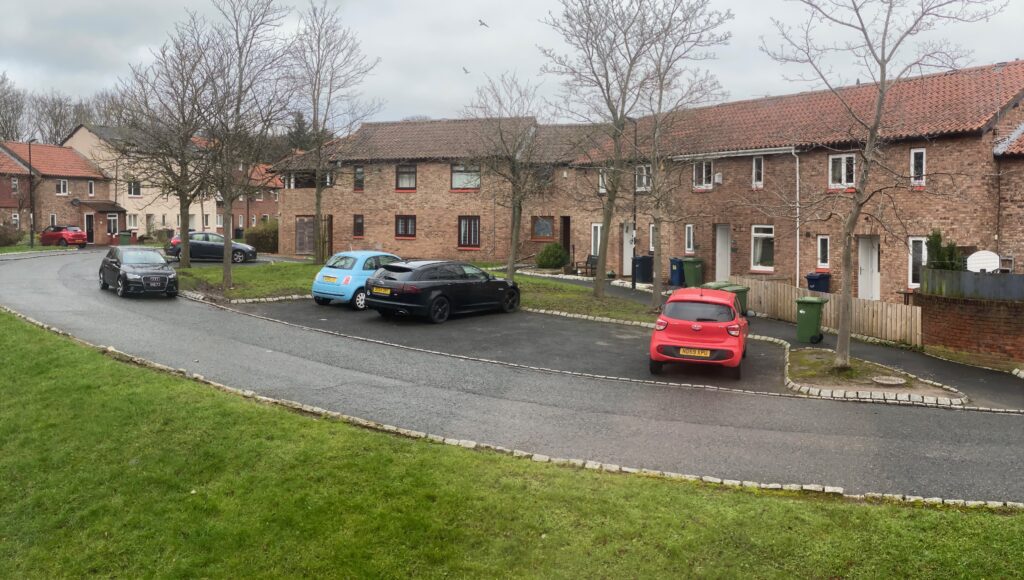
It was almost inevitable that smartphones would be able to create panoramic images. Better still, they do so in real-time, stitching and correcting the image as you go along. Whilst the quality is never going to be the greatest, if you have the perfect panorama in front of you but no access to a larger camera then they will certainly do.
Taking a pano shot will vary from camera to camera and between IOS and Android, however, the basics will be the same. I come from an iPhone background so will detail that way.

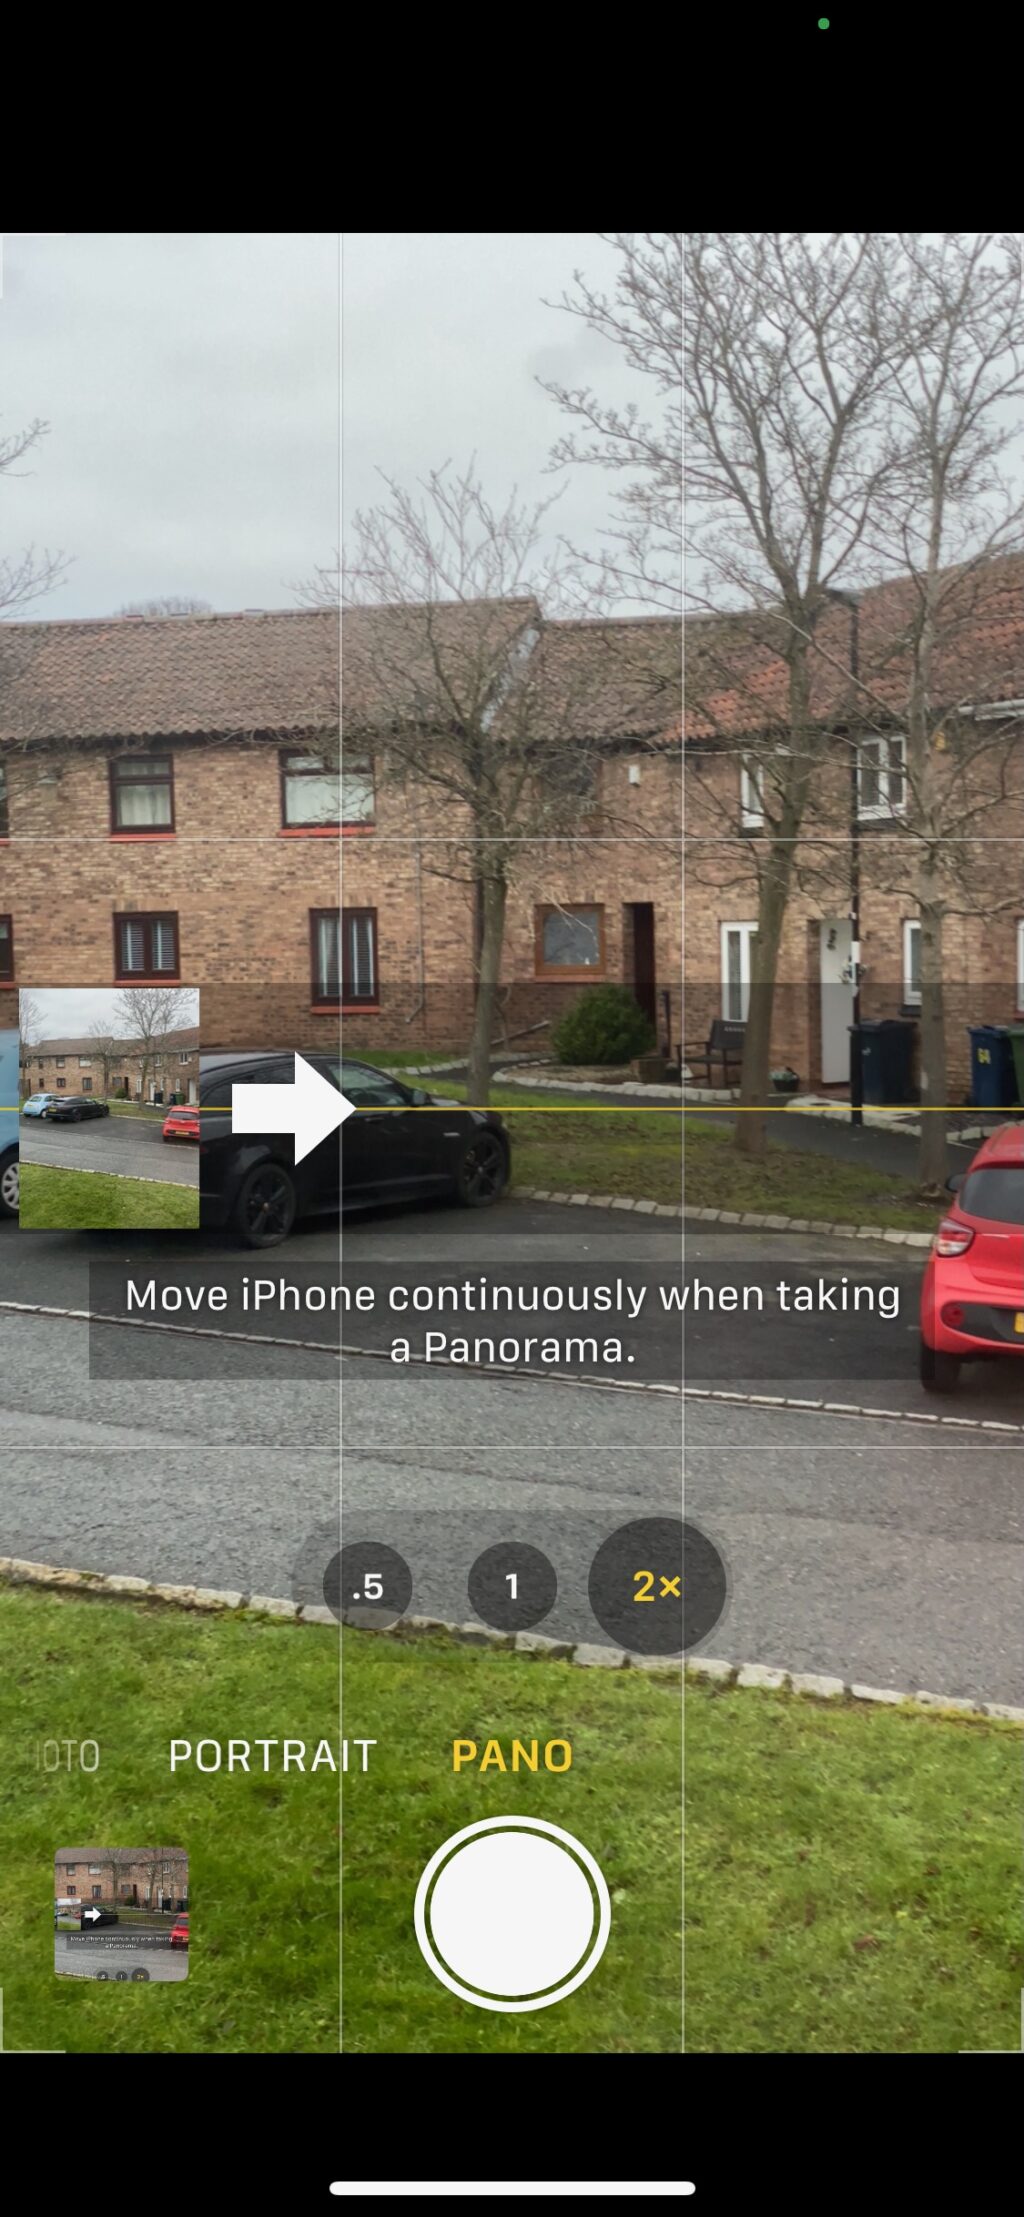
In the iPhone camera app – or most other third-party camera apps – select the panoramic mode. Hold the camera vertically and compose the image. We will come on to why vertical is better shortly.
Once you press the shutter, pan the camera in the direction of the arrow on the screen. As you pan the camera will show you if you are veering from the horizontal plane and show you how to correct it. It will take a little practice to find the right panning speed, but the end results can be rather good.
Try to compose shots that do not have moving objects in the scene as they will become very distorted. This is true for any type of panoramic shot.
Once you have finished, hit the shutter button once more. The camera will then automatically save the panoramic and save it to your photos app.

The key to any, but in particular a smartphone panoramic is to know exactly where the start and end points are. Also, make sure you have some breathing space top and bottom of the composition. The smartphone will crop in as it stitches the shot.
Automatic Panorama On Your Main Camera
Just like smartphones, some mainstream cameras also have an automatic panoramic mode. Both my Fuji X series cameras do. The principles are very similar to using an iPhone however, you do get much more control over things such as white balance, exposure, and file type.
When using an auto panoramic mode on a larger camera make sure to pick a focal length that is near 50mm. The reason for this is that a good pano, needs minimal distortion and each image should equate to roughly the same field of view and perspective as the human eye.
Again you are going to shoot vertically. The reason for this is that during your panoramic sweep you are covering many more pixels than if you shot horizontally. You may find that your camera does not allow you to shoot a pano horizontally at all.

Again you will sweep your camera left to right or vice versa, at a certain speed and trying to keep the horizon straight. This is potentially more difficult than with a smartphone due to the weight.
Manual Panoramas
The best way to get a quality panoramic shot is still to shoot it manually. Ironically despite there seeming to be fewer panoramic shots around these days, they are much easier to shoot and edit. Gone are the days of absolutely requiring a tripod, no longer is a panoramic gimbal head a necessity. We can shoot excellent panoramics handheld.
So how do we do that?
First of all, it’s best to shoot all manually. Manual exposure and white balance as these can easily shift as you shoot across the scene. Manual focus again as this can shift if there is something significant in the foreground.
Use a standard focal length and hold your camera vertically, in the portrait format.
You will need to find your start and end points before shooting. Take the first image then slowly the camera and the whole body to the next shot. You are looking to get an overlap of about 30%, that is 30% of the previous frame should be in the current frame.
Continue shooting like this until you have covered the last shot. If that last part of the image is at the edge of the frame, shoot one more frame to make sure you have it covered. All the time you are panning around, make sure you keep your horizon level. Most cameras will have a viewfinder indicator to show this.

A top tip here is to shoot a spacer frame between every panoramic sequence you shoot. This will help you to determine all the images for each sequence. It can be as simple as taking a shot of your hand.

Editing Panoramics
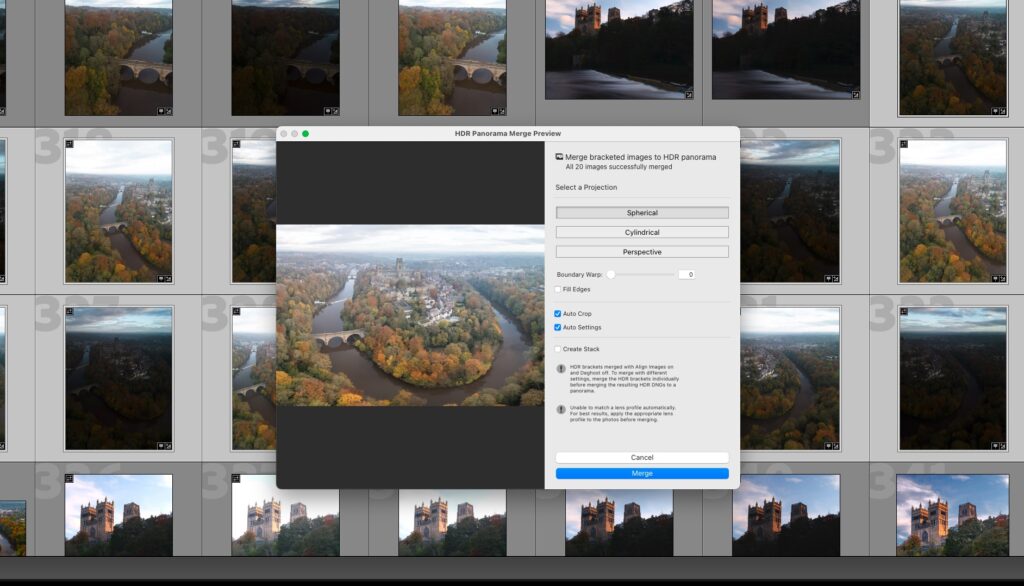
Lightroom and some other programs will now allow you to create HDR panoramics in RAW. This is especially useful for scenes with extremes of dynamic range. The technique is the same as for single-shot pano sequences except you shot an exposure bracket for each section.

Personally, I would limit the bracket to three shots, one over, normal, and one under. This is because not only will you be using a lot of space, but also your computer will need some significant power or time to process the images.
Speaking of processing your panoramas, in the next article I will look at the best ways to process your panos and some ideas on how to display them. Look out for that, coming soon.


