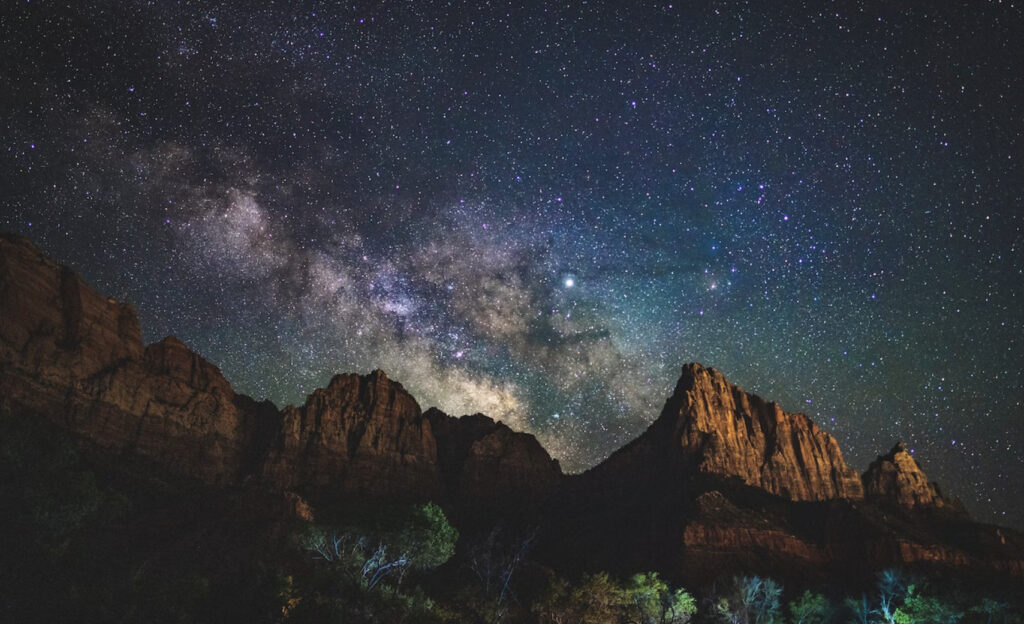
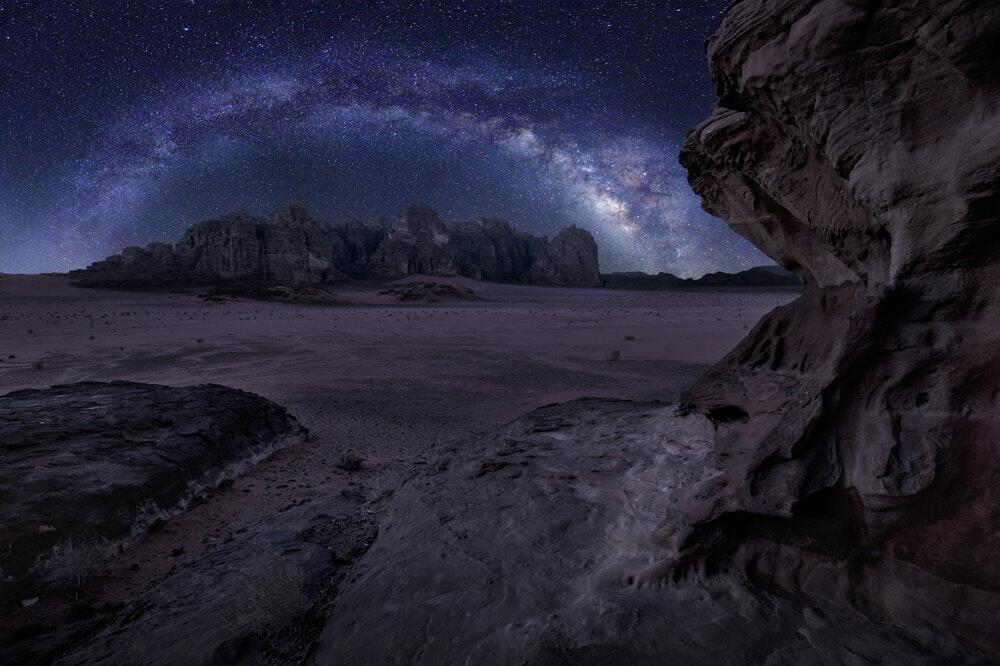
Ever wondered how those stunning shots of the night sky and the milky way are shot and edited? While it’s tempting to think that it’s possible to get great night sky shots straight out of camera, the truth is that the most spectacular and popular images you see of the night sky and the Milky Way are all edited to give them that final pop.
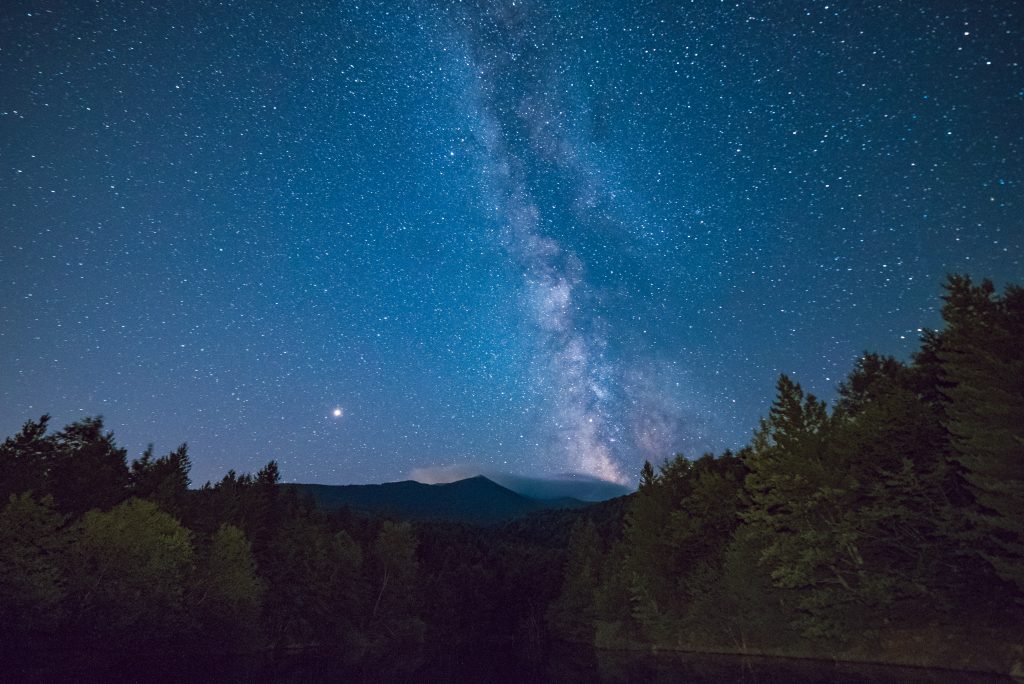
That is not to say that you don’t need good raw material to work with (you really do), but editing usually gives them the kick they need. It really is an end to end process.
Milky Way photographers who do it well, know the shooting side by heart. They will usually know the 500 rule by heart (or its poor cousin, the 600 rule). They will know the ins and outs of absolutely stabilising their camera to achieve pin sharp shots. They will know the basic camera settings for night sky photography that allow them to accentuate the Milky Way in their final shots and reveal elements that are sometimes not even apparent to the naked eye. Most of them will have apps like Photopills front and center on their phones with all the notifications set up to ensure they never miss a great night sky shooting opportunity.
Grab your Milky Way Photography Blueprint for free right here.
And while many of us are perfectly capable of getting a pretty nice night sky or Milky Way photograph straight from the camera, the fact remains that those shots could almost always do with some finishing touches in post too. In fact, most of the images you see in magazines and on social media absolutely require it.
Now, jacking up the contrast and white slider in Lightroom is all well and good, but to really dig down into the crux of editing a Milky Way shot takes a lot of time and effort. Both universal and local edits are almost a must with this type of photography.
It’s for this reason that we have been beavering away in our caves developing the Milky Way Magic Lightroom Toolkit.
The core of the kit is a set of presets and brushes that are specifically designed to help with universal and local edits on your images of the Milky Way.
There is also a “Photo Formulas” document that shows 12 specific before and after results and takes you through exactly which preset and brushes were used to achieve them. This lets you follow along exactly how it was done.
Finally, there is a shooting guide so you know how to get the shots you need – this covers exact camera settings and rules for night sky photography.
All of this is on launch special until Wednesday, so jump over and take a look at what we have got. There is even a video showing you how some of the presets and brushes can work.


