Photography and traveling, the quintessential combination. One of the biggest mistakes I made while traveling was to concentrate so much on my photography, that I totally missed enjoying the travel.
You know, simply being in those places that you've longed to travel to since forever is an amazing experience on its own.
Travelling requires time and money and there is always scarce enough of both for covering all the things that we would love to see. So I'm going to give you a quick camera setting tip to make your trip more enjoyable and allow you to make the most of your experience.
But, “how can a camera setting make my travels easier to enjoy?” you may be asking right now. Simple, by understanding how different exposure modes work, and how to be in control of the camera.
Let's start by talking about the modes, and then I'll give you a tip on how to enjoy your photography and the scenery at the same time.
So What Are Exposure Modes?
Your camera has these exposure modes that allow you some choices when it comes to exposure:
- Program Mode: This is the most restrictive modes of all, and pretty much only allows you to take care of the ISO.
- Shutter Priority Mode: You tell the camera the desired shutter speed and ISO, and it will figure out the best aperture setting.
- Aperture Priority Mode: Here you are in charge of the lens' aperture and ISO, and the camera will figure out the optimal shutter speed.
Exposure modes are great, as they take care of at least one element of the exposure triangle and you don't need to spend time working everything out like you would if you were using full Manual Mode
The problem with these exposure modes is that they will try to expose at the center, hence the “correct exposure metering” expression. And this may impact your image.
My Big Tip – Start Using Exposure Compensation!
Here comes the fun part, there is a way in which you can tell the camera that you are not OK with that perfectly centered exposure. To alter the exposure on these set modes, try using Exposure Compensation. This setting tells the camera whether a scene should be darker or brighter depending on your own taste.
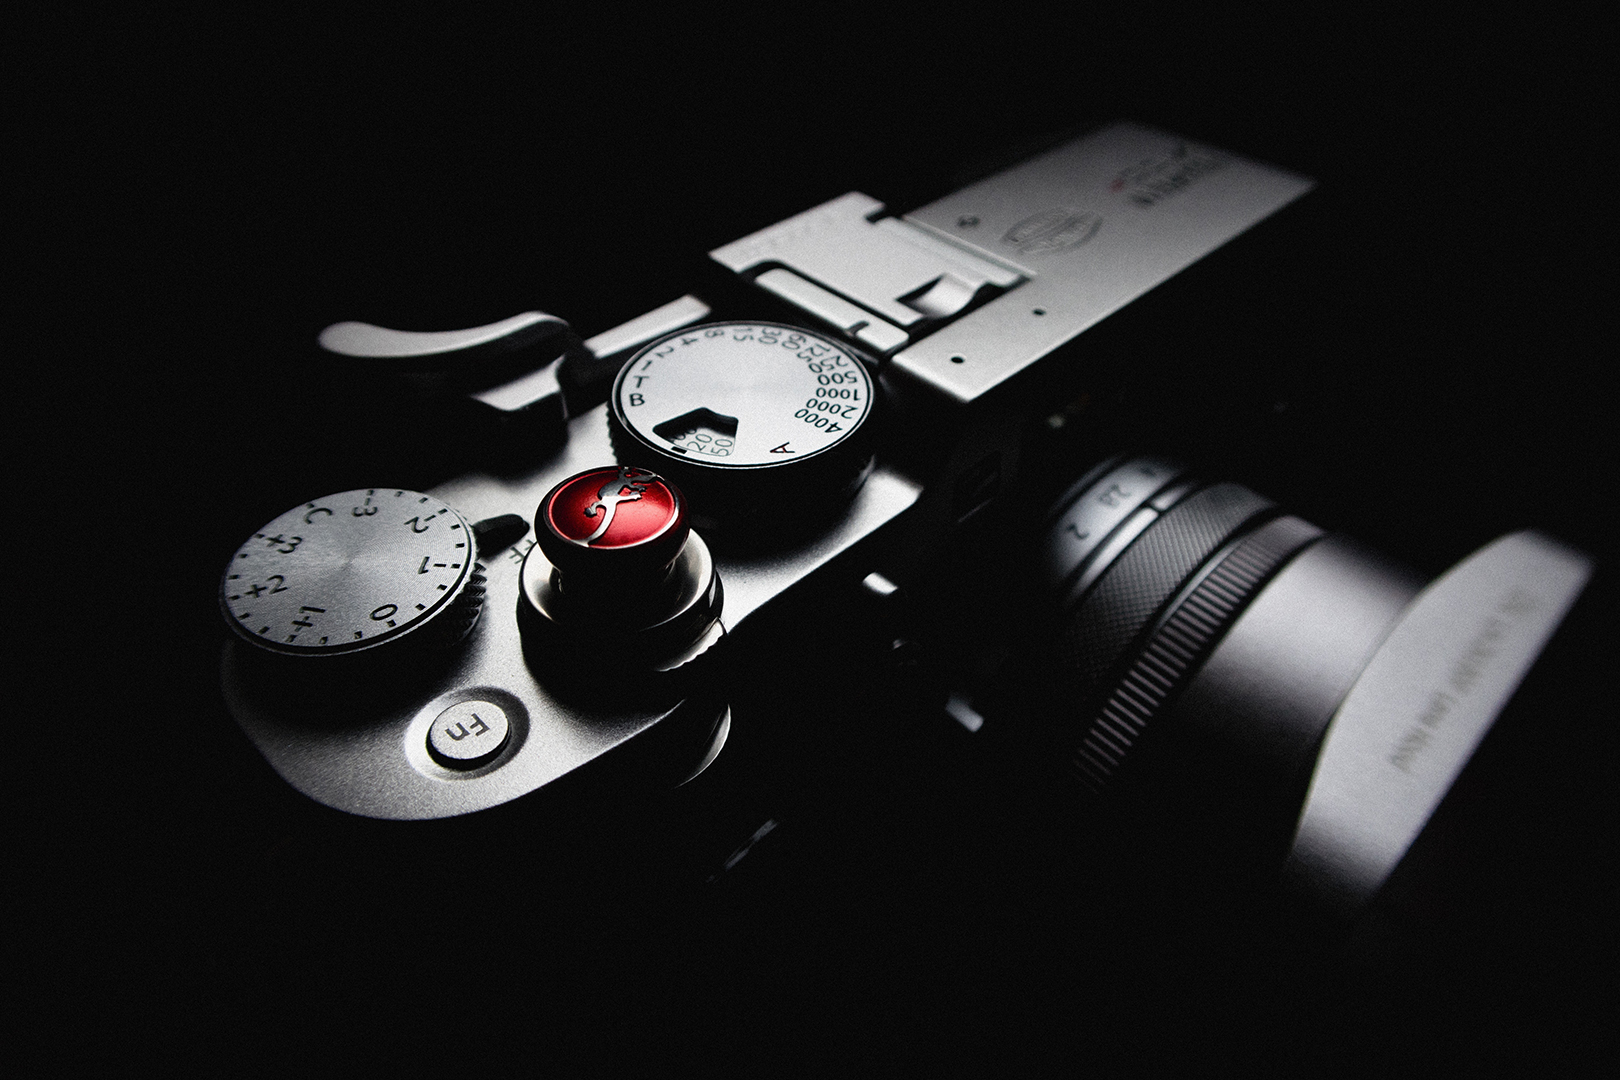
Take a look at your camera and you will see a little button…it will have a +/- on it. Press it and turn the dial clockwise (increase) or anticlockwise (decrease) to change the exposure compensation.
Some cameras are capable of handling exposure compensations up to ±5 stops of light, but, as always, experiment until you get what you are looking for.
How Does Exposure Compensation Affect Each Of The Exposure Modes?
- Program Mode: Here, exposure compensation will change both Aperture and Shutter Speed equally, to meet the desired exposure compensation.
- Shutter Priority Mode: In this mode, the exposure compensation will set the size of the aperture in accordance with your needs.
- Aperture Priority Mode: Here, the exposure compensation will juggle with Shutter Speed values while you'll be in charge of the aperture setting.
Don't be afraid of trying out Exposure Modes using Exposure Compensation instead of Manual Mode – it can really save you in a rushed situation or when you'd like to just kick back and take in the scene.
Sometimes when I'm in really hectic situations on the streets, where people are running and everything is true mayhem, I work with Aperture Priority mode, with +2/3 of exposure since I like to recover details from the brightest zones instead of pulling them out of the shadows.
Even when traveling absolutely alone, it is important to enjoy the moment, remember you aren't just capturing the moment, you are living it! Using Exposure Compensation is a great tip that hopefully allows you to enjoy more of the short amount of time you have when traveling.


2 Comments
Your advice is always to the point and very useful. Thanks!
In Canon P mode we can rapidly change speed or aperture. and Beside it You forgot Canon’s auto ISO, Nikon does not have(I found only Total Auto mode(green)…