Portrait photography is one of the most popular varieties of photography in part because it allows the photographer to be diverse, creative, and tell a story. Keeping that in mind, portrait photography can also go wrong rather quickly. By keeping the tips you'll find below in mind, you can help bring your portraiture to the next level.
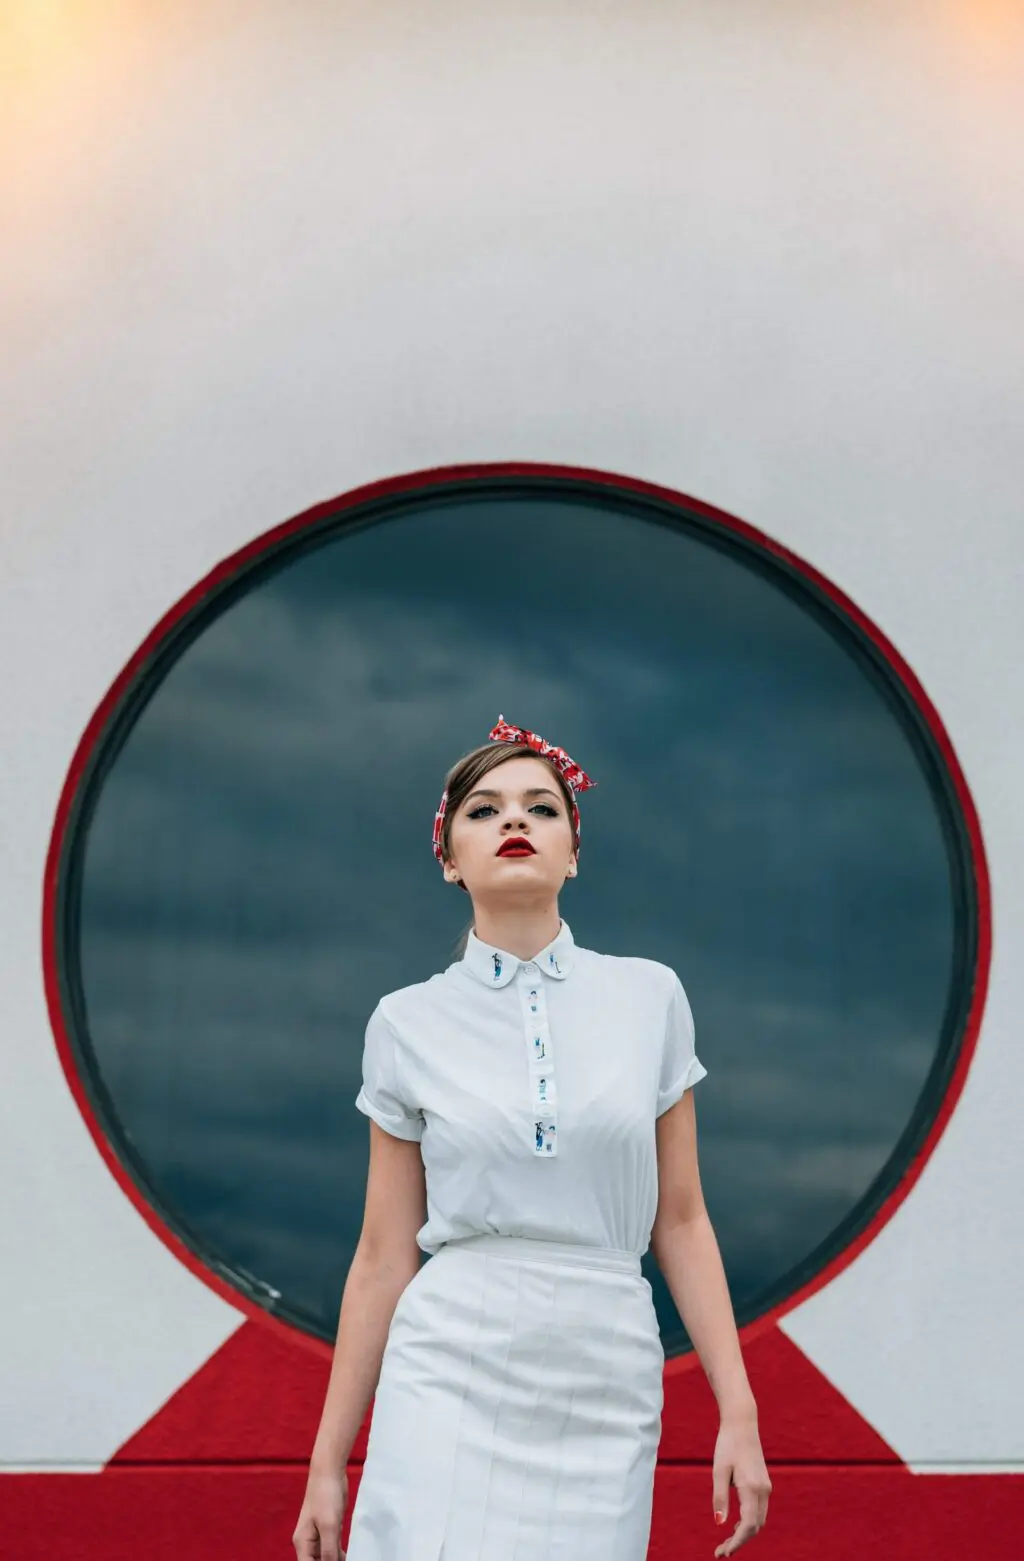
- Busy Backgrounds and Distracting Elements: This one really seems like a no-brainer, but you'd be surprised at how often photographers forget to pay attention to the background when taking a photo. The idea of a portrait, as we all know, is to showcase the subject. How is the viewers eye supposed to stay focused on the subject when there is something distracting them and pulling their interest elsewhere? Pay attention to everything that is going on in the frame, making sure there are no distracting elements within it. This happens most often when shooting outdoors, but studio photographers are also guilty. When choosing a backdrop cloth, try to avoid ones that have a bold print or pattern. They might have been stylish in past, but this is one trend we should be happy to see end. In this case, less is more! A couple quick ways to fix this would be to adjust the depth of field so the distractions blur away naturally, or simply move in close to your subject and fill the frame with them, eliminating the background altogether.
- Misplaced Focus: It's almost an unspoken rule that the focus of a portrait should be on a subjects eyes. If you don't have sharp eyes, you don't have a portrait. Now, I'm all about bending the rule every once of while, but this is one I like to adhere to pretty religiously, especially when using a shallow depth of field. As humans, we can tell a lot about a person just by looking at their eyes which is why the eyes are always our focal point when we are engaging with another person. While we can't exactly converse with a portrait, the photo should not inhibit our natural gravitation to focus on the eye. It should also be noted that if only one of the eyes can be in focus, it should always be the eye that is closest to the camera.
- Posing Techniques: Most of us don't really know how to pose in front of a camera and the experience can be very intimidating and uncomfortable. As a photographer, it's up to you to make your subject feel at ease in front of the camera and ensure they are standing–or sitting–in a manner which lends itself to a natural and attractive look. Without them looking too rigid, ask them to stretch their body upwards and maintain good posture for the shots. Look for their good angles and shoot from a direction that flatters their features. Pay attention to where they are placing their hands and feet. Make suggestions rather than using a bossy tone of voice to help keep them at ease. Even when shooting candid shots, when you don't particularly have control of the subjects body, you should still be looking for moments and angles that best show off your subject.
- Using The Wrong Lens: The majority of the time you will probably want to avoid shooting with a wide angle lens because it will distort the subjects features in unflattering ways. For example, with a 20mm lens, the face will be stretched out and your subject's face will start to appear to be alien like. Alternatively, too long of a focal length will also create odd looking distortions. It's best to stick within the 70-135mm range, my personal preference being a solid 85mm prime. That being said, there is a time and place for lens lengths outside that range, but if you are just getting started in portrait photography, you could consider it a safe zone.
- Using The Same Old Stuff: It's easy to find something that works and run with it, but in an increasingly competitive photography world you really have to make sure you don't become stagnant. Mix up your style occasionally and try new techniques. The top portrait and headshot photographers got to the top by breaking free from the norm and inventing new styles. Additionally, since your customer base will inevitably be so different as a portrait photographer, it's important your portfolio reflects a bit of diversity so there is something that will appeal to all different types of people.
Hopefully these tips will help you avoid some common portrait photography mistakes. Of course, this is just a condensed list of problems. Be sure to constructively share your thoughts and experiences in the comments below, letting us know what you think is important to keep in mind when taking portraits.

8 Comments
How do you blur the background and yet still keep a large group (say 8) of people in focus?
Depth of field is the key here. First be sure your group is not close to the back ground. If you are shooting the group in a room, your back should be against the wall, not the groups. Next get as far from the group as possible so you can zoom in for the right cropping. The longer the focal length you are using, the more shallow your depth of field will be thus blurring the background. Keep the group tight so there is not too much depth from the person closest to your lens to the person farthest away. If these parameters can not be met, use photoshop or gimp to select the background and use the gausian blur tool to blur out the background.
You really can’t- if you go with ƒ5.6
and get back and use 100mm then IF you pose the group so that the back row makes sure to place their heads between the shoulders of the front row- you will get enough focus and gently blur the background- but nothing as dramatic as when doing a single portrait or couple as the point of focus for 8 is farther away. Darkening the corners and doing from blurring in photoshop could help- but the task is to pick a non distracting background for the people to pose in front of.
Thanks 🙂 i have one question im travelling south america backpacking and i have the std Lens 18-55 . The 50 mm 1.8 and the 70-300
.. would the 50 mm and the 70-300 work for portrait?
David basically every lens can work fine, what matters is how use it. A wide angle is not a lens for portrait usually, but if you browse the web you can find a lot of good portrait taked with it. You mention the 18-55 so I think that your camera is a 1,6 crop camera. Both the 50mm and the 70-300 can work for portrait, the 50 is better thanks to the greater aperture.
Thanks for all the great info on this site.
On shooting perspective for portrait, is it a good assumption that headshot for the most part needs to be taken at eye-level while full length portrait should be taken at waist-level perspective of the subject with camera angle tilted up slightly.
Some readings I have done said shooting full-length portrait at this angle makes the leg appear a little longer while shooting full-length portrait at eye-level makes the leg shorter. I am not sure what to believe. I want to get correct perspective of the subject.
I have a canon T3i with Kit lens (18-55mm) and 50mm 1.8.
Could somebody clarify this for me?
One other question: I learned it’s a good idea to place the subject on the side instead of the center of the picture (rule of third).
With this in mind, I figure using one of the outer focal points on the camera will be ideal in composing such portrait. However, lots of people believe the center focal point should be used to focus, then you can lock and recompose. Their reason is that the center focal point is a cross-type.
My question: Does this mean that focus achieved with the center focal point is better or sharper than one achieved used any of the outer focal points? I have also heard a canon person say that when you recompose that there is no guarantee your subject will be in focus because of the way FOCAL PLANE works.
So, would you recommend using an outer focal points (no need to recompose) or does the advantage of this cross-type focal point make it a preferred way to focus on your subject? I am looking to invest on a canon eos 6D (upgrade from current Rebel T3i).
“Sticking with a focal length 75-135 mm” presumably applies to FX format cameras. Does the same focal length apply for DX cameras or should the relevant crop factor be applied? I tend to use my 18-105 mm kit lens set to around 70 mm on a Nikon D7000 (1.5 crop factor) giving a 35mm equivalent focal length of 105 mm.