When we first get into photography, be it with a compact camera or a DSLR, we tend to use the camera’s built in flash when we need it. Now whilst this maybe ok for the occasional snapshot, time will come when you start to need a wider range of control over your flash. What you need is an external flashgun. But what to buy, and how to use it? In this brief guide we will run you through the basics of getting and using a flashgun.
What You Should Consider Before You Buy a Flashgun
To the uninitiated buying a new flash can seem daunting. There are all sorts of acronyms and strange numbers that manufacturers throw at you, but to be honest, most flashguns these days come with pretty much similar features. The number you need to consider the most when buying a flash is what is known as the Guide Number. So what is this?
Well the way it is expressed is usually like this “80 feet at ISO 100” and what this tells you is maximum flash to subject distance that the flashgun can deal with. The figure assumes a lens aperture of f1 so if apply the figures to a more usual f stop, for example f4 then it means that the flash will correctly illuminate a subject at 20 feet with an ISO of 100. This is an important number as it tells you how powerful the flashgun is, the higher the number the more powerful.
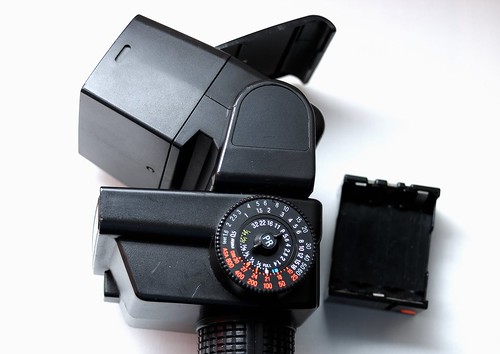
The Guide Number indicates how powerful the flash is. by norbet1, on Flickr
The next major thing to consider when purchasing a flashgun is to buy one from your camera manufacturer or a third party company. Now whilst your camera manual may advice you to only use its own flashguns on your camera, there are a number of very good third party manufacturers that can provide excellent guns, often at a lower price. The issue that you need to consider when buying third party is the flashgun dedication. A dedicated flashgun is designed to integrate with the electronics of a particular camera manufacturer. Obviously if you buy any modern Nikon Flash it will “dedicate” with any modern Nikon DLSR, however, if buying third party flashes, you need to make sure that it is dedicated to your camera brand.
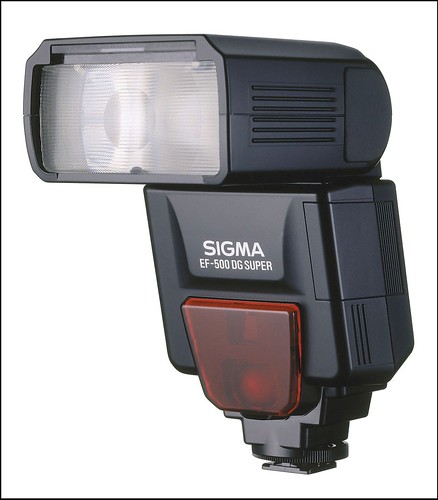
Third party manufacturers provide excellent value PentaxFanatiK, on Flickr
Another major consideration when making a purchase is does it have tilt and swivel? This means that you can move the flashgun’s head both vertically and horizontally. This will enable you to use bounce flash, for example off of a ceiling, to create a softer light (very important in portrait photography).
What Are the Features of a Flashgun You Should Actually Use?
So once you have purchased a flash, let's look at some of the features you might expect to find.
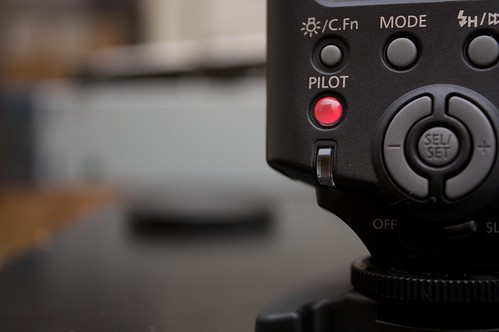
- TTL Mode – As we mentioned earlier, most flashes these days are dedicated. What this means in practice is that your flash will have a Through-The-Lens (TTL) auto mode. When you use this setting the flashgun will take information from the camera such as aperture setting, lens focal length, metering information and subject distance. It will use all of this information to give exactly the right amount of flash required. As with any auto modes it can be fooled, and for this reason, modern DSLRs have a flash exposure compensation button. This allows you to dial in a correction for the flash, for example if you are finding the flash is over exposing the image, you can dial in a -1 stop flash compensation.
Modern flashguns have many features by penguincakes, on Flickr
Manual Mode – Most flashguns will also have a manual mode. What this does is allow you to set a manual power level for the gun, typically Full, Half, Quarter and so on. What this does in practice is ignore any info from the camera and fire the flashgun at exactly the same power for every shot. The biggest advantage for this is when shooting, for example, people at the same distance to the camera in every shot. Here manual flash will give a more consistent result as it ignores density and color in clothing which can lead to variations in exposure.
Flash Sync – One thing to be aware of is flash synchronization. It is generally not possible to use flash at all shutter speeds, this is because the actual flash has the be in sync with the time that the shutter is open. Typically the maximum sync speed is 1/250 sec however, some more advanced guns may include a high speed sync setting. This will allow you to increase your shutter speed and still keep the flash in sync, particularly useful when using fill in flash in bright locations.
Another feature many flashguns have is front or rear curtain sync. The default is front curtain sync, this gives you that frozen in time look that you see in most flash images. The rear curtain sync basically allows you to add some motion blur to your flash images.
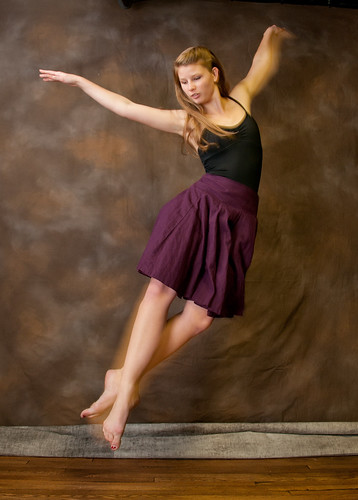
Motion created by rear curtain sync by l.hutton, on Flickr
Many of the features of modern flashguns are now actually controlled from the camera itself, some examples would include the aforementioned flash compensation, red-eye reduction and slow sync. Any dedicated modern flashgun should be able to take advantage of all your camera’s flash modes.
Getting into flash photography may seem daunting but it needn't be. Modern flashguns and cameras take away much of the calculation of the past yet still provide plenty of manual settings with which to experiment.


6 Comments
Really helpful – thank you
Thank you. you answered some basic questions I had. Nice and simple.
Thank you, for your help
As always very helpful, I just bought a Sony HVL-F60m, very powerful gun just got to learn how to use it now!
Great article. I had no idea what to look for before reading this! Thanks a lot!
I love all of your articles…. I was planning to buy my first gun for my canon 700-d and i had no idea about what to consider… But this article helped me out very much…
Thank you team Light Stalking..