The speed. The wingspan. The catchlight. The sharp eye. The wingbeat. The ‘hang time.' Photographing birds with the wind beneath their wings is a personal goal and challenge for many bird photographers.
Nailing a bird in flight image feels pretty good. To get personally epic photos, it takes practice. Practice using both hand-held and tripod panning techniques. Practice using the right lenses, the correct camera settings and environment. Practice with the birds.
We'll cover suggested quick start baseline settings followed by techniques that will take you from winging it to nailing it!
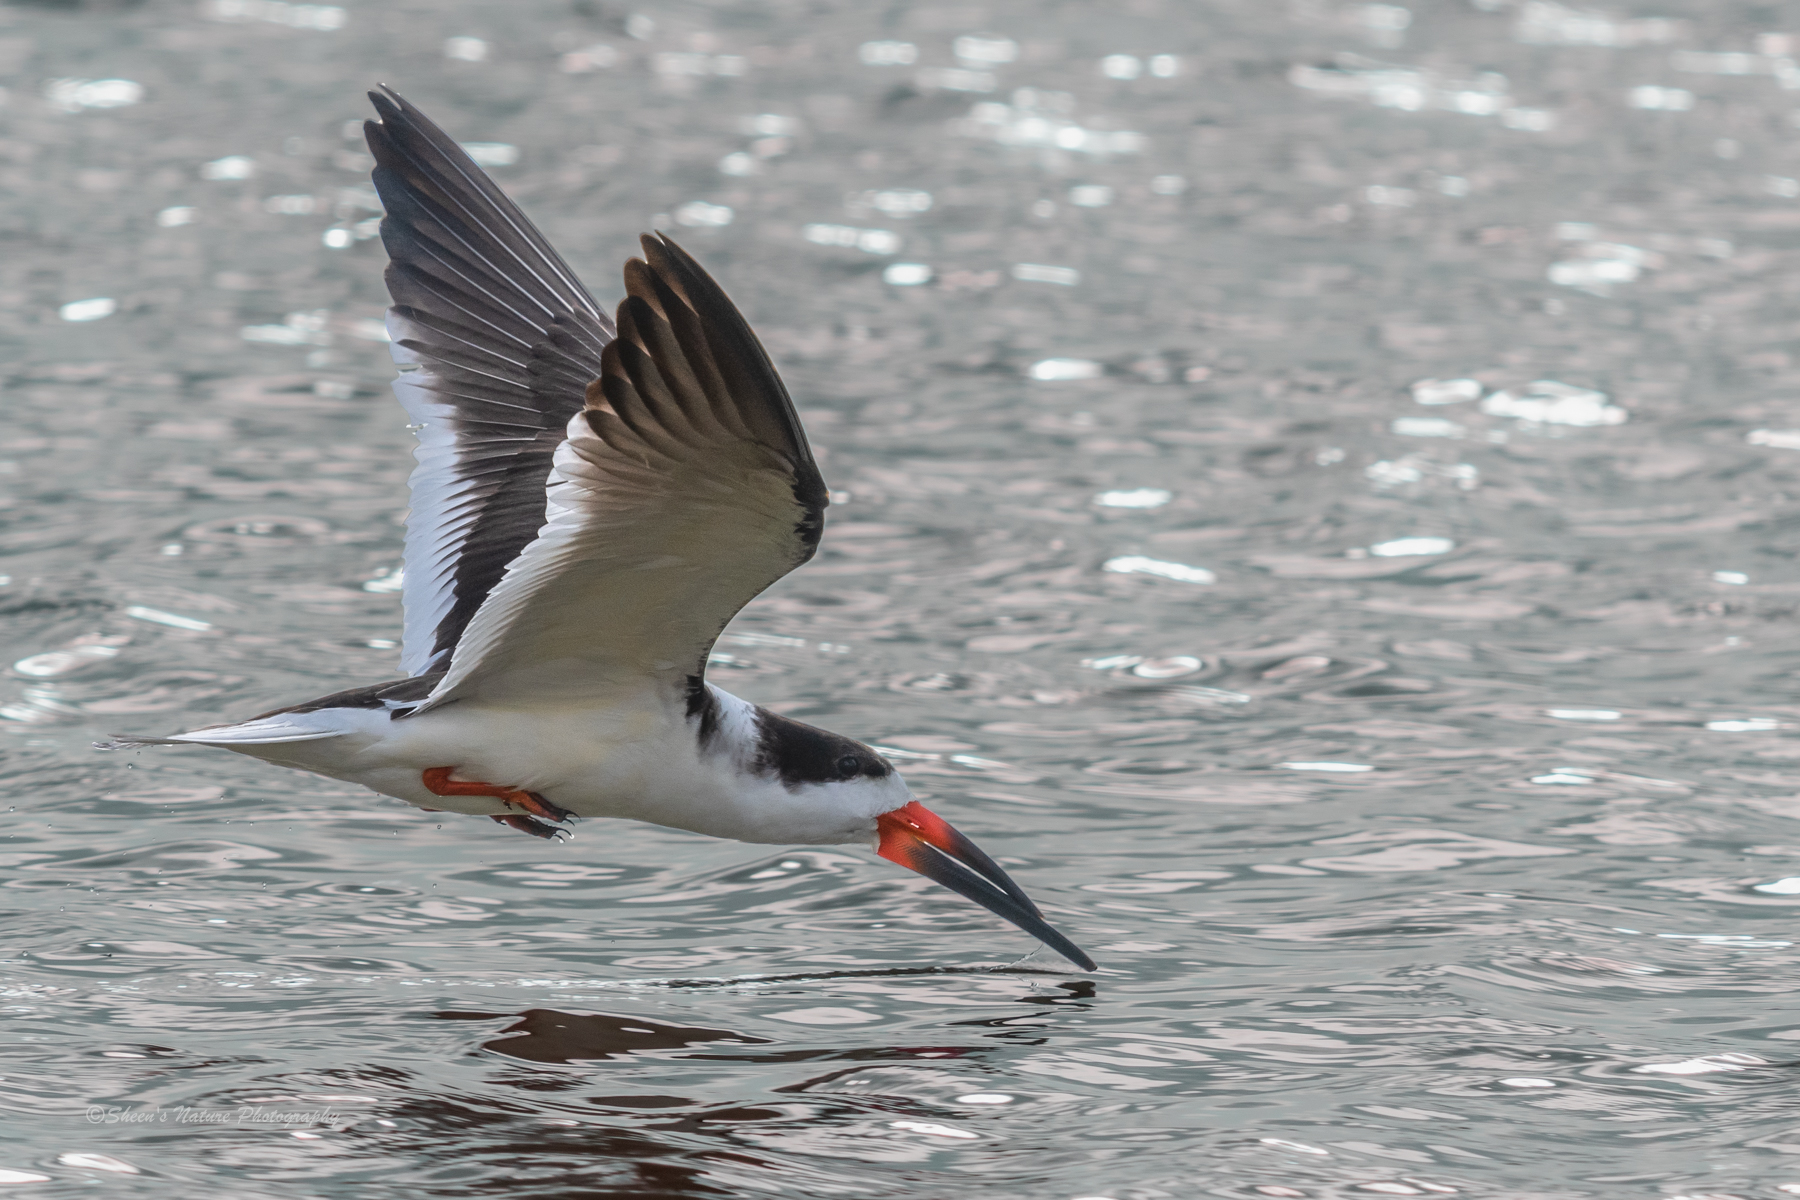
Quick Start Settings – A Foundation to Build On
The following six camera settings are a good starting baseline for photographing birds in flight. After a few series of bursts, review your work and make adjustments where needed. Your personal preferences and shooting conditions may require different settings.
- Group Area AF 4 focus points vs single point focus. Using a larger focus area makes it easier to get the bird in focus while flying. Note: when photographing ‘birds on a stick', or birds and wildlife with distracting backgrounds, single point focus helps prevent the lens from focusing on areas surrounding the bird.
- Continuous shooting mode for rapidly capturing several photographs when holding down the shutter button.
- Manual Shooting Mode is my first choice for birds in flight, followed by Aperture Priority Mode – I control my shutter speed with ISO.
- Aperture set at f/9 for large birds in flight, f/8 for smaller birds
- Shutter Speed 1/1600 – 1/2500sec
- ISO 1000 – 2000 depending on lighting conditions to get the desired shutter speed (note: on a very bright sunny day, ISO may need to be lower)
Before shooting birds in action, try photographing your dog or child running in the backyard or a local small sporting event. Starting with larger subjects helps ingrain your skills using multiple settings and techniques.
The Artistry of Flight ~ Balancing Sharpness with Action
When photographing birds in flight, a steady hand and light management make a massive difference in getting sharp action images. But what is a ‘sharp' bird image? It starts with an eye that is clear and defined. The eye – its sharpness, and position in the frame – sets the tone.
What about the other elements in the image, should the entire bird be sharp? There is not a right or wrong answer here as it is subject to the photographer's and the viewer's aesthetic preference.
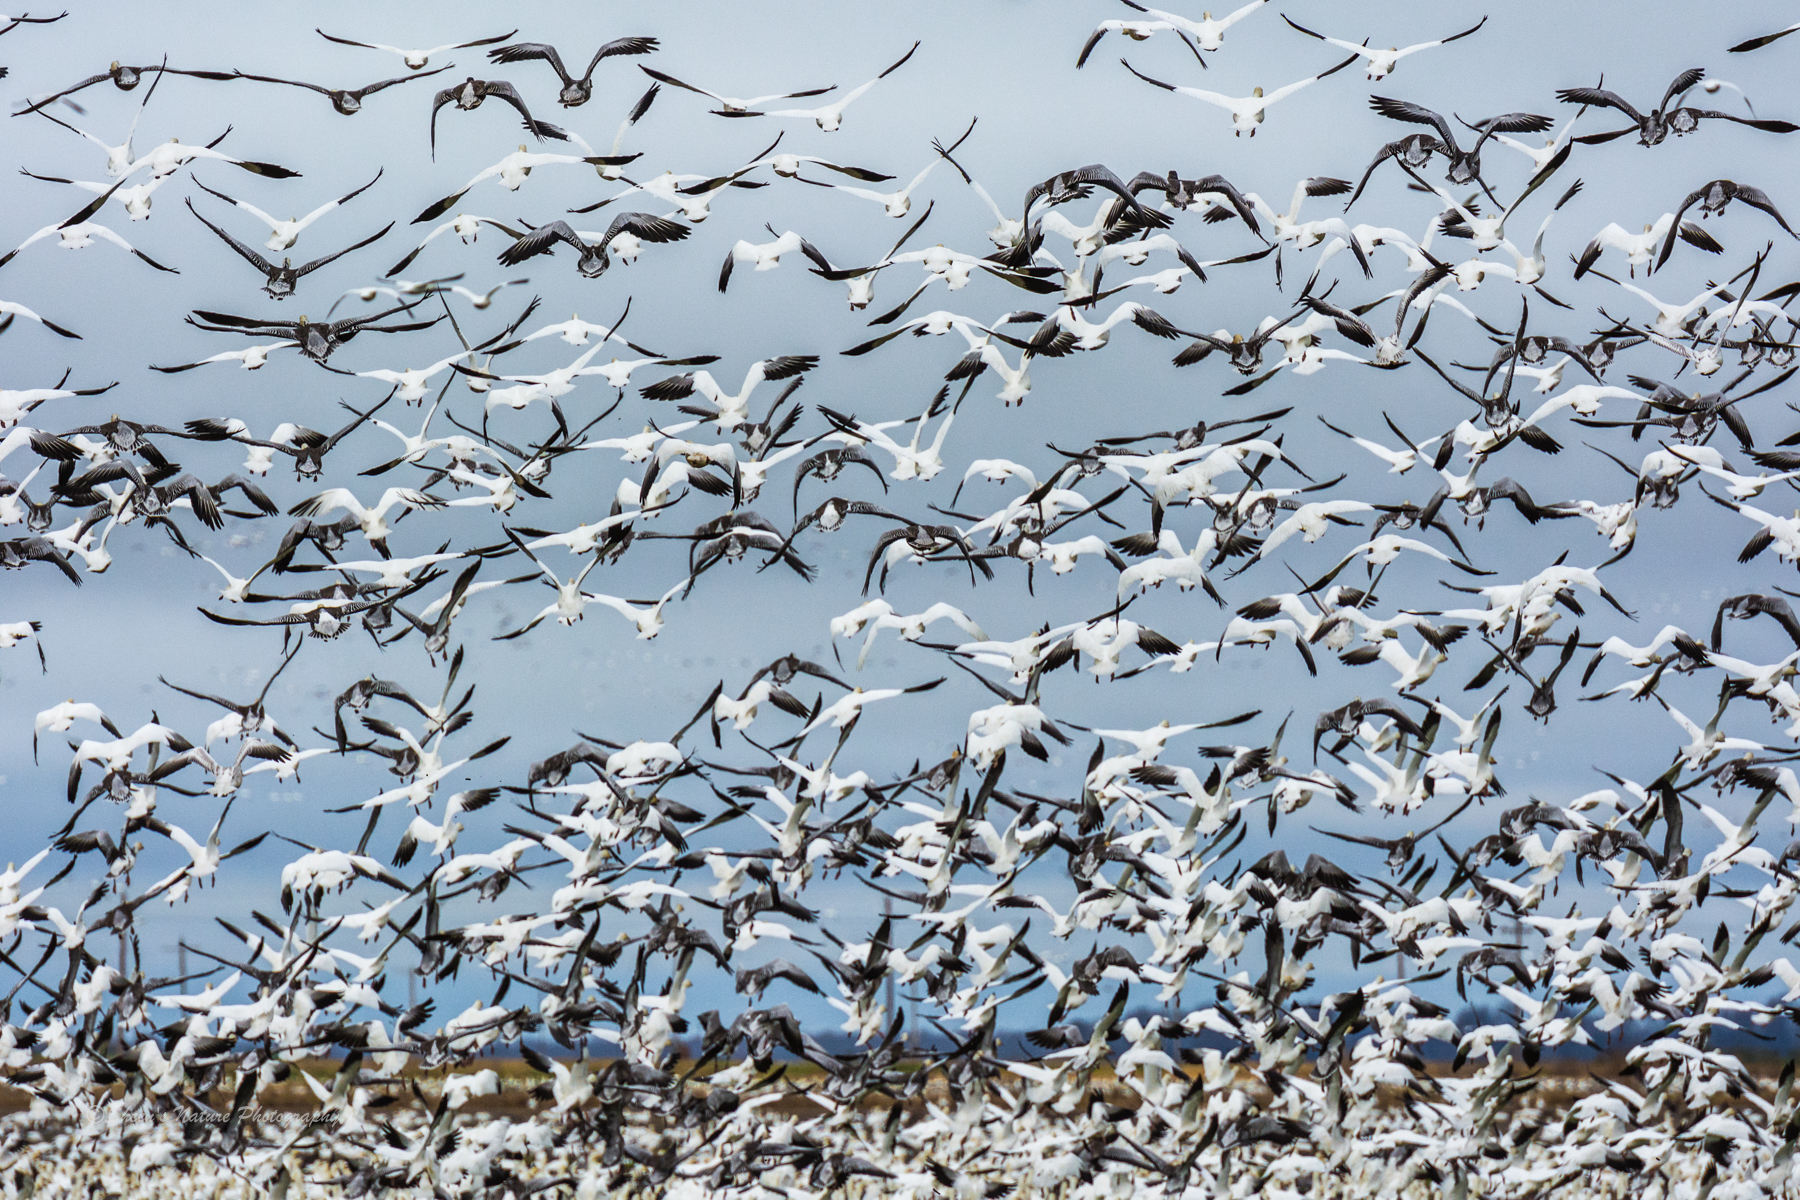
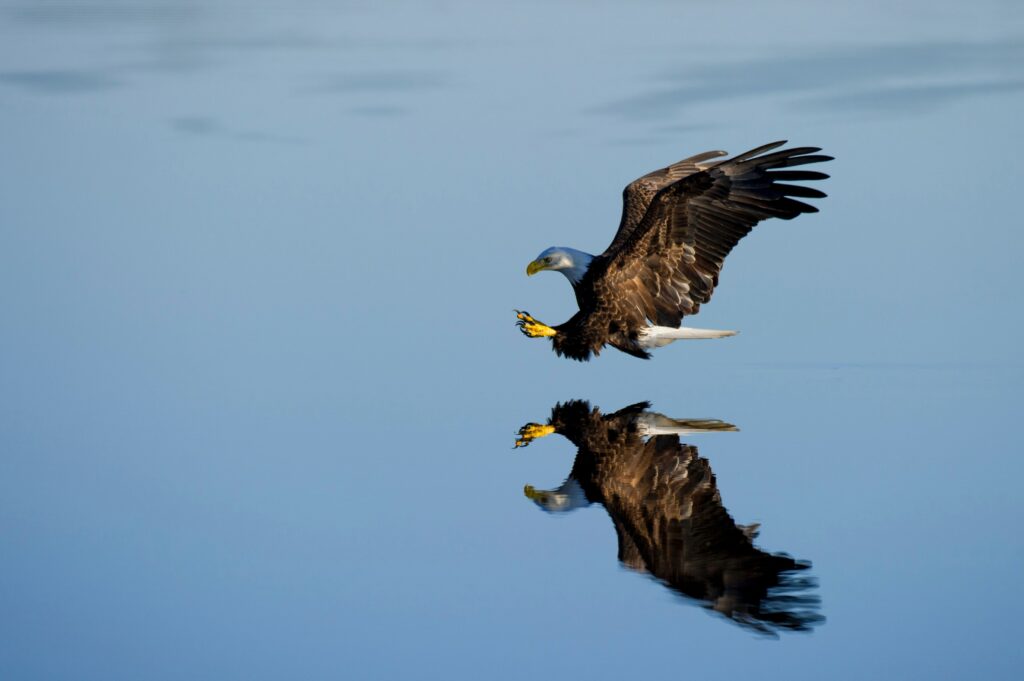
Bird images where the entire bird is tack sharp to the tip shows off the bird's features and details. Images, where the wings have motion blur, illustrate movement, speed and power. If photographing large flocks of birds, the context of the moment versus image sharpness becomes the story as reflected in the Snow Geese image above.
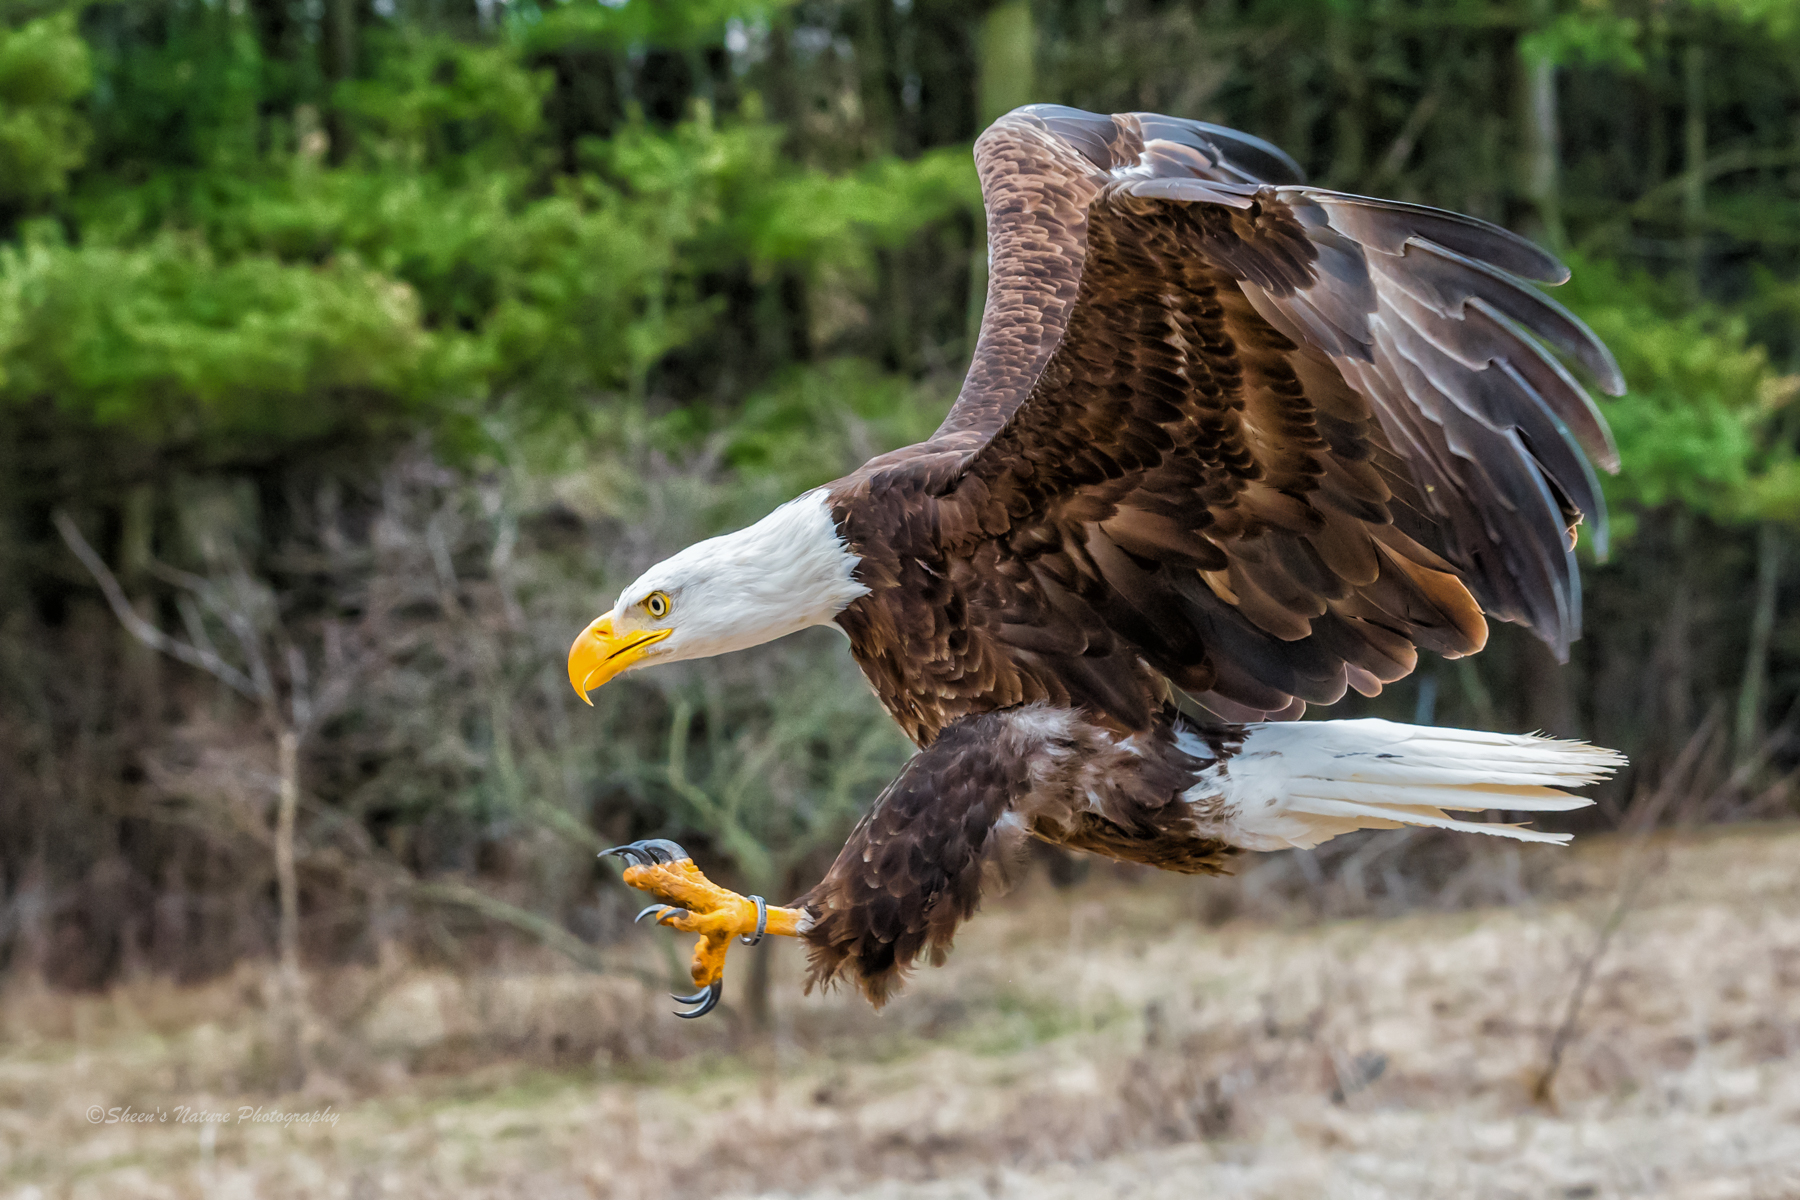
In the Bald Eagle image below, what is sharp? What demonstrates movement?
The Background ~ Enhancer or Detractor?
Another compositional element that can quickly enhance or derail the image is the background. When we show up to our location, are we taking the time to explore the area, the direction of the light?
Where are the areas open, tight, cluttered? Taking a moment to inspect the possibilities quickly reduces the number of unusable images when you're back in post-processing.
Does the background frame the bird? Is it separated from the background? How do the elements in the background play in the scene? With birds in flight, a clean background or having distance between the bird and the background improves camera focusing and image quality.
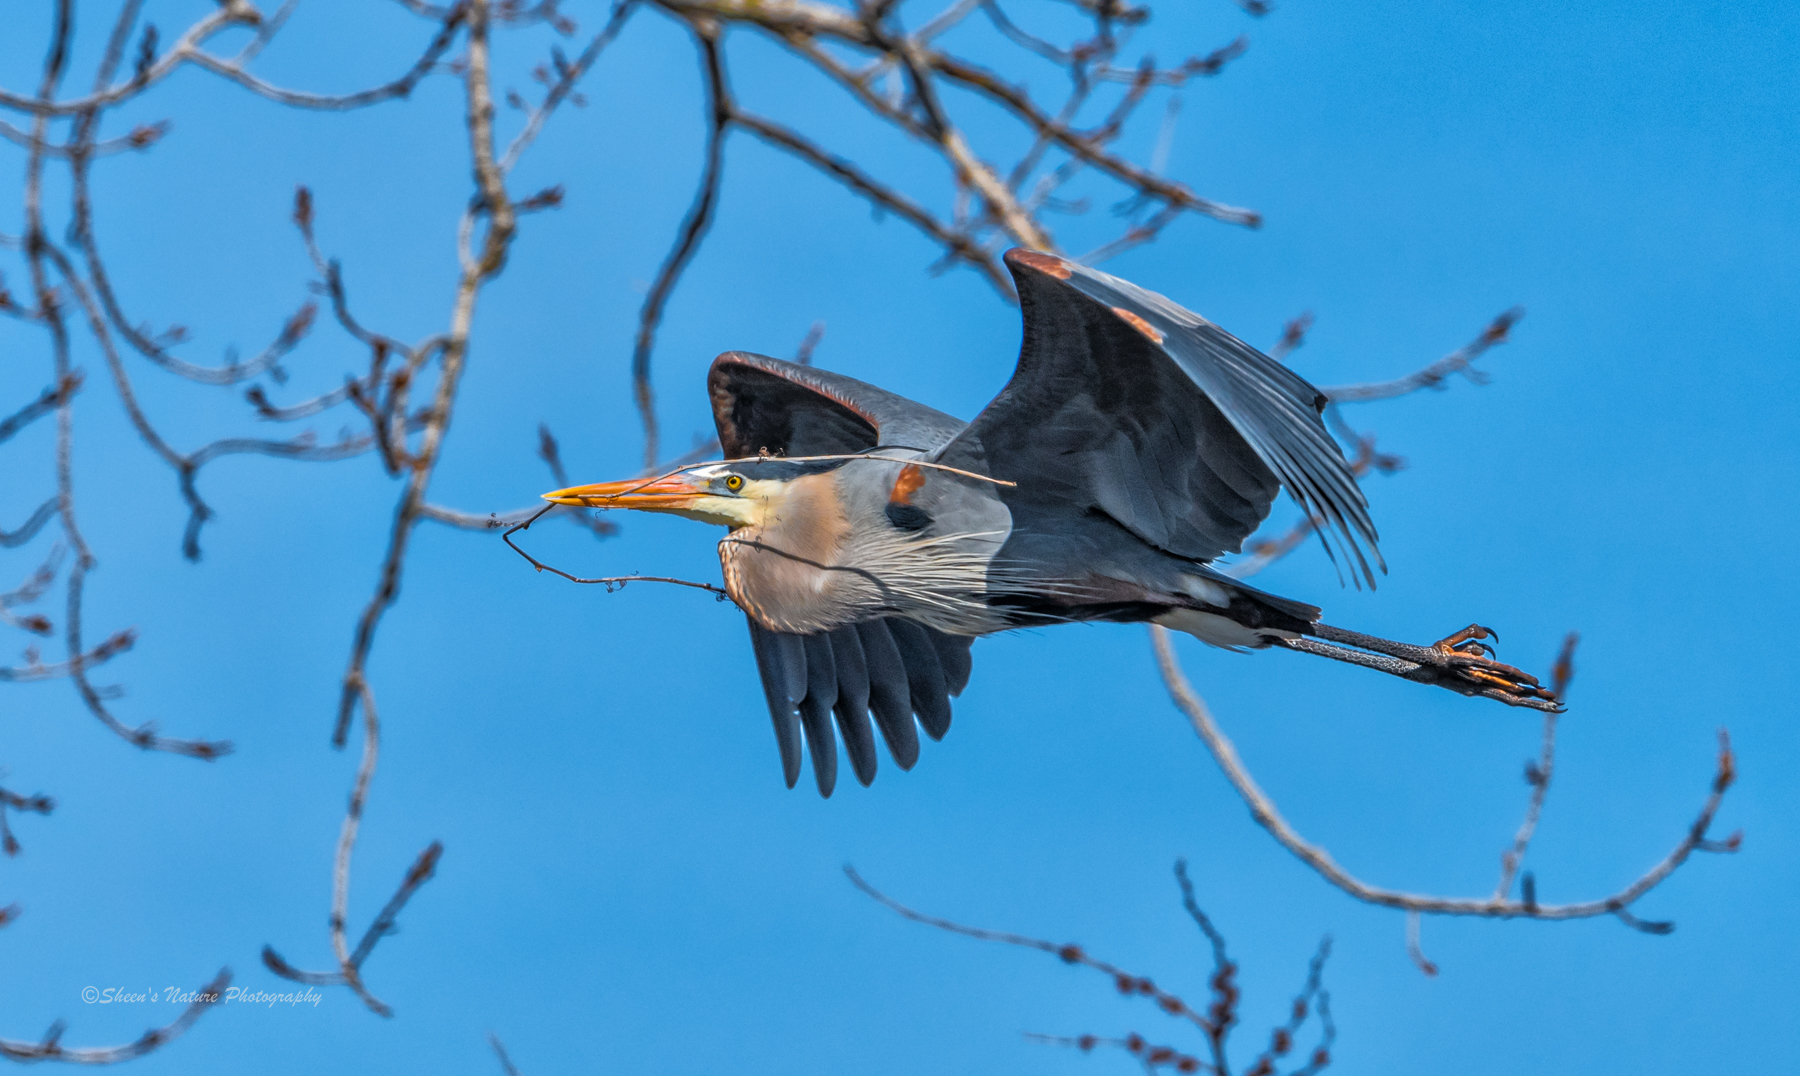
The heron below was flying against a sunny, flat blue sky before soaring into the rookery. The branches in the background, while cluttered, added to the story of her building the nest. What do you think? Is the background distracting or complimentary?
Camera Settings – Harnessing the Light
A steady hand, great lighting and fast shutter speed are all that's needed. If only that were true all of the time.
As the shooting day progresses, our hands may start to feel less stable. Heavy lenses, tracking/panning, shifting light conditions all take its toll on image quality. Combine these factors with rapid bird action and the need for shutter speed management elevates.
The Exposure Triangle
Shutter speed by itself is not the total answer. Image quality is reliant on the balance and effective use of technique combined with the exposure triangle: Shutter Speed, ISO and Aperture.
Shutter Speed – For large birds, 1/1600 – 1/2000 of a second is a reliable range. For smaller birds, 1/1800 – 1/2500 of second should get you clean action/bird images. When using higher shutter speeds, our images can be underexposed. To balance the light with shutter speed, ISO comes in to play.
ISO – for most photography scenes, we tend to go as low as we can with our ISO. For birds in flight and action photography, this is an excellent example of why our cameras have higher ISO capabilities. So we can use it harness light to get great shots! Using higher ISO's for birds in flight manages light sensitivity with our shutter speed.
Aperture – With large birds, using an aperture of f/9, f/10 and down to f/11 more of the bird will be in focus. A too shallow depth of field on a large bird may give you a sharp face and soft everything else. With smaller birds, a larger aperture (f/8 or f/7.1) will keep small birds in focus and will aid in softening the background, reducing distractions.
Lenses, Tripods
It's not uncommon to get “wow, that's a lens” comments from non-photographers as you're typically using longer lenses with birds and wildlife. For tighter, closer situations and large birds, such as eagles, a 200mm or 300mm may be sufficient. More focal length may be needed for smaller birds or further distances.
Examples: Telephoto zooms, 200mm and 300mm (and larger) primes with a teleconverter
Tripods work. Period. Yes, you can get great shots without them. You will get more great shots with them when using heavy lenses. For those that have the arm strength and stamina – you are very fortunate. However, many photographers see consistently higher image quality when using a sturdy tripod.
How/Where to Get Practice?
Centers with Rescues/Education Offerings
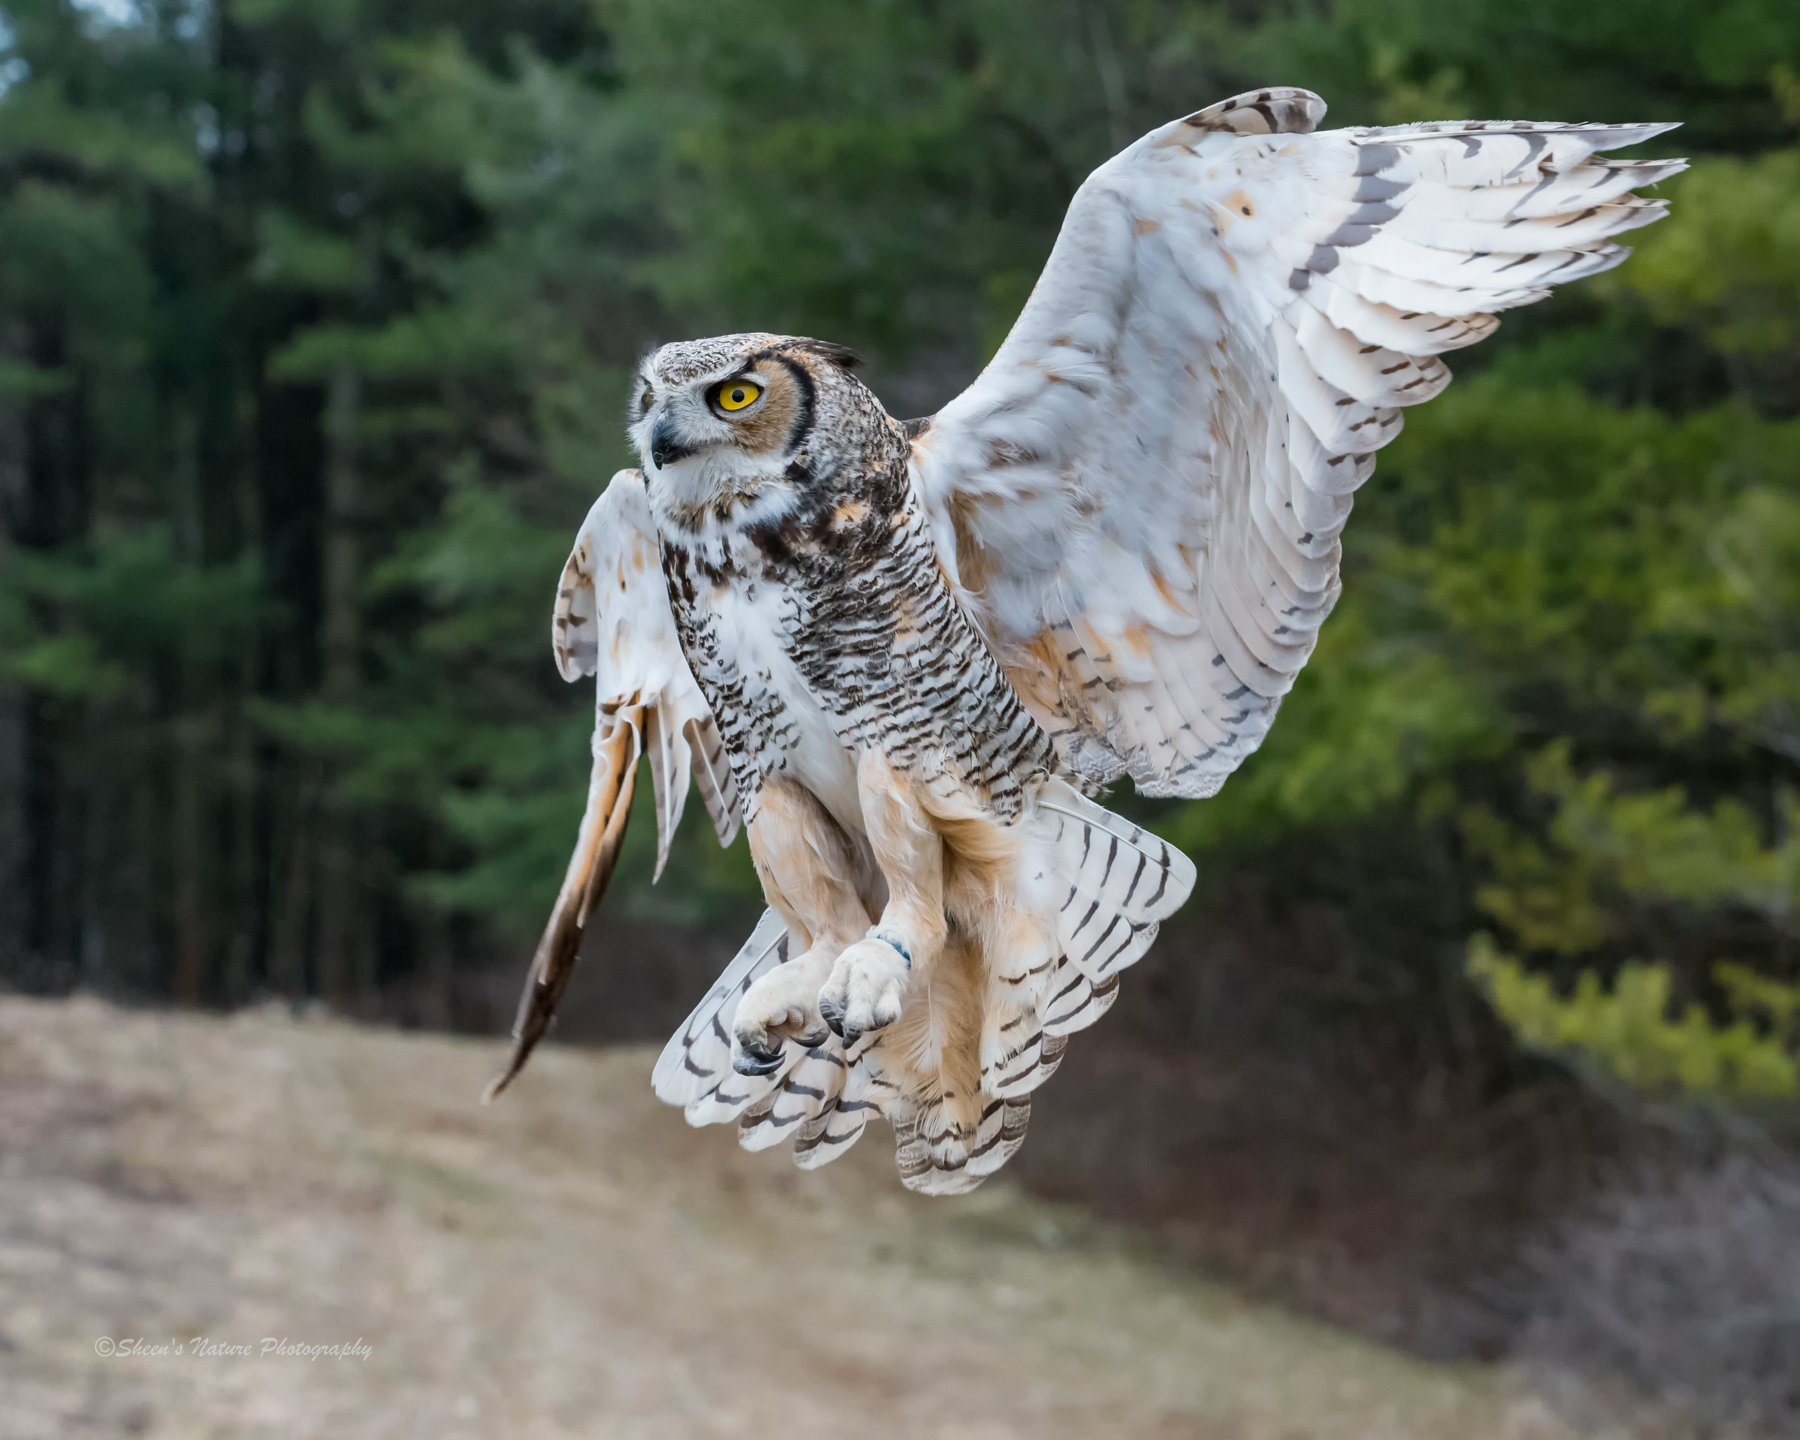
The image below was taken at a nature center. They have captive birds that cannot survive on their own. They are used for education and illustration purposes (and very well cared for!). They offer small group bird in flight photography sessions where you know where they are taking off from and generally where they'll be landing. It's an excellent opportunity to practice techniques and support an organization that is helping wildlife.
Beaches and Lakes
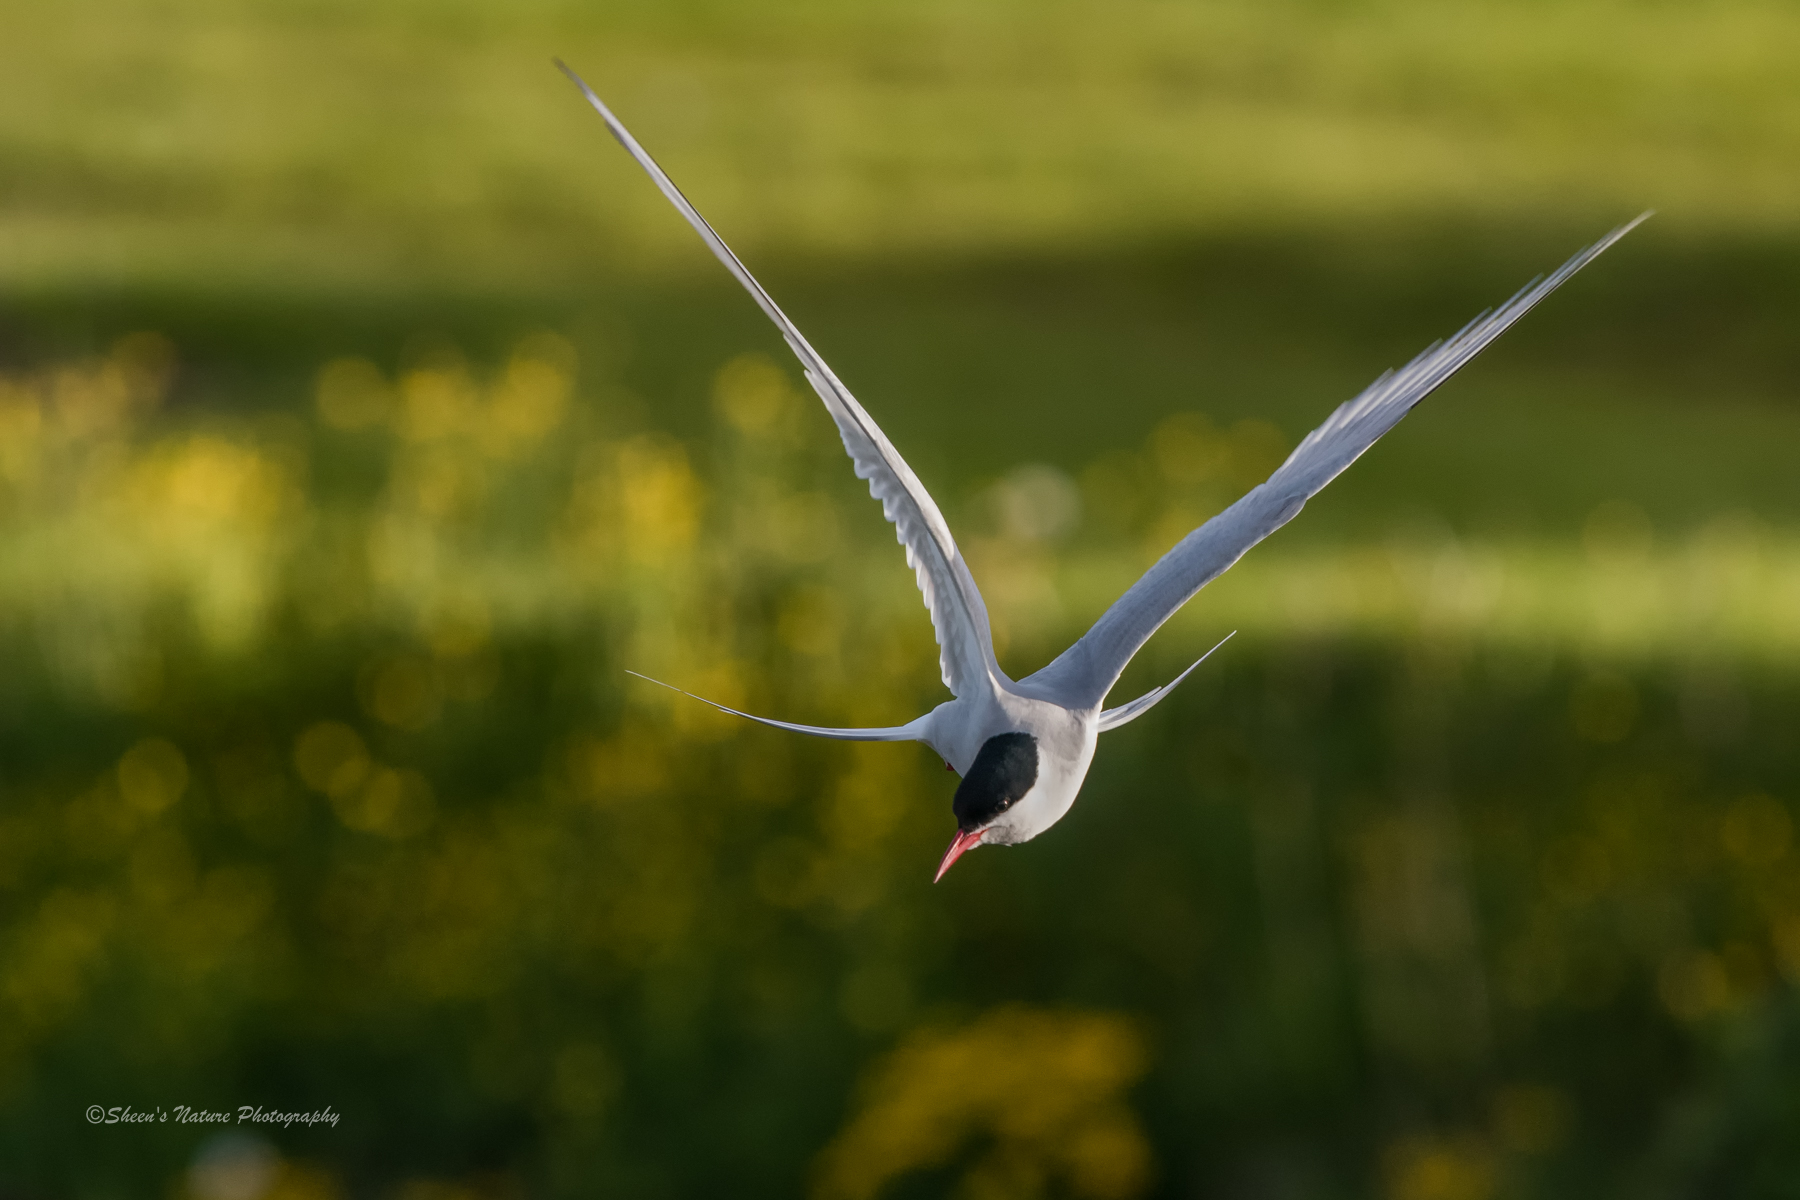
Large birds such as gulls, pelicans and terns are relatively predictable in their flight and landing patterns. In the mornings, runners, walkers tend to encourage these large birds to fly frequently, giving you many shots of taking off, landing and in flight.
Open Fields, Natural Backgrounds, Skies with Fluffy Clouds
Big open areas with backdrops of color naturally separate the birds from the background.
Final Tip
And the last tip? Patience with yourself! It is trial and error, with many shots that will provide you with rewarding images.
Further Reading
For other articles on bird and wildlife photography, check out:

1 Comment
Great article