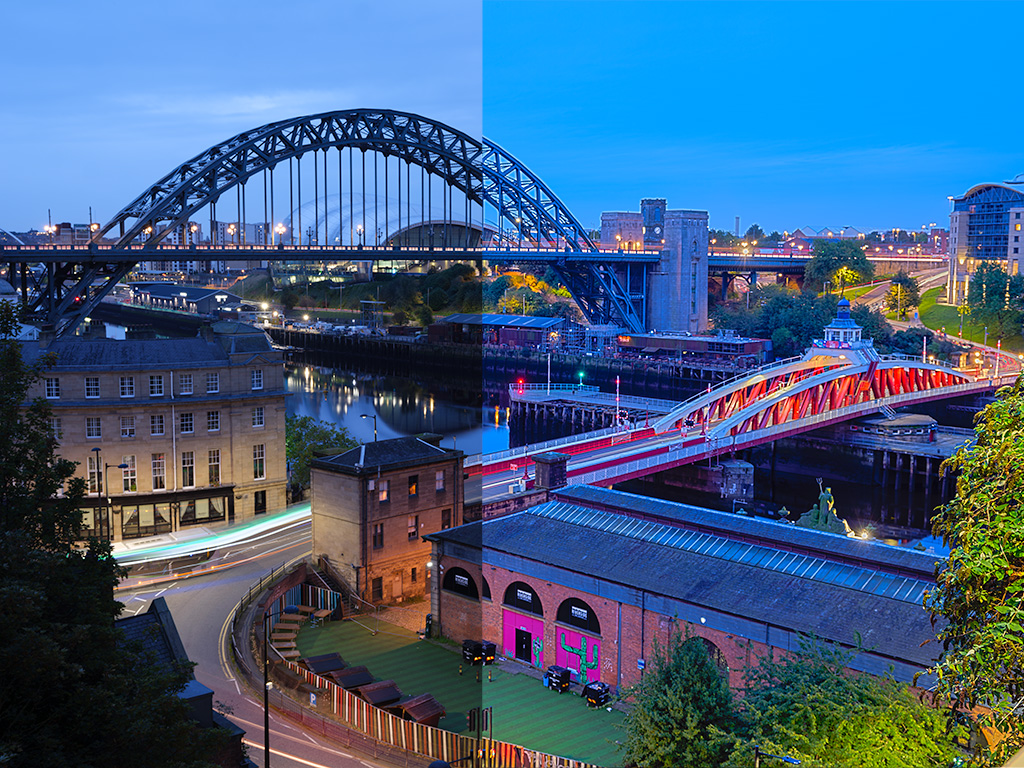
Getting this right can be a photography game changer and some photographers will be shouting at their screen saying “if you can't learn to get in right in camera…….” – you know the rest.
Post processing is a need-to-do process in photography and although some people believe it's “manipulating” or “faking” your photographs, more often than not it's just bringing out the real colors and details that are hidden in the raw file.
While post-processing, it's important to have a logical workflow that you work by to create the final image. Here's a simple workflow to get you started.

Image by Negativespace.co
Fundamental Editing Skills
Straighten and Crop the Image
Straighten the image if required to correct horizons in landscapes. Crop the image to get the right composition. For architectural images, get the horizontals and verticals corrected before cropping and straightening.
Remove Sensor dust
Dust and other particles on the sensor become visible at a smaller aperture and in the brighter regions of the image. Use the spot healing brush or the spot removal tool to get rid of those distracting bits.
Adjust Exposure and Contrast
Use the Levels adjustment and Brightness/Contrast tools to get the correct exposure and contrast. Keep your eyes on the histogram.
Adjust Shadows and Highlights
Adjusting shadows and highlights helps you work with the dark and bright regions of the images effectively. Increasing shadows lightens up very dark regions and reducing highlights helps you darken very bright regions of the image.
Adjusting the Clarity
The clarity tool adds contrast to the mid-range tones and sharpens the image without adding noise.
Saturation and Vibrance
Use the saturation and vibrance tools only if required. Increase the vibrance a bit and if not happy, pull up the saturation slider a bit.
Note: Try using the HSL panels for beautiful colors in your images.
Sharpen if Required and Remove Noise
If your image has noise, remove it using the noise reduction tool that is located in the sharpening tab.
While sharpening, drag the masking slider while holding down the alt key (for Lightroom) or option + command key (for Camera RAW) till you see areas that need to be sharpened.
This lets you selectively sharpen regions in the image.
This guide by Photzy will allow you to learn the steps taken by a pro to produce amazing results in their photography, every time – learn Fundamental Editing.


