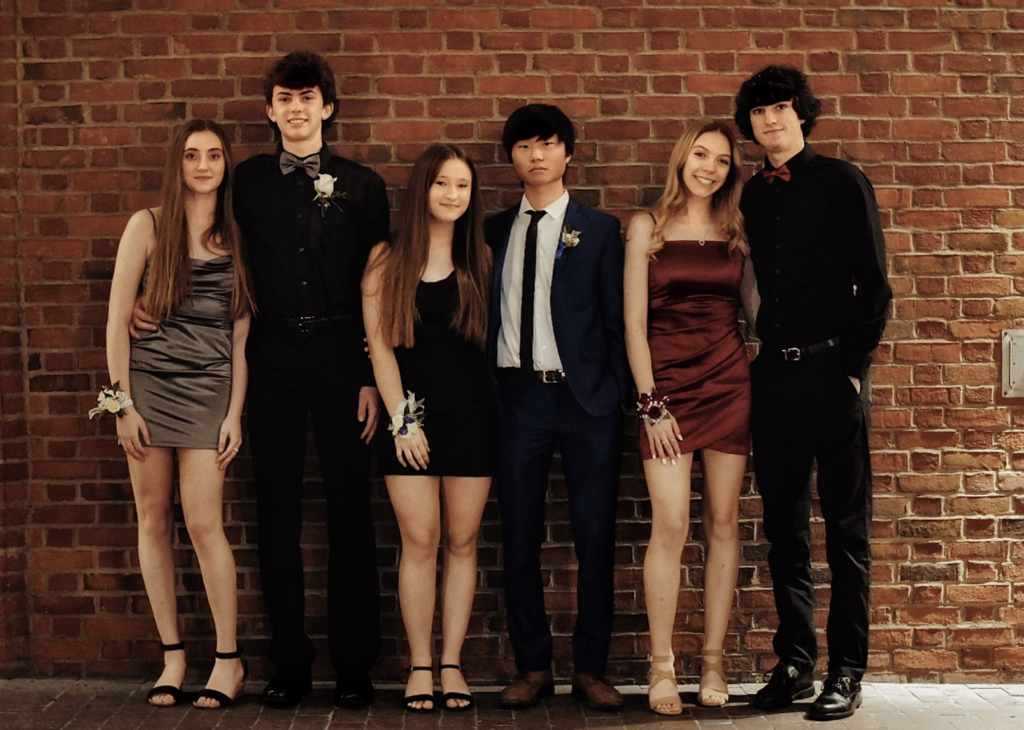
If you are new to portrait photography you may just be wondering if you need an expensive lens to get those beautiful blurry backgrounds in your images. While those lenses can help, it is not very necessary to buy expensive lenses in order to achieve that effect. You can even use your kit lens for a start and follow the simple tips below to get some beautiful portraits.

Image by Bess-Hamiti
You can shoot on manual if you are not in a hurry and you want to make all the adjustments manually. If not, it is best to shoot on Aperture Priority mode. That way you set the aperture to the lens’ widest aperture and then let the camera choose the shutter speed and ISO. This is mostly helpful if your subject is constantly moving.
In order to get a blurred background, make sure you work using the three tips below
1. Aperture – Choose the smallest f value or f number for the highest amount of blur also called bokeh. The smaller the f value, the wider will be the aperture, creating the shallowest depth of field. For example for a 50mm f/1.8 lens, the smallest f value is 1.8 and you get the highest blur (shallowest depth of field) at f/1.8.

Smaller f number means wider aperture

As f number increases, the depth of field increases and the background blur decreases
Now, with your 18-55mm kit lens, the widest aperture is f/3.5 at 18mm and f/5.6 at 55mm. So if you are using your kit lens for portrait photography, zoom in on your subject, that is use the 55mm focal length and set aperture at f/5.6.
If you really shoot portraits often and are looking for some beautiful blurred backgrounds, it is best to go for the faster 50mm f/1.8 as it is an affordable lens for a start and is an ideal focal length as well for portraits.
In short:
Higher f number = Smaller Aperture = Wider Depth of Field (Less Background Blur)
Lower f number = Wider Aperture = Shallow Depth of Field (More Background Blur)
Image by Malcolm Tredinnick, some rights reserved, Aperture f/11 on the left and f/1.8 on the right. All other settings are the same
2. Focal Length – If you are using a kit lens, zoom in on the subject to 55 mm. This makes the focal length longer and the field of view narrower, making the depth of field shallow, in turn making the background more blurred. Position yourself as closely as possible to the subject (discussed in next point). Or if you have a longer lens, zoom in further. This helps to create a shallow depth of field
3. Distance between the camera, subject and the background: In order to get a blurred background, increase the distance between the subject and the background as much as possible depending on the situations and locations of where you are. Also, have enough distance between the camera and the subject if you are using a very long lens.
If you are using the kit lens, zoom in and keep the subject as close to you as possible for getting a perfectly blurred background. Be closer to the subject than the subject is from the background.
These tips will help you get that classic bokeh background look in your portraits. If you want to go even further with your portrait photography, check out The Art of Portrait Photography.


